Method 1: PIXLR
A graphical editor called PIXLR operating online is perfect for high-quality removal of any unnecessary object with a photo in a few minutes. For deletion, one of the standard tools that we will consider are responsible for the deletion.
Go to online service PIXLR
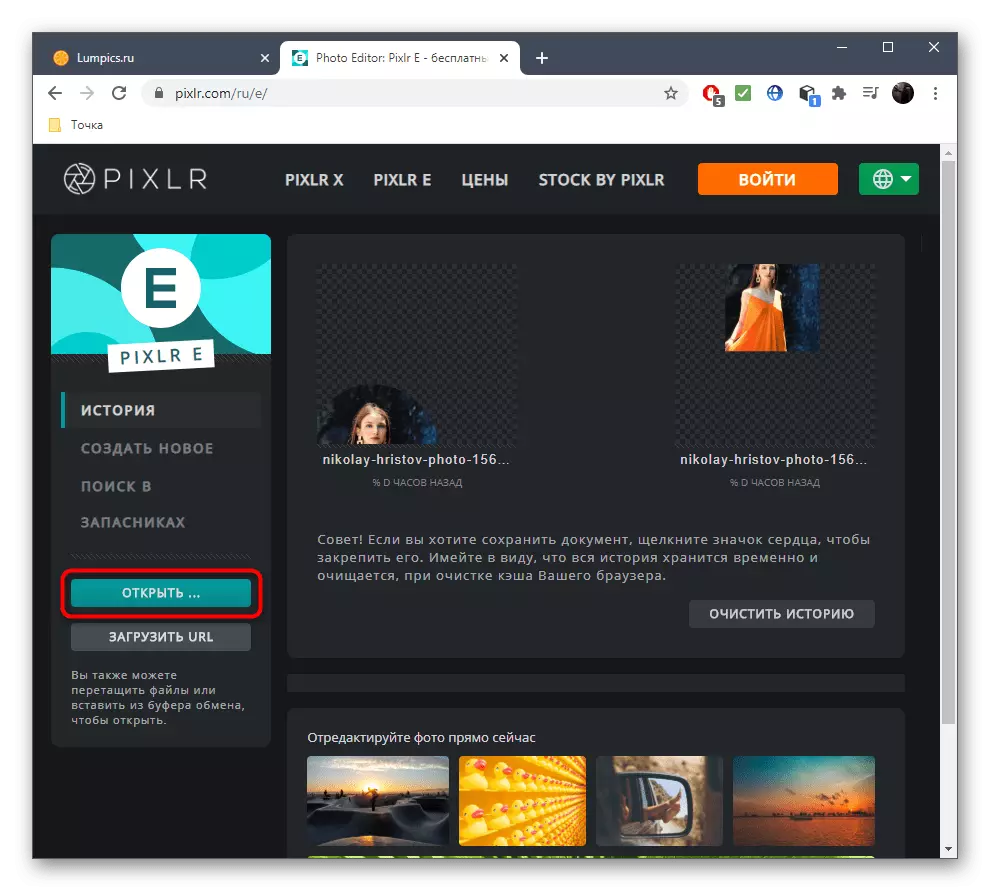
- Once on the main page of the PIXLR site, immediately go to work with an advanced version of the editor.
- To begin with, you will need to "open" the photo, the editing of which will be made. Click on this button to go to the "Explorer".
- In it, find the desired snapshot and click on it twice with the left mouse button.
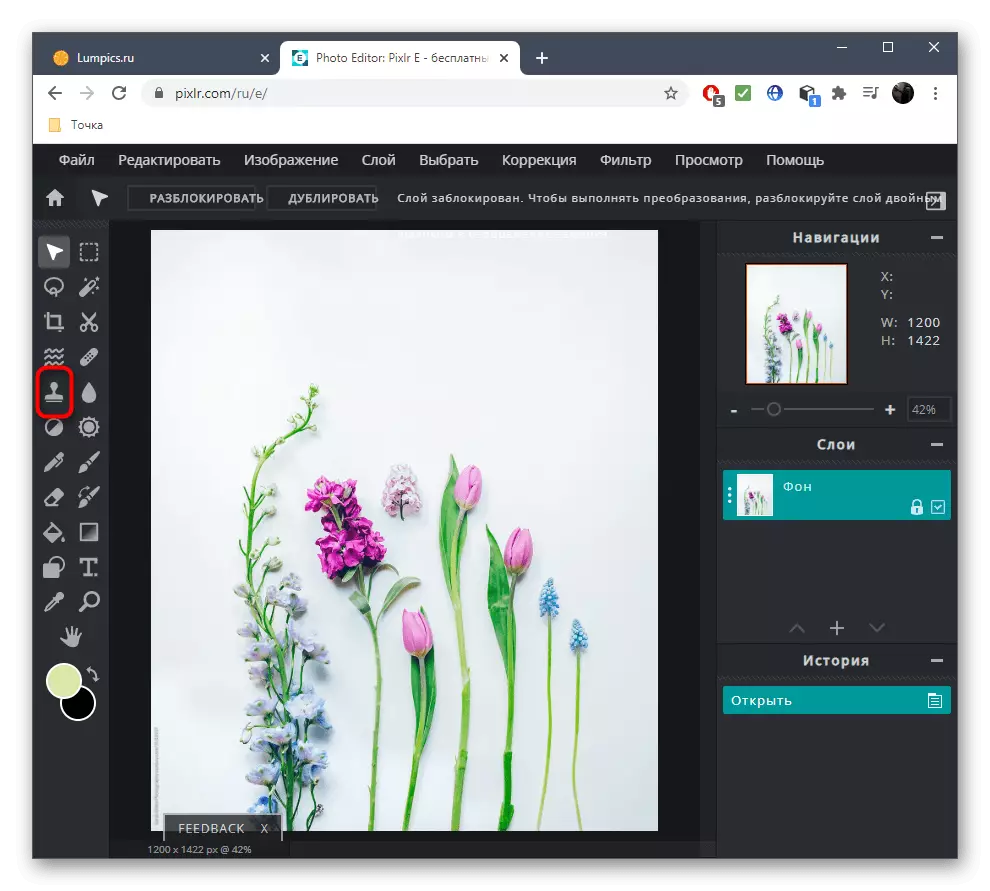
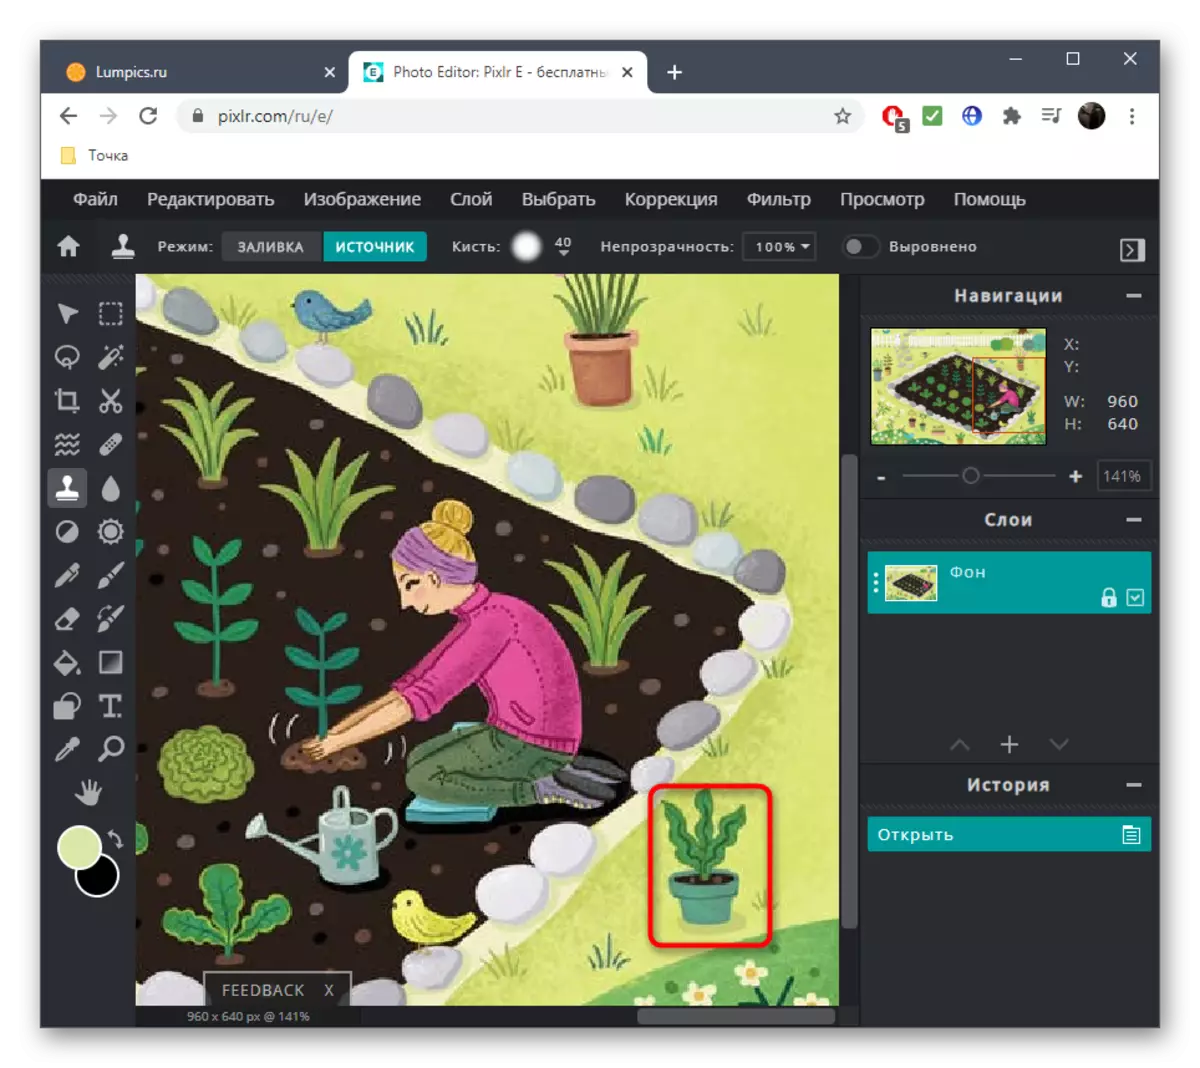
- Wait for the editor window download, which will take literally a few seconds, and then select the "Stamp" tool through the icons on the left pane.
- First of all, the source is specified, which will replace the object deleted. In the case of a homogeneous tone, you can choose any site, but most often you have to select the appropriate objects, such as grass or the sky, so that it is imperceptibly replaced by what interferes.
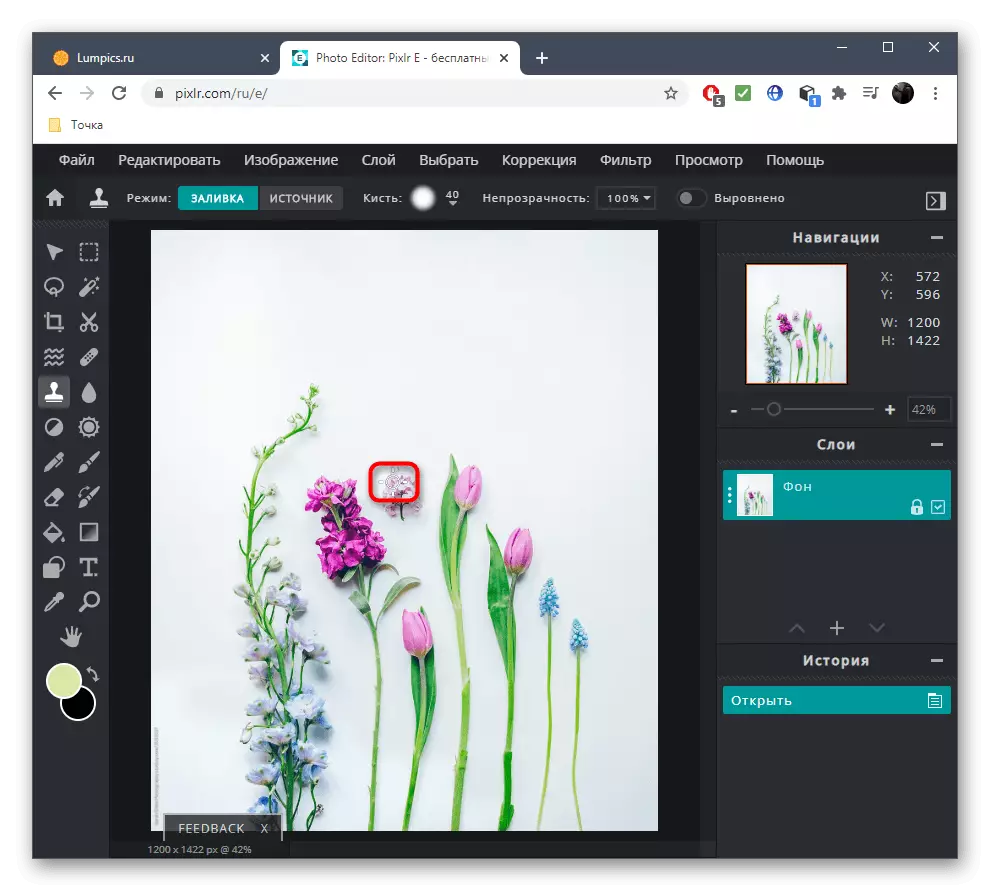
- After that, by pressing the left mouse button, start making the unnecessary. If some action was made incorrectly, simply cancel it with the standard hot key Ctrl + Z.
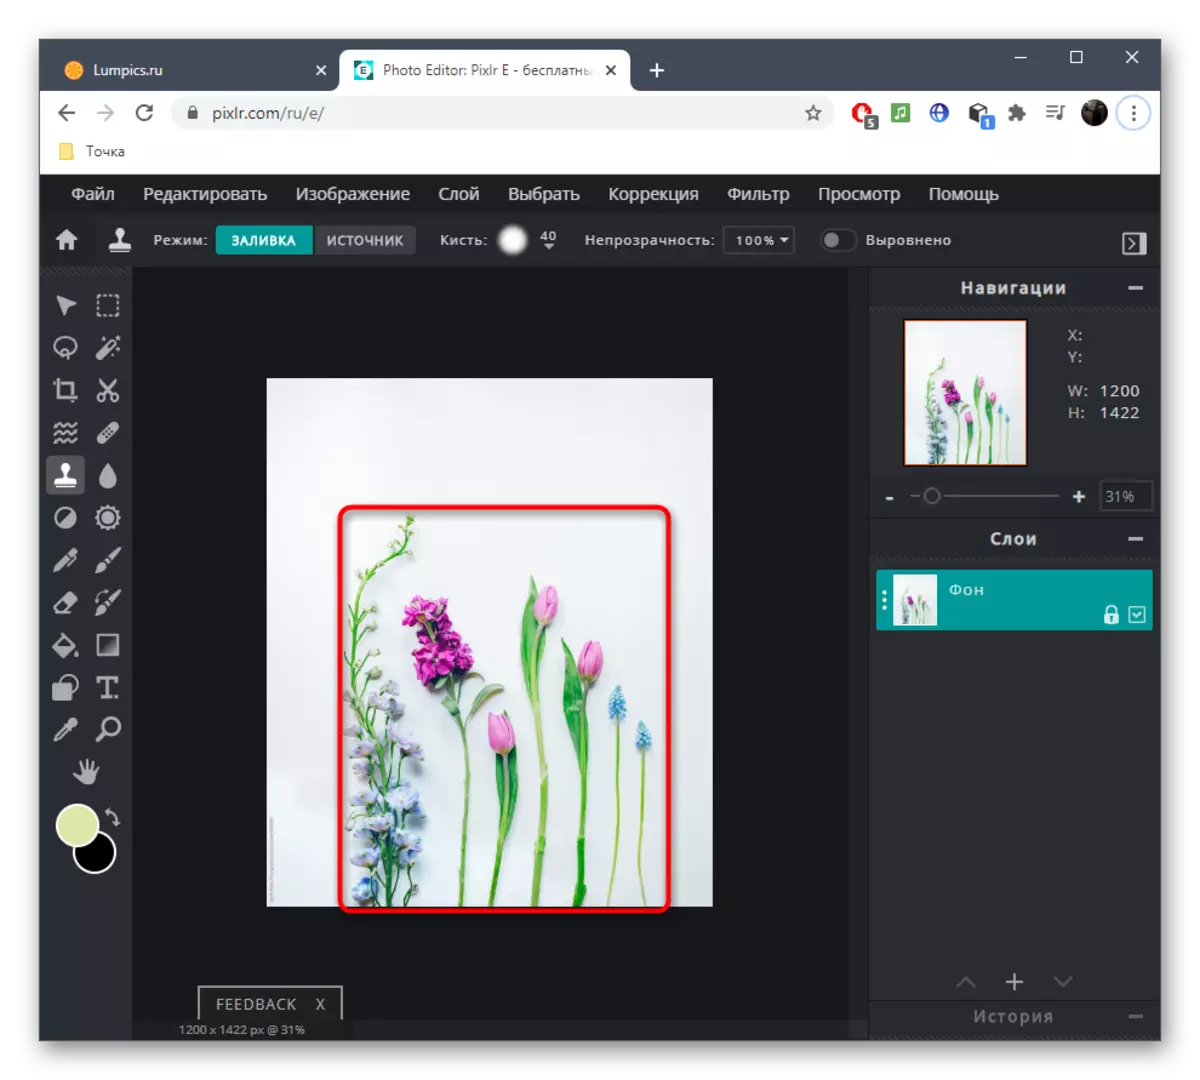
- Browse the result and be sure to use the scaling that allows you to make sure that all elements of the unnecessary object were successfully removed and nothing strange is on the image.
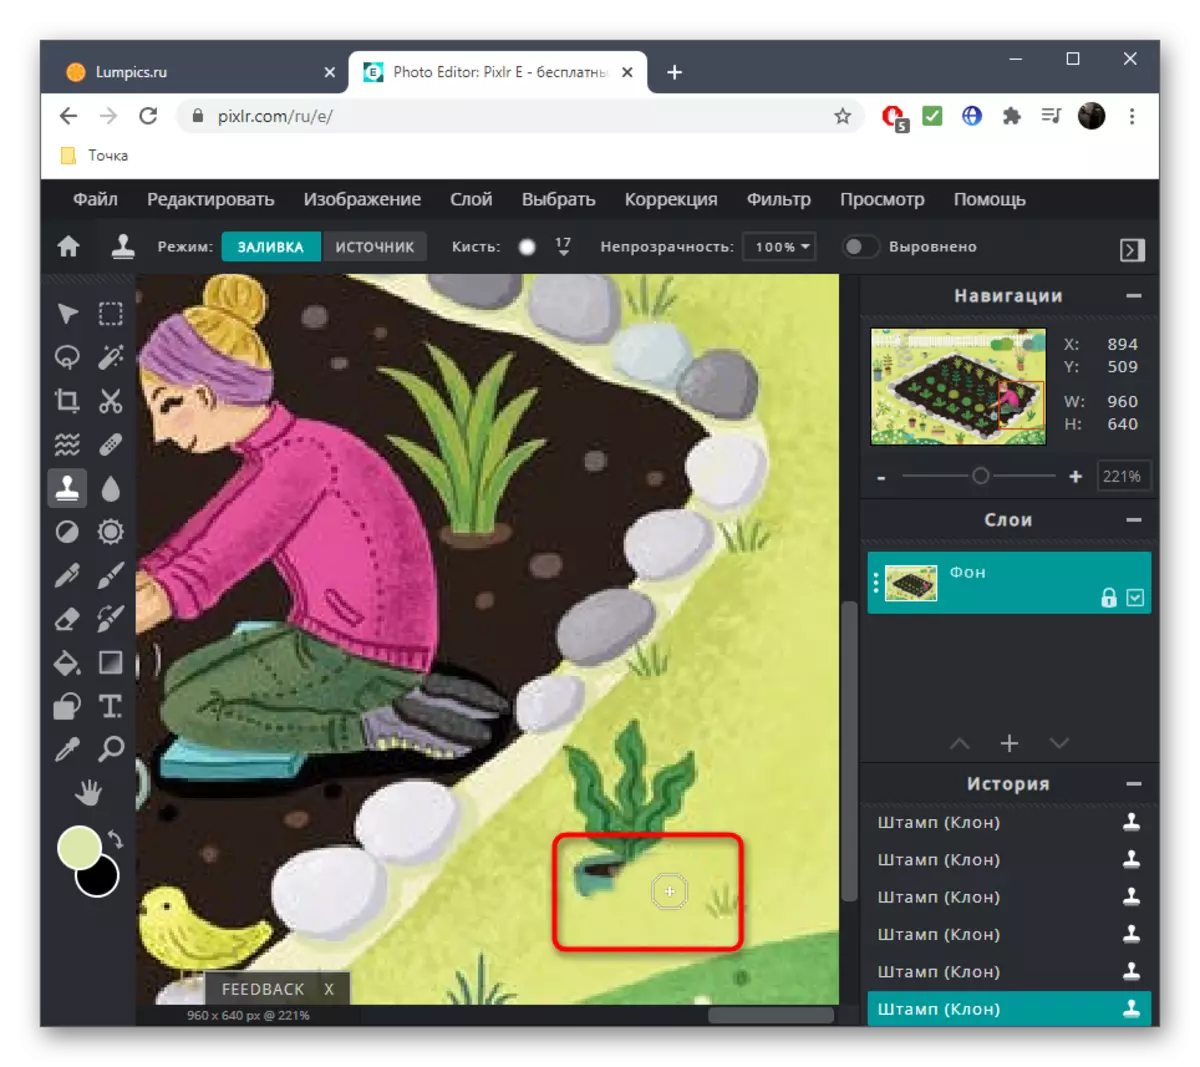
- As a second example, consider the object located on a more complex background, which is not uniform.
- First, select the same tool and remove the first area by cloning it according to the color.
- Then switches to the "Source" and mark the second cloning area.
- Be sure to follow the proportions of the backgrounds and remove all the defects so that when viewing the image it was impossible to guess that once there was another object.
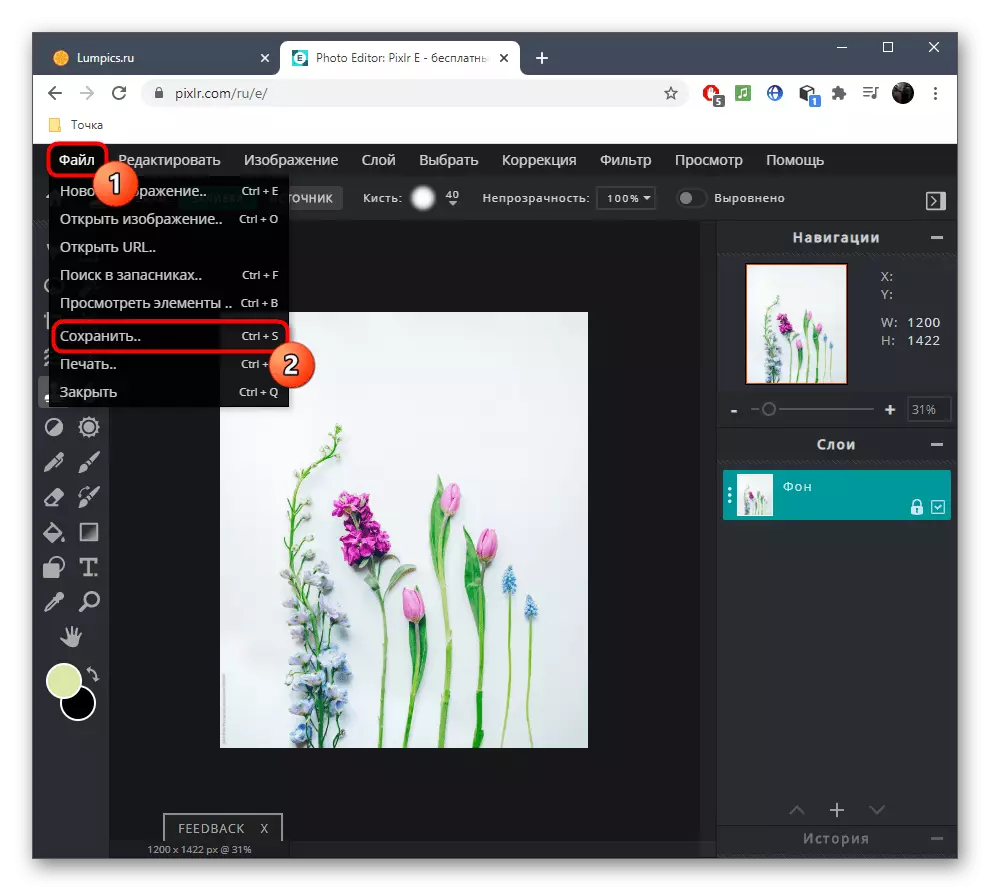
- As soon as editing is completed, expand the File menu and select "Save".
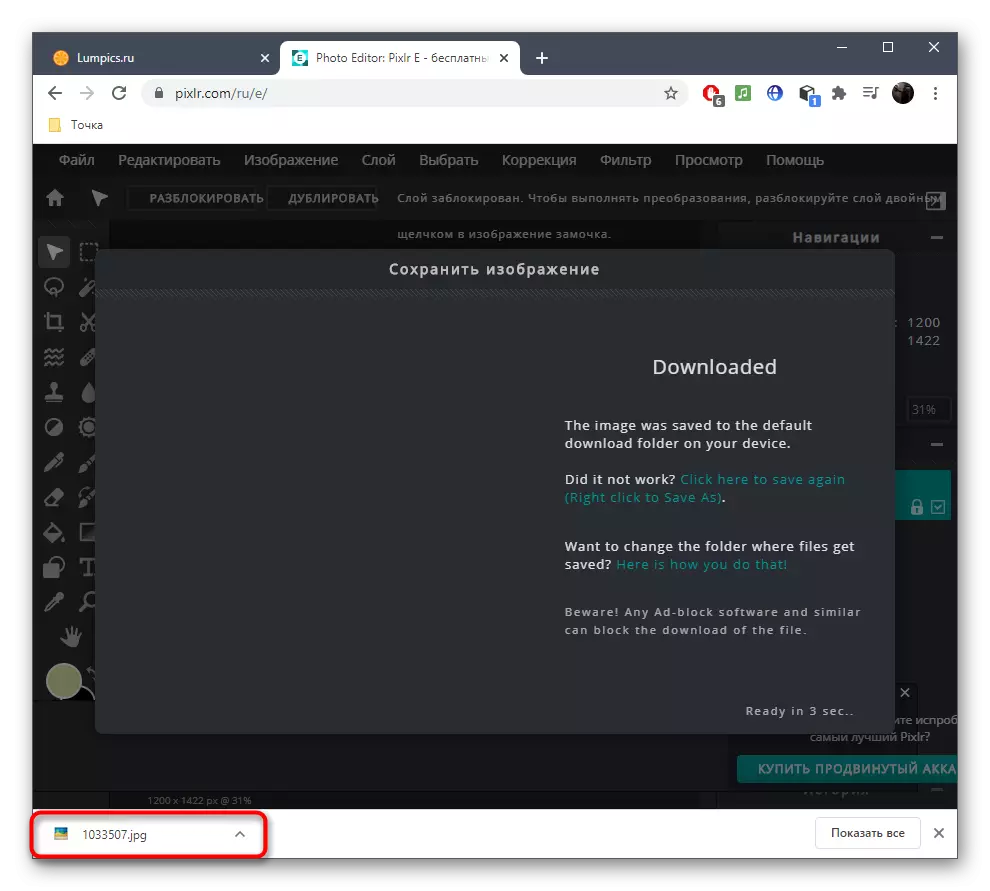
- Set the file name or leave it by default, check the extension in which you want to save it, change the quality if necessary and start loading the finished image.
- Now you have a picture on your hands, where everything is successfully cleaned.


Method 2: Inpaint
As can be seen, the described editor is full of full, that is, in addition to the necessary task, it will help to cope with many others. However, sometimes it is not necessary to the user and you only need to delete too much. Especially for such purposes, an online service called InPaint has been developed.
Go to online service inpaint
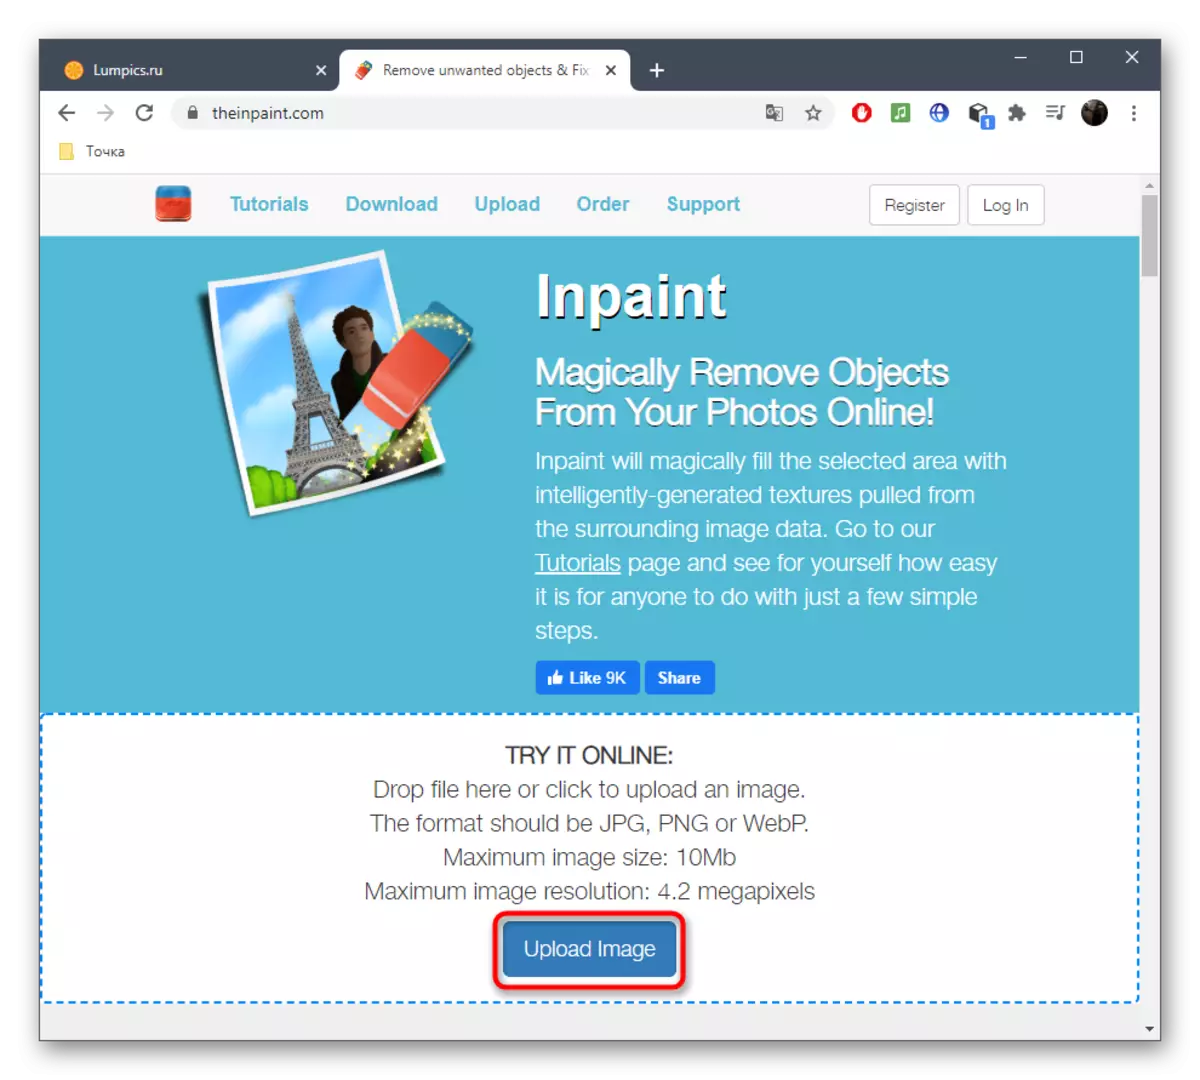
- Drag the image in the selected dotted line or click on "Upload Image" to open the picture.
- Find it through the "Explorer" and click "Open".
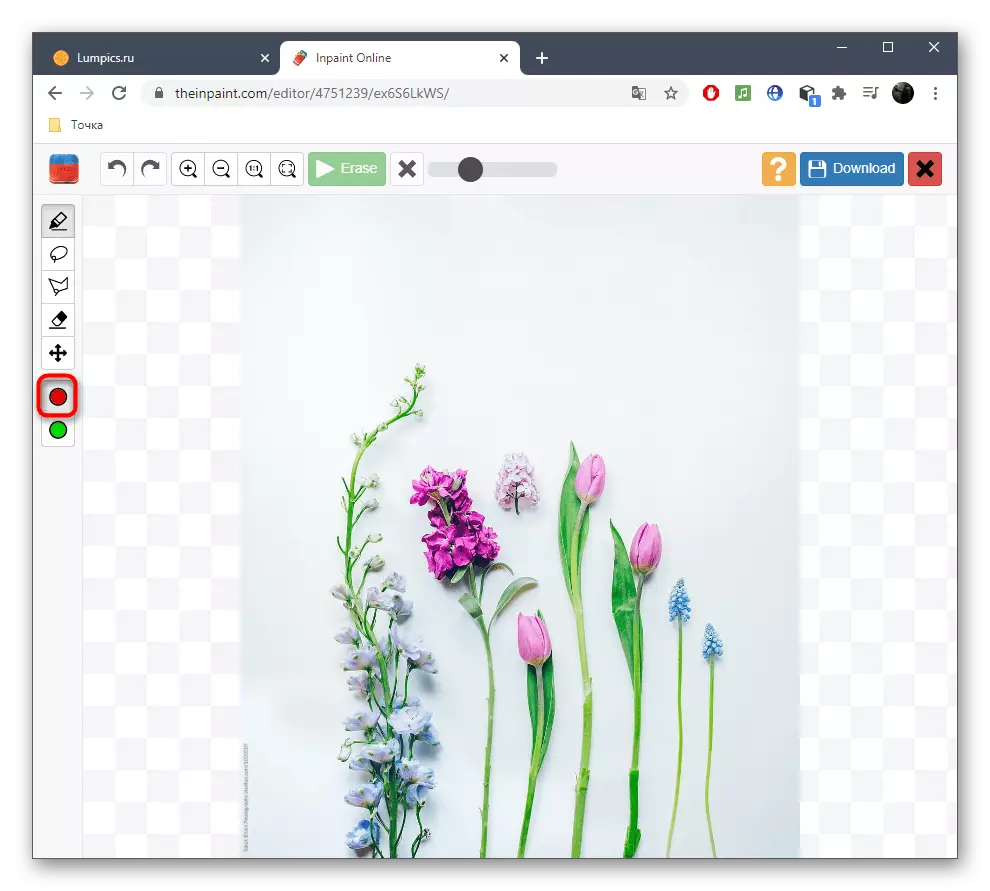
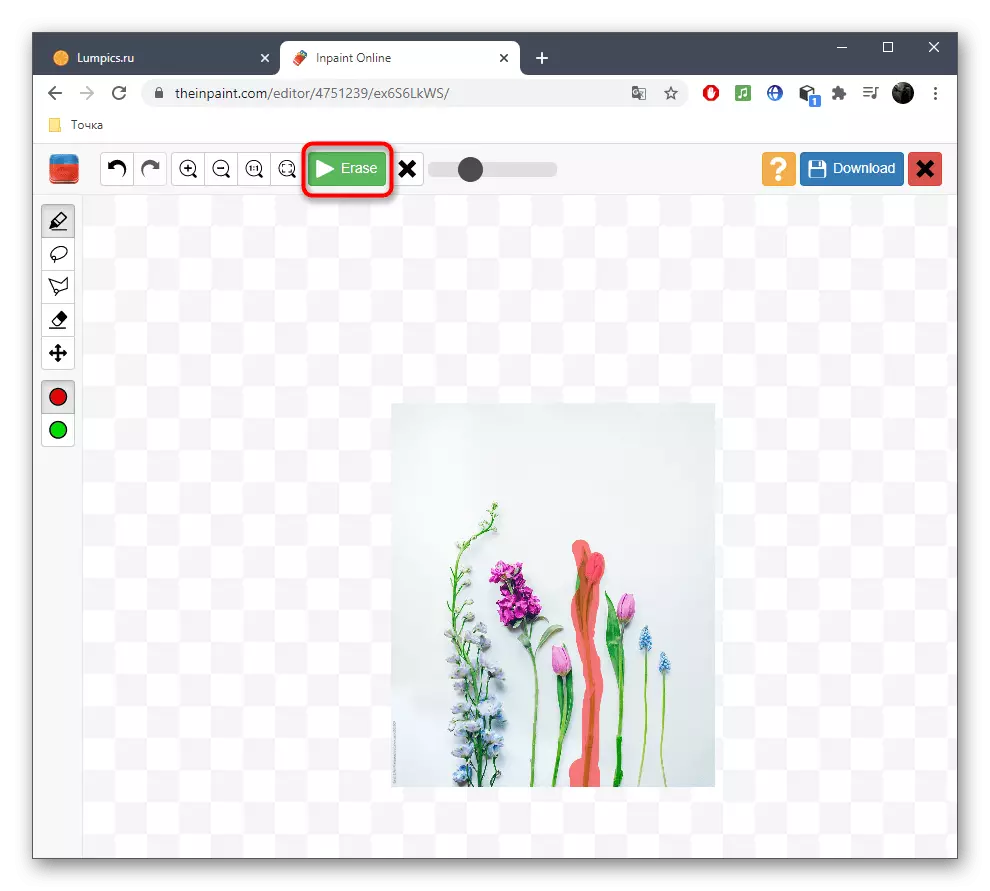
- On the left pane of the editor, you will need to select a tool with a red circle, which is responsible for deleting superfluous.
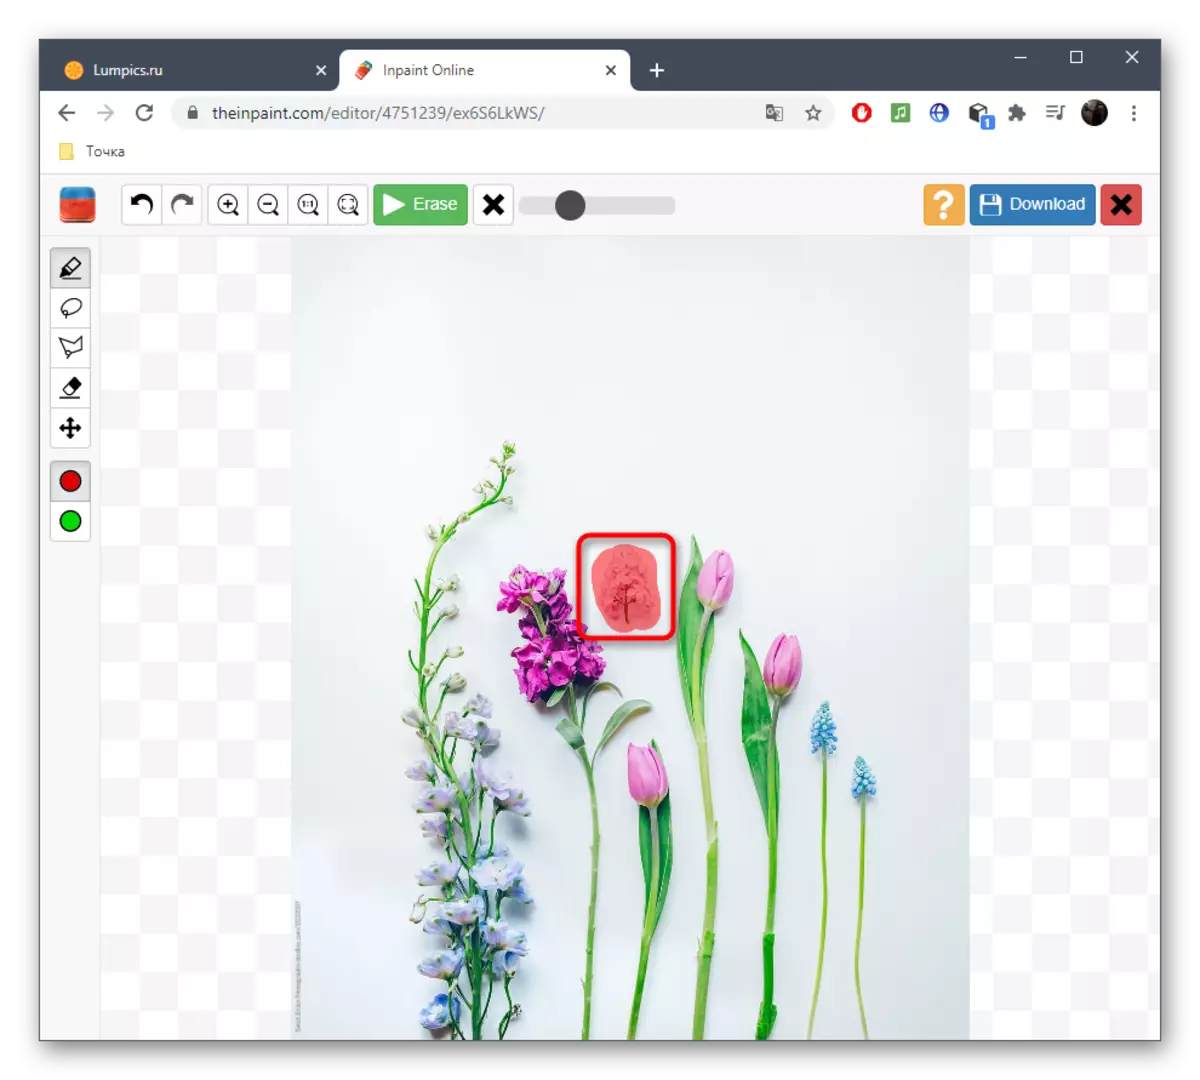
- Start making the area from which you want to get rid of, and adjust the marker size with the panel from top to bottom and do not forget about the ability to scale the image.
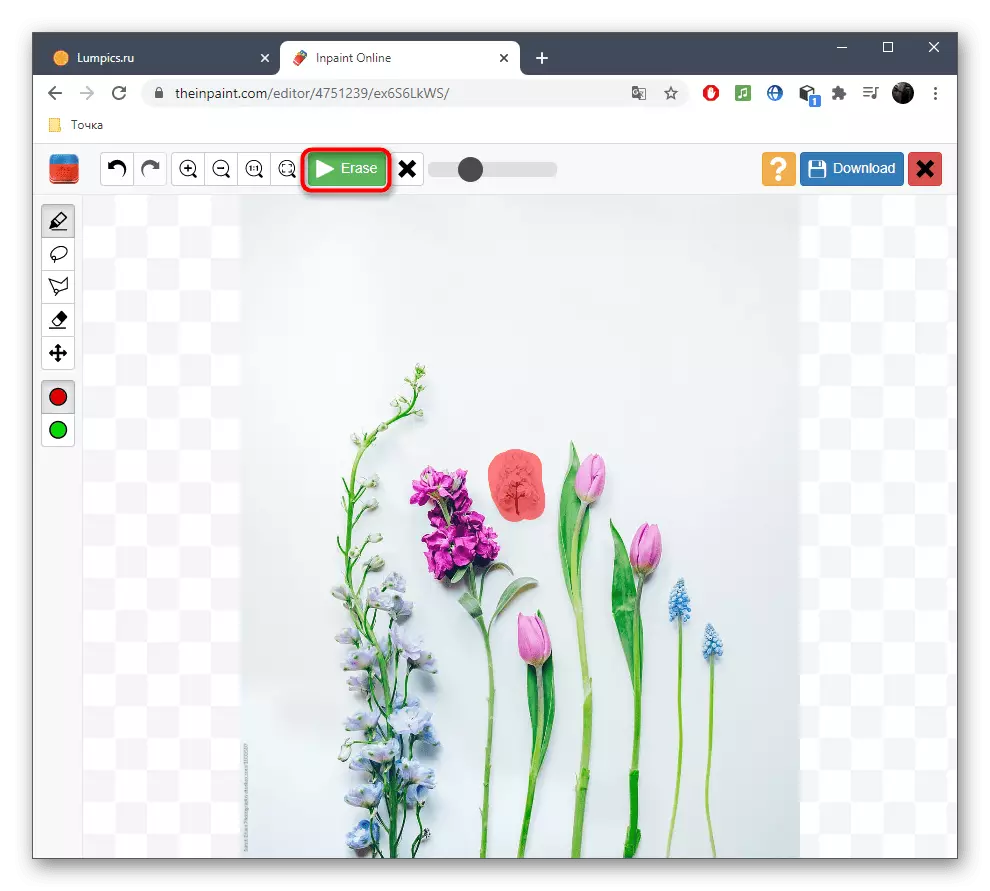
- To apply changes, you will need to click on the green button "Erase".
- Check out the result.
- If necessary, you can always select the area with a marker and confirm its removal, if, for example, the first time it did not work out to achieve the desired result or other nuances appeared.
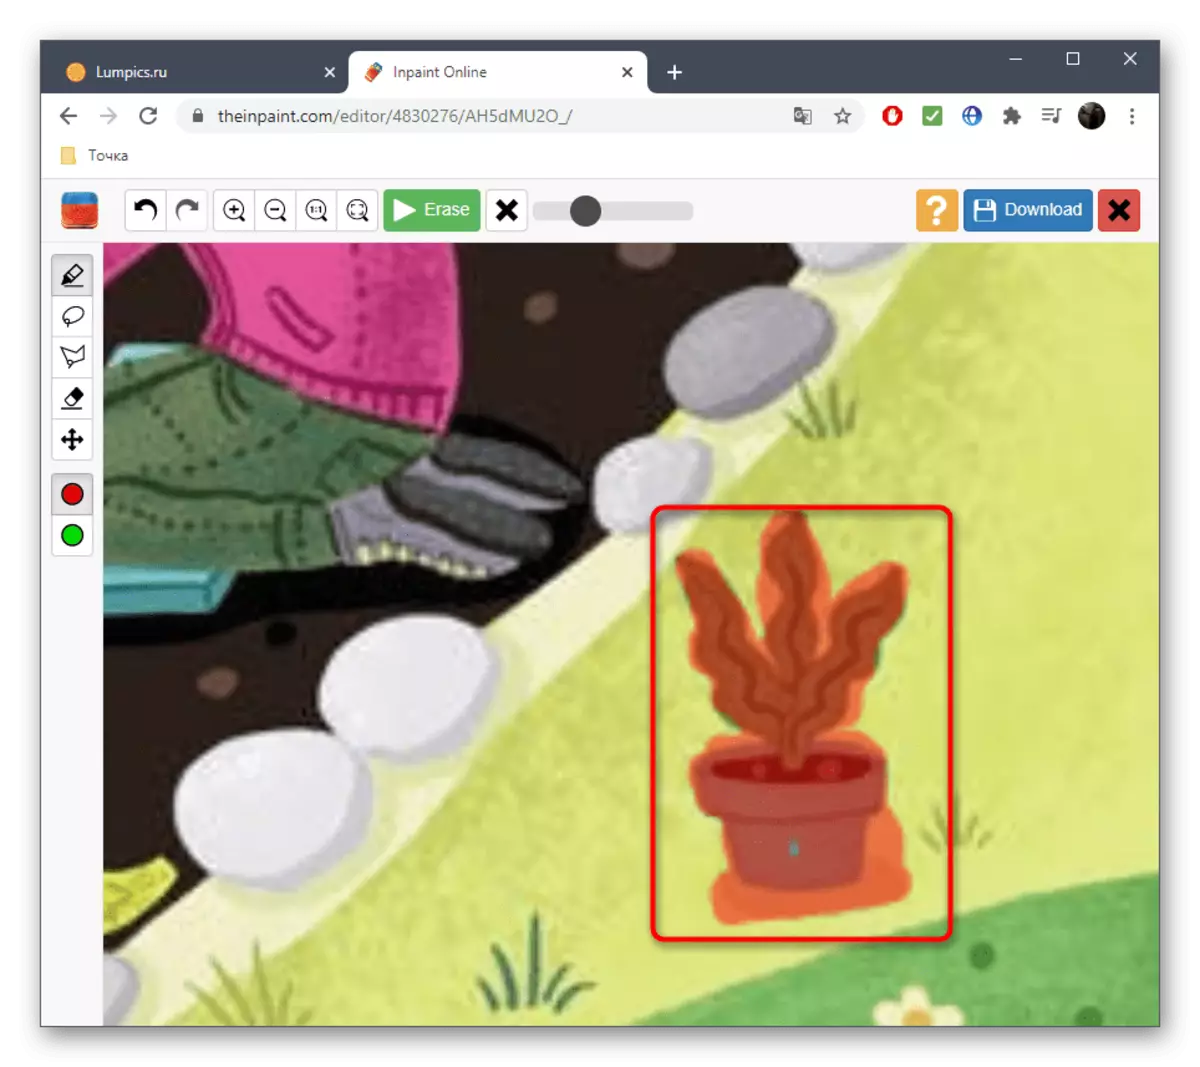
- Inpaint does not work as well with complex backgrounds, but it is quite realistic to remove the item. To begin with, tick it and confirm the erase.
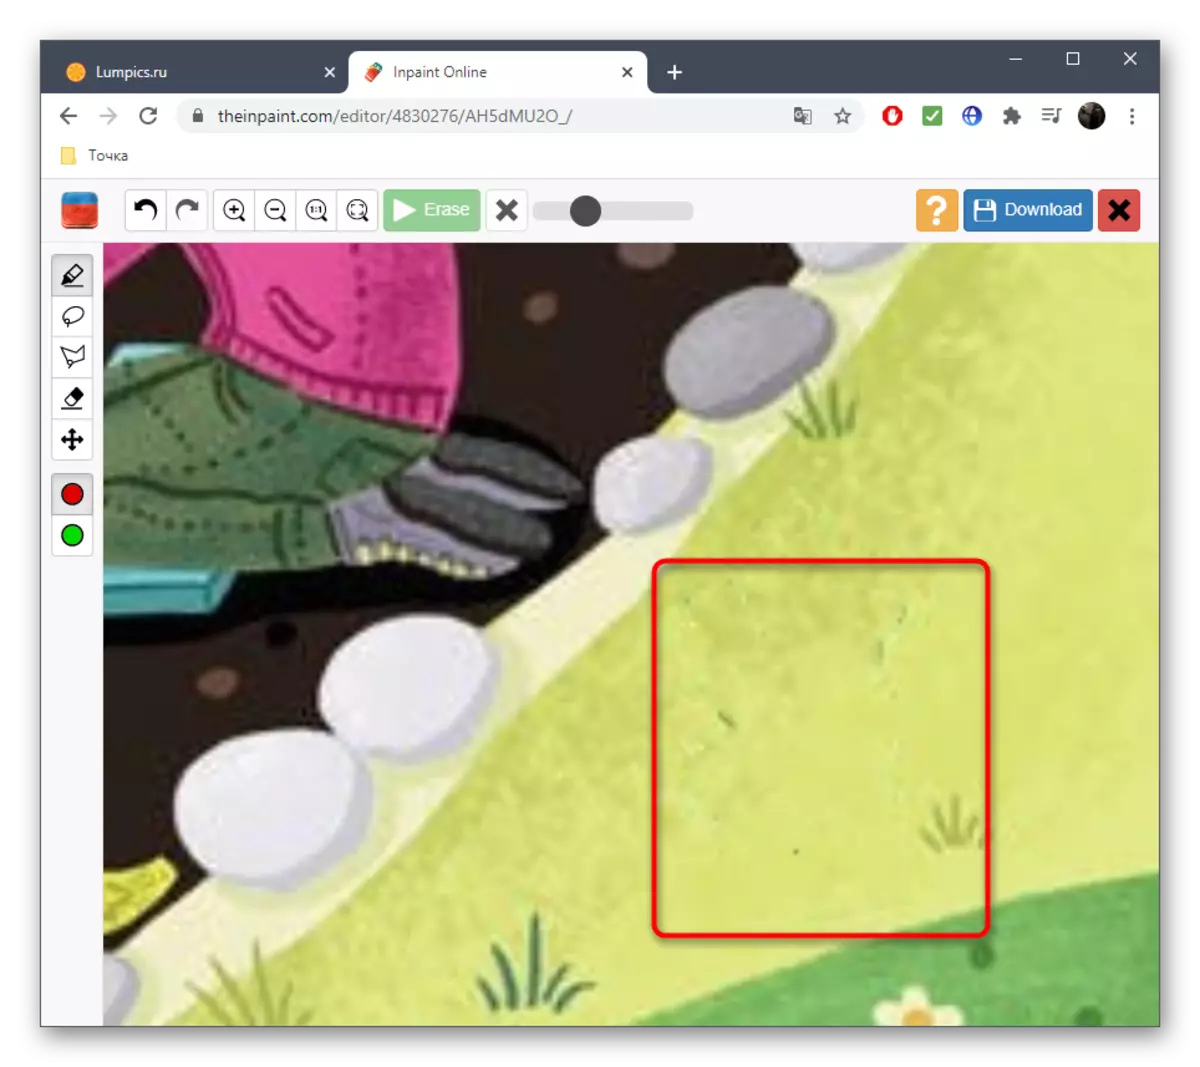
- Sometimes defects can appear, so they also highlight them red and use removal, smoothing irregularities.
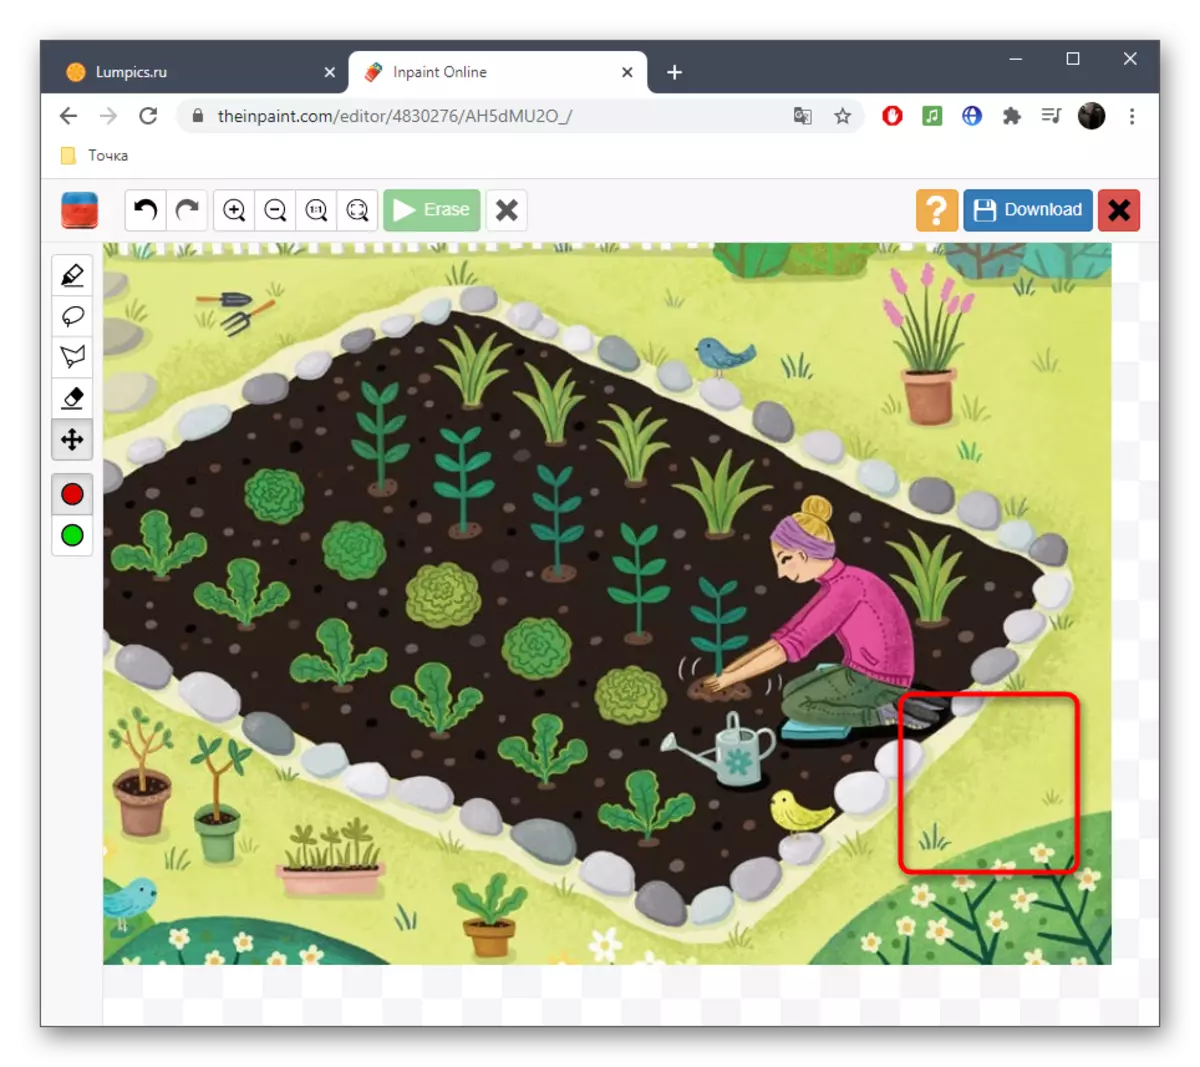
- Ideally should get an image without visible inconsistencies in the background and located near objects.
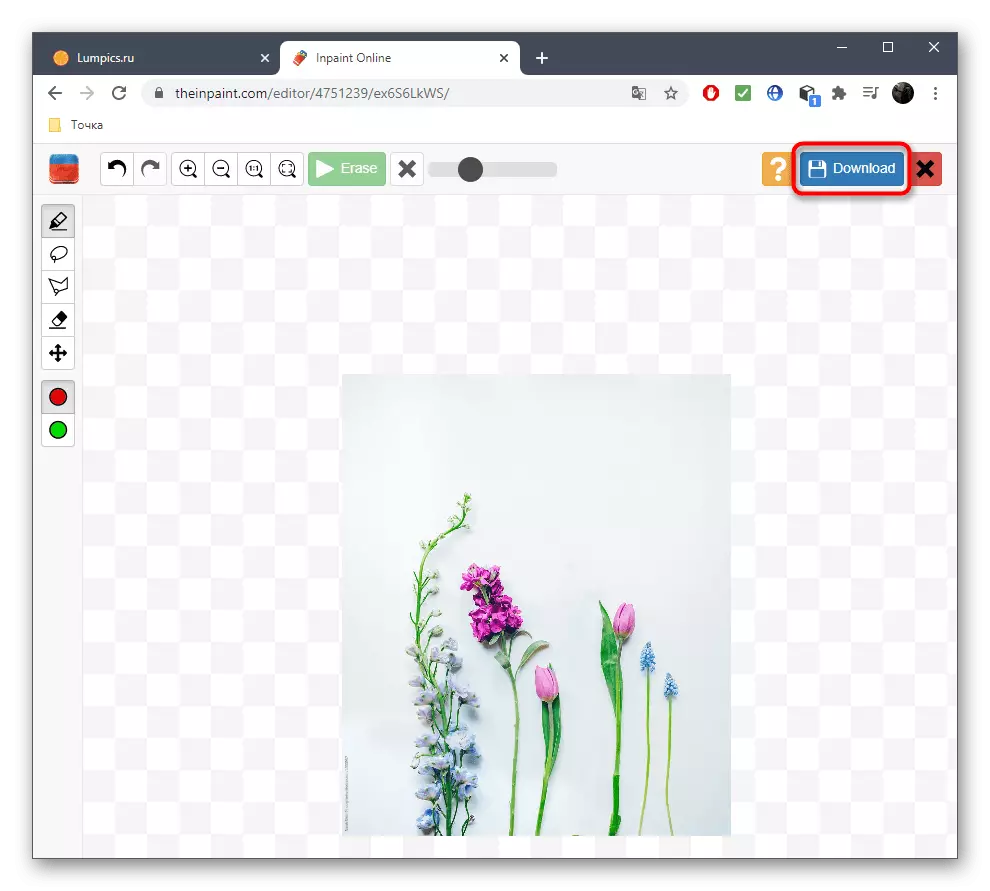
- As soon as the image cleansing is ready, click "Download".
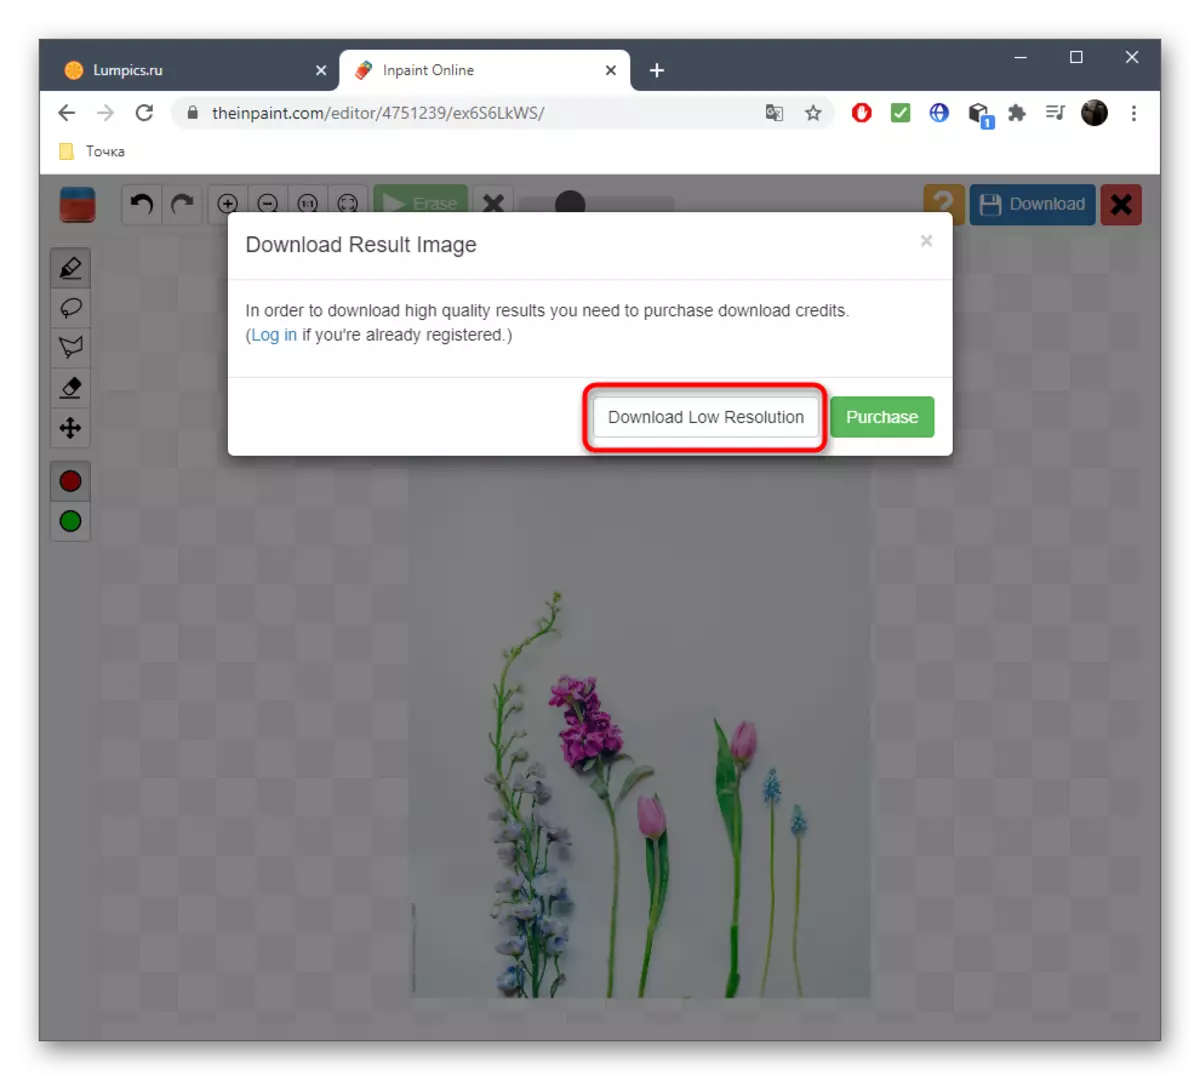
- Confirm the start of downloading or purchase a subscription to get an image in good quality.
- Expect the end of the file download and proceed to further actions with it.


InPaint does not always function correctly, since the built-in algorithms are highly dependent on the common background and nearby objects, but if we are talking about a homogeneous or simple background, there should be no problems when removing unnecessary.
Method 3: Fotor
A function intended for replacing elements in Fotor is perfectly suitable when it comes to removing pigmentation or other nuances of the face, however, with conventional photos, it will be perfectly cope with it, allowing you to remove unnecessary.
Go to online service fotor
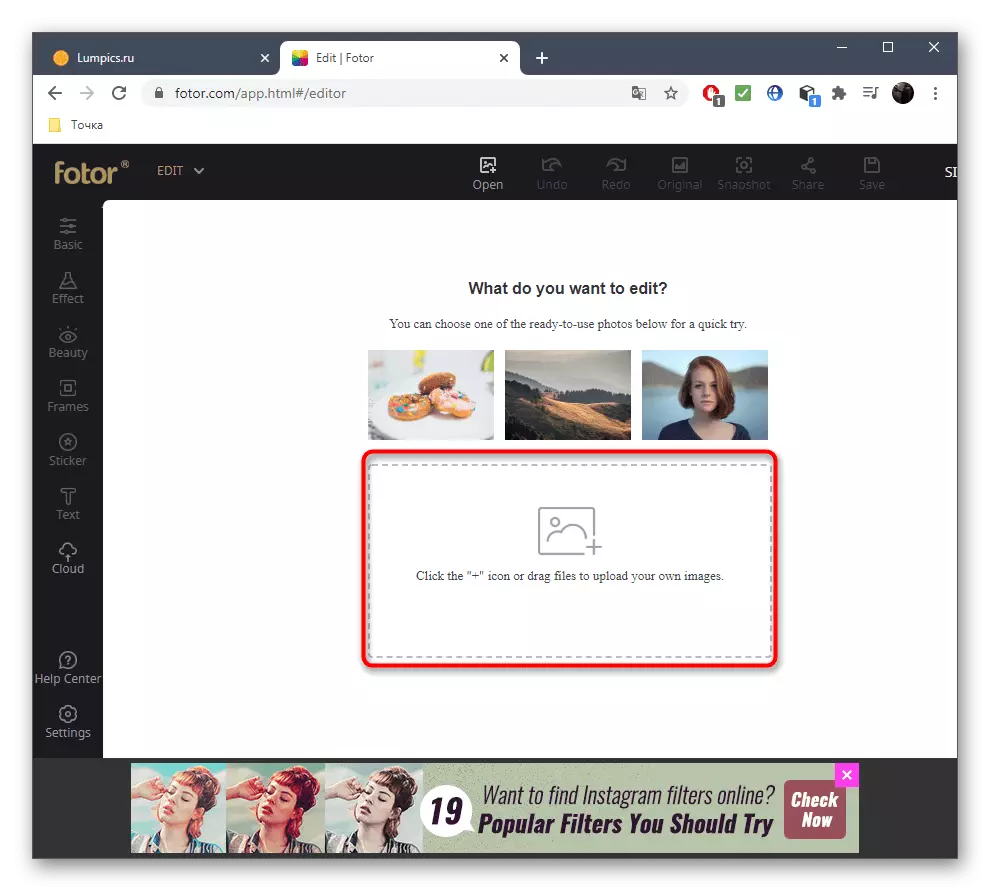
- We offer to use the link above, opening the page of the editor, where immediately press "Edit a photo".
- Click on the selected area to add a photo.
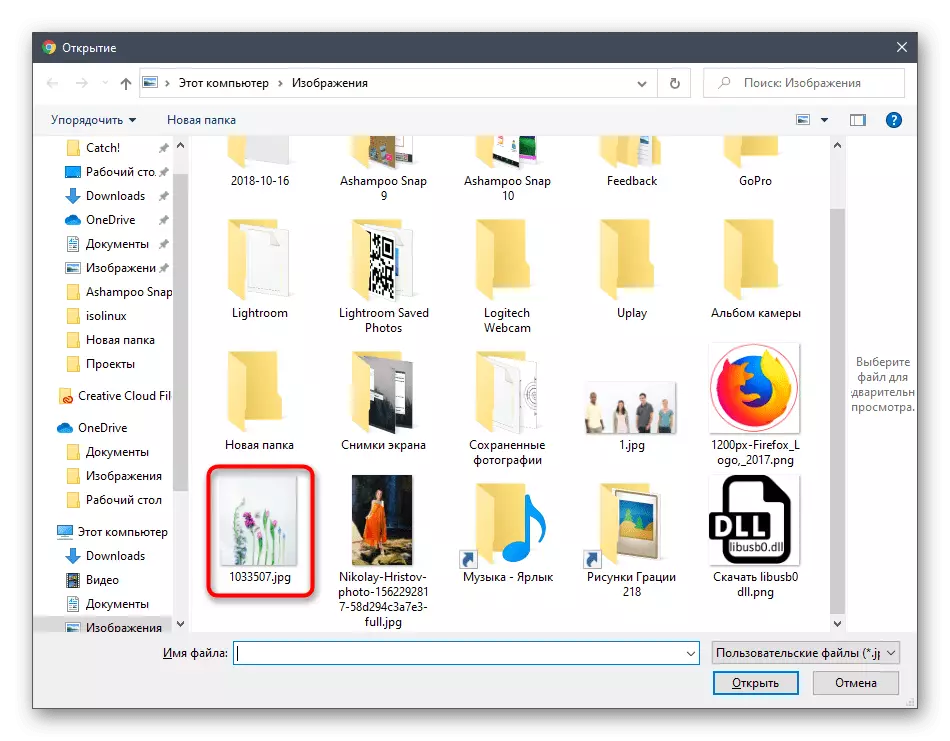
- The "Explorer" window opens, in which the target image should be selected.
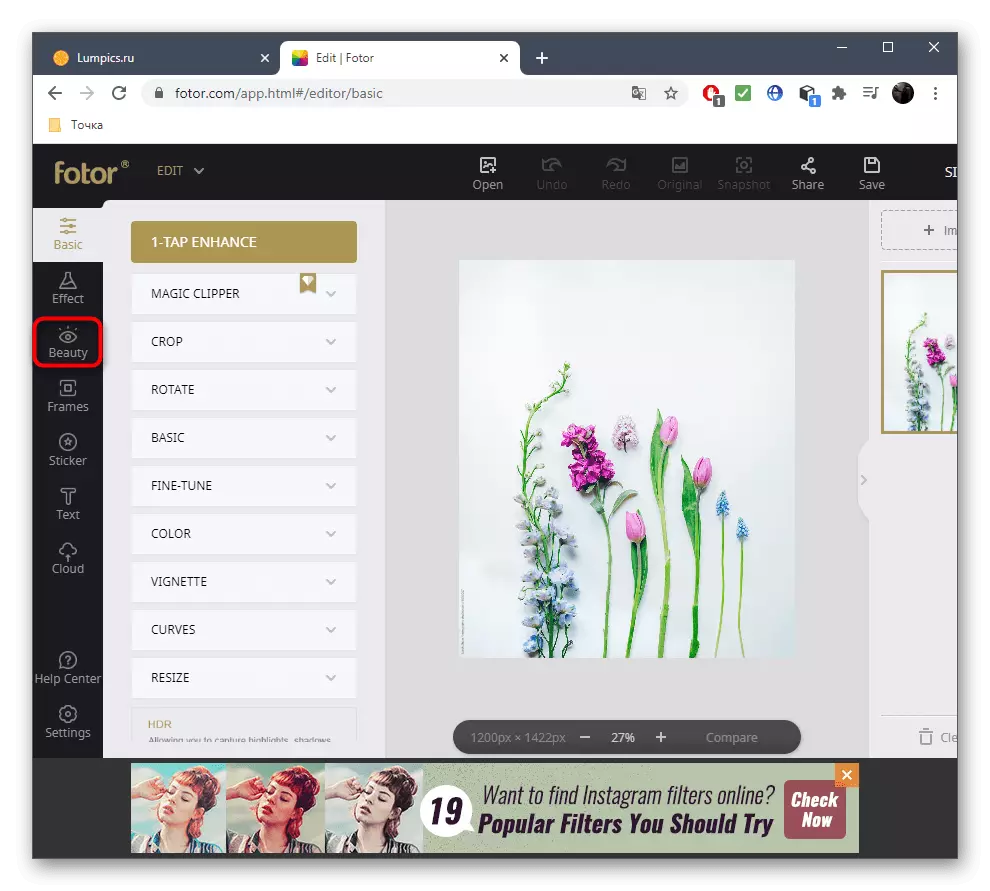
- Move through the left panel to the "Beauty" section.
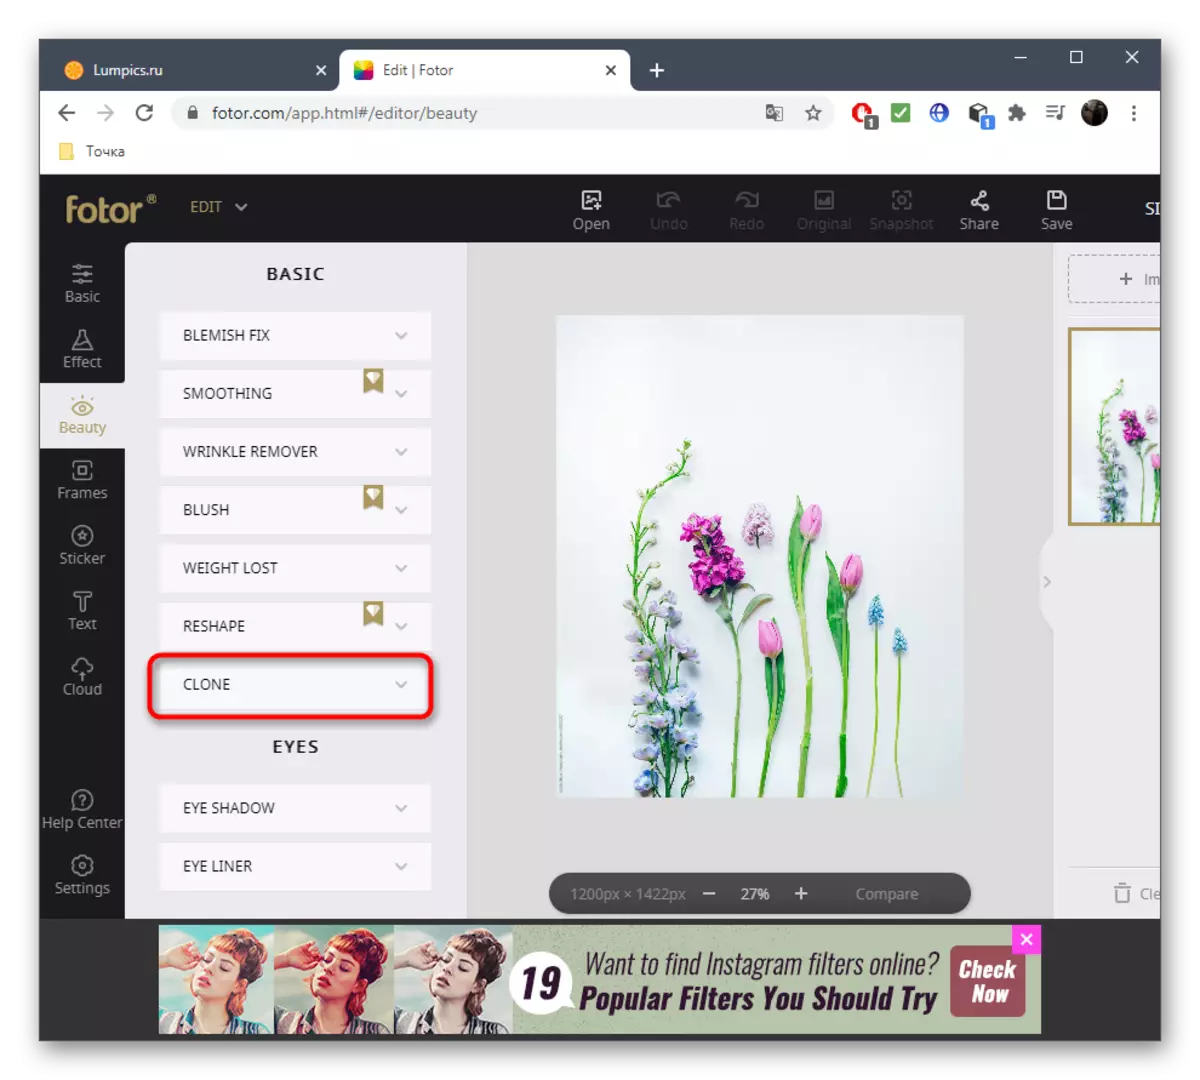
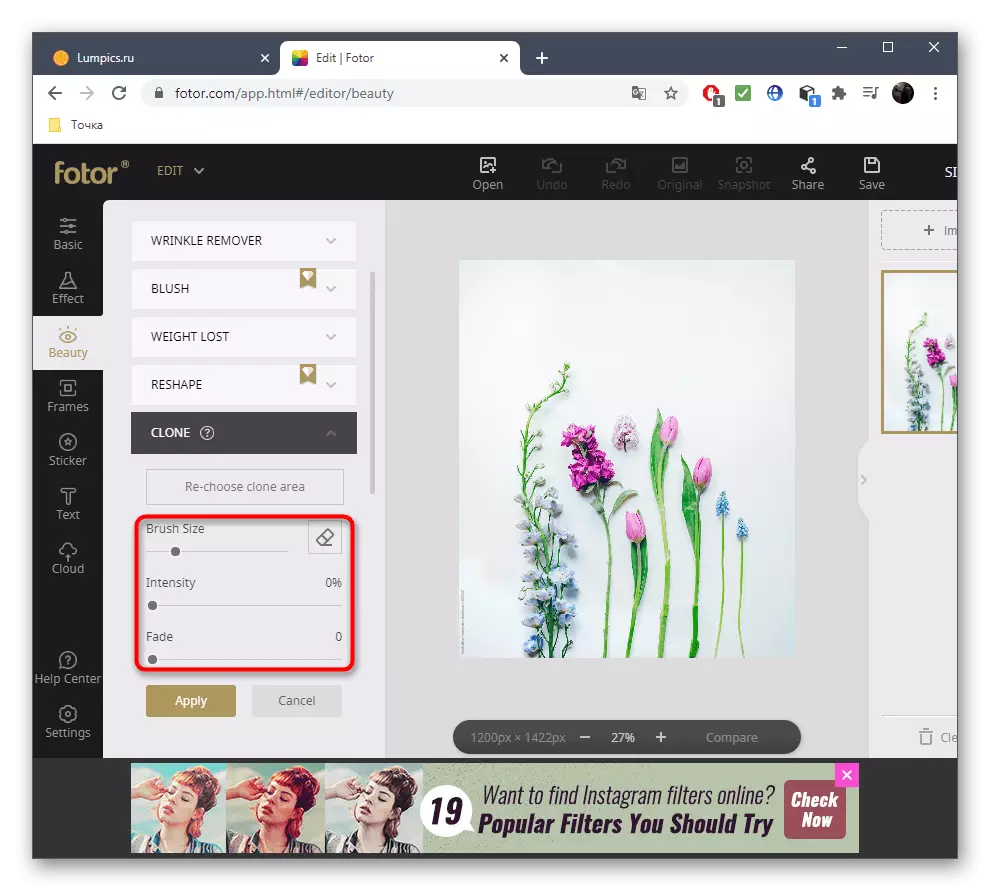
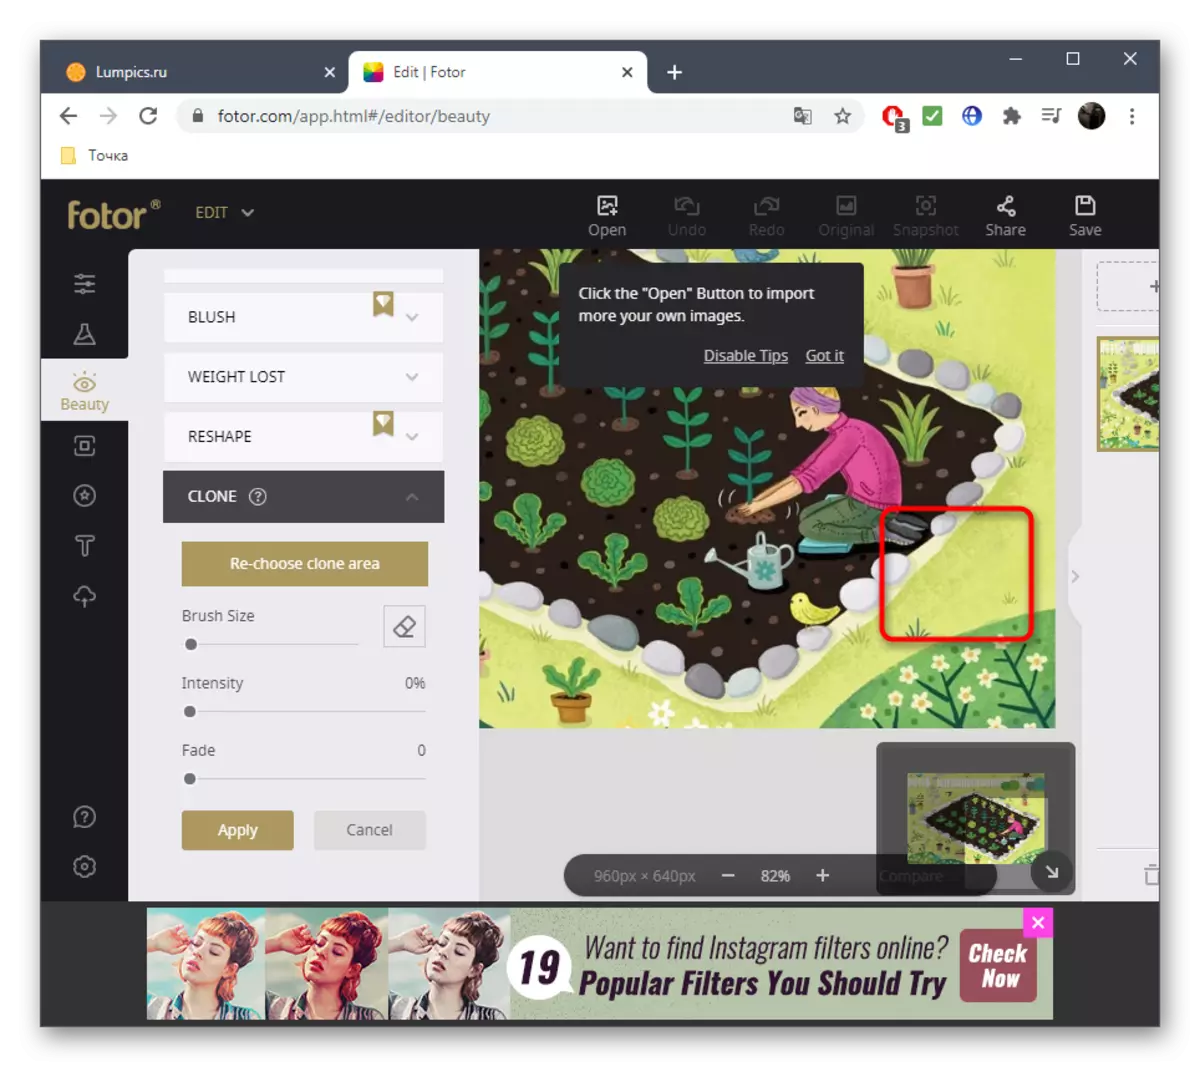
- Among other tools you are interested in "Clone".
- You can configure it in advance by moving the slider, or return to this as needed.
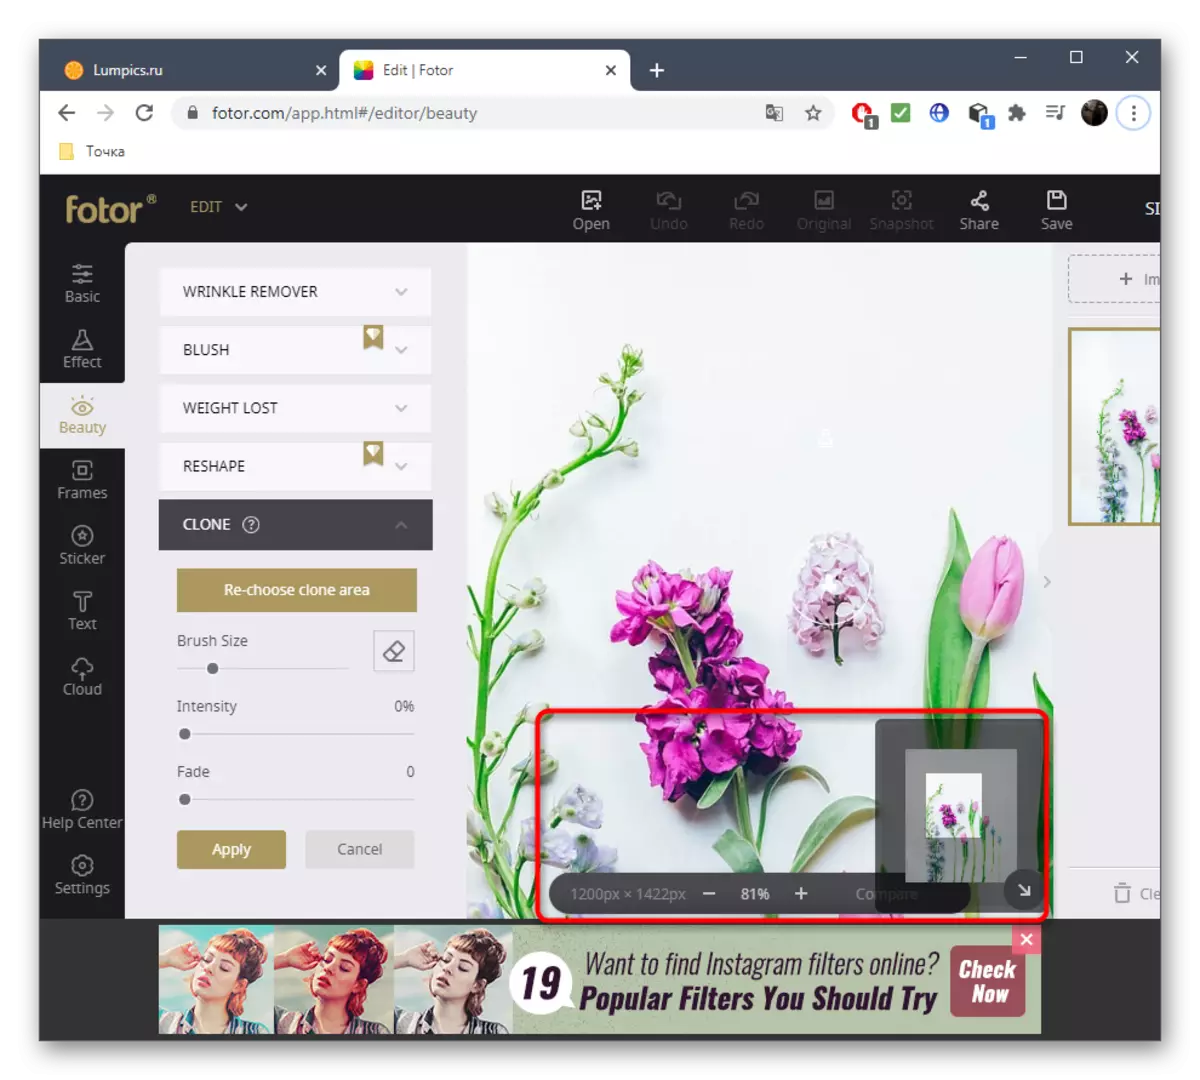
- Click on the space that will replace the object being removed, thereby indicating it as a source.
- Use the bottom panel to adjust the scaling, because it will be much easier to wear the desired area.
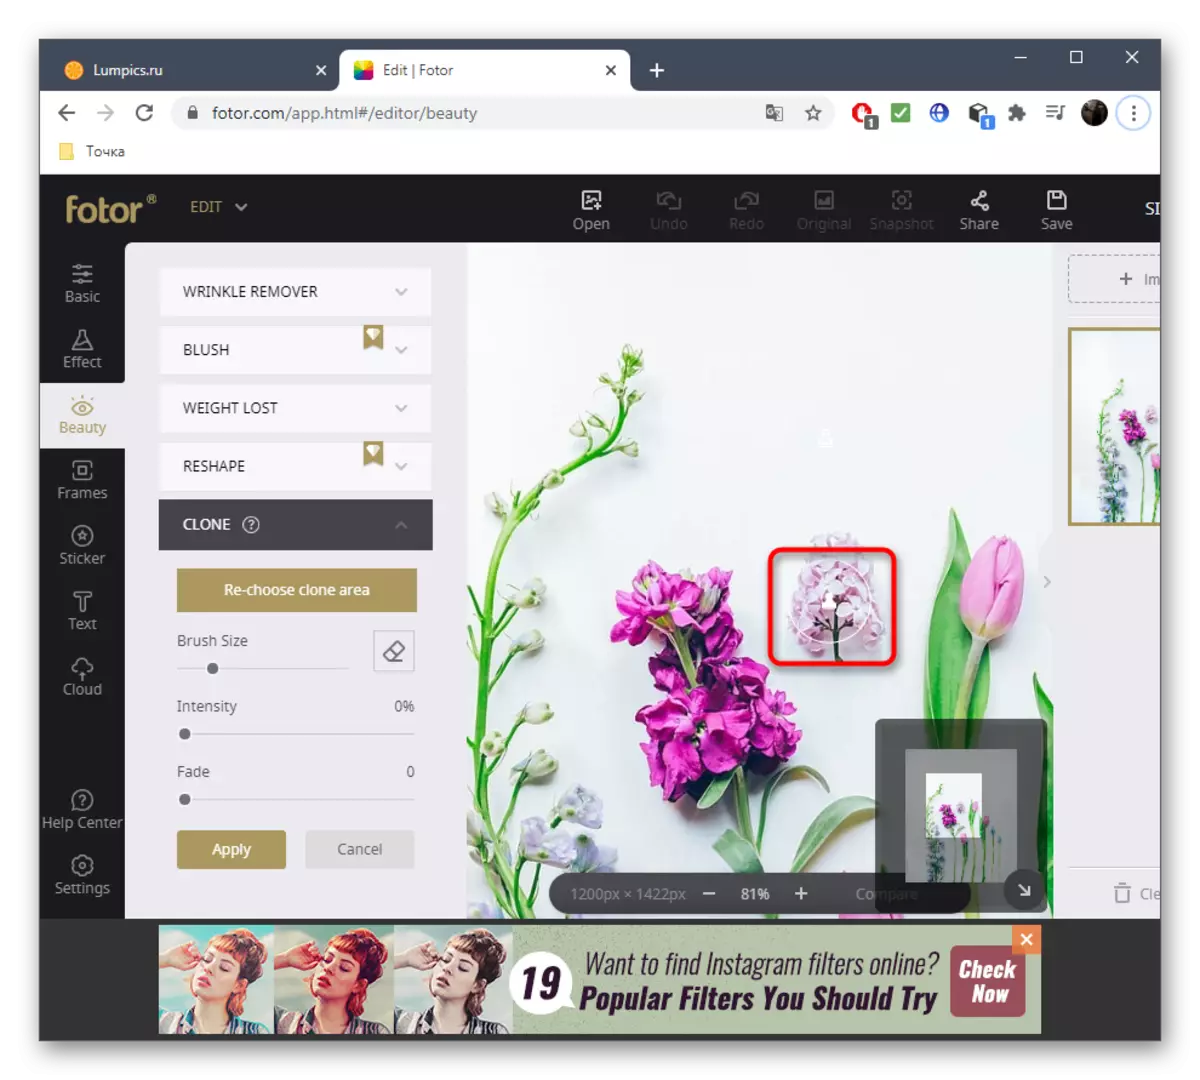
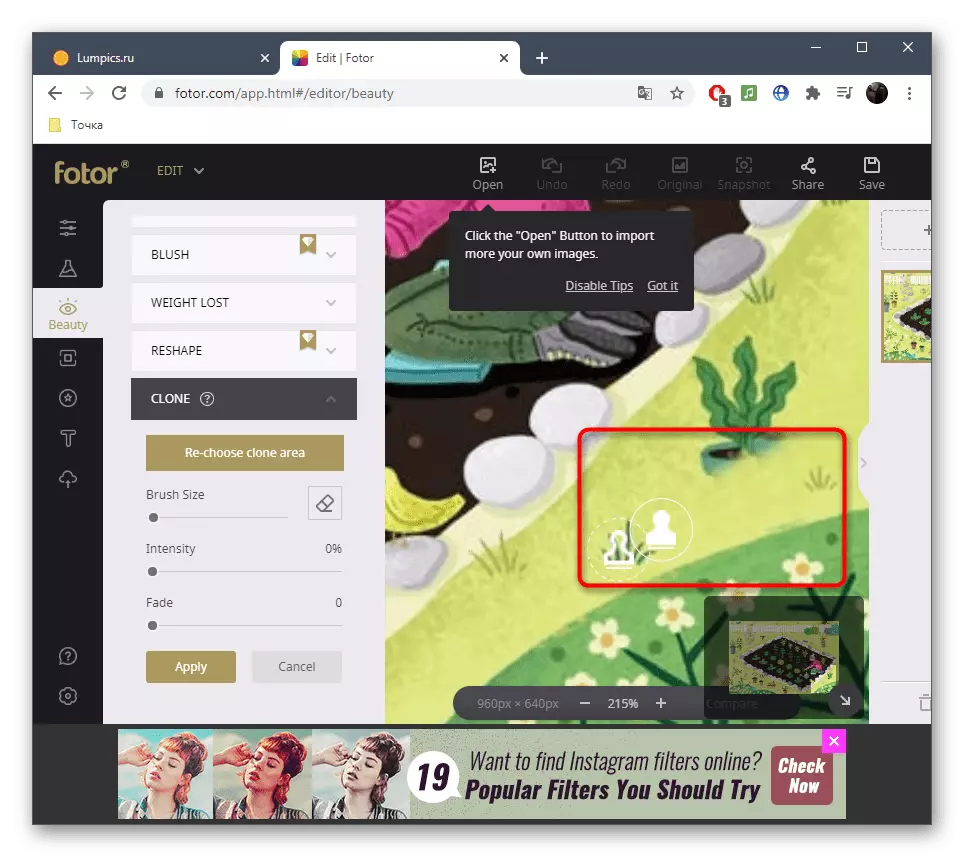
- Now with the help of a stamp, start deleting too much.
- Keep track of progress, do not miss any details that must be erased.
- When working with an object, which is located next to other or on a complex background, first clone one part of the image.
- Then re-specify a new source using the tool settings and erase the rest.
- The result of such deletion you see in the screenshot below.
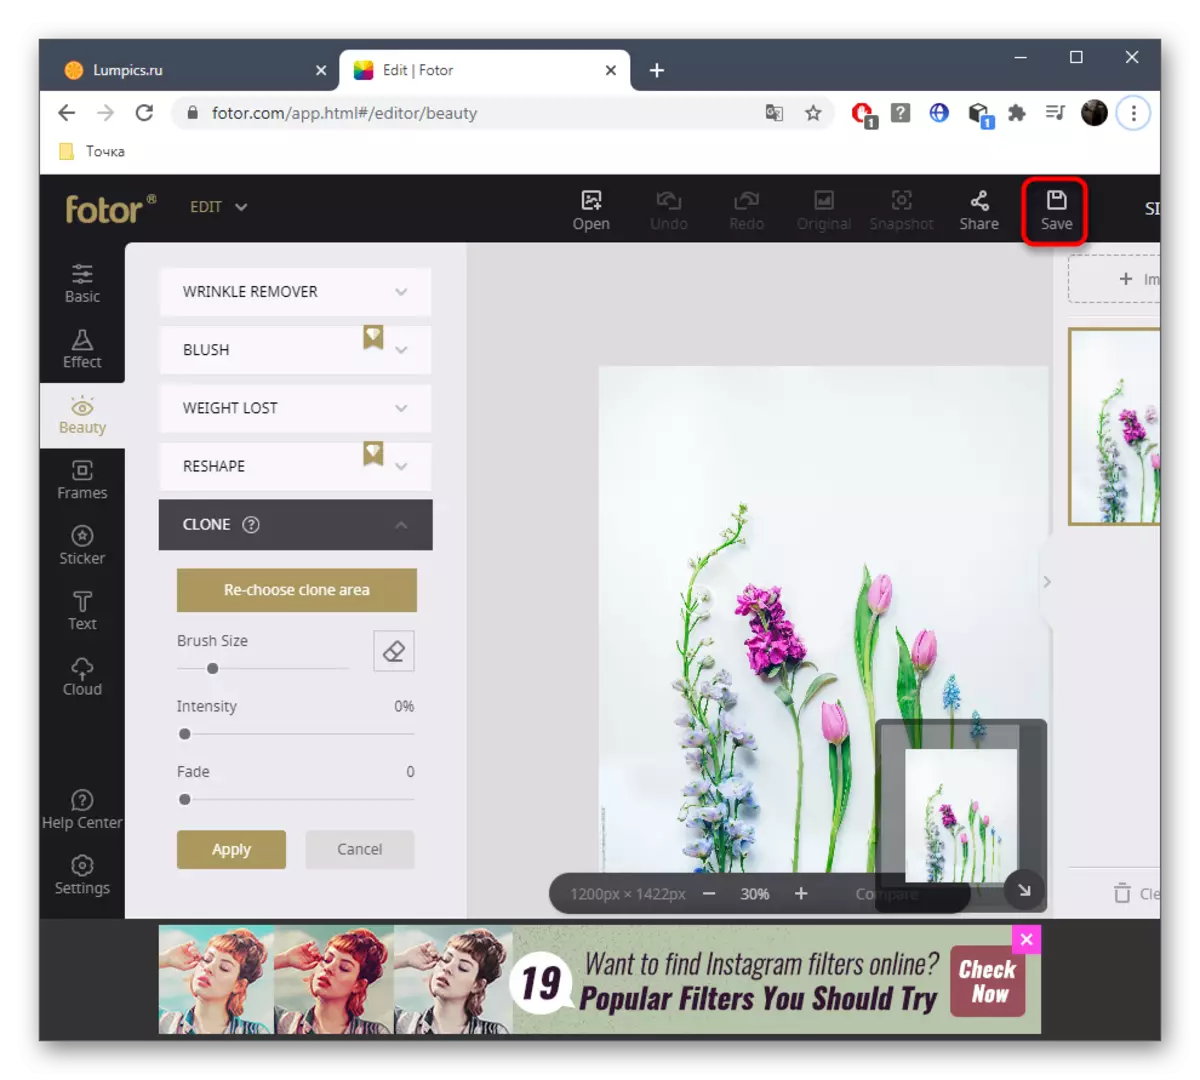
- Once work with the image is completed, click the "Save" button.
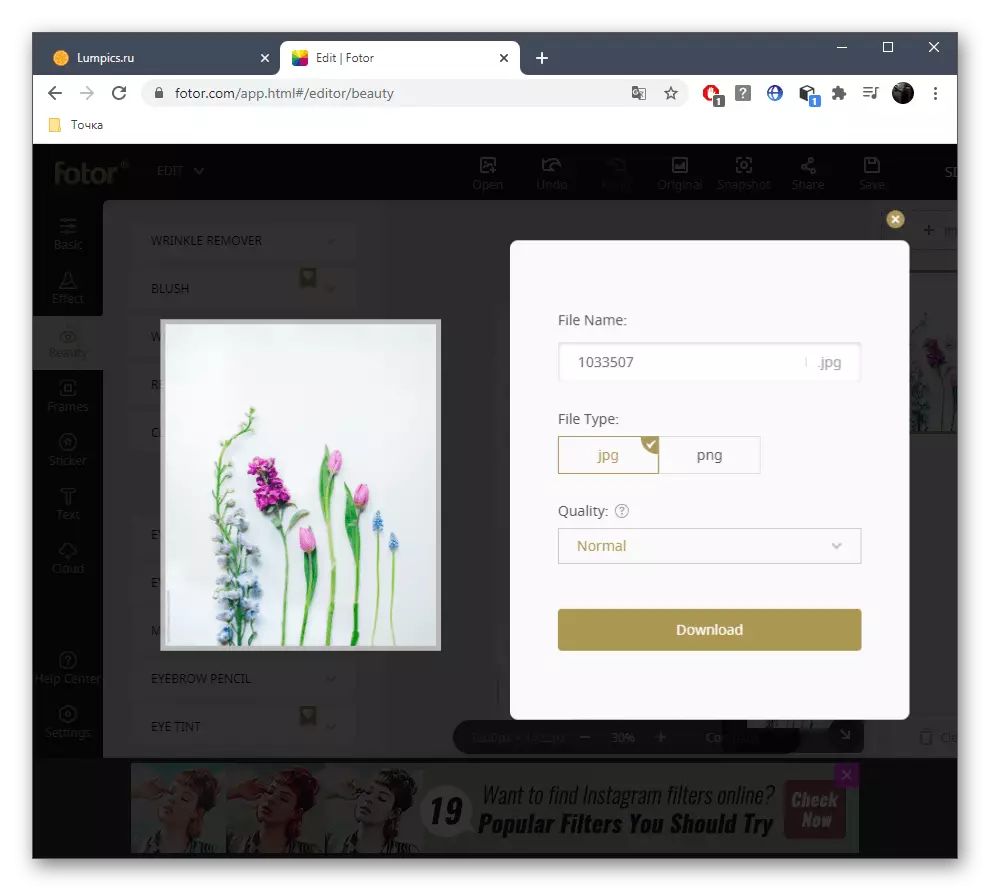
- Select the file format and set the name to save.