
Turn on stereoomiker
The procedure for including the desired device is very simple, follow these steps:
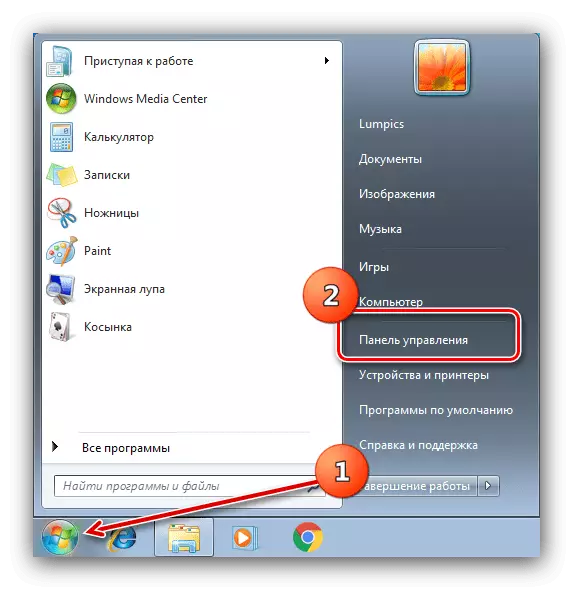
- Open the "Start" and click on the "Control Panel" item.
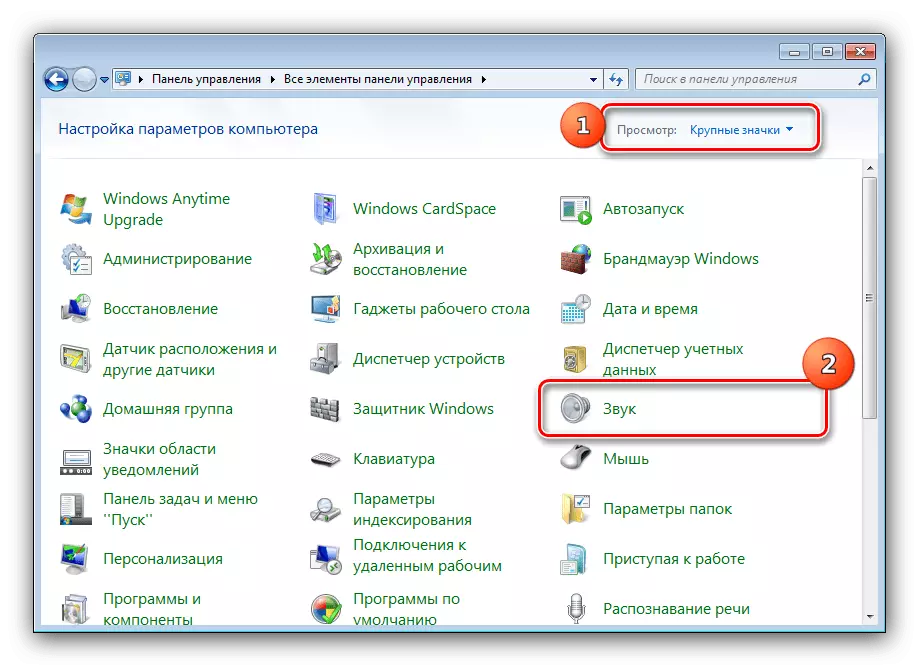
- Displays the contents to switch to "Large icons" mode, after which you find the "Sound" item and go to it.
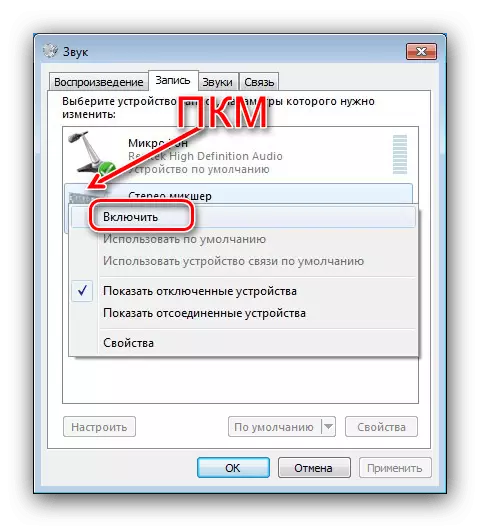
- In the Device window, use the Record tab.
- Mouse over to an empty space and click on the right mouse button - the menu will appear in which the "Show disabled devices" options and "show disconnected devices" appears.
- The stereo player should appear in the list - click on the PCM on it and select "Enable".


Now the device will be enabled and ready for work.
StereoOmiker is missing in the "Record" list
In some cases, users face that even after the execution of the above-described actions among disabled and disconnected devices, the stereomyker is absent. Consider the methods of eliminating this problem.Method 1: List Update
In some computers (in particular, with a seriously modified OS), to appear disabled devices on the "Record" tab, you need to pre-update the equipment configuration in the Device Manager.
- Click the Win + R key combination, then enter the DevmGMT.msc query window and click OK.
- After starting the "Device Manager", use the "Action" items to "update the hardware configuration".
- Close the snap and follow the stereo player instruction.


If these measures have not arisen, use the following solutions.
Method 2: Reinstalling sound card drivers
Problems with the mapping of stereoomyker often occur due to failures in the service software for a sound card, so to eliminate them, this software will need to be removed and installed again. Use the instructions from the articles to further solve this task.Read more:
How to remove drivers
Installing Drivers for Sound Chip Realtek
Method 3: Installing third-party software
Some sound cards do not support the option under consideration, so it is not in the recording tools. But it is not necessary to immediately run to the store and buy new components with the support of the desired function - to replace the built-in stereo player can program for emulation. As such, we will use VB-Cable Virtual Audio Device
Download VB-Cable Virtual Audio Device from the official site
- Load the archive with the driver to the computer and unpack it.
- Go to the folder with unpacked data - there must be two executable files with the names "VBCable_Setup" and "VBCable_Setup_x64", for x86 and x64 systems, respectively. Choose the one that corresponds to the editorial board of your "seven", then click on it by PCM and use the option "Run from the administrator name".
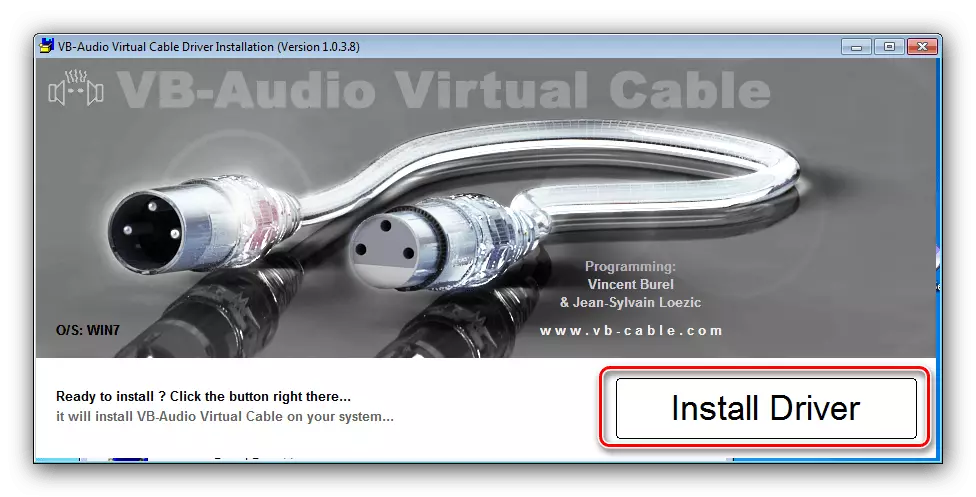
- Installation tool will start, click on the "Install Driver".
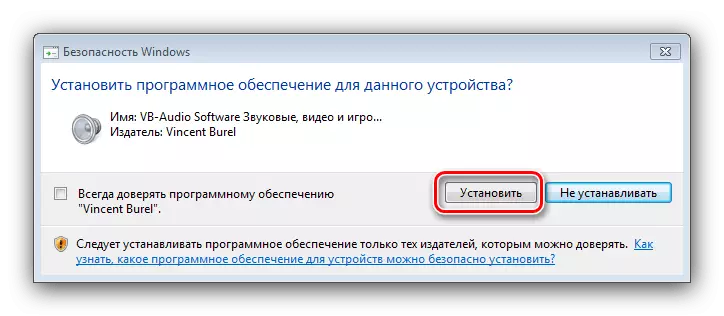
In the system message, click "Set".
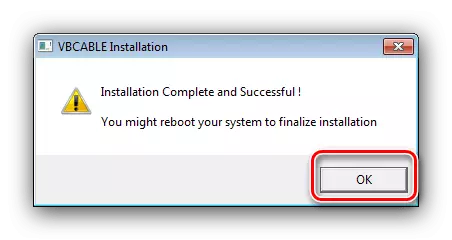
- When the procedure is completed, click "OK", then close all open programs and restart the computer.
- Now, when executing instructions for turning on the stereoisker on the Record tab, you will see the appropriate emulated device.


This solution, despite all the convenience, can not be called full: the virtual stereoisker is not one hundred percent replacement to the present.