

Please note that in most cases, if we are talking about working in Skype for business on the office in the office, registration is not required, since the authorization provides the system administrator. Specify this information from it, and in that situation when the profile creation is really needed, go to the following methods.
Method 1: Existing Microsoft Record
This method is relevant for those users who already have the created Microsoft account connected to Windows and suitable for purchasing Office's package, since only the full Skype functionality is available there. You will need to run the program and wait for the appearance of a welcoming window, which confirms the account. Make sure that it was detected correctly, and then just click "Next" to go to buy Office Package or immediately start using Skype for business.

Method 2: Account Creating
The second method that implies the further purchase of the Office package to gain access to the Skype business version functionality is to create a Microsoft account through the menu of the program itself.
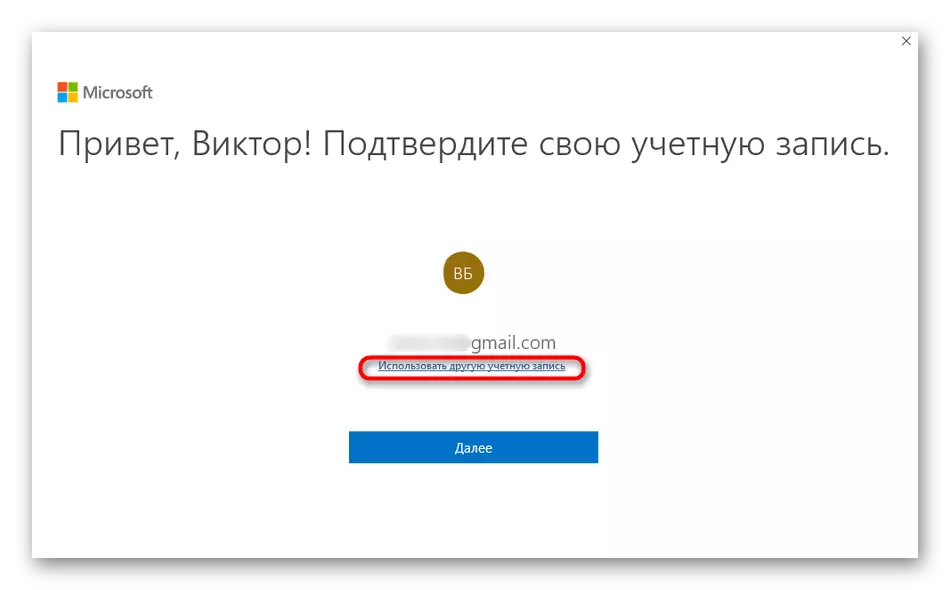
- Running Skype, wait for a welcoming window and click "Use another account". If the mail connection in Windows did not occur, the registration form will appear immediately.
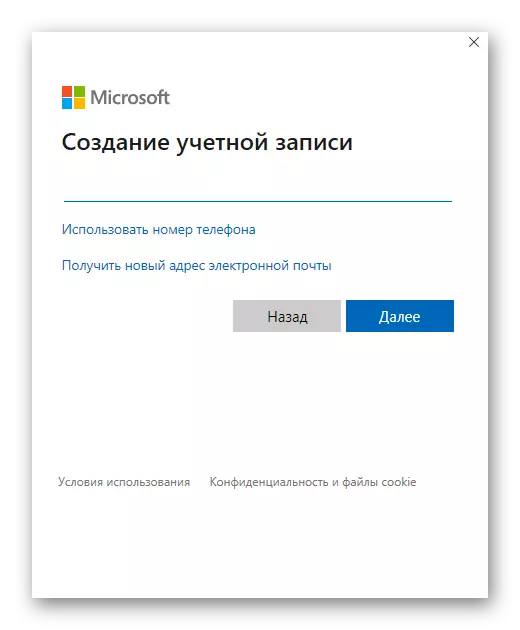
- After you need to click "Create an account", and from above you can familiarize yourself with the functions that you receive after passing the registration procedure.
- Enter an existing email address that will be tied to Microsoft, or use the phone number.
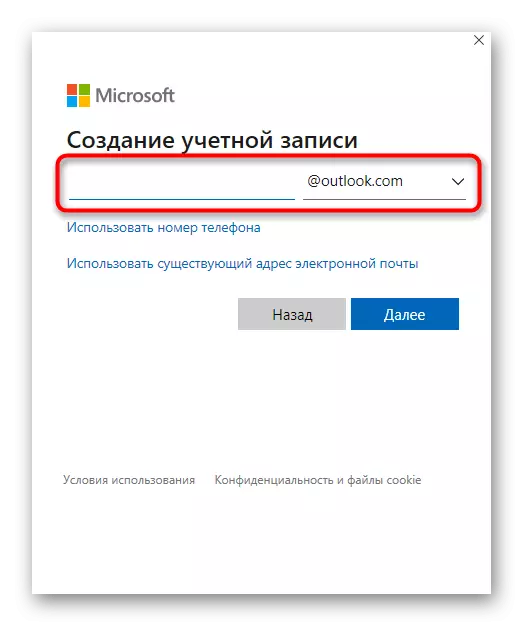
- Additionally, you can click "Get a new email address" to register it via Outlook.
- As soon as you think of mail name or specify the existing one, you can go to the next step where you enter the desired password.
- Specify your name that will be used with further interaction with Microsoft software.
- The last step is the choice of the country and enter the date of your birth.
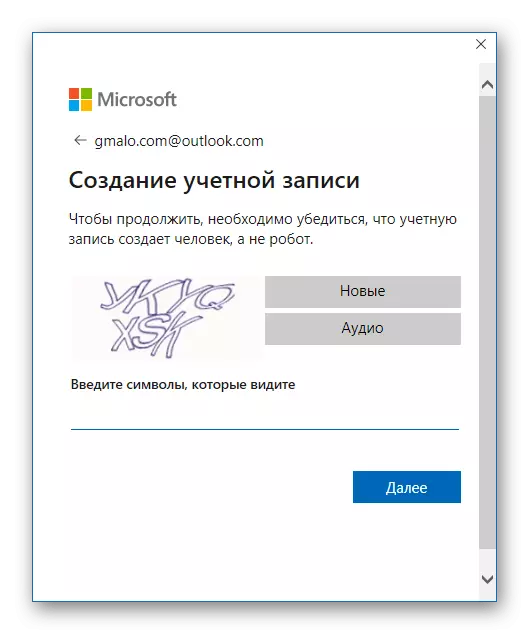
- Confirm the creation of a new account by entering the captchae displayed on the screen.
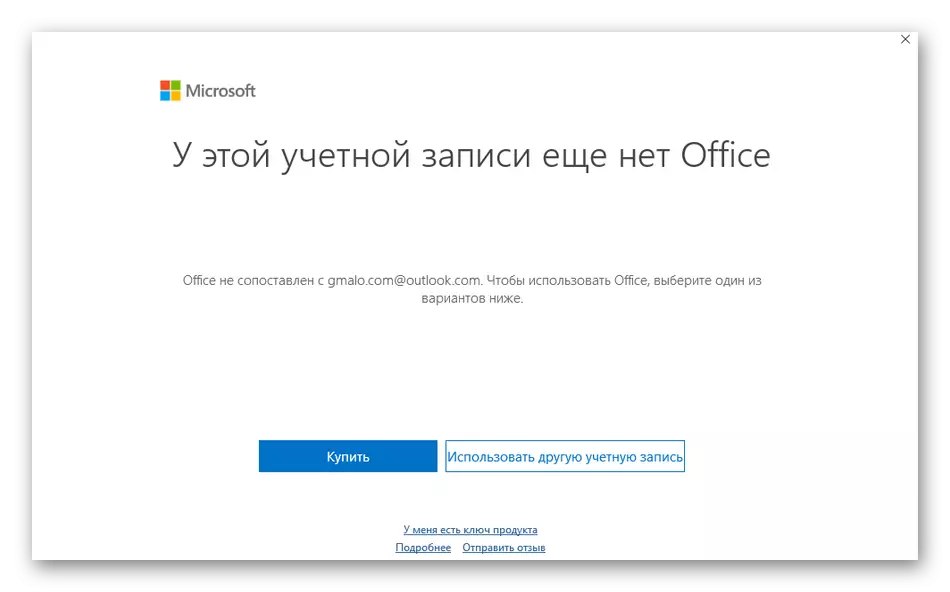
- You will be notified of the absence of Office at the account, so it will have to be purchased to access Skype for business.


Purchase the full version of Skype for business when using personal account is a mandatory step, since the free client is distributed only for corporate accounts, the logins to which invent the system administrator when deploying a program in a company or office.