
Step 1: Connecting Device
We divide this material to steps so that novice users it is easier to navigate in all the actions that need to be performed. At first it is worthwhile to connect the printer to the computer. Since now the most popular type of connection is wired, we will analyze it in a general example.
- Turn on the computer and wait for the operating system boot. Lay the power cable in the box with the printer, connect one side to the device itself, and insert the second into the outlet.
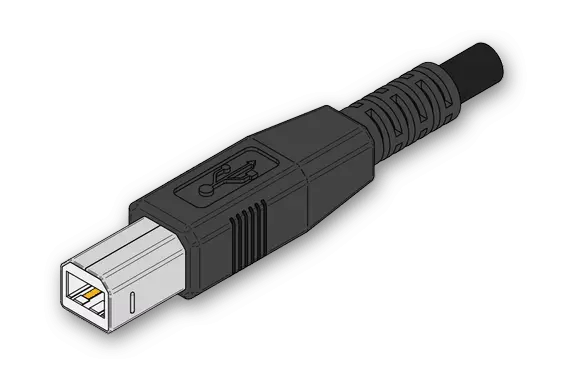
- In the same set, the USB-B format is most often located, the image of which you see in the following image. It must be connected to the printer, finding the corresponding connector from behind or on the side.
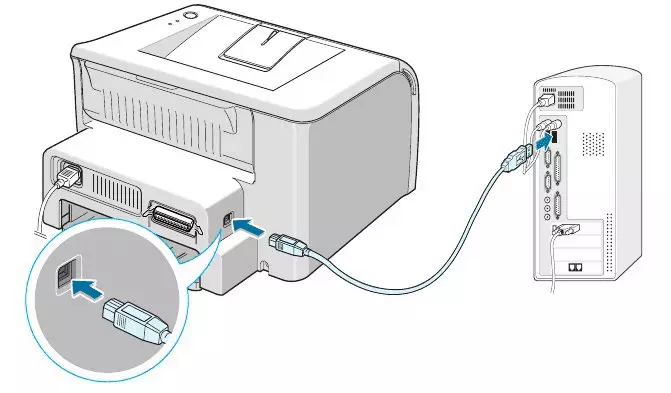
- The second side of such a cable has a normal USB output, which is inserted into the free port of the computer or laptop.
- In the case of stationary computers, it is better to use the USB connector located on the motherboard, and not the front panel, because sometimes it affects the signal transmission from the device.

As soon as this procedure is completed, turn on the printer by pressing the button specifically allotted for this. Wait until the device is displayed in the OS and go to the next step.
Step 2: Install Driver
There are different methods of installation of the driver for the printer in Windows 7. Often for this you have to use the manufacturer's official website, which is included in the Disc or third-party software. However, sometimes you can do the built-in tools of the OS, which we will consider further.
- Open the Start menu and go to "Devices and Printers" section.
- On the top panel, click on the "Printer Setup" button.
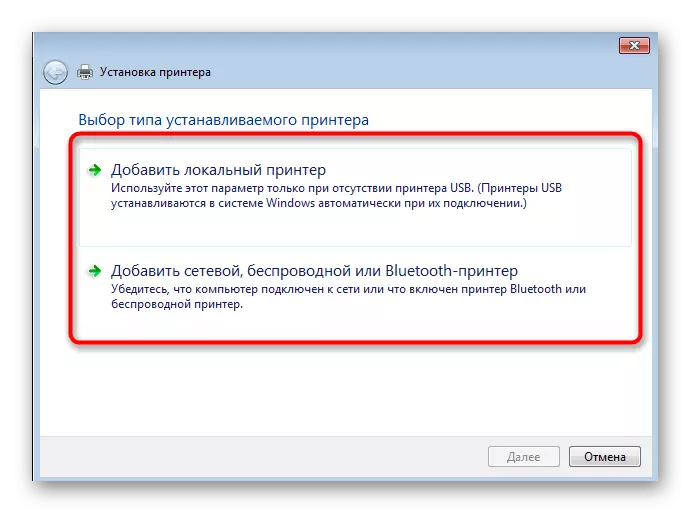
- In a new window, select the type of device connection. Most often we are talking about a USB printer, so specify the option "Add Local Printer".
- Use an existing port to connect without changing this parameter.
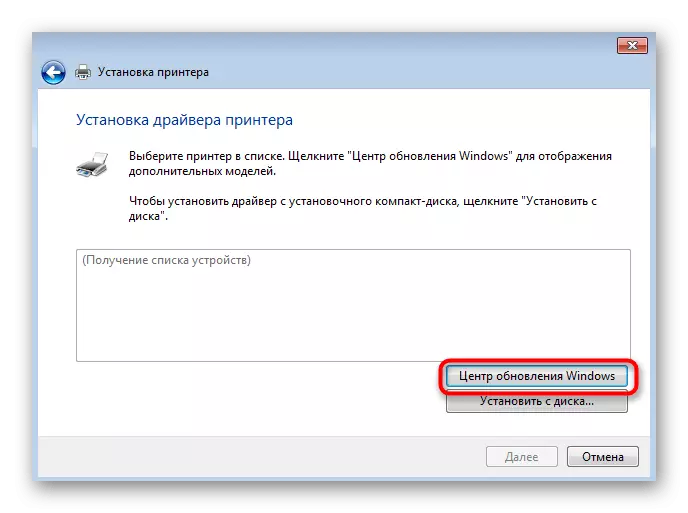
- Now it should be directly installed by drivers. If the list of devices is not received or there is no necessary model, click "Windows Update".
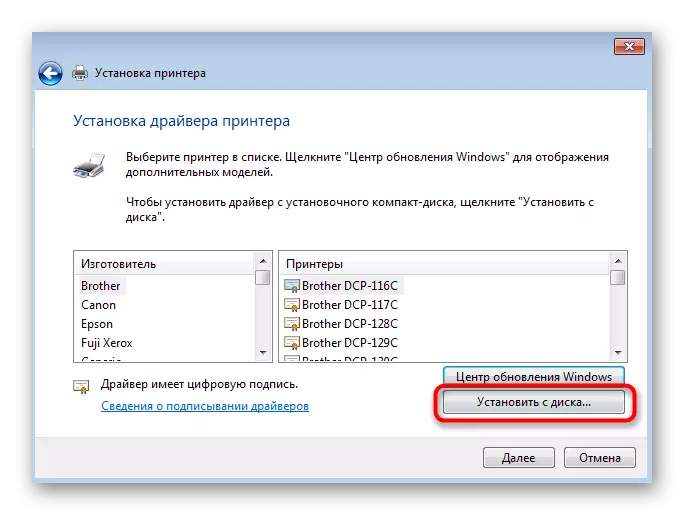
- Additionally, we note that instead you can click "Install from the disk", insert a corporate CD and install the software from it, for example, when there is no Internet connection or Windows cannot detect the driver.
- If you have selected the built-in method, in the list of manufacturers and models, find it up.
- It remains only to specify the name with which the equipment will be displayed in the operating system.
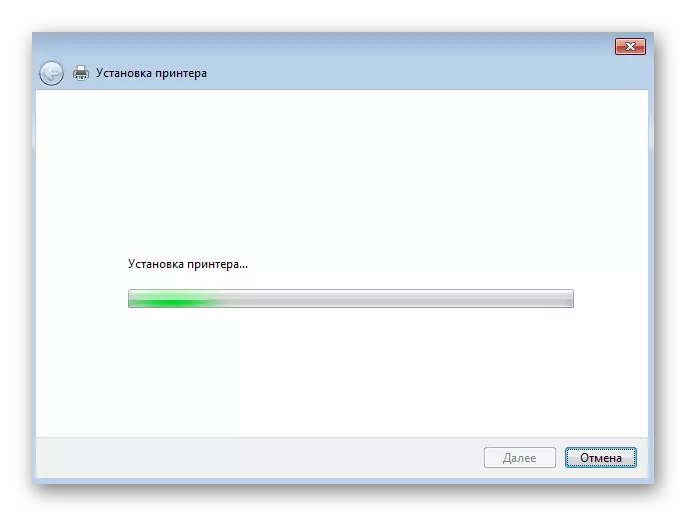
- Expect the end of the printer installation process, which is happening in parallel with the addition of the driver.
- Run the test page print to ensure that the device is correct.


If the considered option is not suitable, use the search on our site by entering the name of your printer model there. Most likely, you will find the deployed instruction in which you can familiarize yourself with all the available methods of installation of drivers and choose the appropriate.
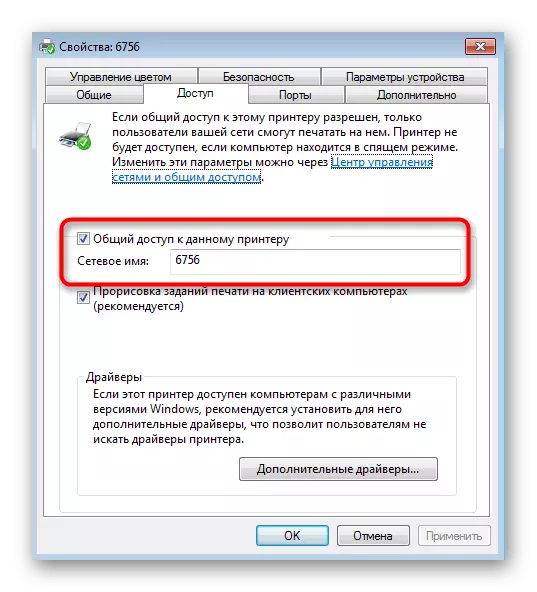
Step 3: Provision of shared access
Separate attention deserves setting up the general access for the printer, as this may be required to use the users who have a local network that connects several computers. Enabling shared access will allow you to print remotely without constant reconnecting device. Read more about the configuration procedure in a separate material on our website by reference below.
Read more: Connecting and configuring a printer for a local network
Once the sharing will be organized, each computer that is included in the local network will be required to add it as a network. Read about it in the next instruction from another our author.
Read more: Adding a printer for printing over the network
Step 4: Printer Calibration
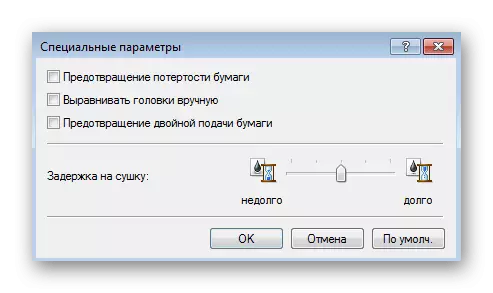
The last step of the installation is to calibrate the device and is made only in cases where some problems have appeared when printing a trial page, such as strips or crooked. Calibration is a whole set of procedures carried out by programmatically through the printer driver. There is nothing complicated in this - you only need to successively perform each action.
Read more: Proper printer calibration
Interaction with printer
As soon as the procedure will be completed, you can start working with printing equipment. Few informed users will be extremely useful to familiarize themselves with the individual instructions on our site, which are devoted to the analysis of the performance of a variety of tasks. In them you will learn how to configure documents of a different format for further printing.
See also:
Print books on the printer
Print photo 10 × 15 on the printer
Print photo 3 × 4 on the printer
How to print a page from the Internet on the printer
Over time, it will have to take care of the printer maintenance, because the paint has a property to end, sometimes a diaper is clogged or the print head clogs. For each of these cases, we also have guidelines that will be useful for beginners and those who have never come across the task of servicing the printing equipment.
See also:
Proper printer cleaning
How to insert a cartridge in the printer
Solving problems with print quality printer after refueling
Cleaning the printer head
Printer Cleaning Printer Cartridge