Method 1: Select another recovery point
Sometimes OS recovery problems are associated with a specific created point, which for some reason turns out to be non-working. If possible, try choosing another recovery point, for example, created at about the same time with non-working but automatically. To do this, follow the standard actions:
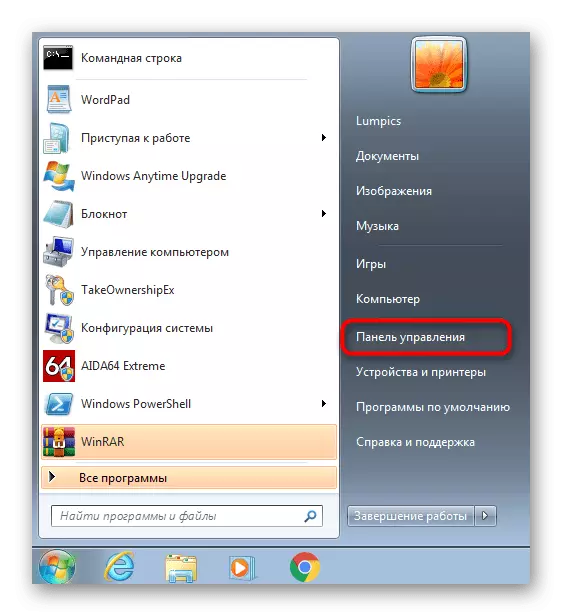
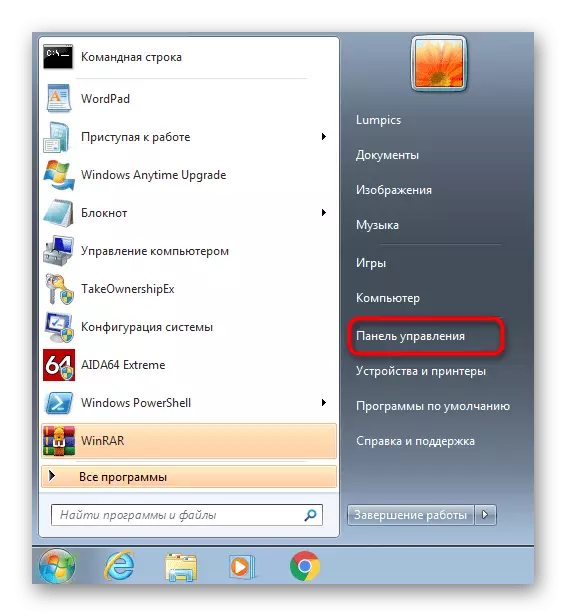
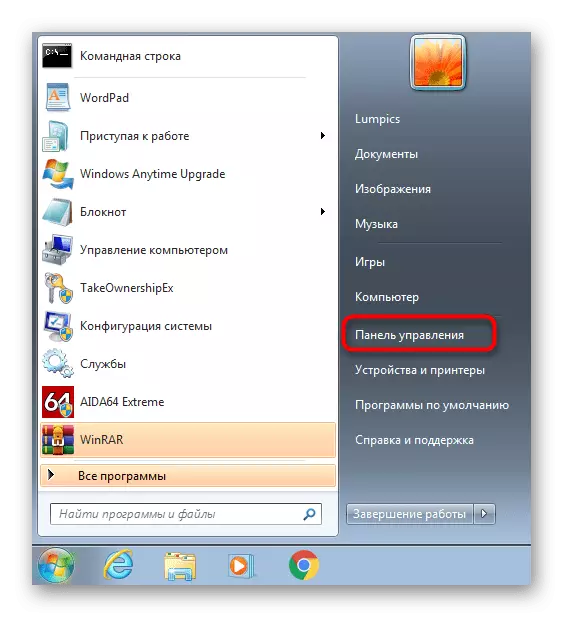
- Open the "Start" and go to the "Control Panel" menu.
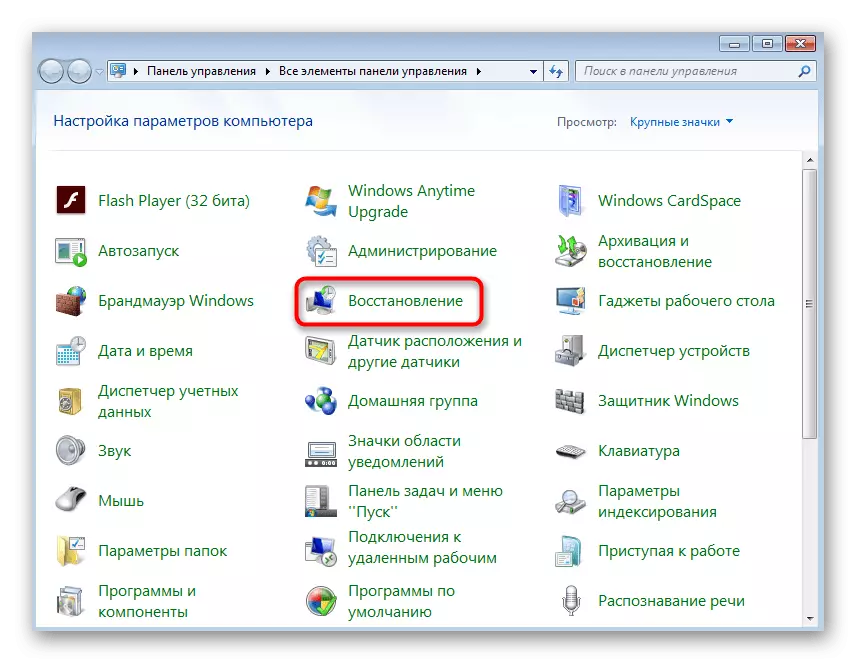
- There you are interested in the section "Restoring".
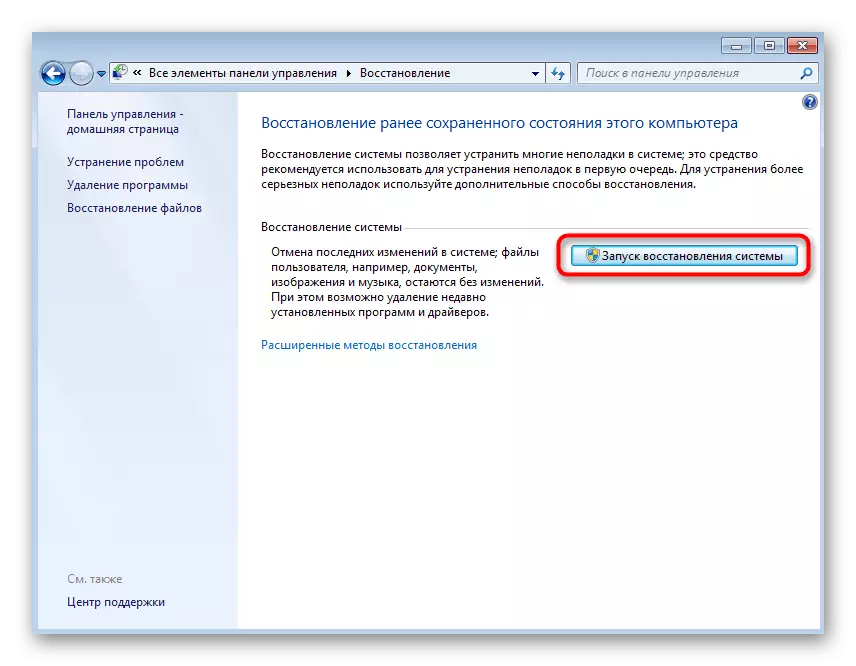
- Run the system recovery by clicking on the appropriate button.
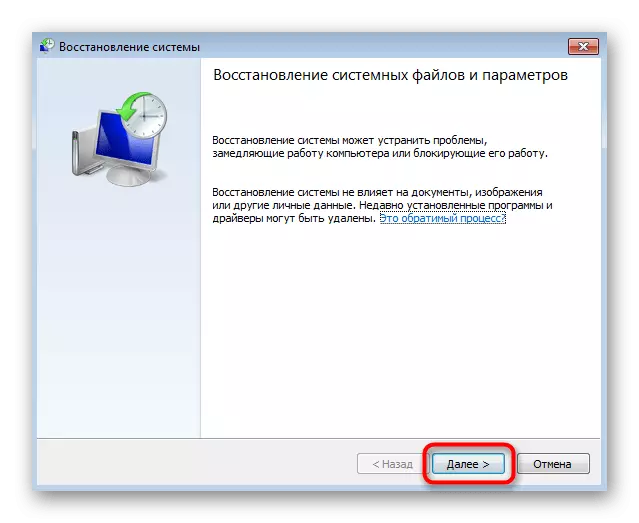
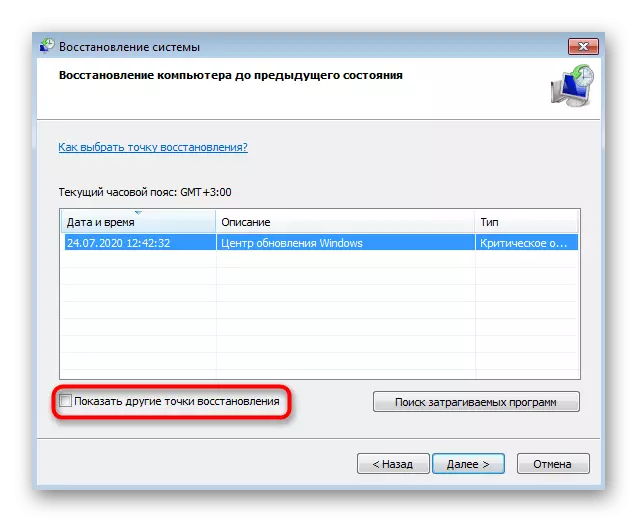
- In the wizard window that opens, immediately go to the next step.
- If the table is an insufficient number of points, activate the display of other points, and then select the appropriate option.
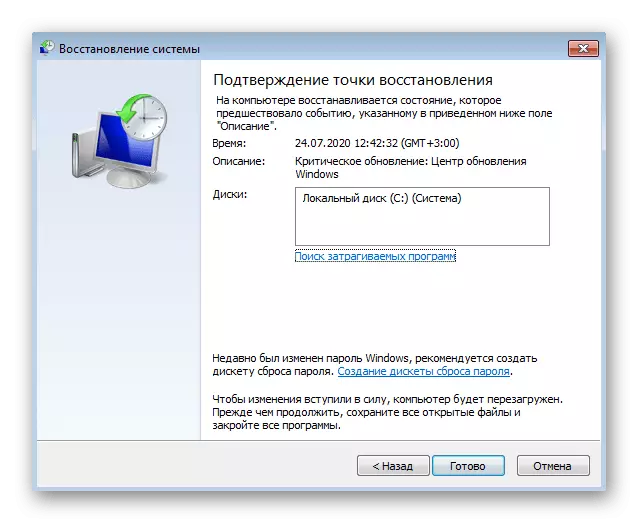
- Confirm the recovery and check if this process will be completed successfully.
If you failed to find a suitable point or the operation is still interrupted by any error or does not start at all, go to the following methods of this article.
Method 2: Temporary Disable Anti-Virus
Third-party antivirus, which operates in the Windows 7 operating system in active mode, can have a definite effect on its operation, affecting the recovery tool. If you have such software on a computer, it is recommended to disable it for a while, and then start a rollback to a specific version. Detailed instructions on this topic can be found in the article below.
Read more: How to turn off the antivirus

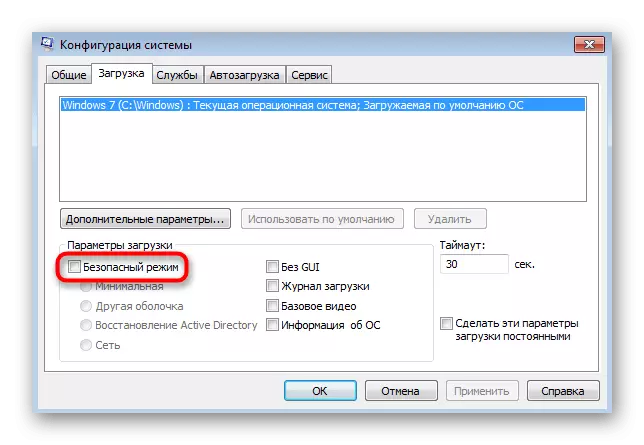
Method 3: Running Windows in Safe Mode
Sometimes a functioning third party or systemic software interferes with the normal launch of the recovery tool, stopping it during a rollback or even when interacting with the master. Then you can try to start the OS in safe mode and re-start recovery. How to run rollback to the previous version you already know, but with the transition to safe mode, we recommend reading in the next article.
Read more: Login to Secure Windows 7 mode
After a successful restoration, the computer must boot in normal mode, but if the process has completed the error, the start will occur in the same safe state. Before the transition to the following methods you will have to get out of this mode.
Read more: Exit the secure mode in Windows 7
Method 4: Restore system files
There is a possibility that errors when rollback to the recovery point are associated with problems in system files, so they are required to be updated. However, one of the services is checked before that.
- Open the "Start" and call the Control Panel menu.
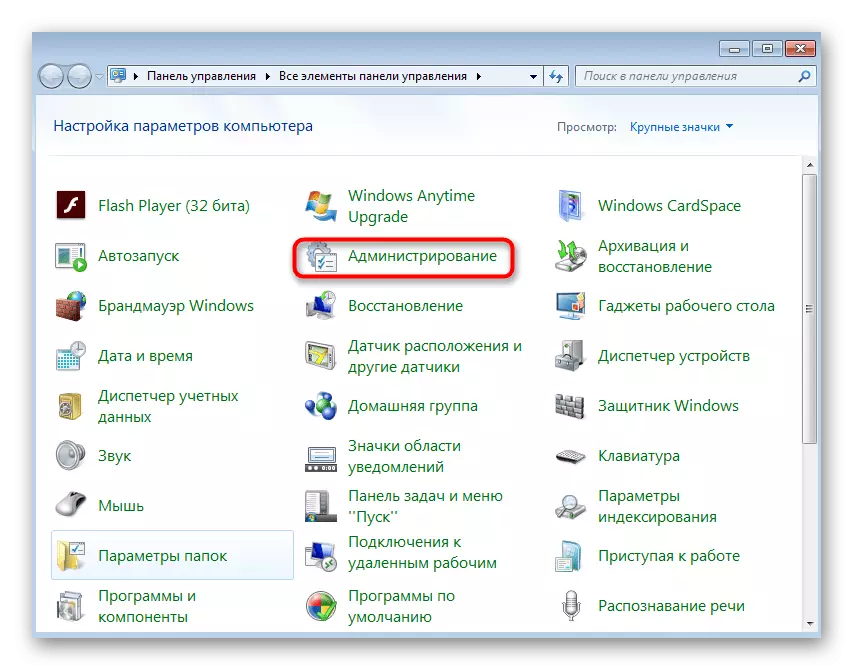
- In the window that appears, find the "Administration" string and click on it with the left mouse button.
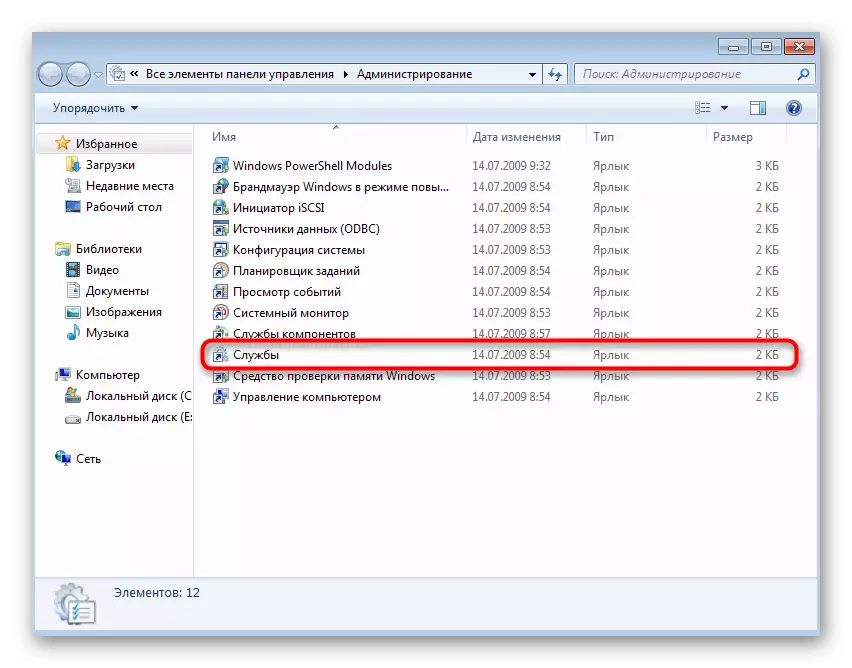
- Among the list of items, find and go to "Services".
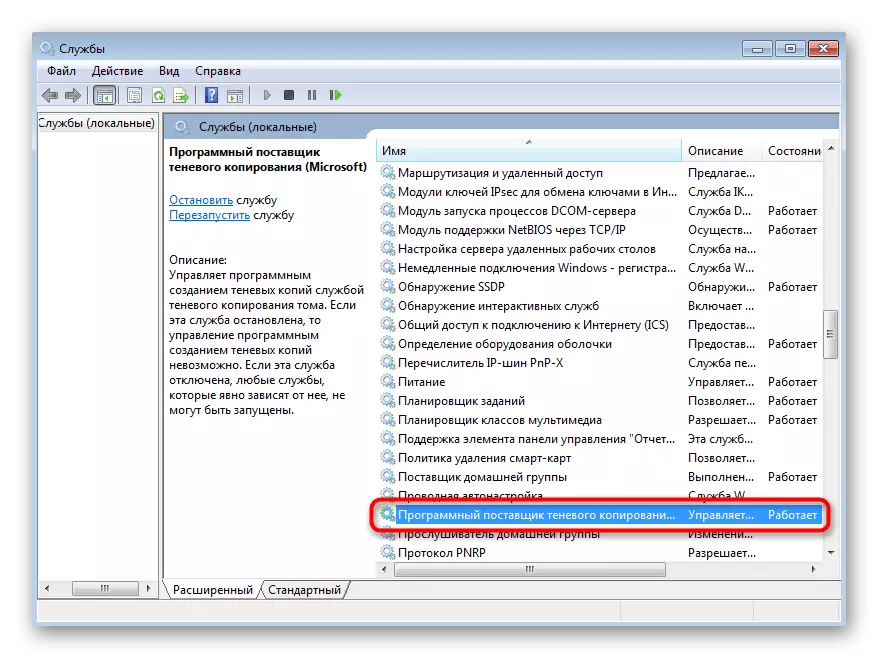
- Check out the list of services to find the "Shadow Copy Software Software." Double-click on this line to open the service properties.
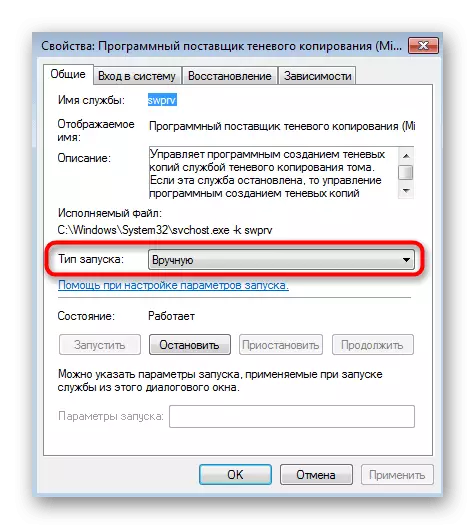
- Make sure that the startup type is set in the manual value. If necessary, change the status and apply the changes.
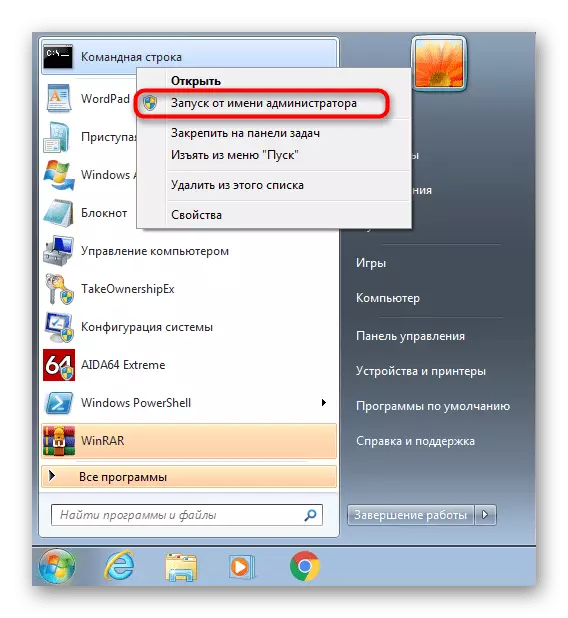
- Run the "Command Line" with the administrator rights in any convenient way, for example, finding the application in the "start".
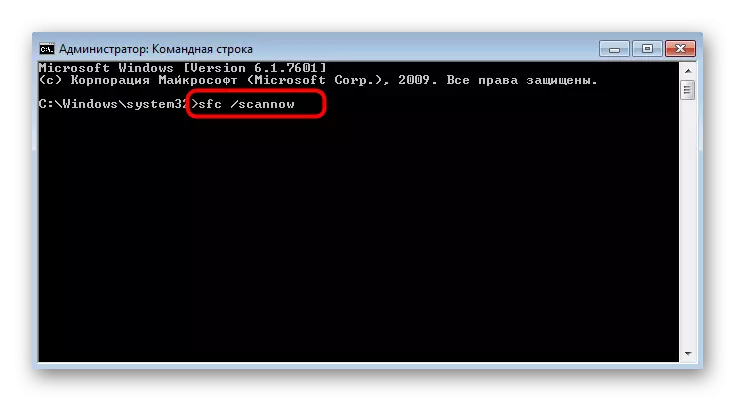
- Enter the SFC / SCANNOW command to start scanning system files. Confirm its click on the Enter key.
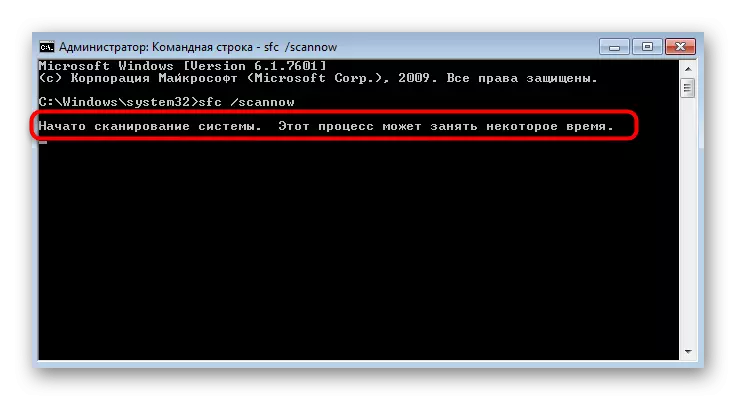
- You will be notified of the start of the scan. Do not close the current window before it is completed, after which the message appears whether errors were found.
Method 5: Verification of local group policies
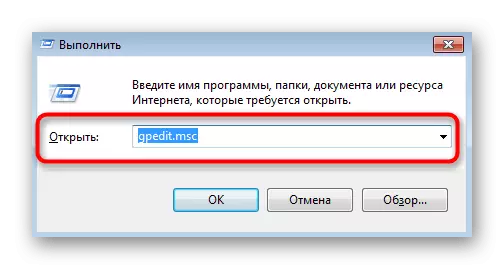
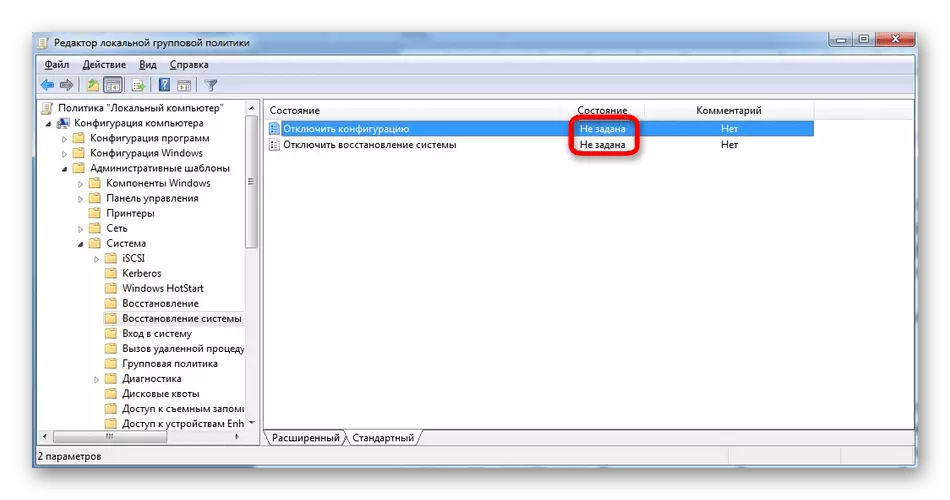
This method will not suit the owners of the versions of Windows 7 home basic / extended and initial, since there is no "Local Group Policy Editor". The owners of professional assemblies are advised to check the status of two parameters that may interfere with the launch of the recovery tools. To start, call this most editor through the "Run" utility (Win + R), where to enter in the GPedit.msc field and click on ENTER.
In the editor itself, go along the "Computer Configuration" path - "Administrative Templates" - "System" - "Restoring System" and find the strings "Disable configuration" and "Disable system recovery". Make sure that these two parameters are "not specified". If this is not so, double-click each of them and select the relevant item in the properties.
Method 6: Expanding the volume on HDD for recovery points
If the default for recovery points was allocated a few maximum disk space, most likely to use them will not work or they will not be created at all. In this case, it will be necessary to check this parameter manually and change it if it is necessary.
- Open the "Control Panel" again.
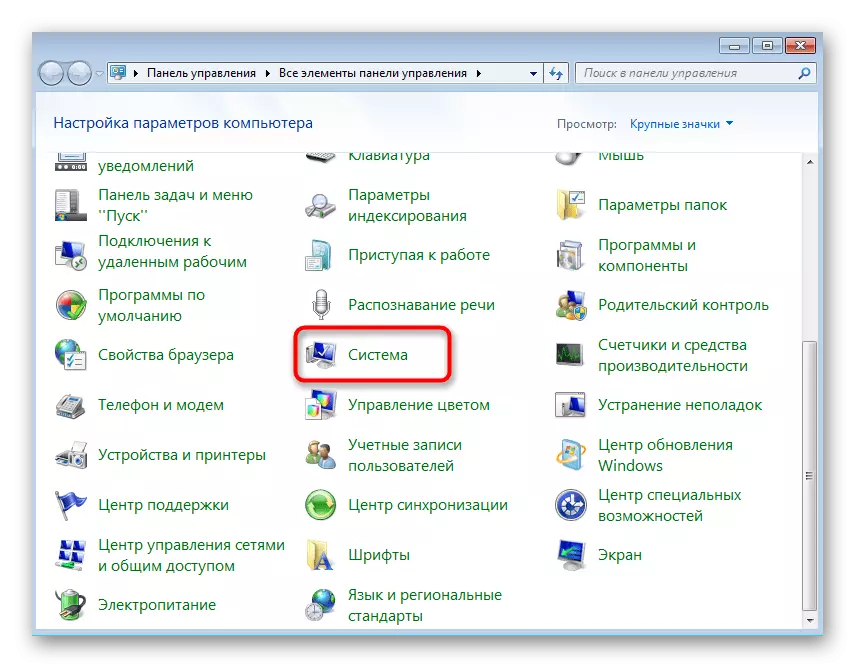
- This time, select "System" there.
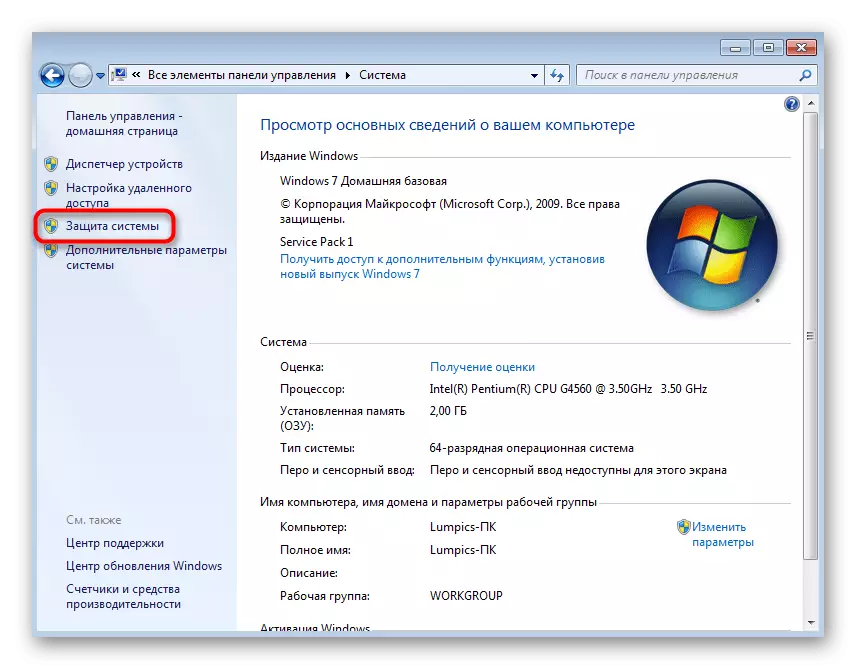
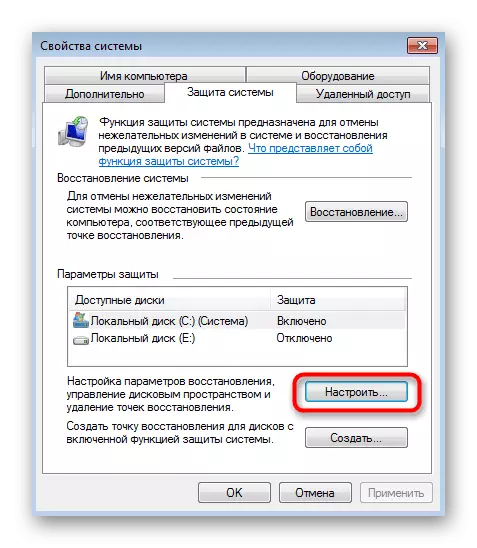
- Through the panel on the left switch to the "System Protection" section.
- In the window that appears, click on the "Configure" button.
- Drag the "Maximum Use" slider at least to a value of 4 gigabytes, and then apply the changes.
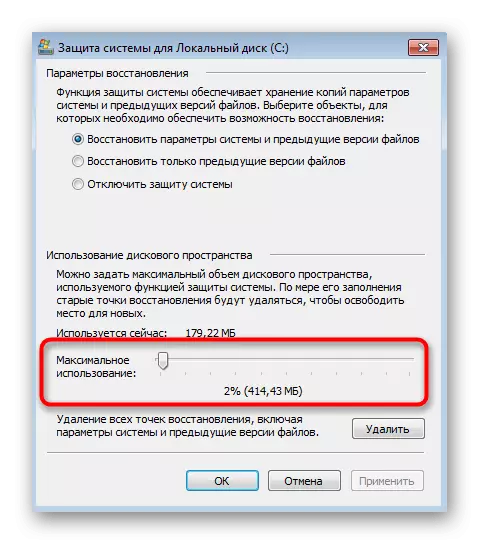
Finally, it is recommended to restart the computer so that all changes to accurately entered into force.
Method 7: Removing old recovery points
The latter method we want to talk about is associated with the removal of previous recovery points, so consider that in the future it will not work. Removal occurs in automatic mode, but first it must be launched.
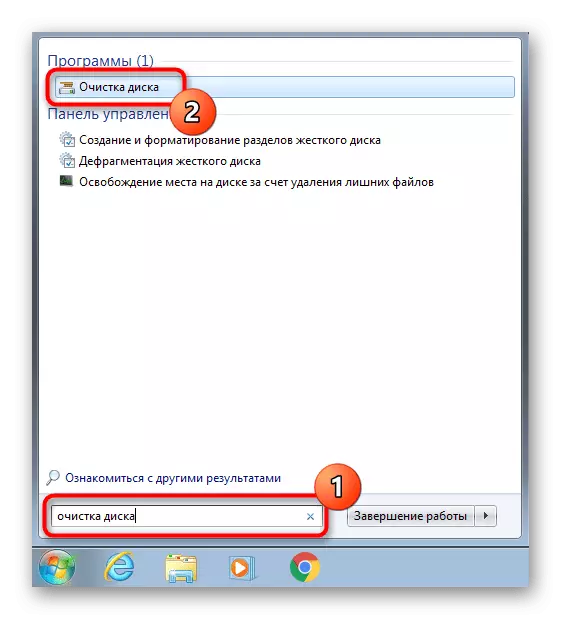
- To do this, via "Start" Find the program "Cleaning the disc" and open it.
- Select a disc partition where the recovery points are.
- Wait for the expiration of the volume of space, which may take a few minutes.
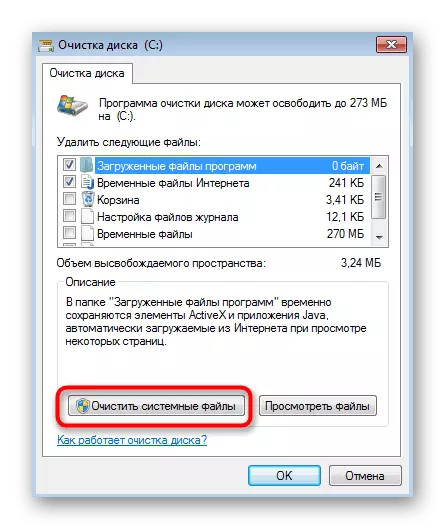
- In the cleaning window, click the "Clear System Files" button.
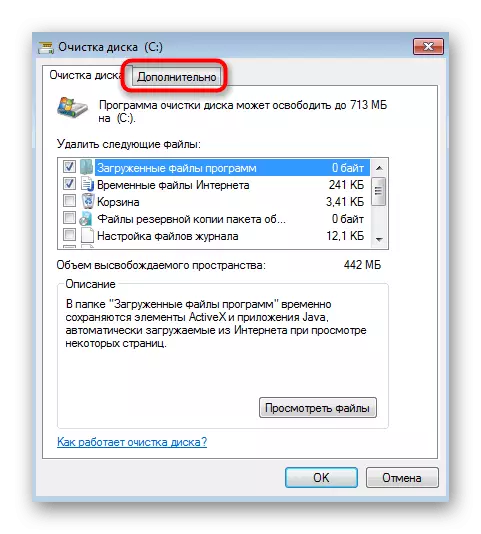
- Move to the "Advanced" tab.
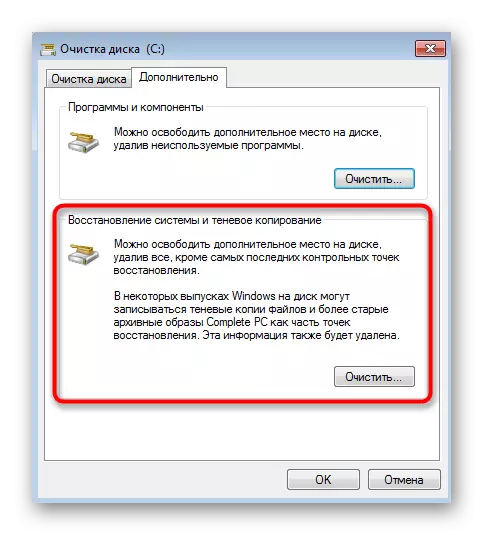
- There you need a block "Restoring system and shadow copying". Click on the "Clear" button.
- Confirm the deletion and expect until all the old recovery points are irrevocably erased, and then go to an attempt to return to the last saved.