

Note that the internet distribution on the router is not available for all network equipment, since problems may occur when configuring the router. It is important that it supports the client's operation mode, and also did not require additional WAN settings when connected. However, you can check it only directly during the interaction with the web interface.
Step 1: Enable Access Point on Smartphone
Configuring the router occurs after the access point is activated on the mobile device, so you first need to perform this task. To do this, on Android smartphone itself, make the following:
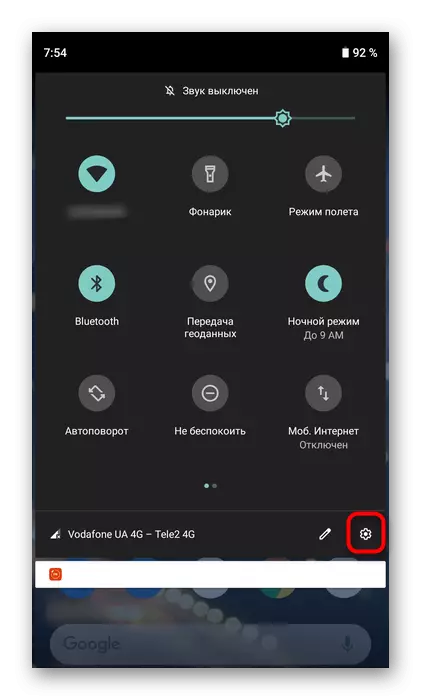
- Expand the notifications panel to go to the "Settings" section by clicking on the appropriate icon in the form of a gear.
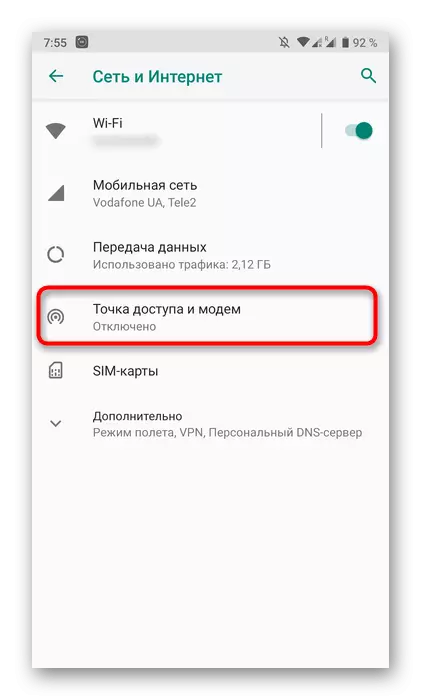
- There, select Menu called "Network and Internet".
- Open the category to set the access point and modem mode.
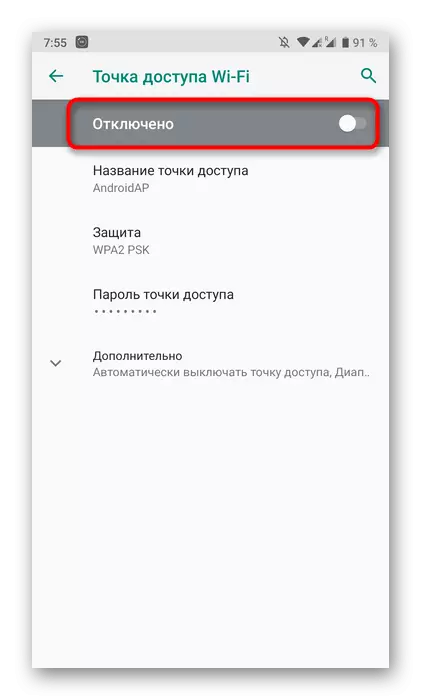
- It is interested in the "Access point Wi-Fi", which will be used to broadcast a wireless network or mobile Internet.
- For the inclusion of the access point, the special switch is responsible to be moved to the active state.
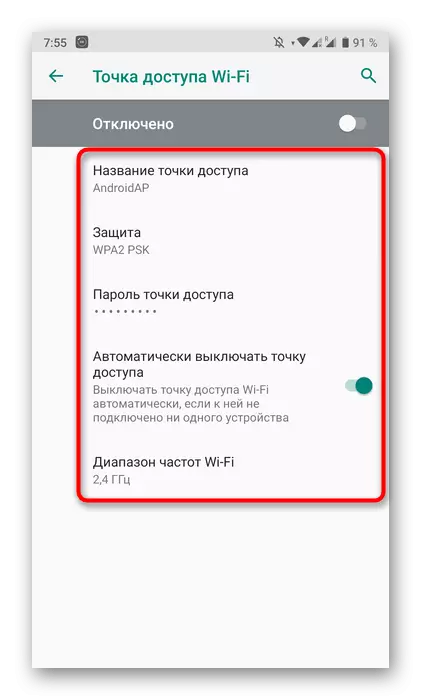
- Please note the additional settings where you change the name of the access point, set the appropriate password and just in case, disconnect the automatic shutdown so that when configuring the router did not have to reinstall this function on the smartphone.


Each Android or iOS device has its own characteristics on the inclusion of an Internet access point, as well as there are alternative methods for organizing such a transfer. If you have any problems with this operation or you are looking for alternative options for its implementation, check out other thematic articles on our website on the following links.
Read more:
Correct Android Access Point
Distribution Wi-Fi with Android devices
How to distribute Wi-Fi with iPhone
Step 2: Configuring the router
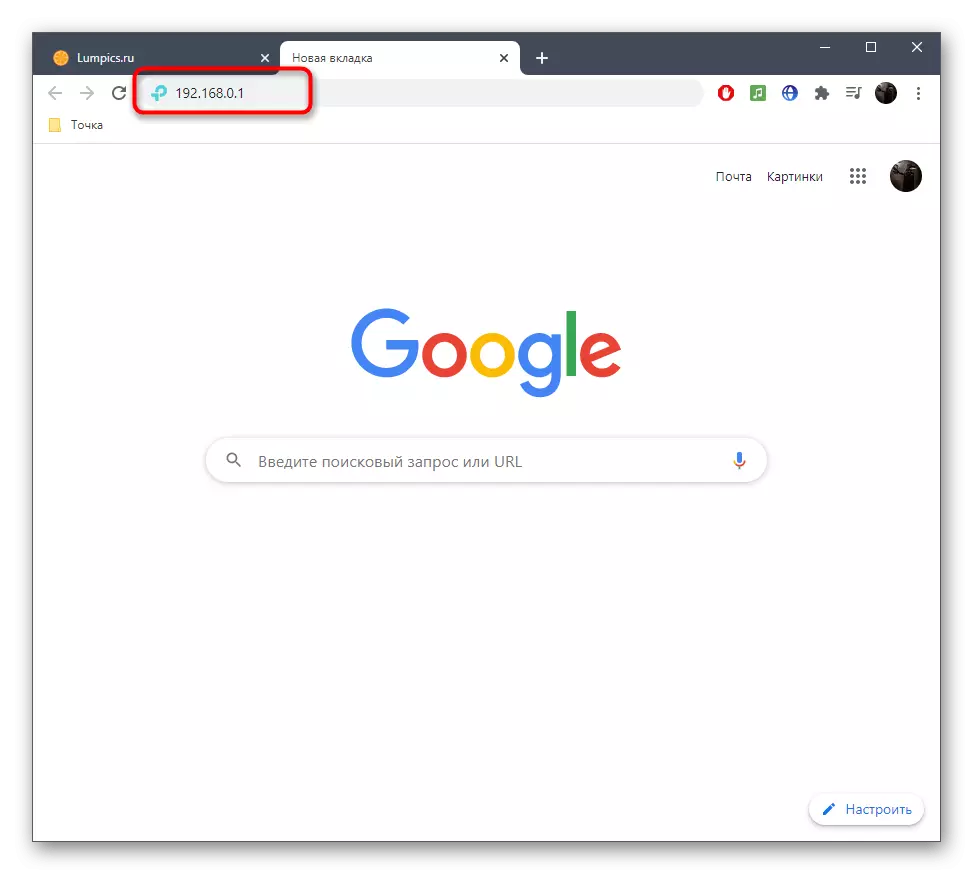
Go to the complex part of the problem under consideration, which is to configure the router. All actions are carried out in the web interface, therefore, regardless of the network equipment model, first of all, follow the authorization in this menu, read more detailed.
Read more: Login to router settings
We will analyze the configuration process itself on the example of router models from three different manufacturers, so that each user has formed a complete picture of what needs to be done in the web interface.
TP-LINK.
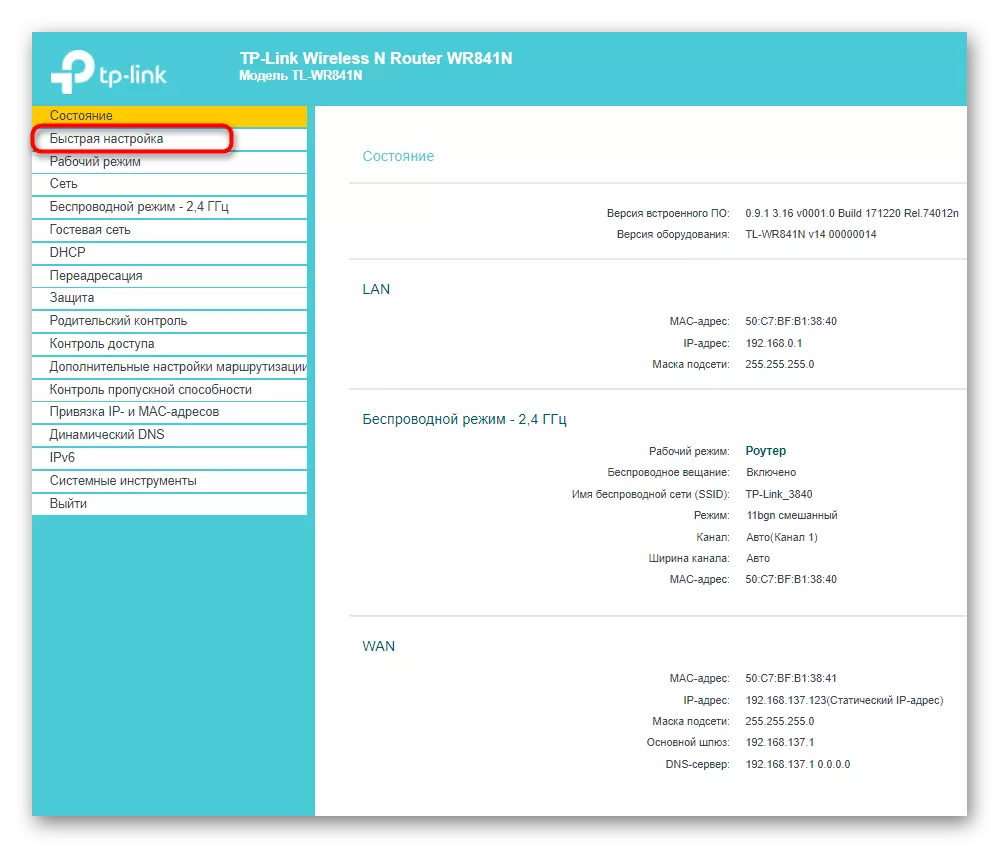
TP-LINK is one of the largest router manufacturers, the devices from which many users are acquired when connecting the Internet, so first consider this version of the web interface. Connecting to an existing access point occurs without any problems.
- Through the left panel, go to the "Fast Settings" section.
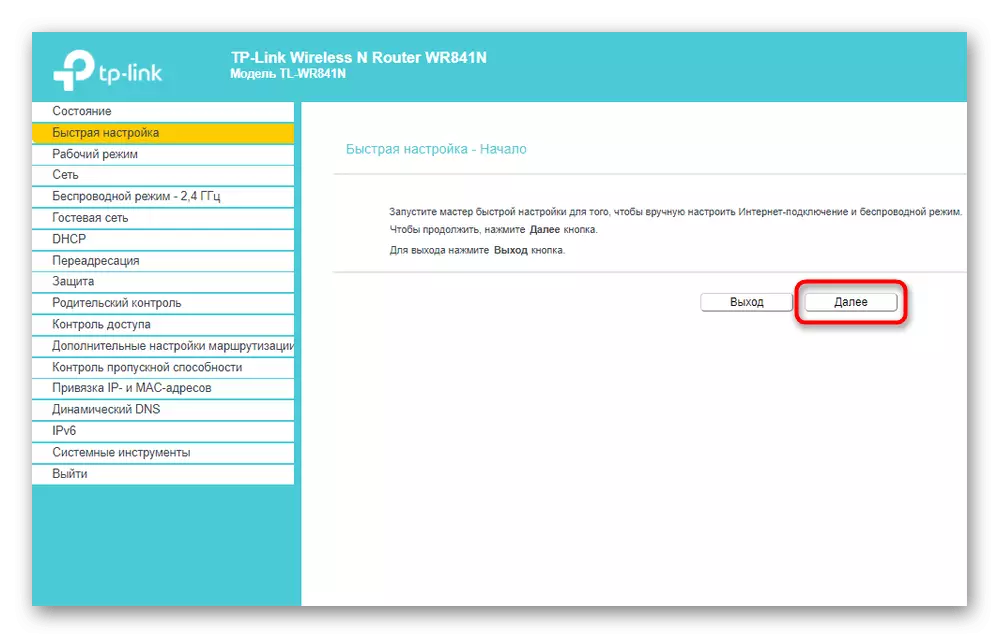
- Run the Quick Setup Wizard by clicking the "Next" button.
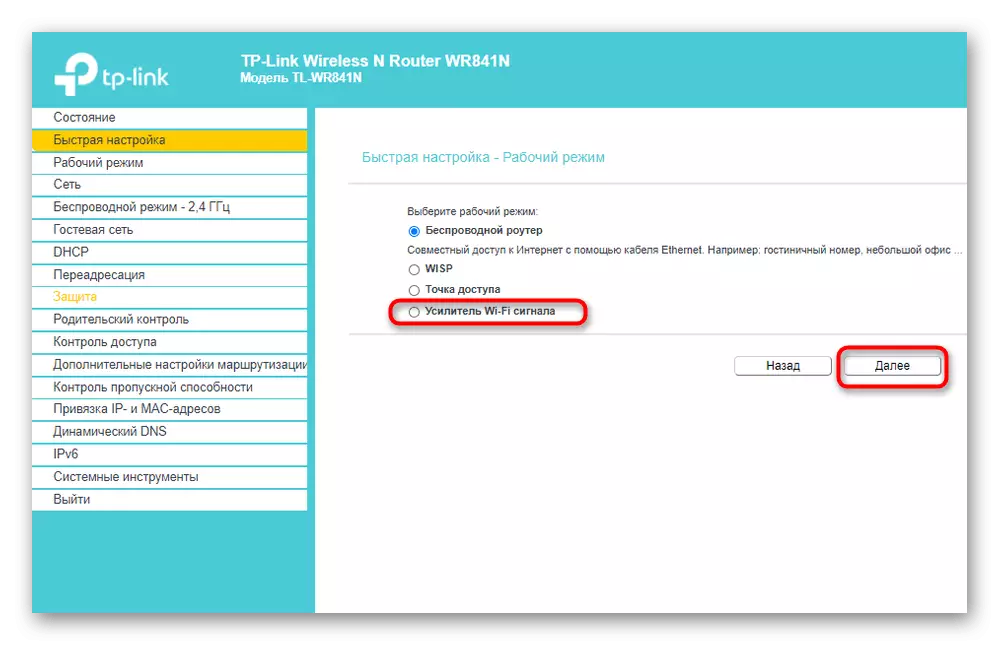
- As a working mode, specify the "Wi-Fi Amplifier", noting the relevant item marker.
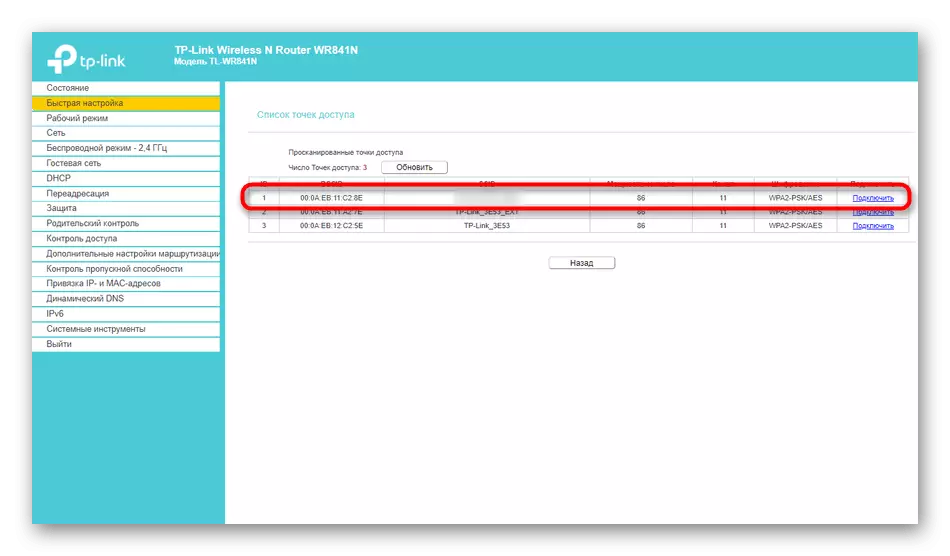
- From the list of available networks, select the one to which you want to connect. If necessary, click "Update" to start re-scanning networks.
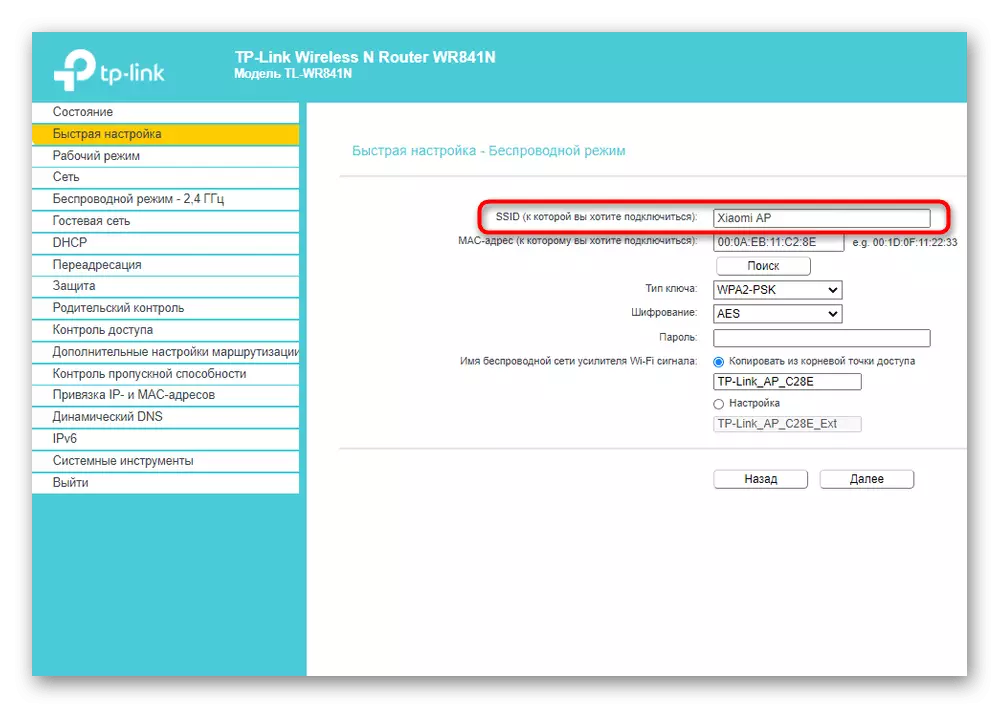
- Do not change the name of the wireless network and its MAC address, because these parameters go from a smartphone.
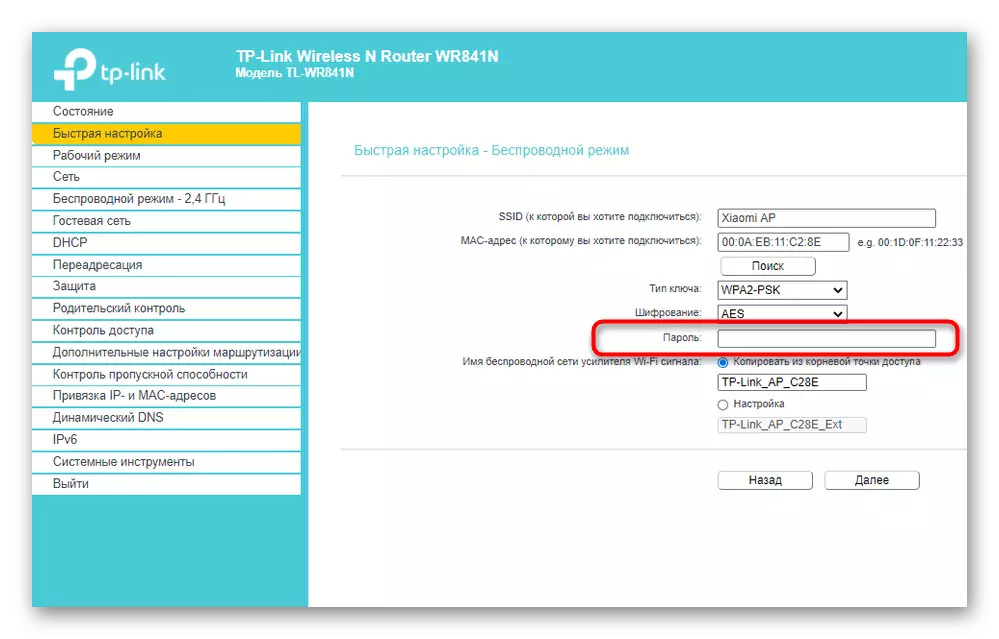
- However, it will be necessary to enter a password if the network has been protected by it when creating on a mobile device.
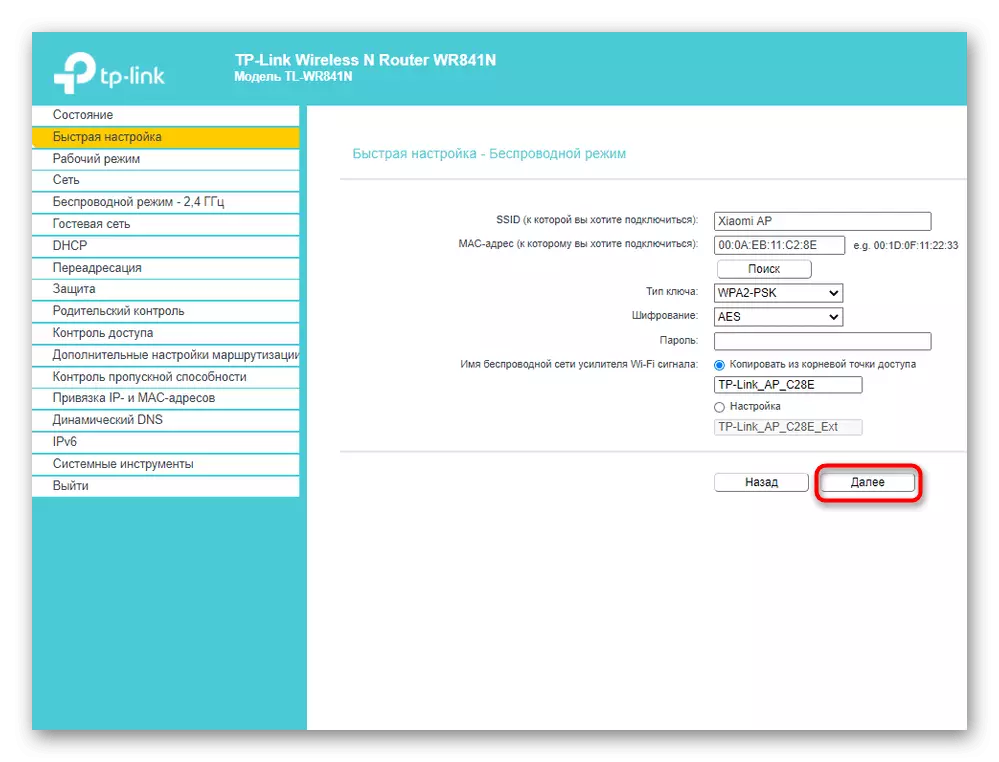
- Upon completion, click "Next" to confirm the connection.
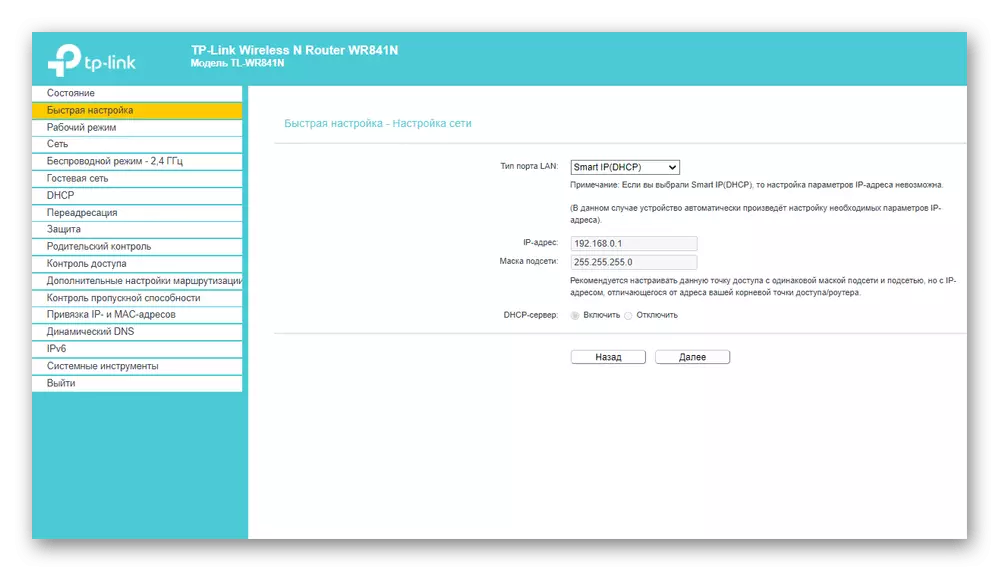
- Additionally, it is proposed to change the parameters of the local network, but it is better to leave the default values, since they will be suitable in most cases.
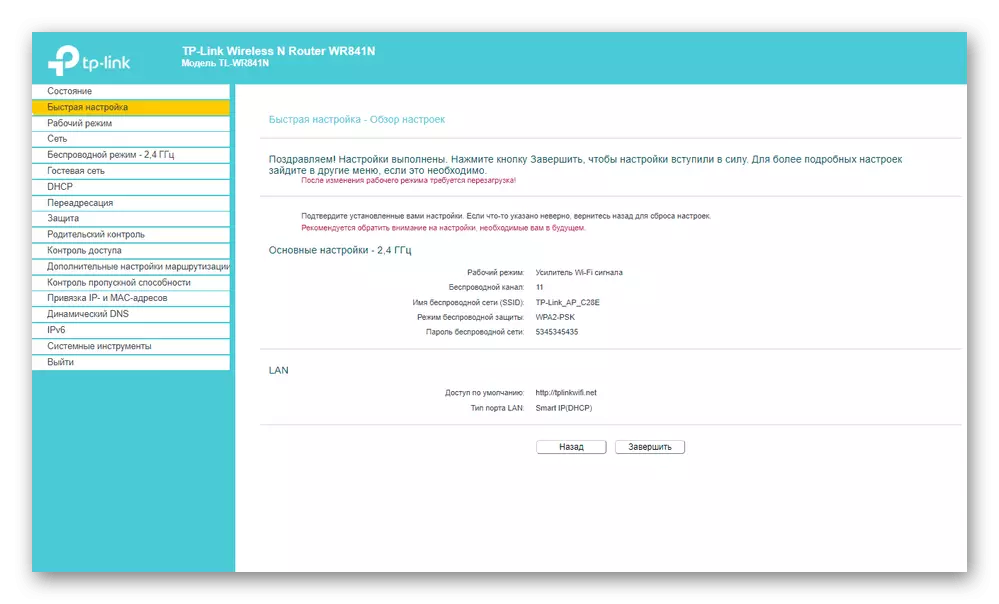
- You will be notified of the success of the setup and you can switch to connect other devices to the router according to the created SSID.
To return the router to the original state, you will need to return the standard operating mode in the same menu and set the WAN parameters to receive a network from the provider.
D-Link
The appearance of the D-Link web interface can be considered typical, since many other manufacturers it is implemented almost the same, but with minor changes. The instruction below will help even the owners of other models deal with the setting.
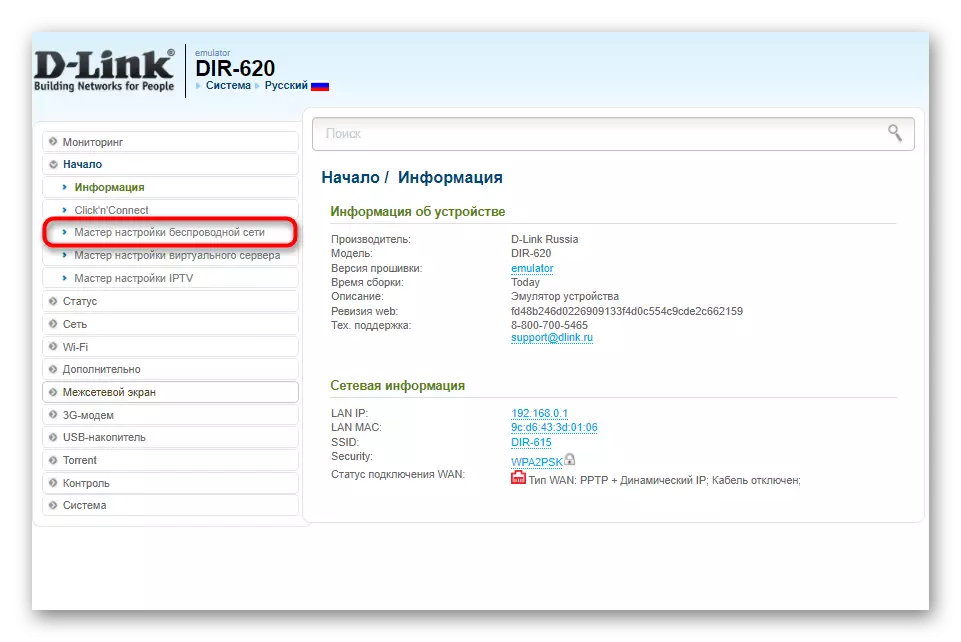
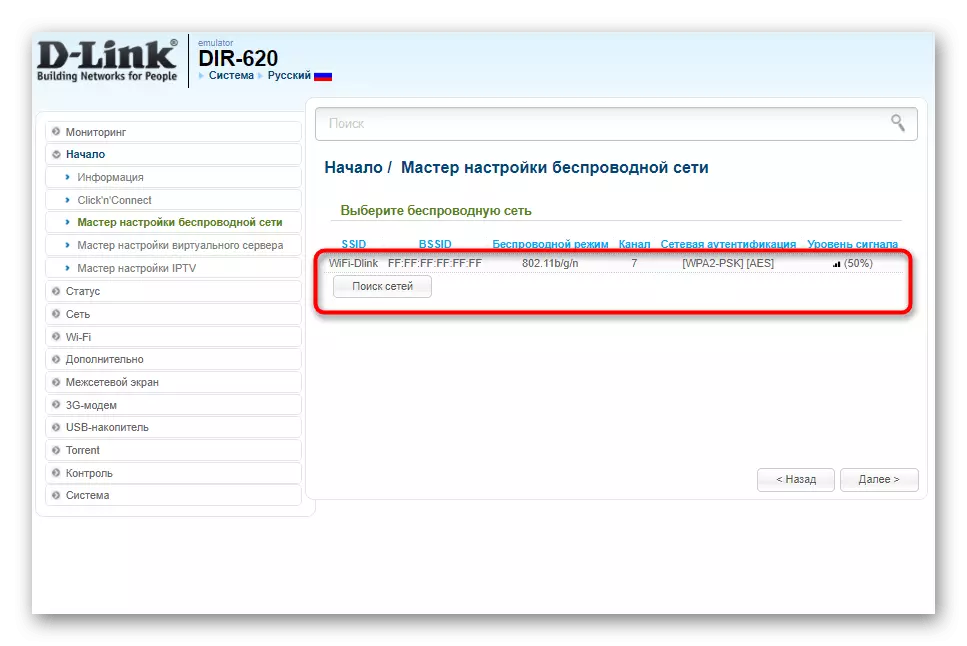
- After successful authorization in the web interface, open the Start section and select "Wireless Settings Wizard".
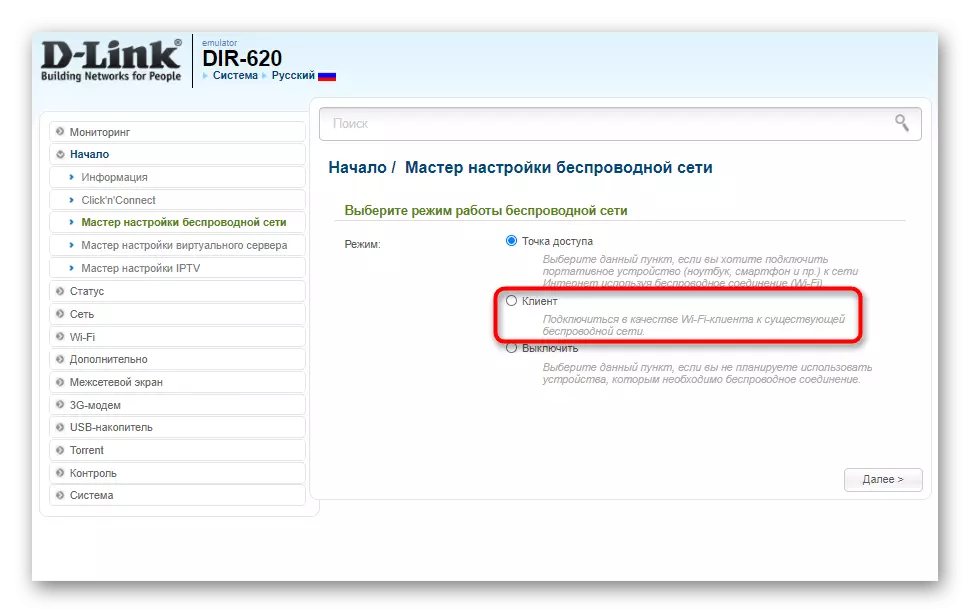
- In this case, the operation mode must be specified "Customer". Note that in the routers from D-Link it is best implemented and there is almost never any problems with the connection.
- Next, you will be prompted to choose which wireless network to connect. Mark it by pressing the LKM and go further.
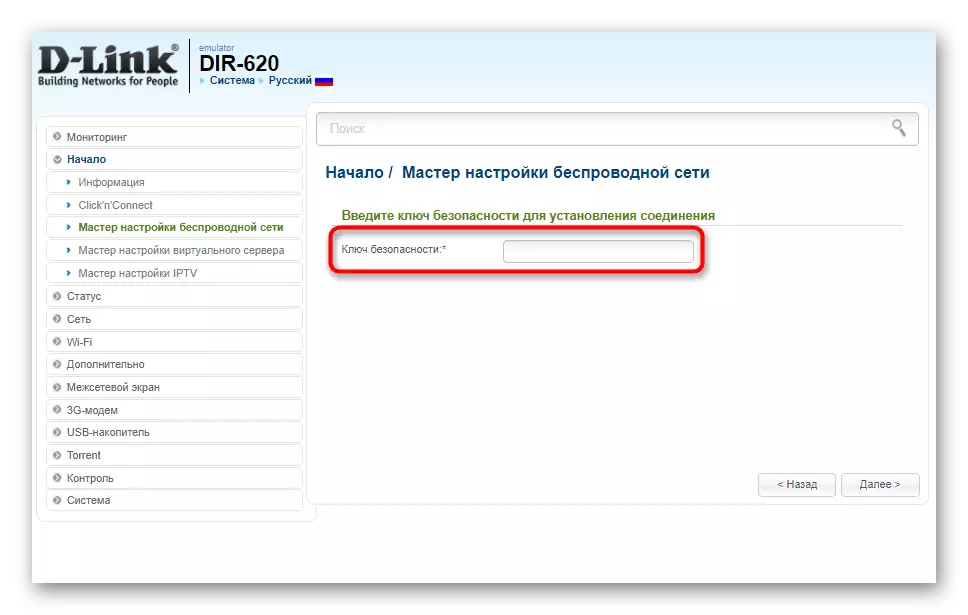
- Enter the security key if protection is installed at the access point.
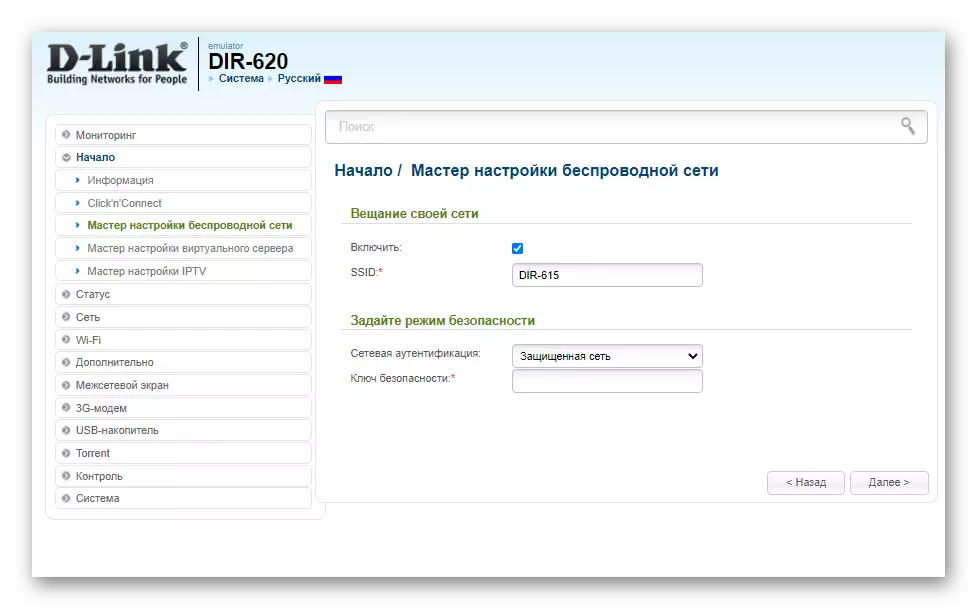
- The connection to the network in most cases occurs for its further broadcast to other devices, so do not forget to activate this function, as well as if you wish to change the SSID and set the security mode.
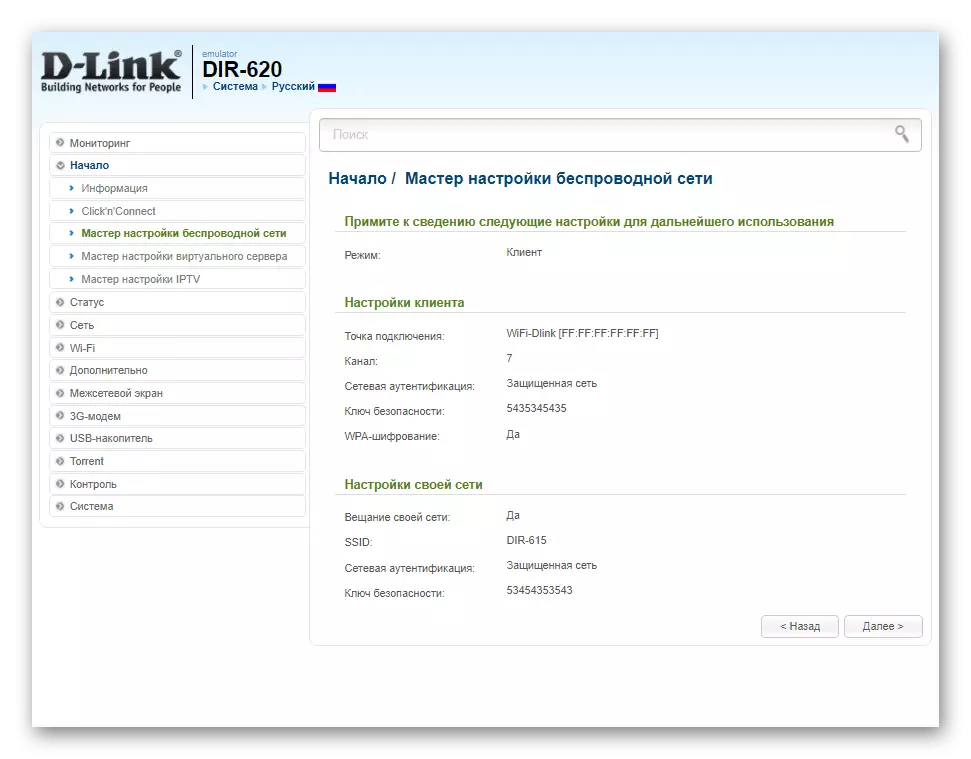
- You will be notified of the application of settings and be able to familiarize yourself with all the parameters. They can be changed by returning to the required number of steps back.
Zyxel Keenetic
In complete, we will analyze the most unstable option, with the need to perform the holders of Zyxel Keenetic routers. In this case, the connection occurs through WDS mode activated in the router settings.
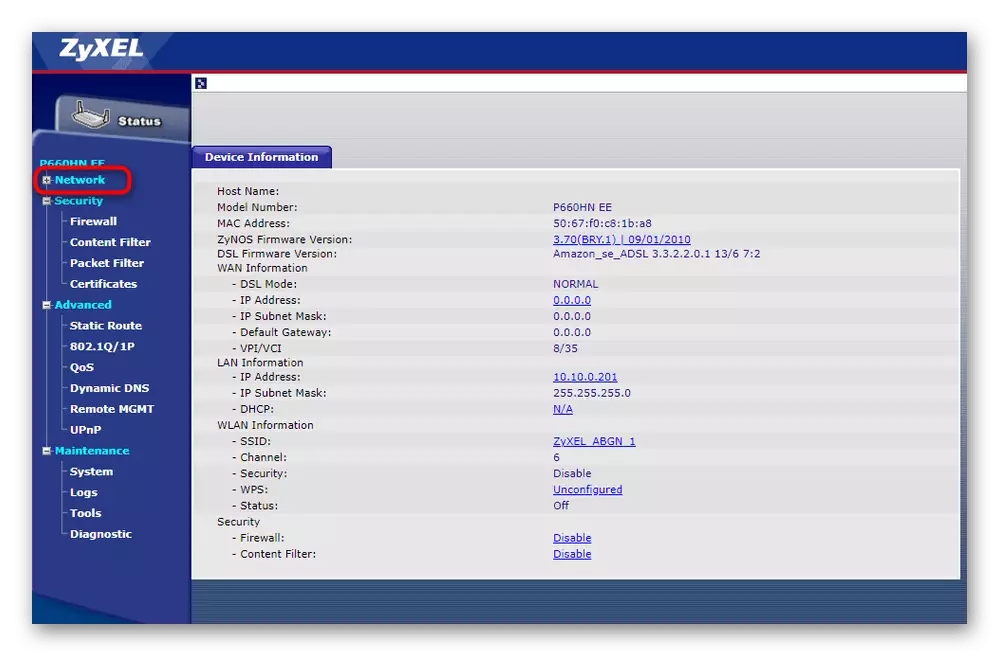
- To do this, open the "Network" section.
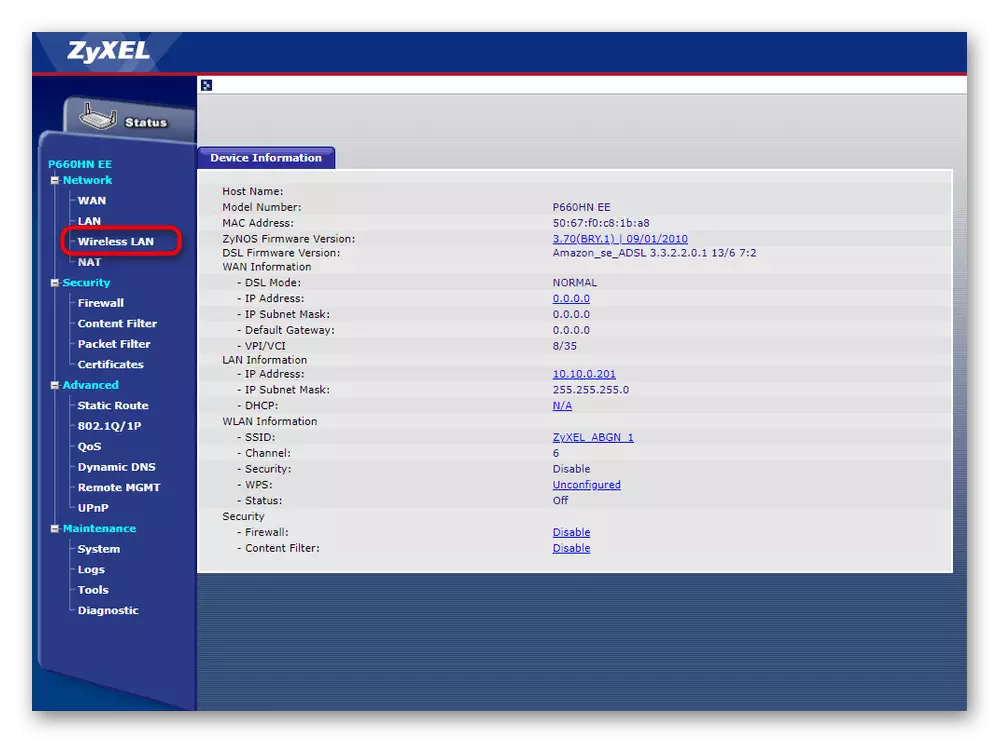
- Expand the "Wireless LAN" category.
- Go to the category "WDS" and start setting up.
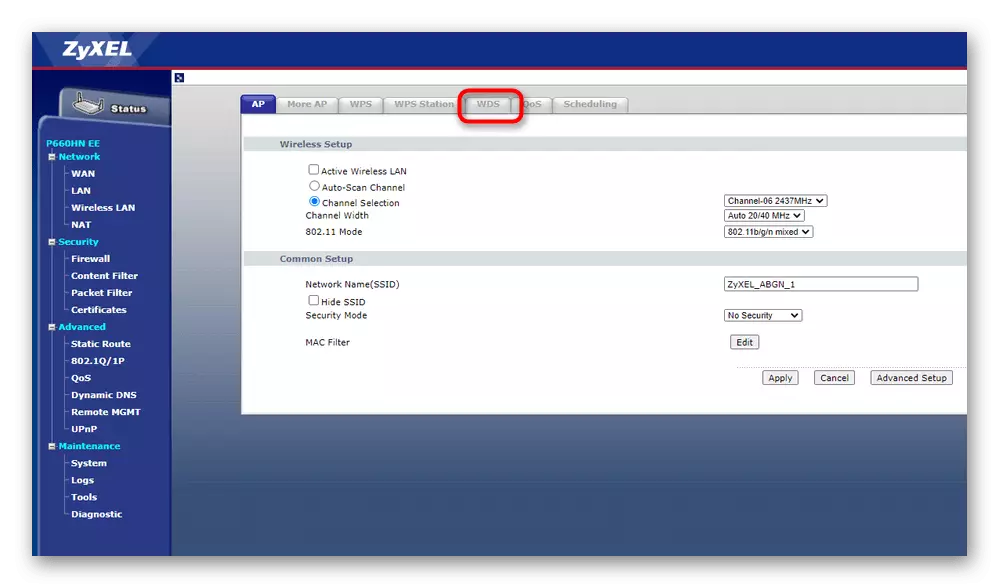
For more information on further actions, you will find in a similar article about TP-LINK, but at the same time skip the interaction process with the main device, since they are the smartphone, where the parameters are initially set correctly.
Read more: Setting up WDS on TP-LINK routers
Step 3: Connecting Devices to Wireless Network
All settings are successfully completed, which means that mobile devices and computers can be connected to the wireless router wireless network, which acts as an amplifier of the access point from the smartphone. If you have not come across the need to connect via Wi-Fi, check out the instructions below.
Read more:
How to connect the Internet on the phone
5 Computer connection methods to the Internet
Connecting a laptop to Wi-Fi through a router