
Important! All described further actions you make at your own risk!
Stage 1: Preparation
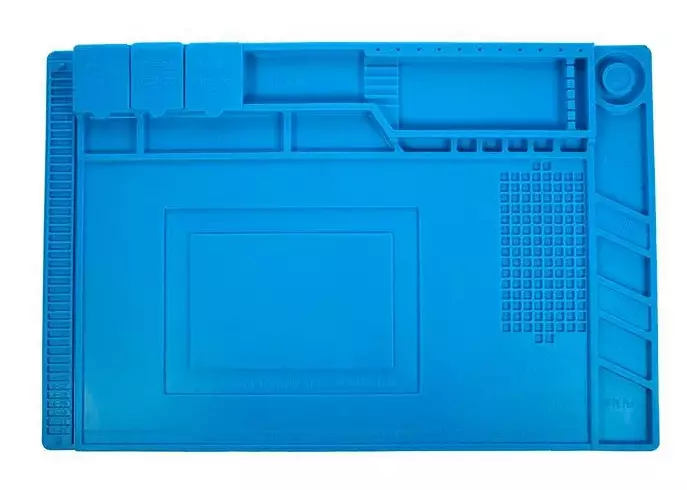
Before starting the procedure, it is necessary to prepare a workplace and tools. The best option will be a large smooth table on which an antistatic rug is located to work with electronics.
The minimum set of required tools consists of:
- Crossproof pH0 (6 mm);
- blades for working with electronics (metal or plastic) or its substitute in the form of an old and unnecessary bank card or a guitar mediator from a rigid plastics;
- tweezers;
- Thin plate made of durable material (for example, a broken cluster).
After preparing the workplace and tools, you can move to the next step.
Stage 2: Disassembly
The procedure for disassembling the DUALSHOCK 4 device is simple, but you need to be careful - the main mounting elements are plastic clips, quite brittle.
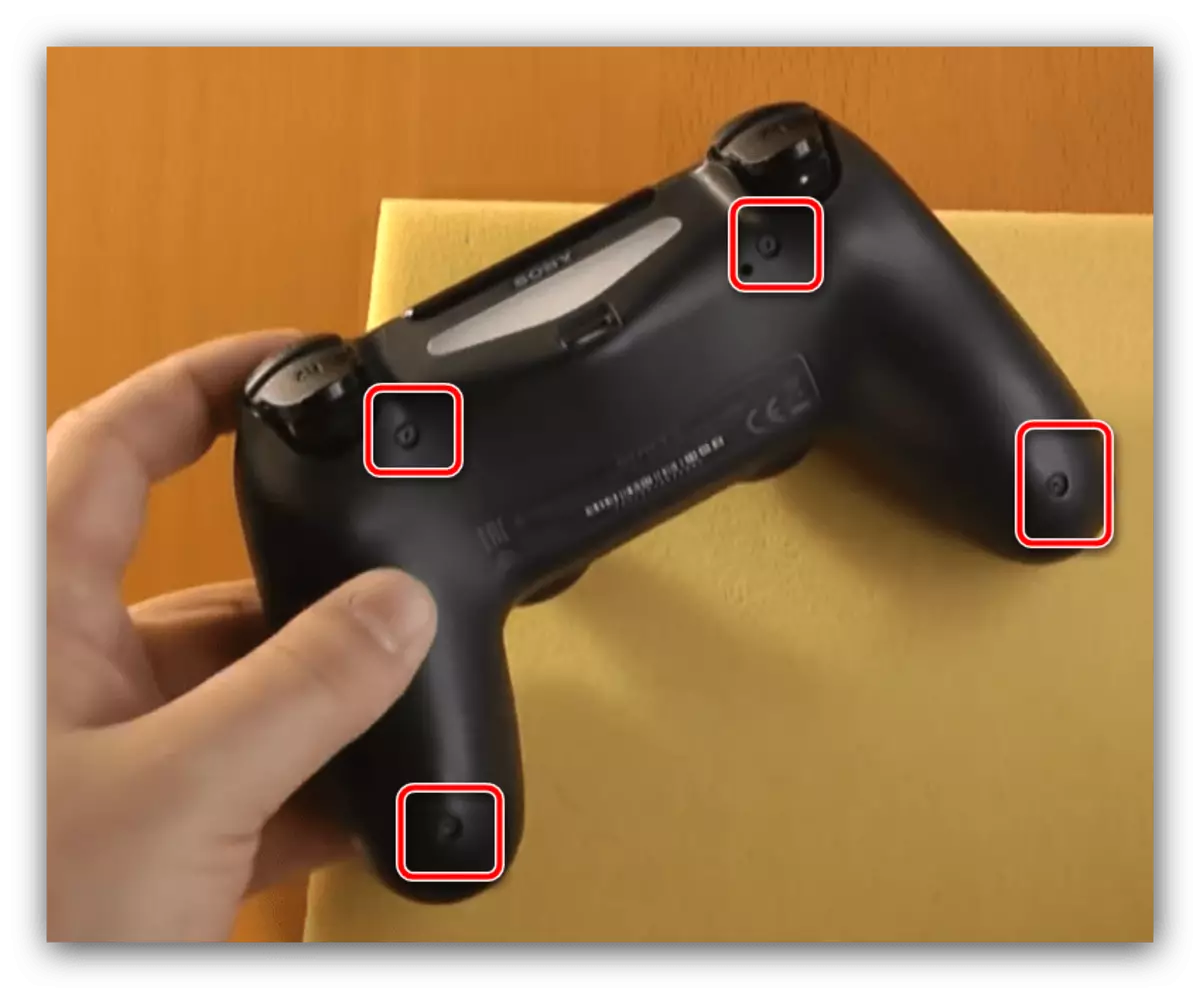
- Turn the gamepad to the bottom up and unscrew the four screws - their location is indicated in the image below.
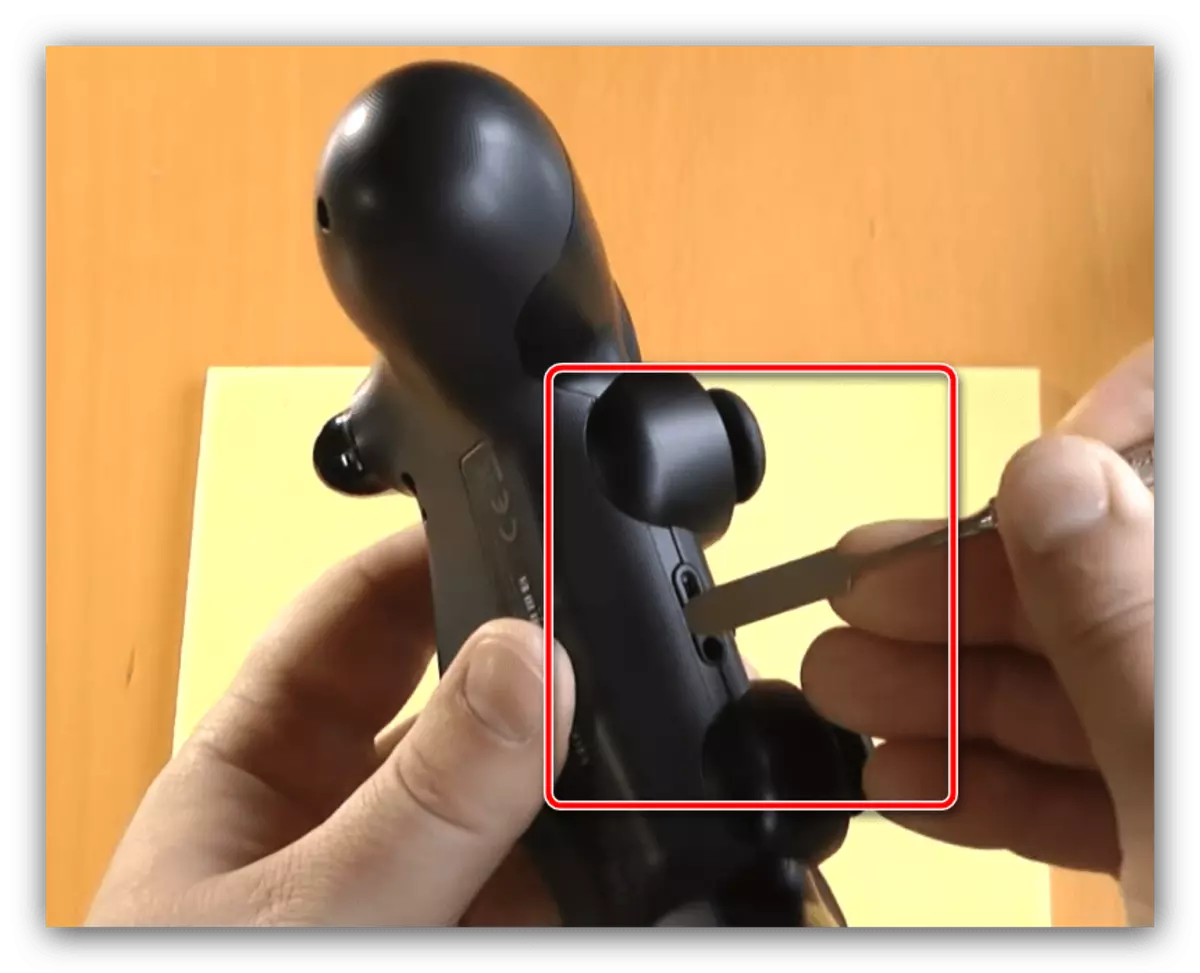
- Now we will analyze the case.
Be extremely neat! Case halves are connected by a loop, with the damage to which the LED panel will refuse!
There are two methods. The first is to carefully draw each clips in a circle: make the shovel in the slot between the housing and the charging port, then move along the body, disconnecting the clamps. The direction of movement does not play any role.
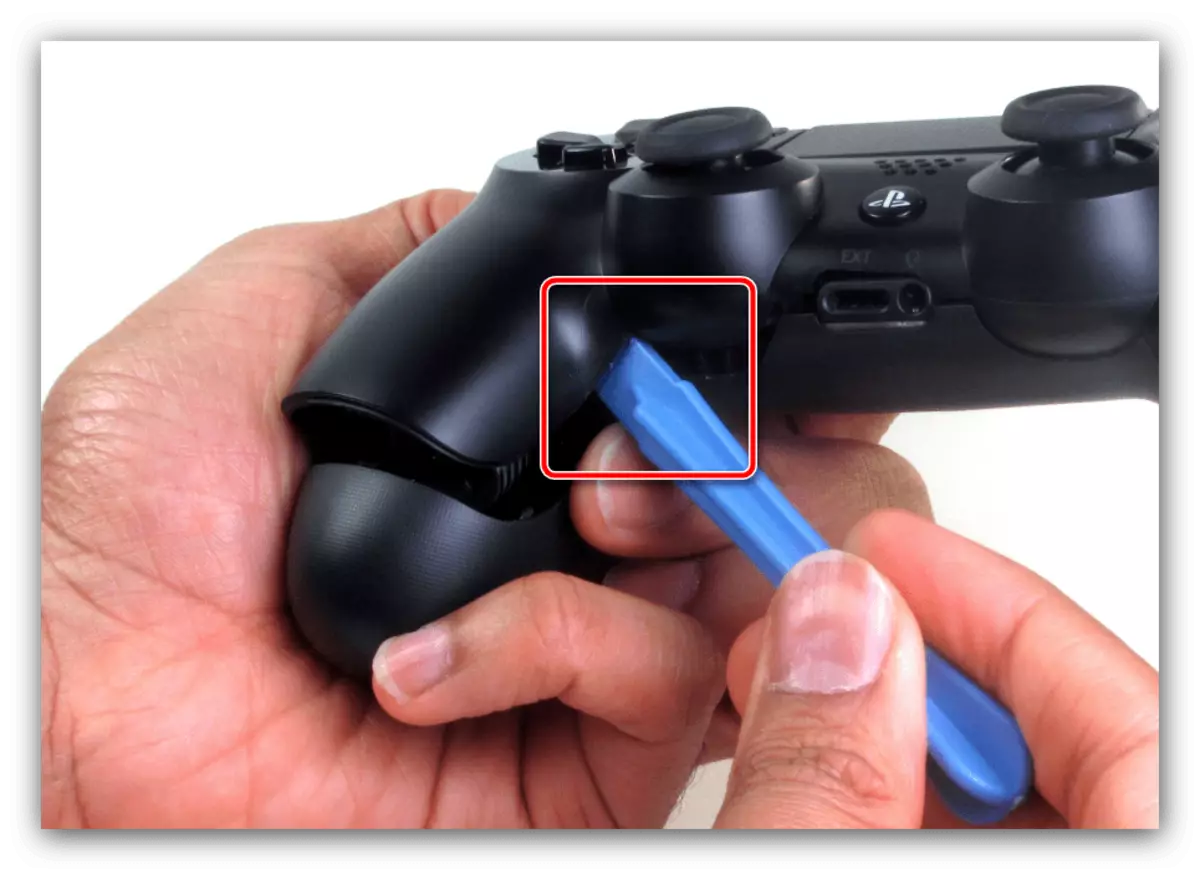
The second method is similar to the first, but apply only using the blade. To do this, insert the tool at the same place at an angle of about 70 degrees and lower down to the shock.
- When disassembling the GEYMPAD PS4 of the first revision, some users face difficulties in disconnecting the upper clamps. You can simplify the task using a thin metal plate: enter it into the space between L1 and the case, then smoothly press down. When the latch deghesces, repeat the last operation from the R1 button.
- To disconnect the half of the gamepad, clamp the jugs and start moving the rear panel forward and up.
Attention! Remember the loop! Also be careful with the smokers, they are spring-loaded and can jump out!
For the second revision, DualShock 4 knucks do not need to press.
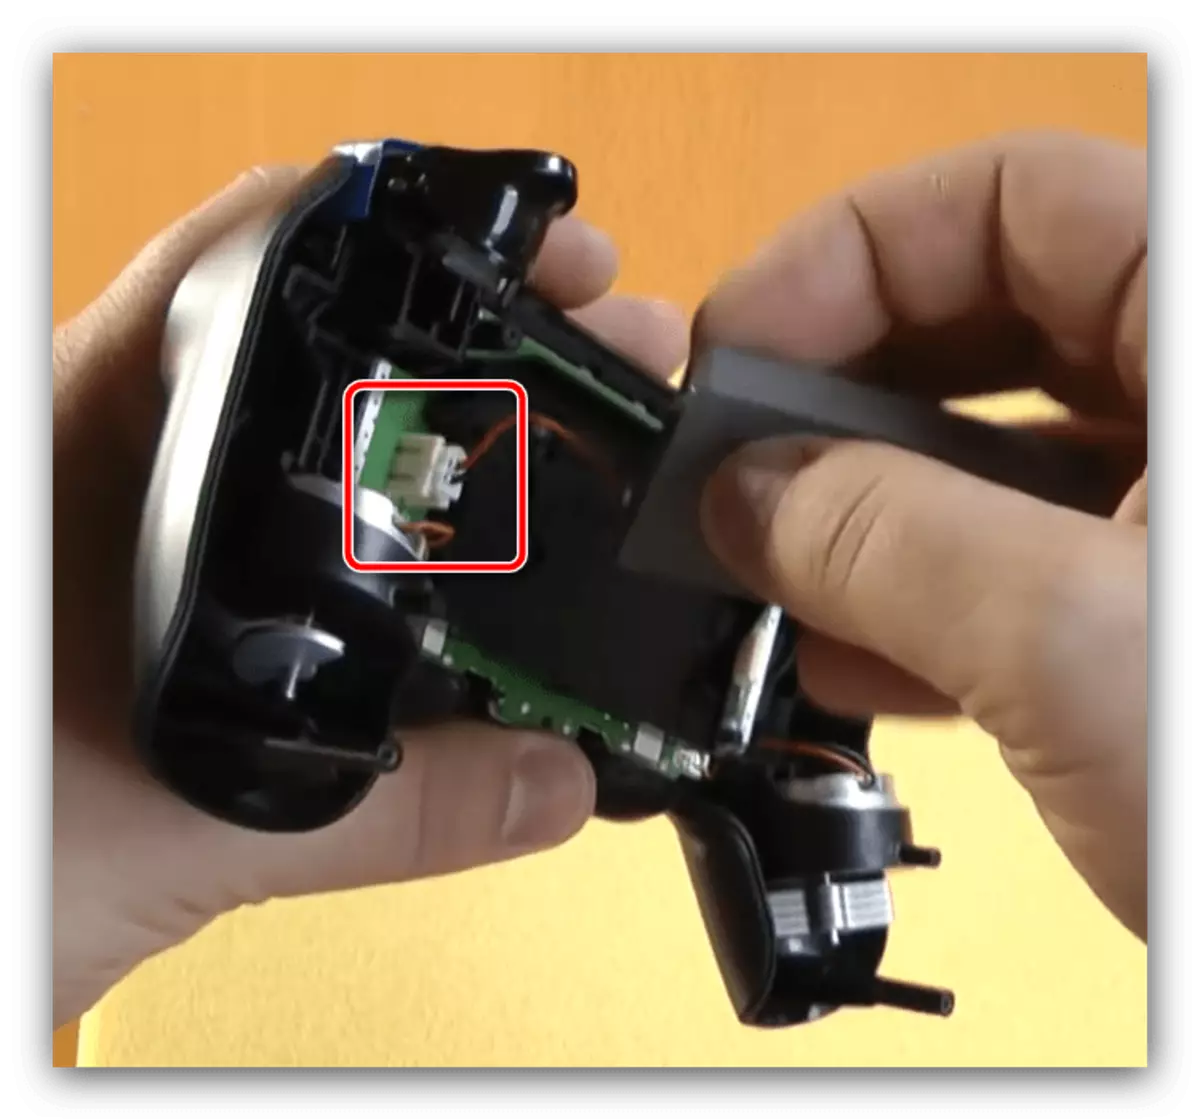
- Disconnect the LED loop, it should be easily removed from the connector.
- Now disconnect the battery - it is attached to the usual two-contact connector for Sony, which is easily detachaded with tweezers or just gently with your hands.
Decorate and the busbar for the battery - it, like the housing, is attached with the help of the latch.
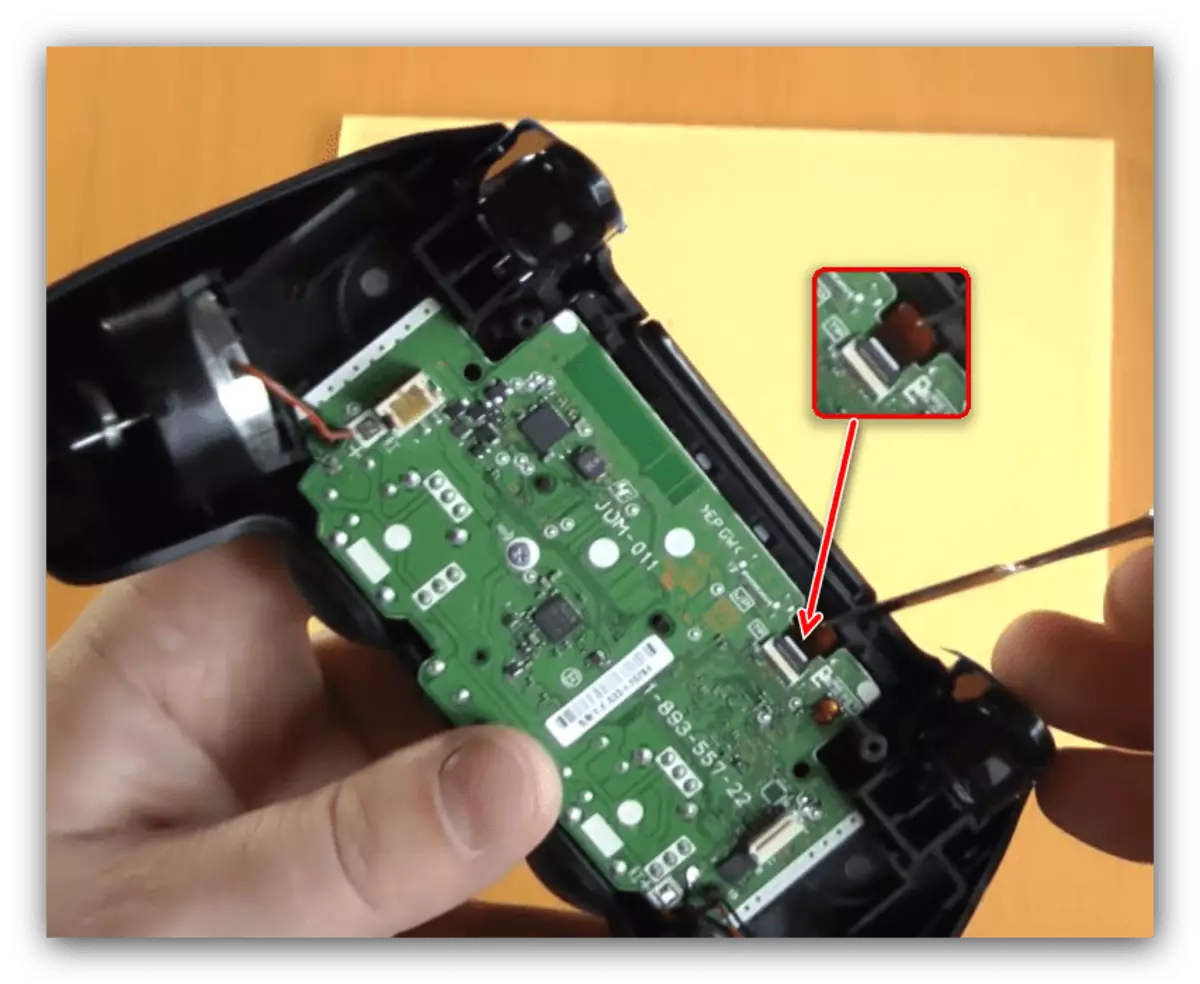
- Now turn off the touchpad cable. Carefully consider the connection site (can be under magnifying glass) - depending on the revision of the device, the connector can be reinforced with a plastic string or a flexible cable is simply inserted so. In the first case, the zag must be able to open: Carefully make the shovel under the connector and lift up.
- To remove the board, unscrew the fastening screw in the center - act neatly so as not to tear the contacts of vibromotors.
- Now take the vibromotors and carefully pull the board from the case.
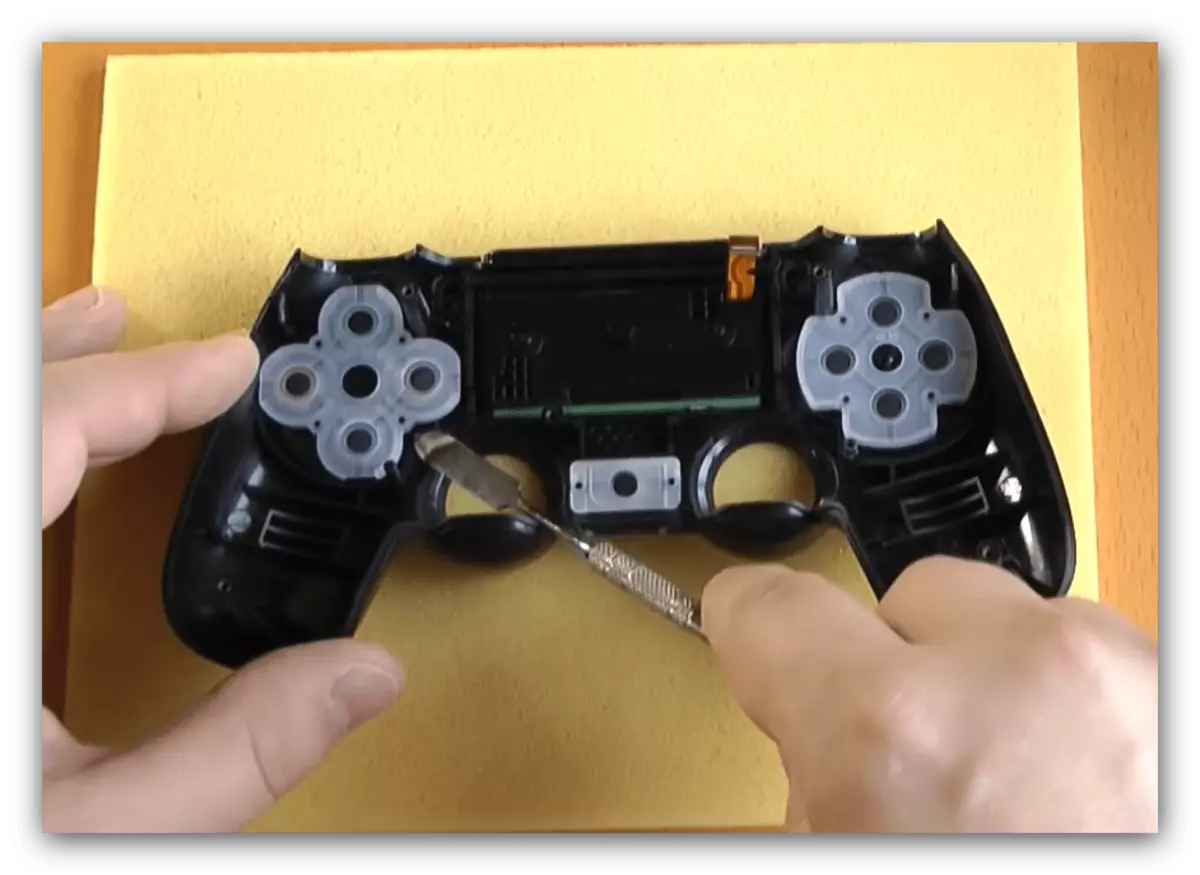
- Then it remains only to remove the silicone substrates of the buttons and the buttons themselves.


On this disassembly, DualShock 4 can be considered over. To build the device, follow the instructions above in the reverse order, but remember the loops and wires of vibromotors.