

Method 1: Built-in Windows
Everything, without exception, the operating systems of the Windows family have in their composition tools for the basic setting of most mice, including the production of clock. You only need to connect the manipulator to the target computer and wait until the operating system determines the device and configulate it. A small set of options is also available, the use of which is discussed in detail in the relevant article.Read more: Mouse setting up Windows system tools
Method 2: Brand
Of course, such an eminent manufacturer as Logitech produces a special software that allows you to fine-tune the mouse under your needs. The newest version of such a program is Logitech G Hub, so the "rodent" setting will be shown on its example.
Loading and installing Logitech G Hub
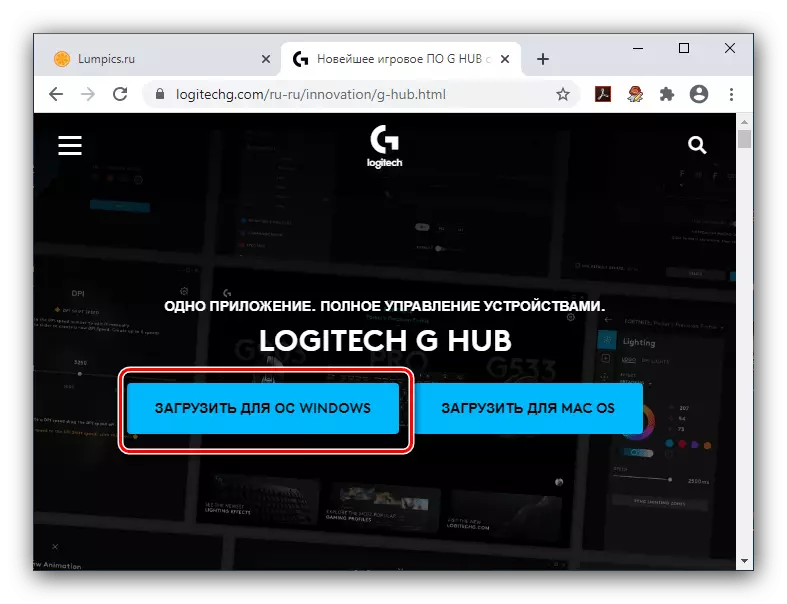
- Open your main browser (for example, Google Chrome) and go to the following link.
Official site Logitech G-Hub
- Find the item with the name "Download for Windows" on the page and click on it.
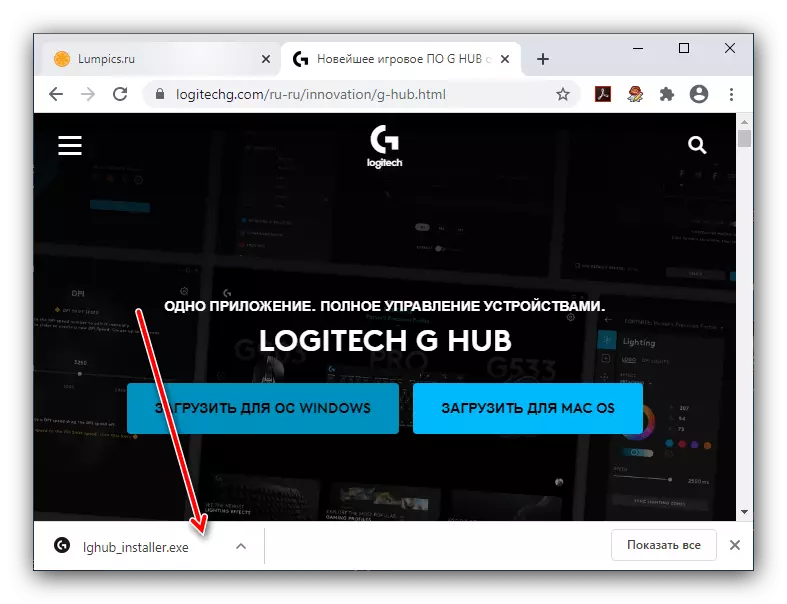
- Wait until the installation file is played, then start it - in the chrome it is enough to click on the corresponding position on the strip at the bottom of the screen.
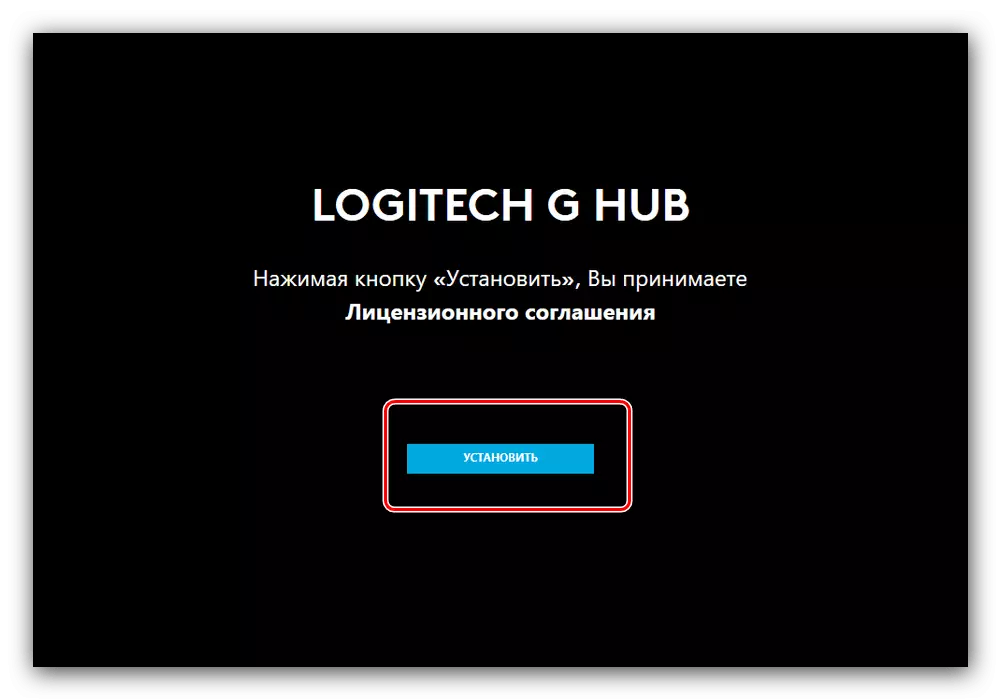
- For a while the installer will be initialized, after the end of this procedure, use the "Install" button.
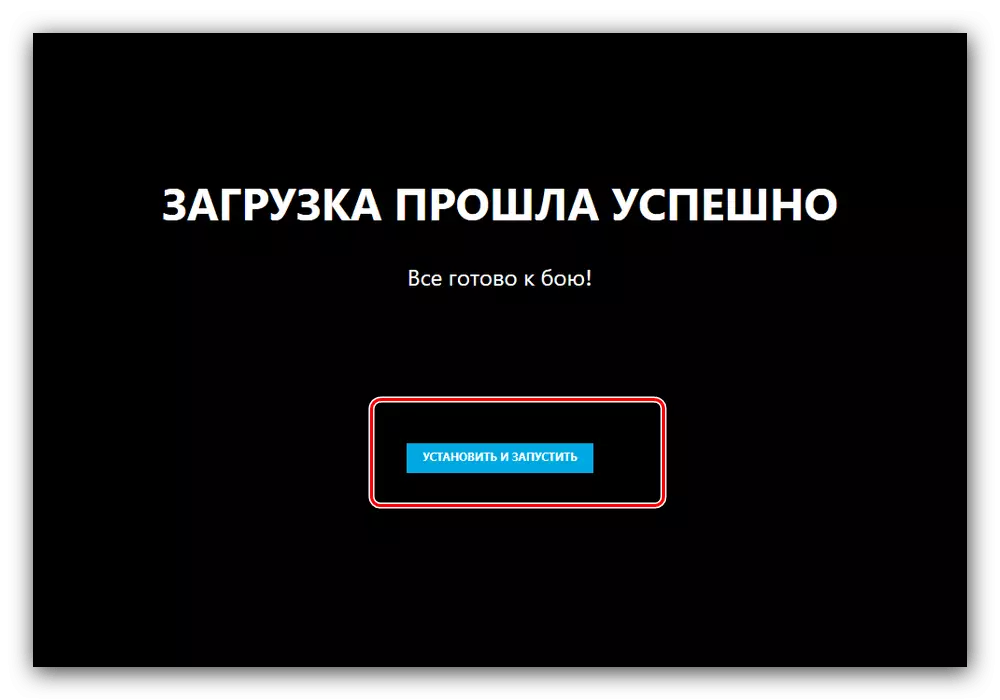
- Wait until the application downloads all the necessary data, then click "Install and Run".
On this installation software is over. If in the process of its execution you encountered those or other difficulties, refer to the section Solution of the installation problems below text.
Running program
Like many other similar programs, Logitech G-Hub runs automatically, along with the OS, however, if this happens, the program can be opened from the system tray, the "Start" menu or a shortcut on the "Desktop".
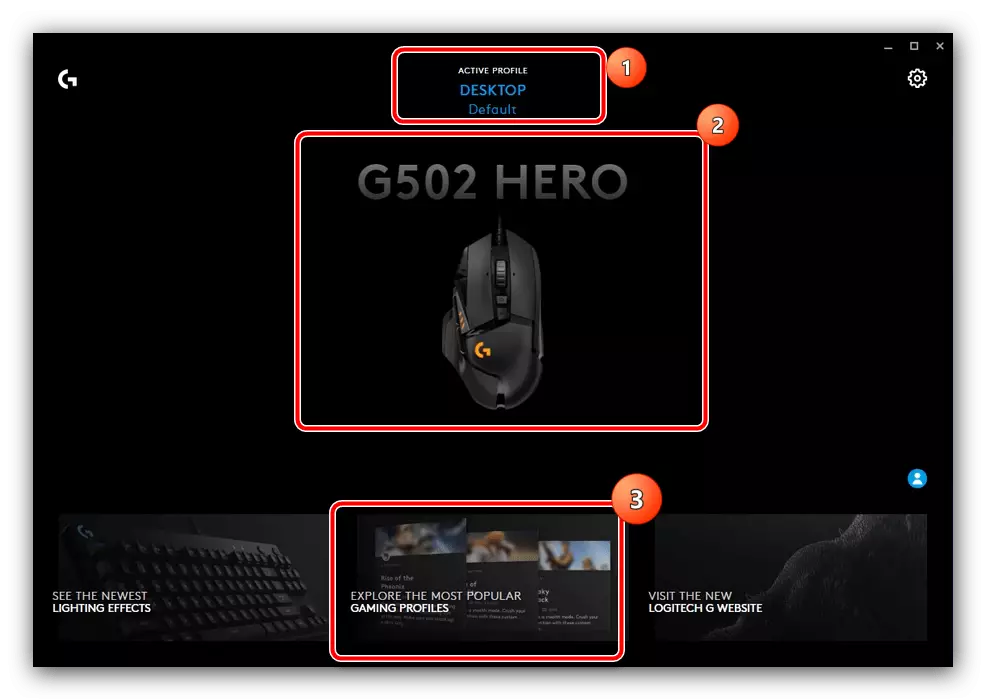
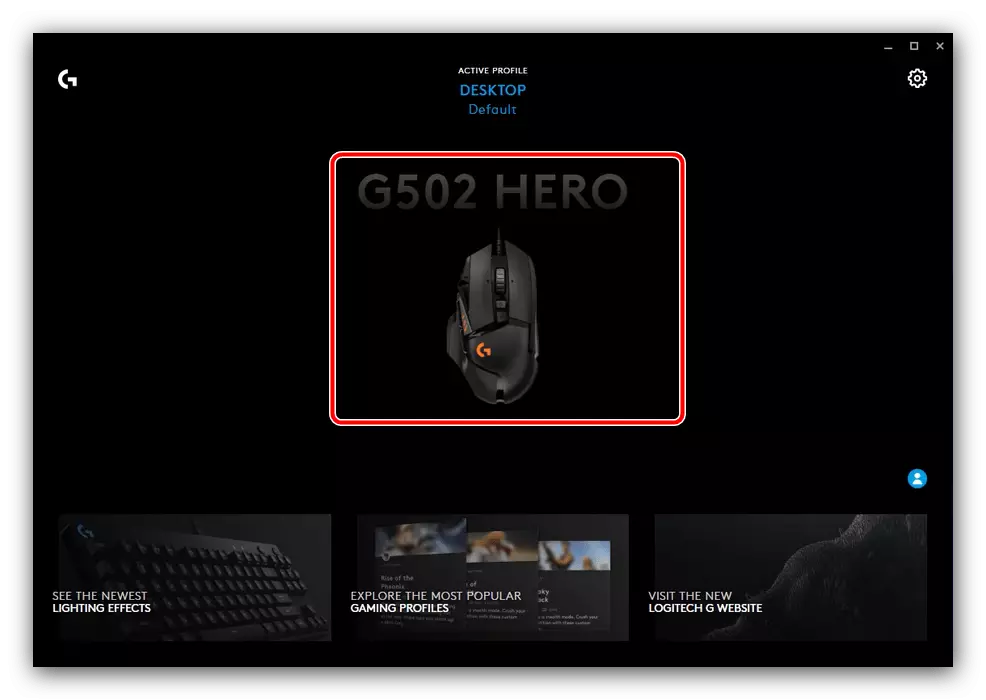
In the main Logitech G-Hub window, a connected device is displayed (in our case, the Mouse model G502 Hero), the shift button of profiles at the top of the window and access to download configurations from the Internet.
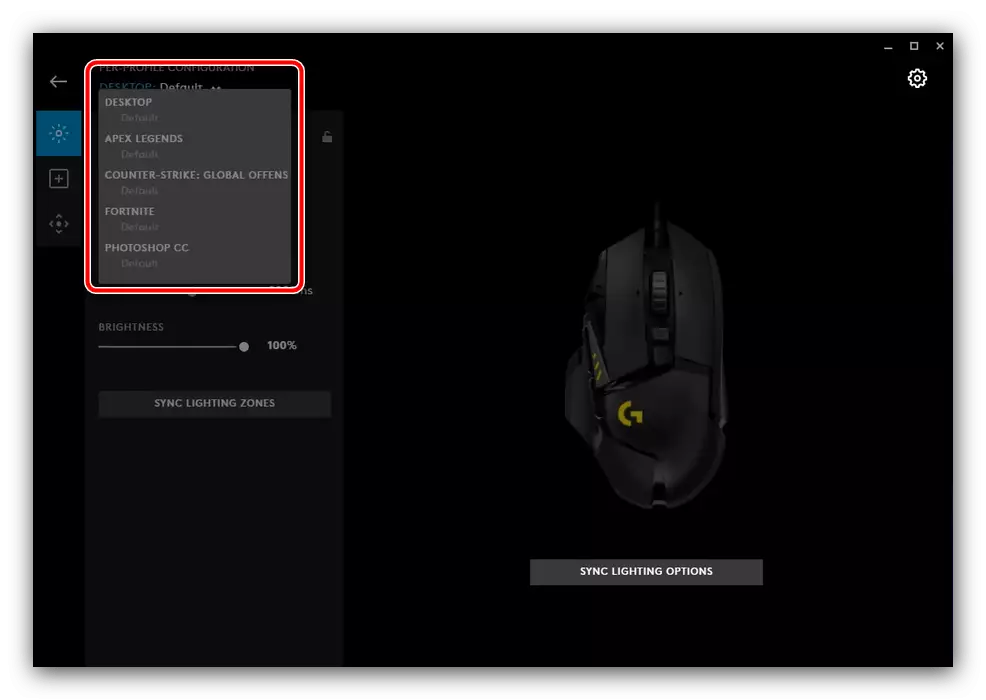
Most situations on independently determines the availability of certain applications in the system and selects the most suitable profile for them. If the program is not recognized, you can add it manually by pressing the "Add Profile for the Selected App" button, but it is worth it in mind that the profile for it will have to configure.
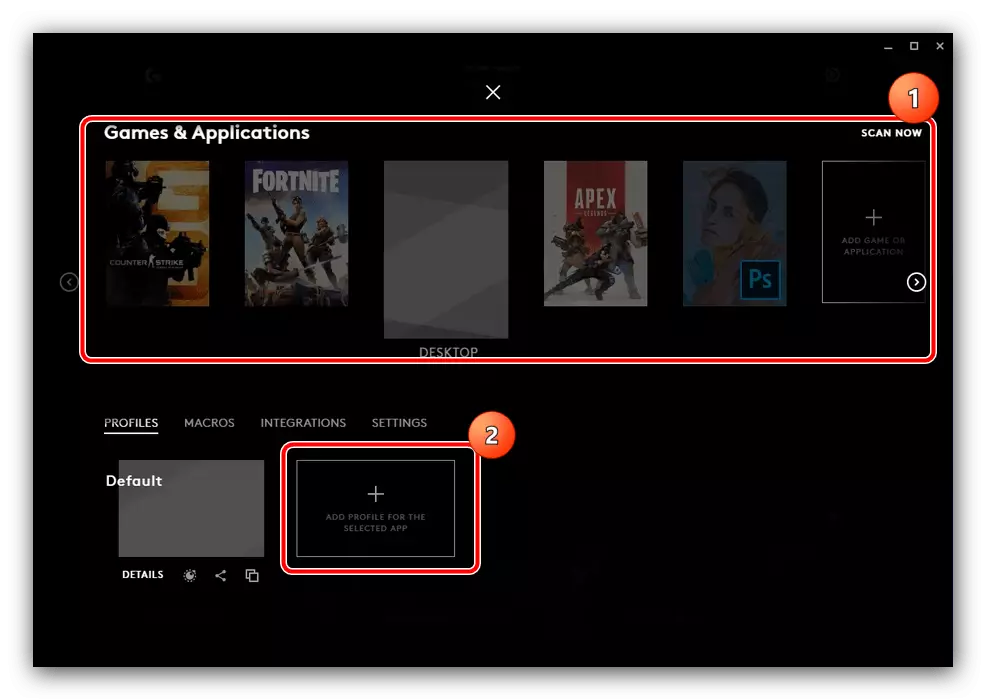
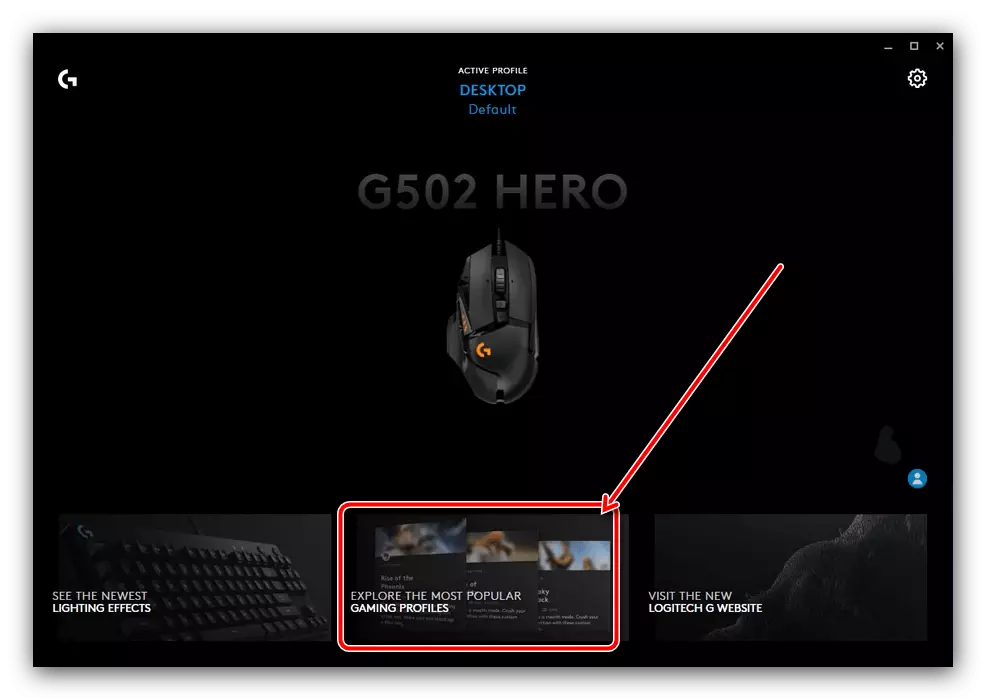
Those or other configurations can also be downloaded - for this in the main menu of the Ji Hub logs, click on the "Explore The Most Popular Gaming Profiles" element.
Use the search box to enter the name of the model of your mouse - if you forgot, it can always be viewed in the main window. Then scroll through the list, select your favorite profile and click on it for download.
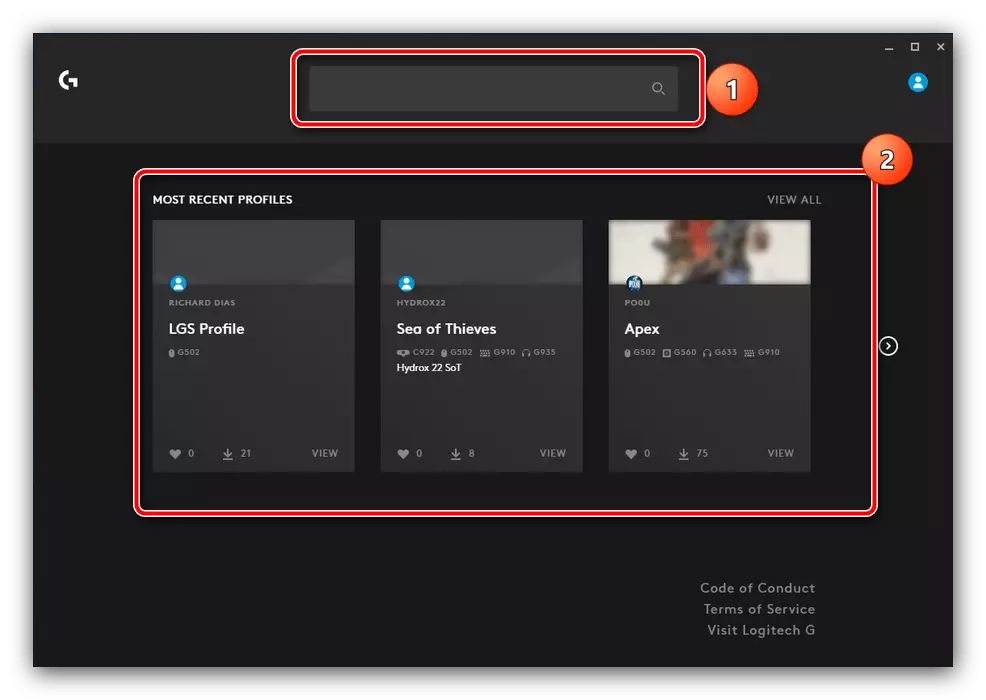
Such a set of pre-configured parameters will be installed automatically.
Purpose buttons
With the help of the software in question, you can assign buttons for a variety of action spectrum. This is done like this:
- In the main menu of the setup tool, click on the image of the connected device.
- After the configuration means appears at the top, use the profile list at the very top - select the desired one or simply create a new one.
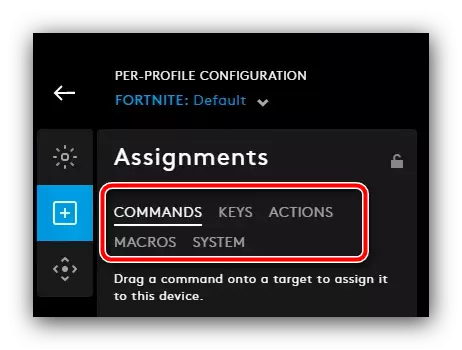
- Go to the destination tab - it is the second in the column on the left.
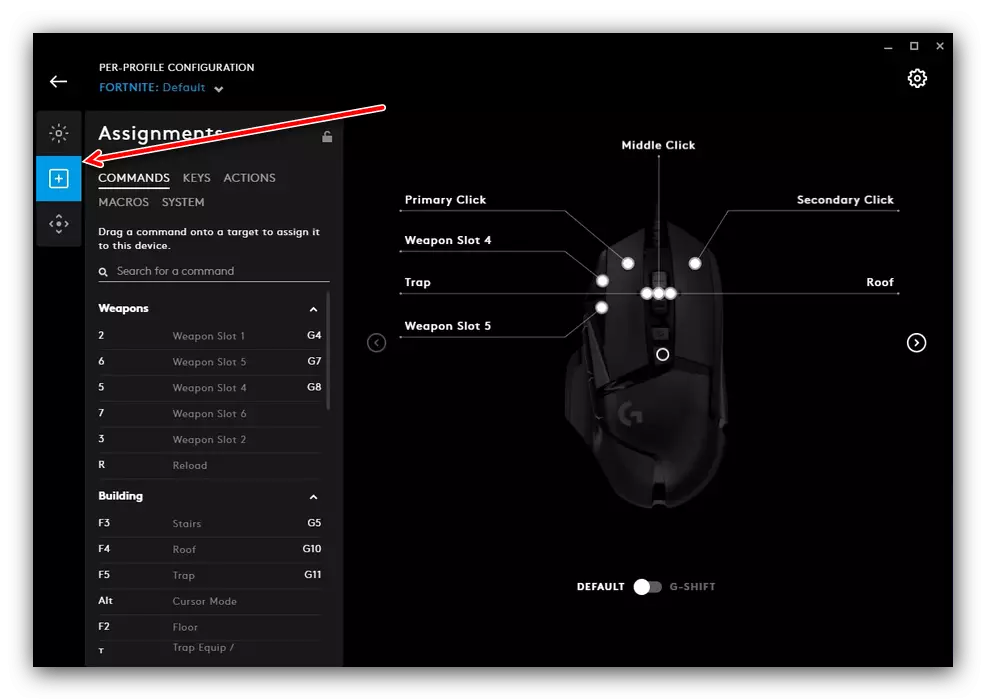
You can add the following actions.
- "Commands" - system commands that are usually caused by hot keys (like "copy" and "insert");
- "Keys" - duplicates the press on the mouse to the specified key;
- "Actions" - allows you to assign an action from the application or the game to the mouse buttons, for which the profile is created and specified;
- "Macros" - as clearly from the name, using this option you can record and assign macros;
- "SYSTEM" - here you can change the device button locations, set some associated features and so on.
- Using this feature is sufficiently simple - to assign keys, system tools, indications of system actions and reassign the buttons, just go to the desired tab and drag the desired function from there to the item you want to use.

Using the destination is made as simple as possible and convenient.
Macros recording
Logitech G-Hub supports macros (sequences of keystrokes on the keyboard or buttons on the mouse itself) with their subsequent purpose. Directly recording looks like this:
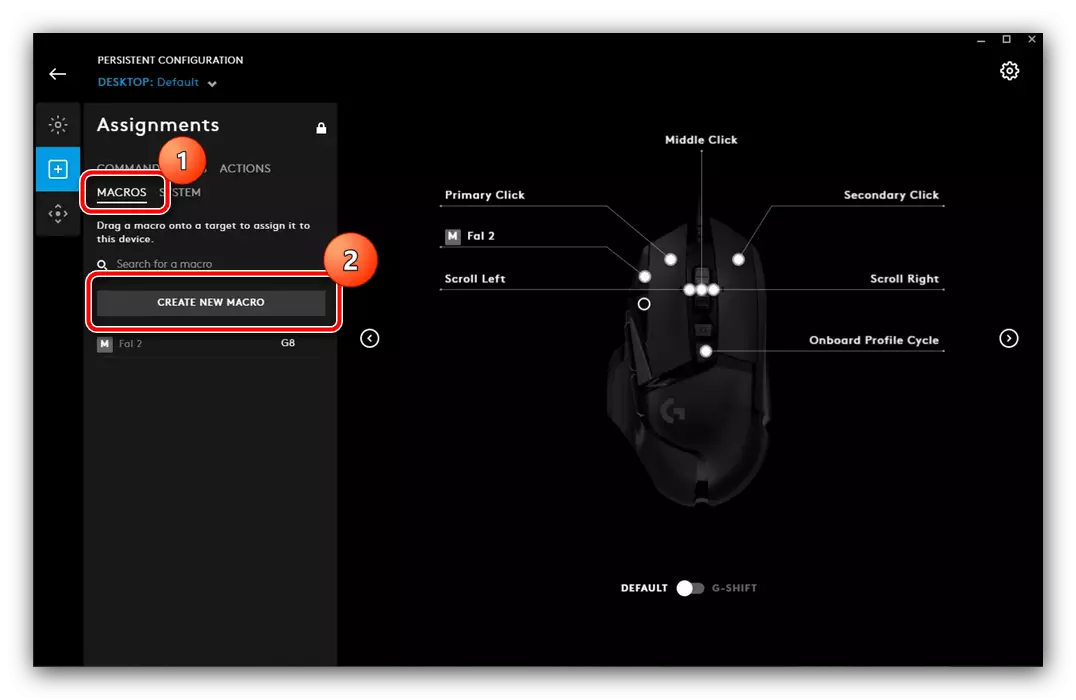
- Click the Macros tab in the destination section in the configuration program and click "Create New Macro".
- Set the name of the combination, supports any arbitrary name.
- Macro types can be assigned four:
- "No Repeat" - the macro will work once after pressing the button. It is useful, for example, to start a program or another;
- "REPEAT WHILE HOLDING" - the macro will be executed until the corresponding button is clamped;
- "Toggle" - similar to the previous one, but the macro turns on and off with a single press;
- "Sequence" is a complex version in which pressing, hold and switching are specified separately in an arbitrary sequence.
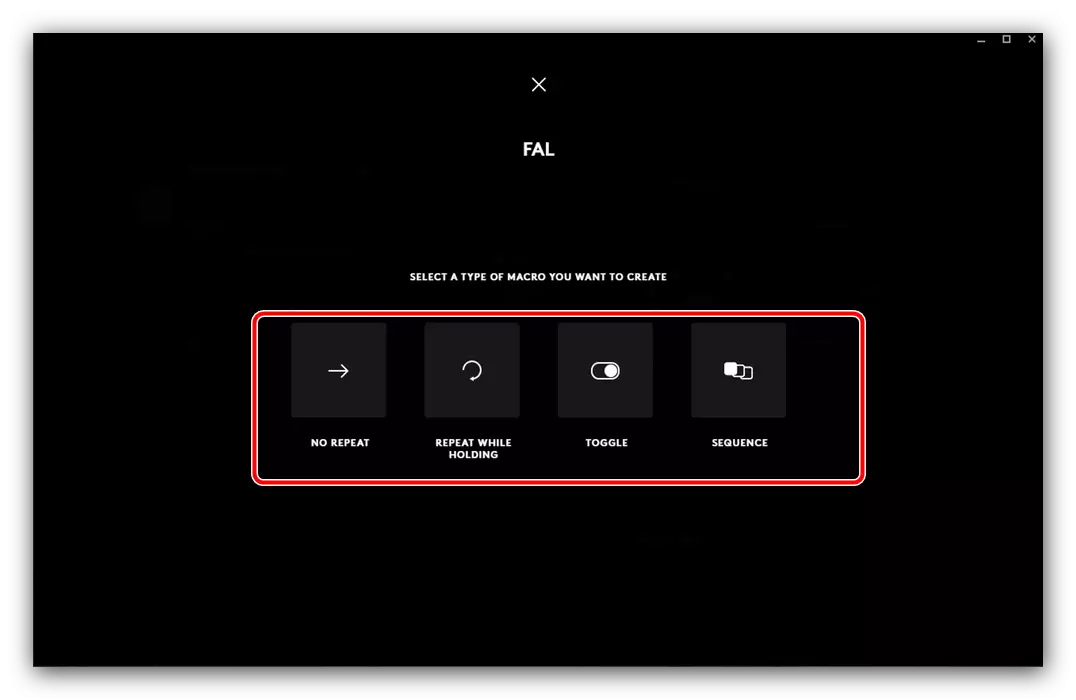
To select, click on the desired one.
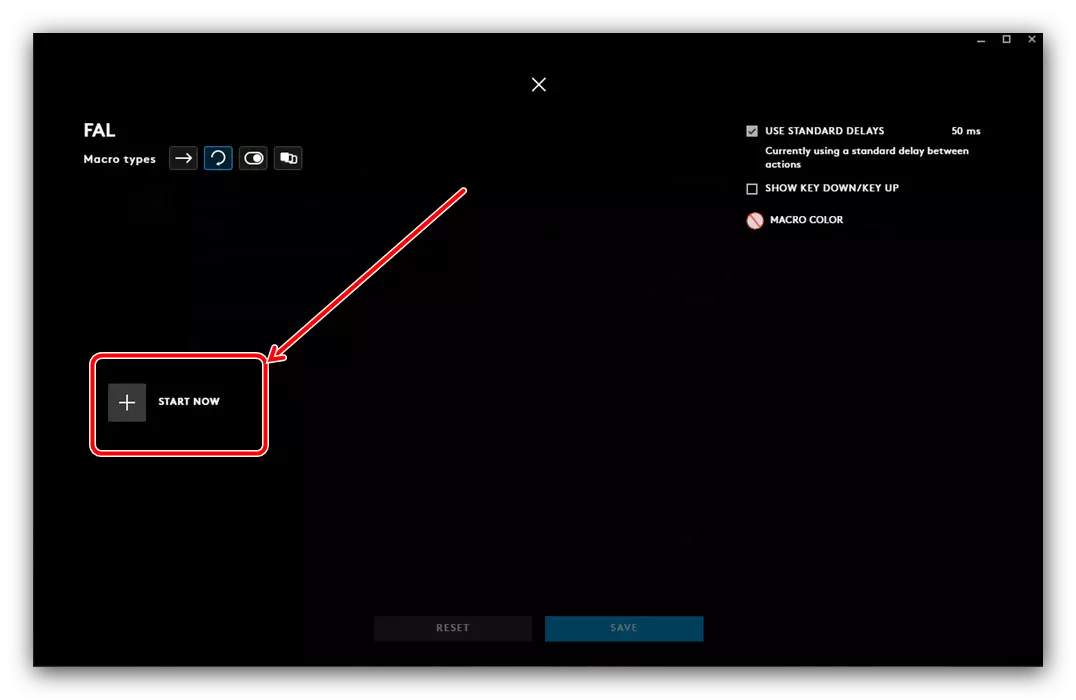
- On the right side of the window, you can change some options - for example, enable and disable the standard delay ("Use Standart Delay"), as well as set its number. You can configure the color of the backlight when activating one or another macro, but this feature is not supported on all Logitech models.
- To start recording, press Start Now.
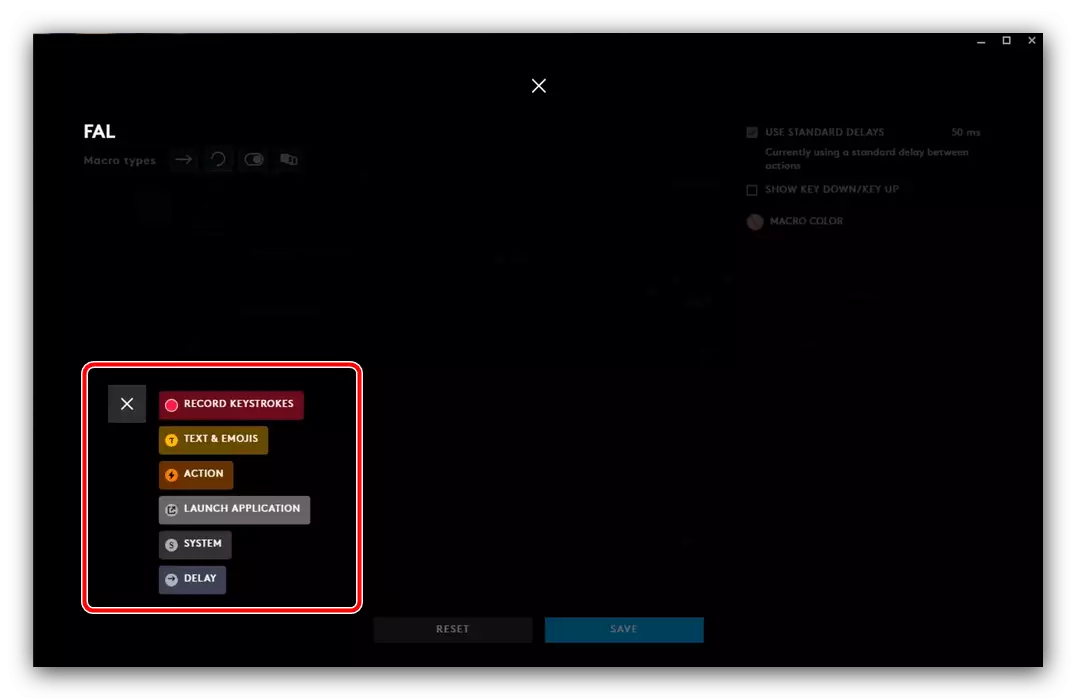
A menu with a choice of actions for which you can create a macro:
- "Record Keystroke" is a simple option for recording a conventional keystroke sequence;
- "Text & Emojis" - allows you to create arbitrary text in combination with EMOZI, which will be inserted into the field allocated in advance by pressing the mouse button;
- "Action" - a particular action in a compatible program or game;
- "Launch Application" - allows you to run the selected software in advance;
- "SYSTEM" - assigns one or more system actions;
- "Delay" - adds a delay that can also be configured.
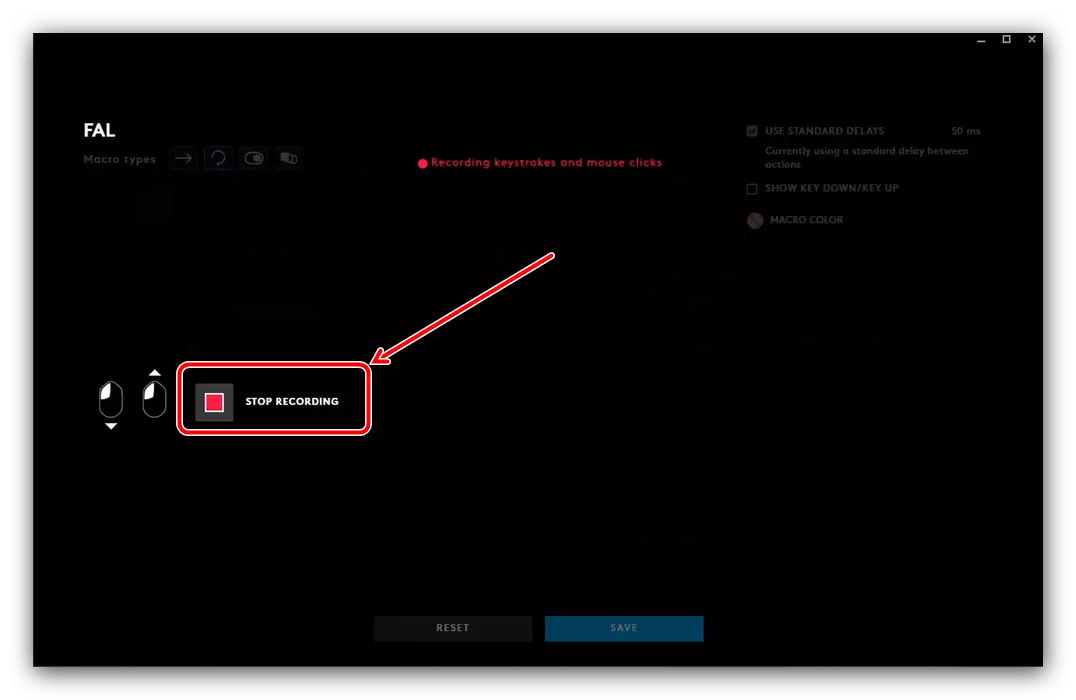
- For a greater understanding, add a regular macro in the form of a set of pressed keys and buttons - To do this, select "Record Keystrokes". Next, enter the sequence, then click "Stop Recording". Check the entered - if you have found an error, you can eliminate it using the keyboard: press "Up Arrow" or "Down Arrow" to highlight an element either, then remove the unnecessary DEL key.
- Now click "Save".


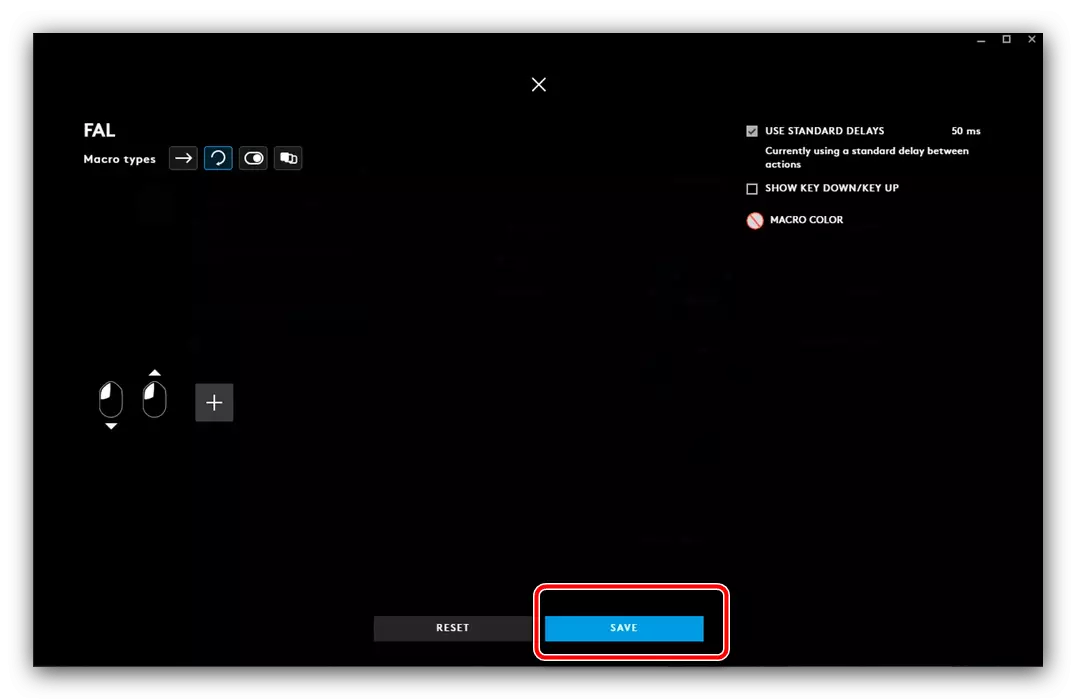
You will return to the destination page, where you can add a macro to a single click of one of the buttons of your mouse.
Backlight setting
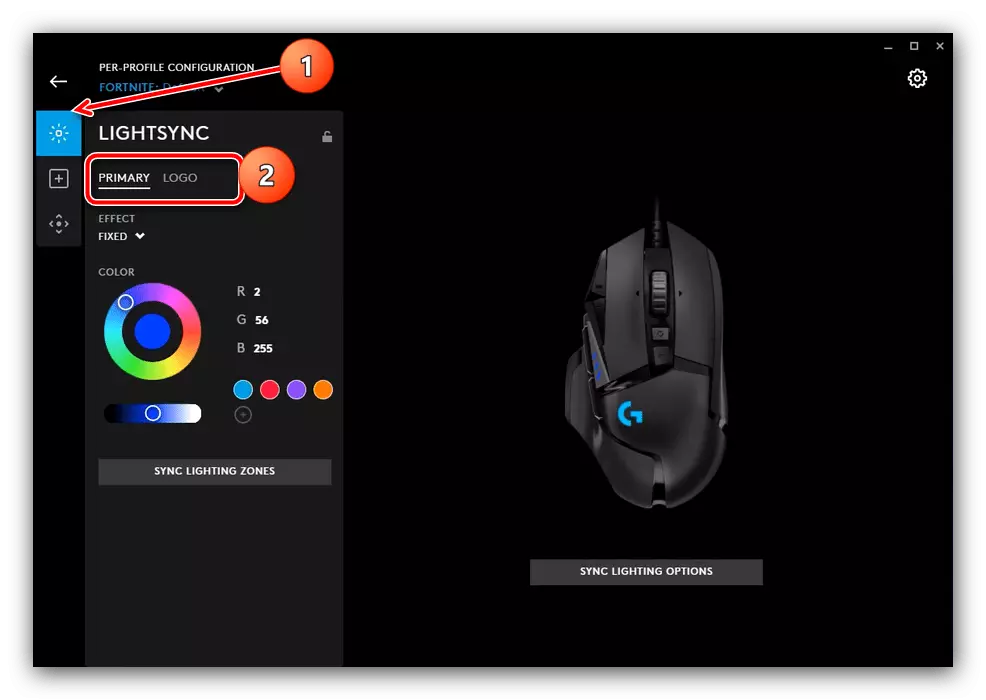
Through the solution under consideration, you can also configure the backlight of the manipulator - the choice of glow of a particular zone on the housing is available.
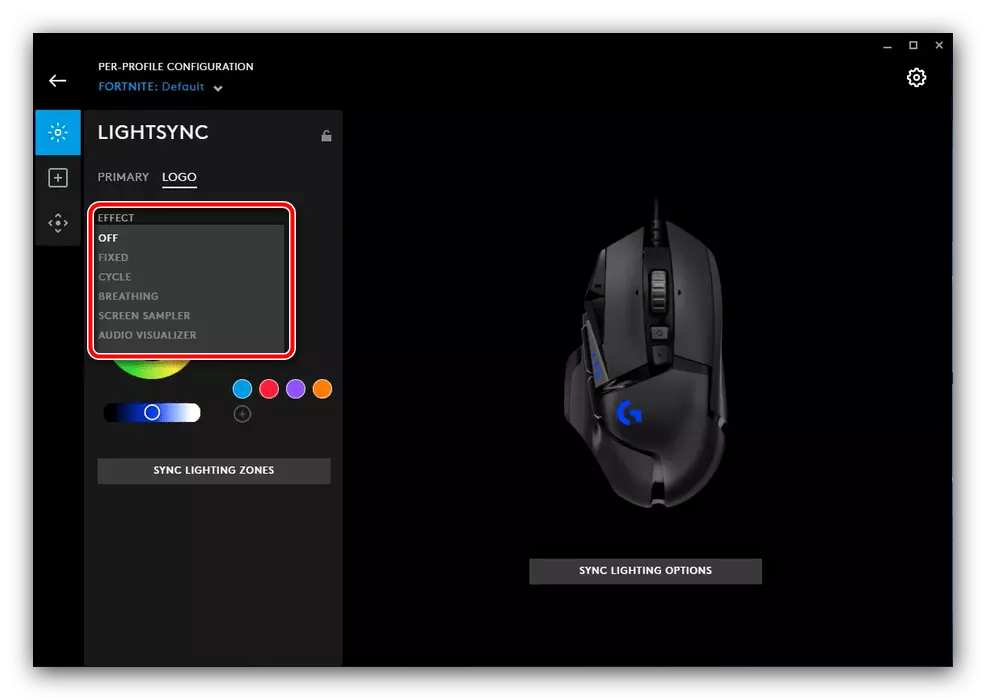
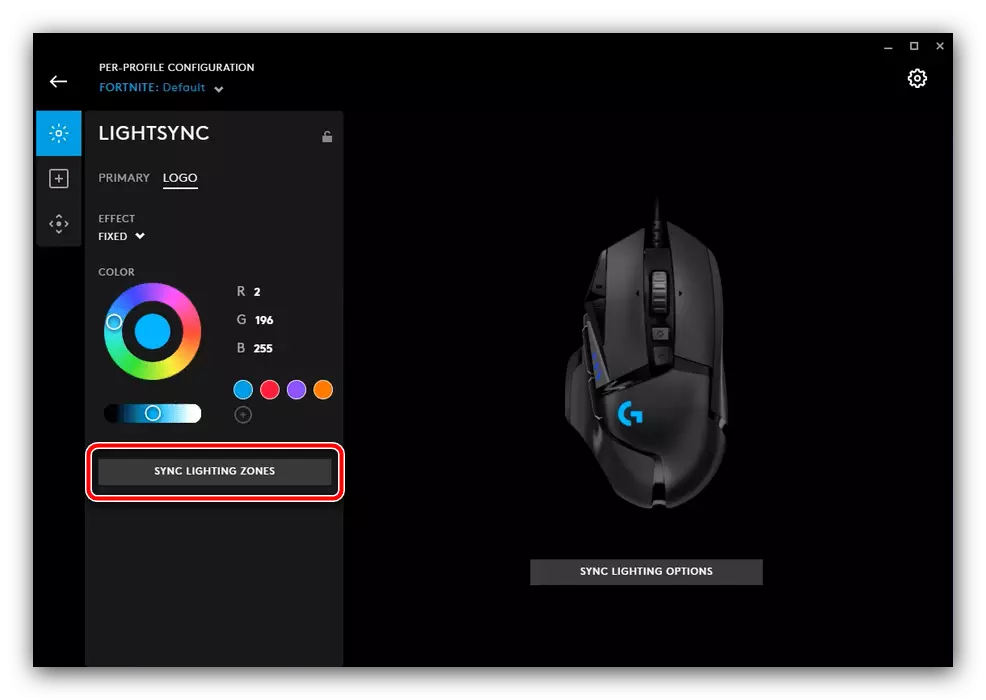
- In G-Hub, select the "Lightsync" section. Two tabs, "Primary" and "Logo" are available here: the first color profile is configured in the first, in the second - the loss of the logo.
- For both options, the choice of color is available (by means of a circle or input of RGB numeric values) and the effect (drop-down menu "Effect").

In the latter, you can choose one or another animation.
- After entering the settings, click "Sync Lightning Zones".
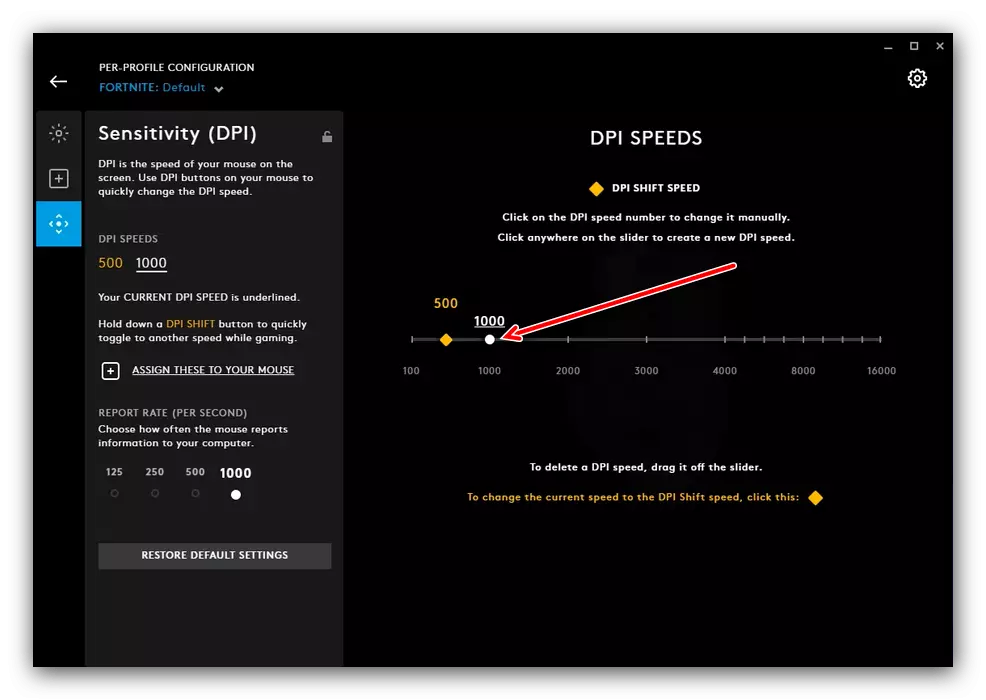
Setting up DPI
For a plurality of user mouse users are interesting primarily for the possibility of a quick change of DPI, the sensitivity sensitivity depends on the indicators. Through Logitech G-Hub, this operation can be easily accomplished.
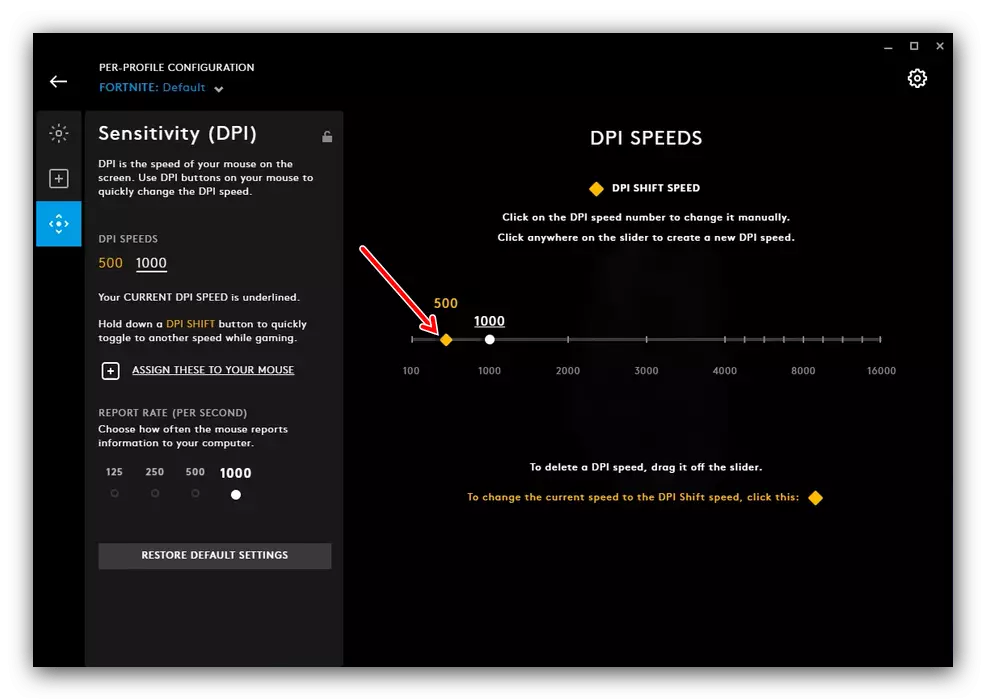
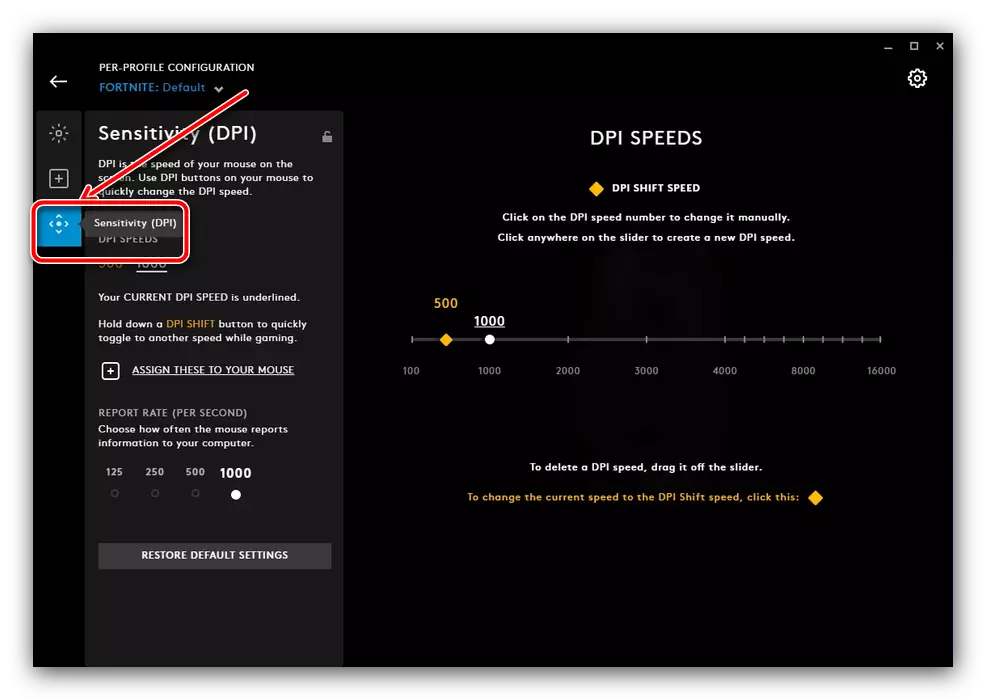
- In the Settings window, go to the "Sensitivity (DPI) section".
- A scale is present on this tab by which you can specify both the constant number of DPI and the secondary, for the subsequent quick switching to it. Let's start from the first to select the quantity, click on the desired position on the scale on the right part of the window, there should be a white point.
- To enable the secondary, use the yellow pointer - move it to the desired position.
To quickly switch between these two positions, go to the destination tab, select the "System" set, dive it up to the Mouse block and assign the DPI UP commands, DPI DOWN or DPI CYCLE commands to the desired buttons.

What to do if Logitech G-Hub is not installed
The configuration application for the logs devices appeared relatively recently, therefore, alas, problems may arise in its work. The most unpleasant of them - the program is generally refused to be installed. Fortunately, this can be eliminated by referring to the article on the link below and by following the instructions offered in it.
Read more: What to do, if not installed Logitech G-Hub