The selection of borders in Microsoft Excel is one of the ways of its visual designation, however, in this program there are other methods that allow you to create a "smart" or interactive table. If you have not yet done this and are interested in the topic, be sure to read the reference guide below or go to the following ways to learn how to select the table boundaries.
Read more: Creating a table in Microsoft Excel
Method 1: Using standard blanks
Excel has standard blanks that are most often suitable for regular users to denote the borders of the table. They suggest different allocation of lines and transitions, so they will be useful in specific cases. To add such boundaries, you will need to perform a couple of clicks.
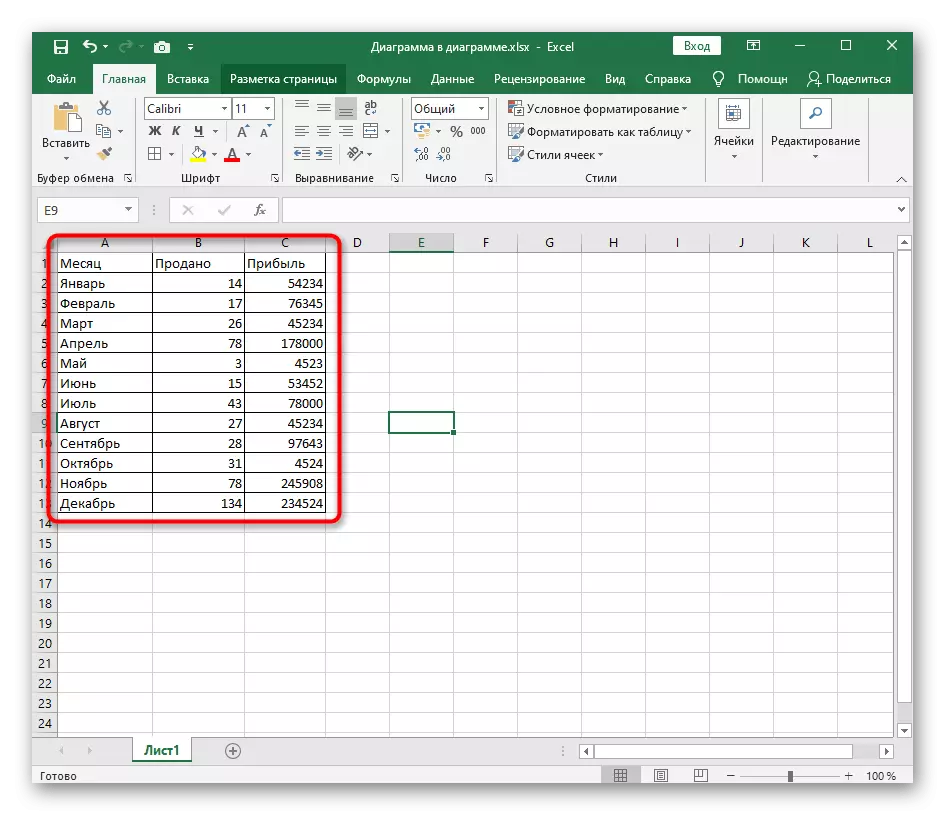
- With the left mouse button, highlight all the items included in the table so that visual changes apply to them all.
- Expand the "Border" menu, which is on the Home tab, and select one of the ready-made options. In the same menu, you can immediately view the changes made to the table through the thumbnail on the left.
- After applying the borders, return to the table and appreciate its appearance. If it is suitable for you, you can leave everything as it is, otherwise go to the additional settings.
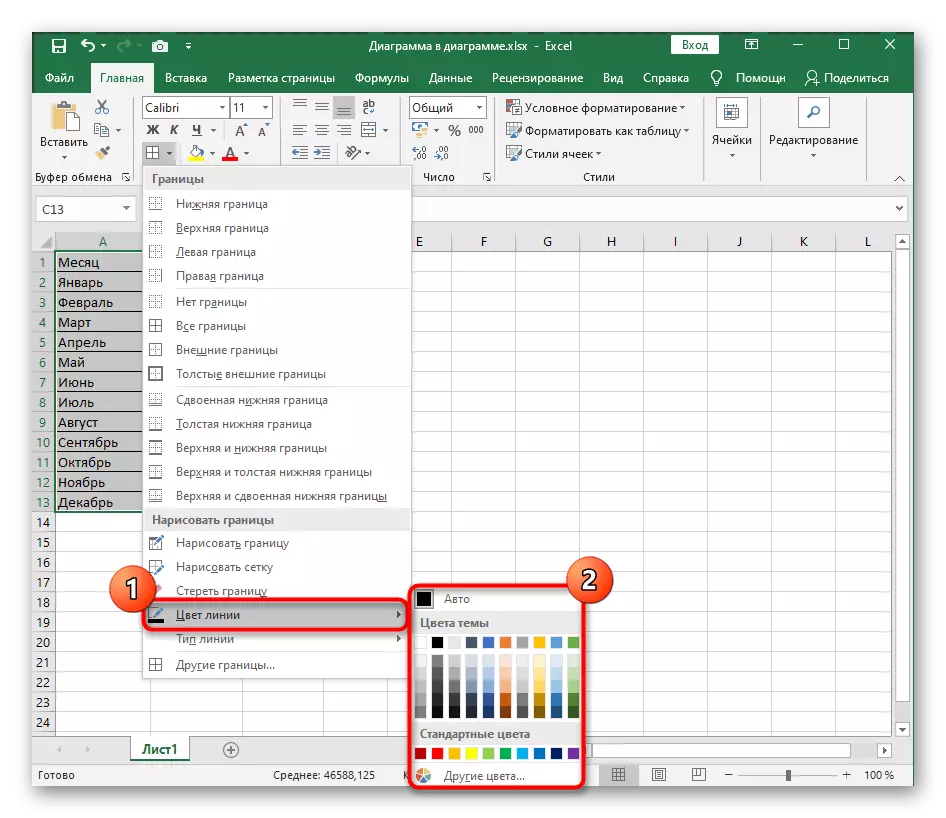
- For example, nothing will interfere with the opening of the same menu and change the color of the line using standard colors, theme colors or custom shades.
- The same applies to the type of lines, however, the set is limited to just a few different continuous and dotted options.
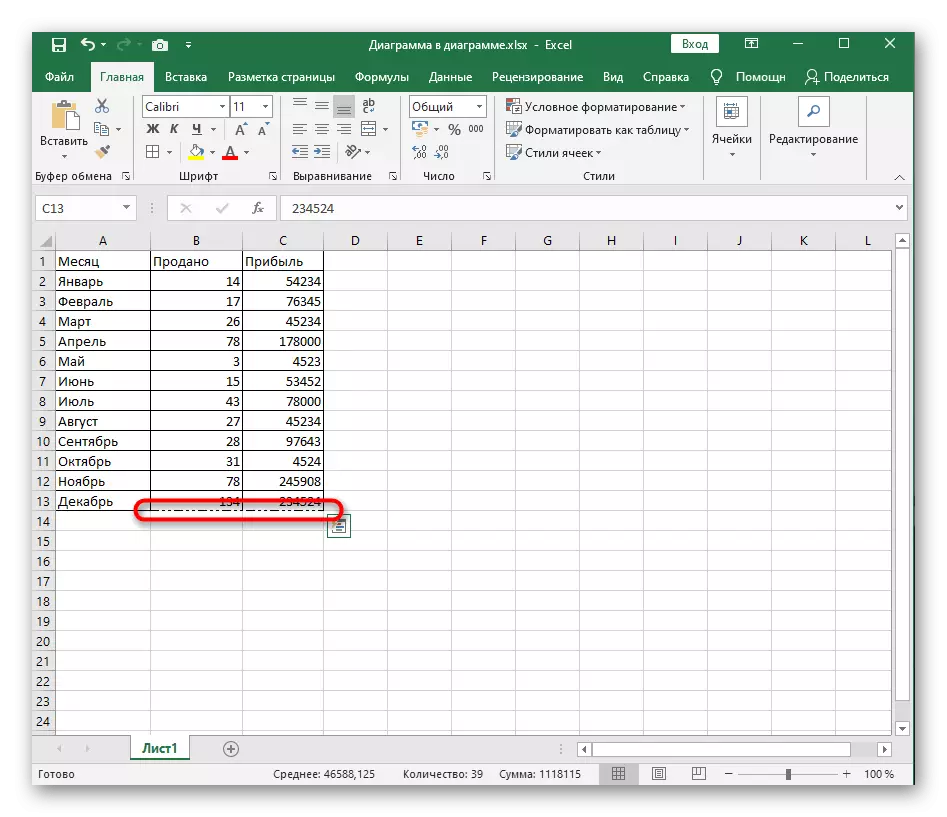
- If the color and type of lines are selected after the creation of the boundaries, each of them will be needed separately, clicking the left mouse button with an active editing tool.
- During this process, erroneous lines may appear due to improper presses.
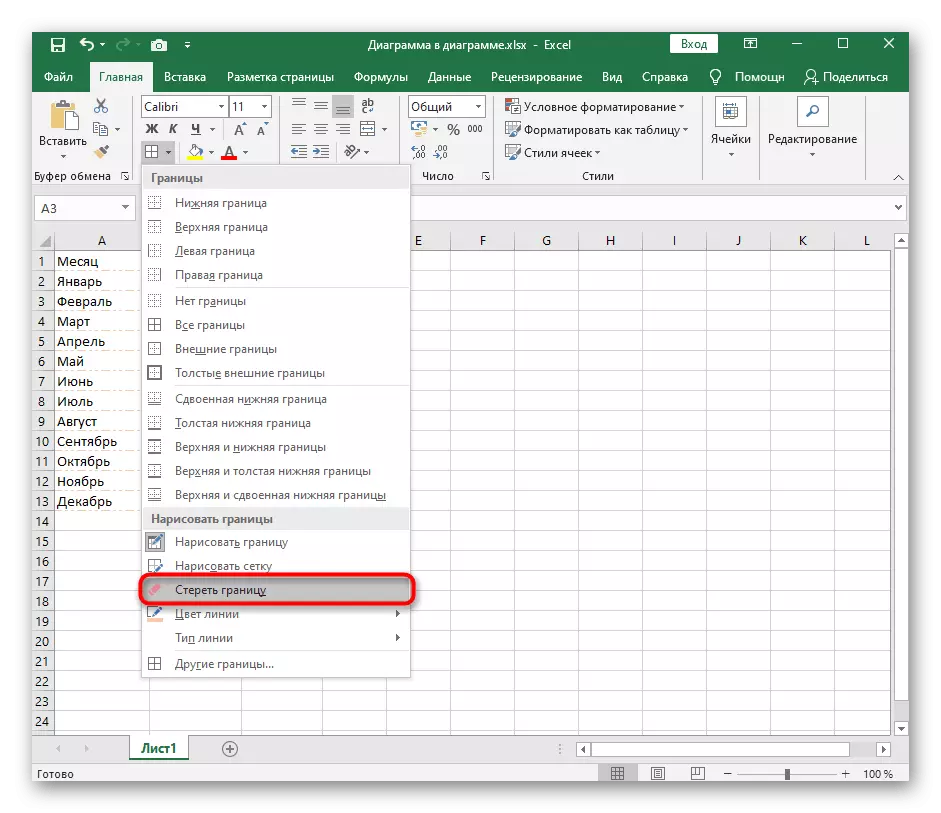
- Then remove them through the same drop-down menu using the tool to "erase the border".


If you do not fit the classic options or the need for an unusual customization of the borders of the table has arisen, use the following visual design options.
Method 2: manual border drawing
Manual drawing of the border for the table in Excel will create an individual design of each line as it is necessary to the user itself. To do this, use the same drop-down menu, but do some other actions.
- Open the List "Borders" in which you select the "Draw the Border" tool.
- If the line type and its color will differ from the default, immediately change them to create a correct design when drawing.
- Start drawing borders, clicking on the necessary fields or spending on them, immediately creating a visual for each field.


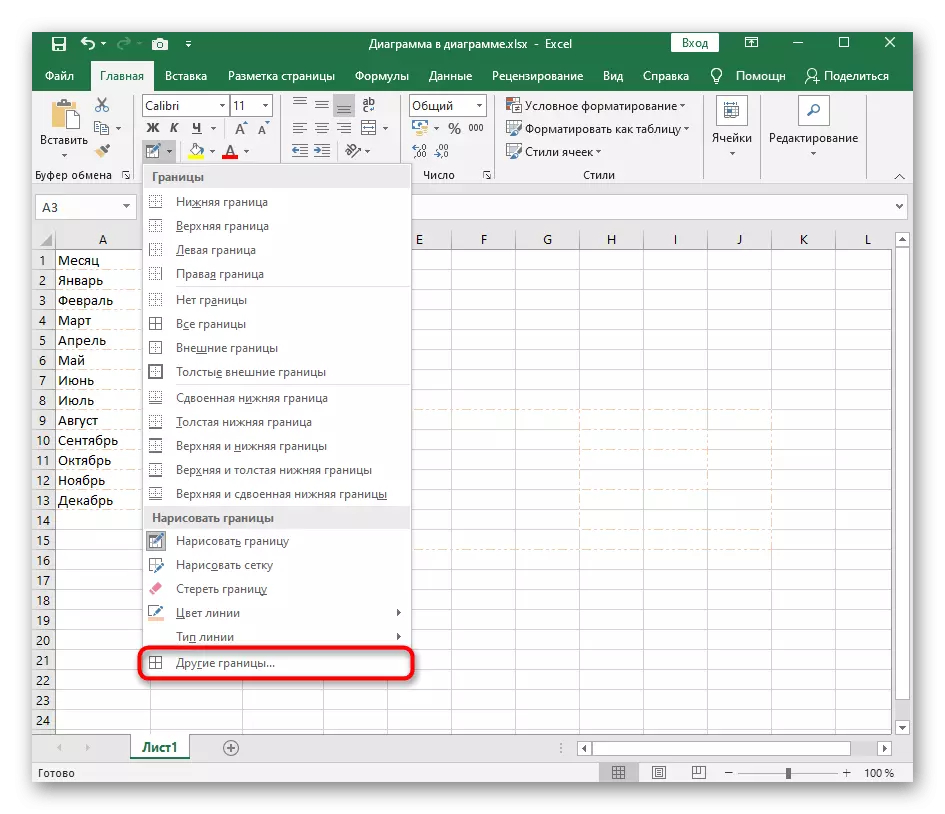
Method 3: Using the "Other Border" tool
The tool called "Other Borders" will allow you to create lines that are not part of standard templates, for example, when you want to cross the cell or add an unusual design.
- In this case, open all the same "border" drop-down menu, but select the last "other boundaries" tools.
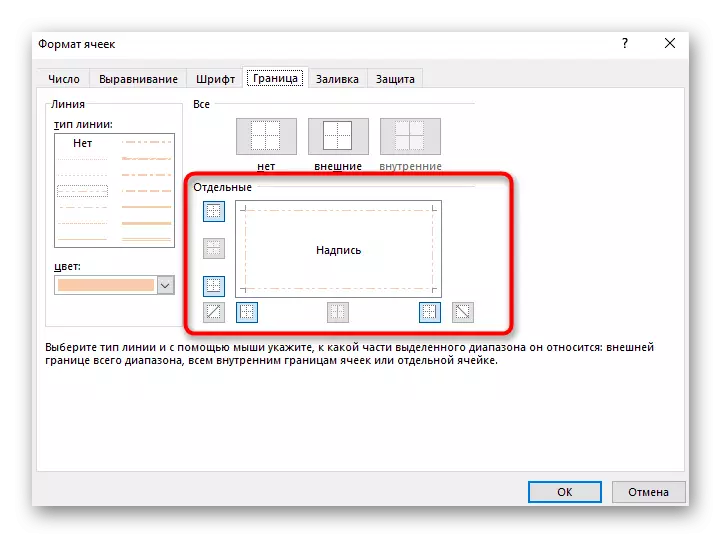
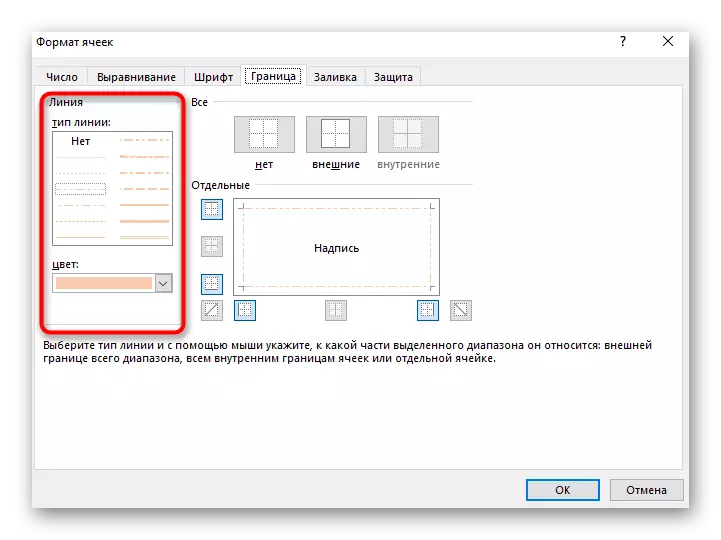
- Start creating lines in the window specifically allotted for this. It is represented as an enlarged cell with a template inscription, and pressing the edges can immediately add or remove the line.
- In this tab, you can immediately change the type of border and its color, reading the result in the preview window.
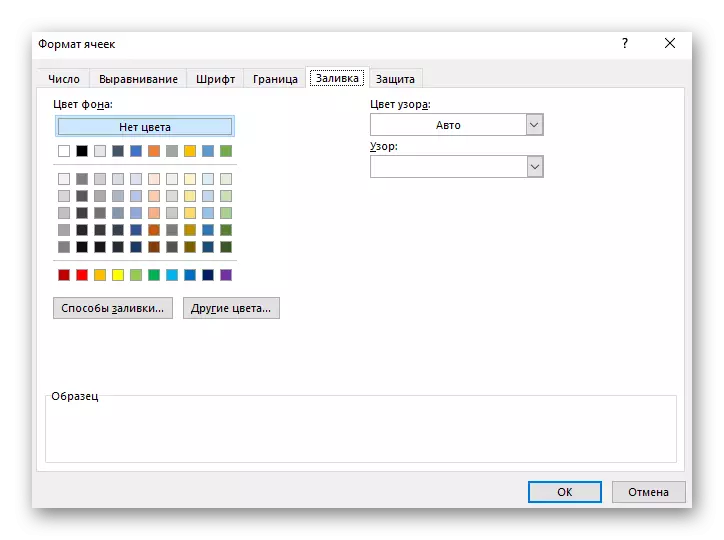
- Go to the "Fill" tab, if you need to change the background color of each cell that is part of the table.
- In the next screenshot, you see the option of how non-standard add boundaries, for example, creating the effect of a crossed cell by a dotted line or continuous line.
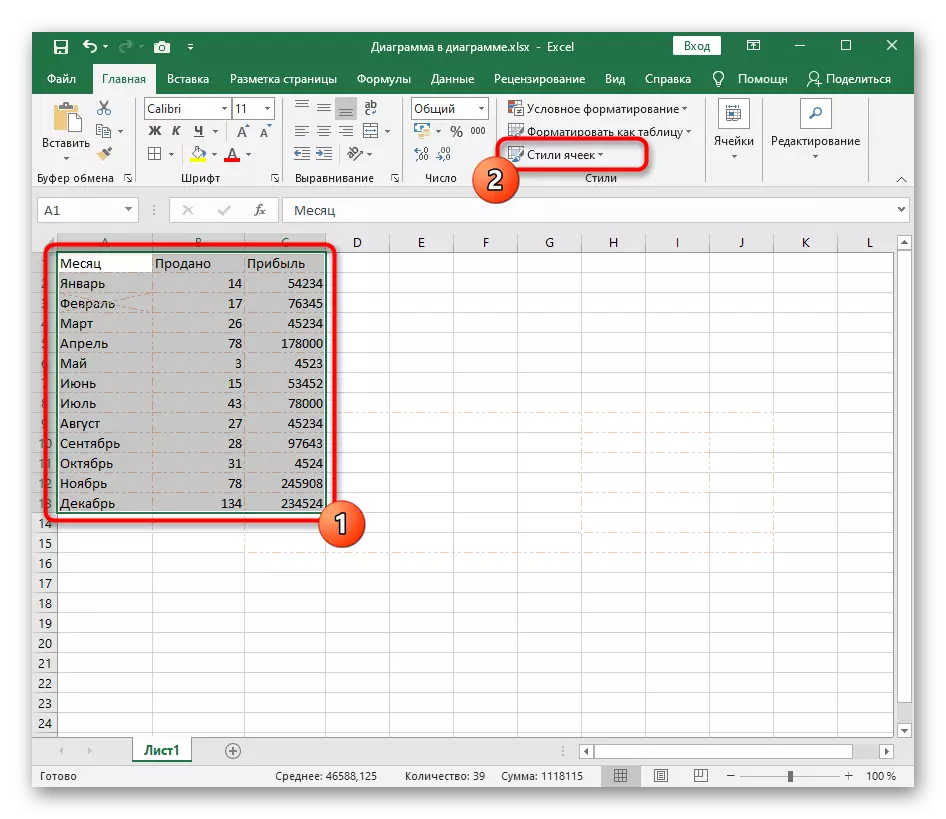
Method 4: Application of the "Cell Styles" function
As the last method, we propose to learn about the "cell styles" functions, which can also be used to create non-standard border design, including other cells included in the Excel table. Personal settings for this tool are not so much, so ready-made templates are most often involved.
- First, allocate the entire table whose cells you want to change with the help of "cell styles". Press the line with the name of the function in the "Styles" block located on the Home tab.
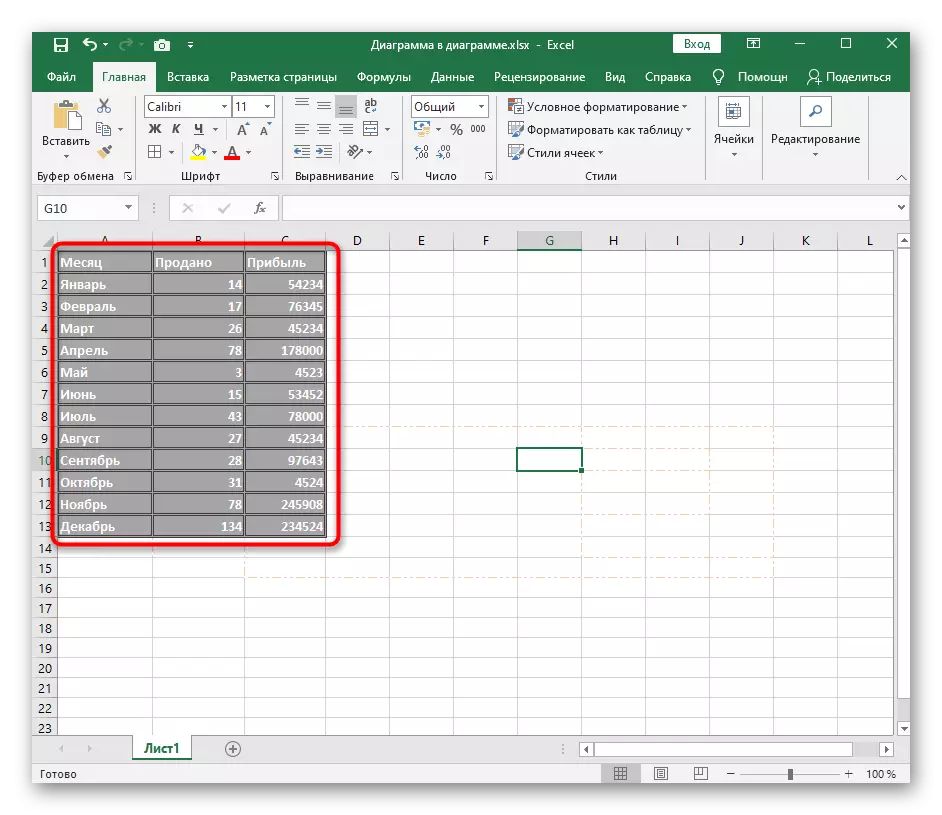
- A separate window opens with examples of cells for the range of data, titles or numeric formats. Pick up the workpiece and double click on it to apply.
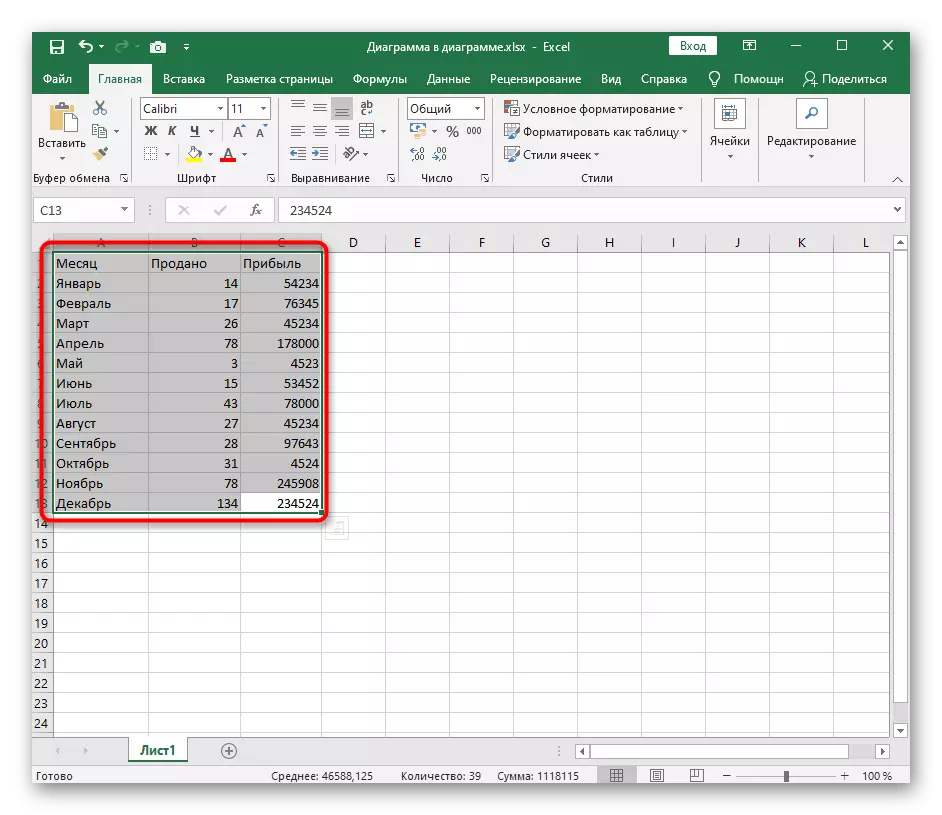
- As soon as you close the window, you can look at the result. For example, the screenshot below shows an unusual design with double borders, which is difficult to create it yourself, but using templates it is at two clicks.
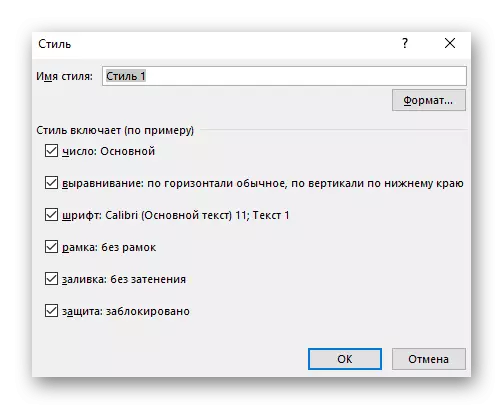
- If you can go to the "Create Cell Style" tool when interacting with this tool, you can manually install, decide what will include style, and then give it a name and place on the main selection panel.