

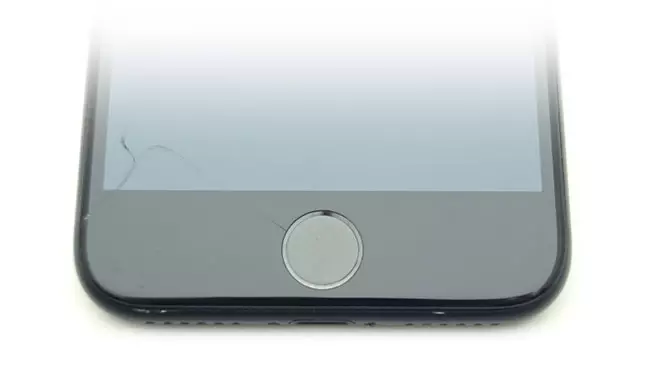
I got into my hands iPhone 7 with the most typical problem - the glass of the display module was broken, the crack from the lower left corner throughout the area. The decision is one thing - change the broken on New!
Parse
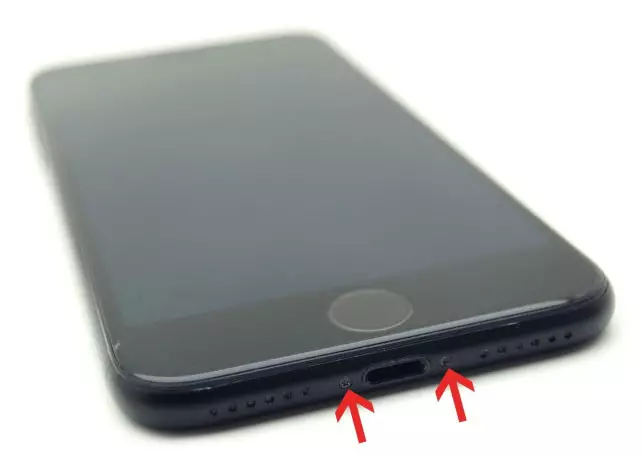
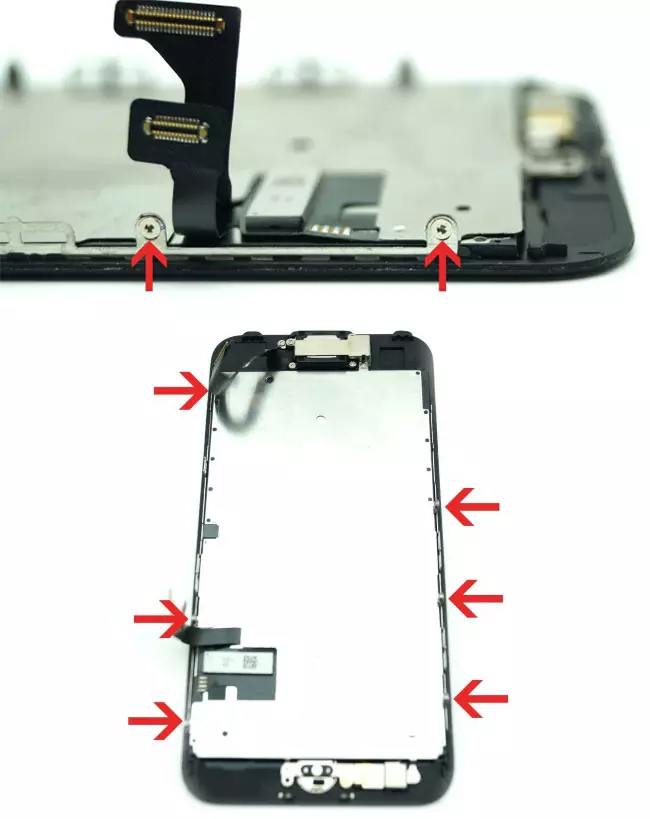
The analysis of any iPhone, starting with the 2008 iPhone 3G model, starts with unscrewing two screws located at the bottom of the device.
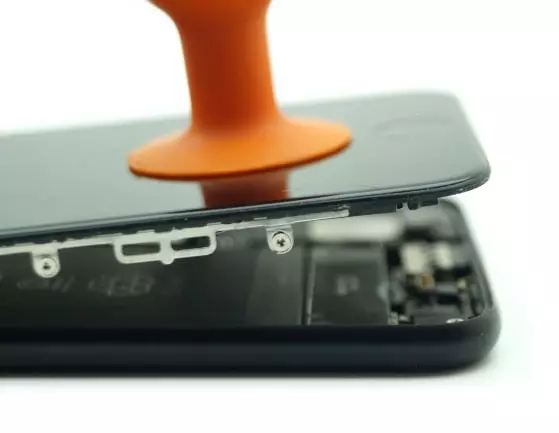
As at later models, the perimeter of the iPhone 7 display module is combined with water-repellent scotch, however, on our patient, the module has already changed to analogue, and the tape has been removed. Otherwise, it is necessary to heat the surface of the glass slightly to facilitate the process of parsing.
With the help of a suction cup, starting from the bottom, create a gap, where we place a plastic blade and gently around the perimeter lift the display assembly with the frame.
The last frontier will be latches at the top of the phone. Slightly delay the module on yourself and reveal the victim as a book without sharp movements - two parts of the phone are kept connected by plumes. They will need to turn off.
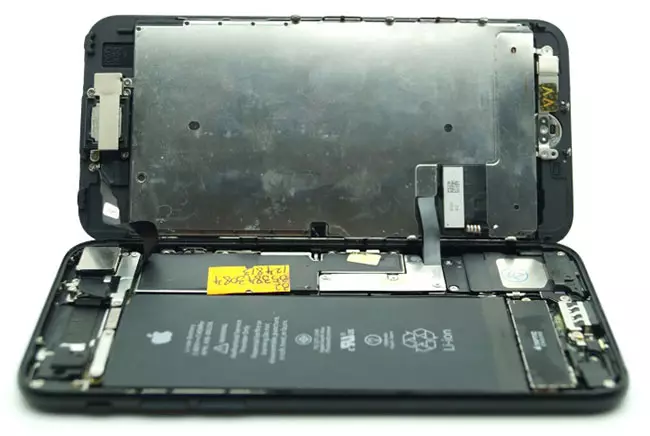
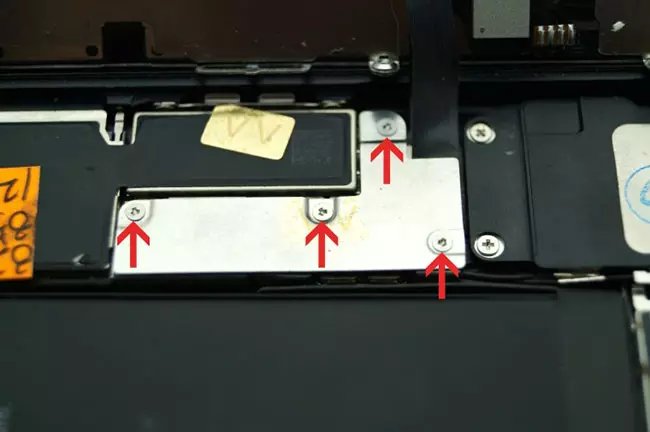
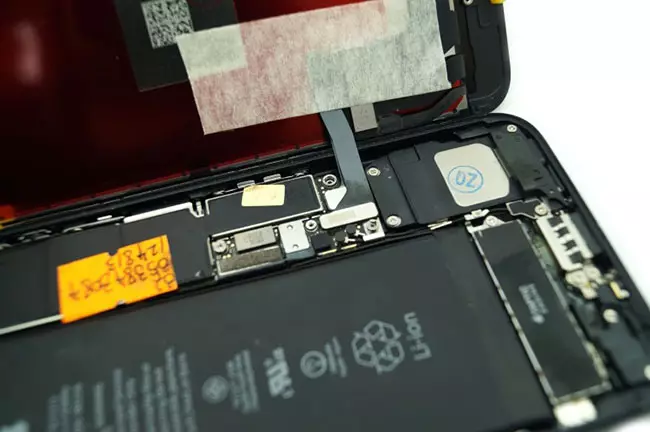
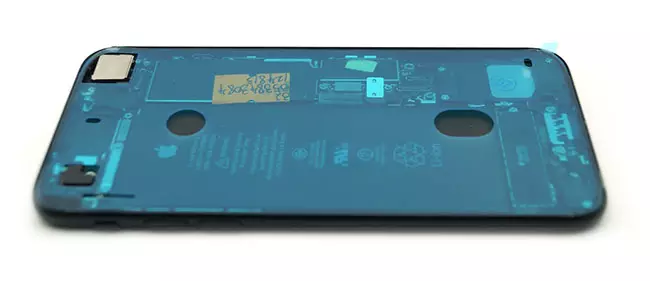
We start with a protective plank of the main loops, the connectors for display, sensor and batteries are hidden under it. The stickers present on the internal elements and the system board tell us that the phone is restored and has been early to repair.
We unscrew the screws having a cunning triangular slot - Apple strives to reduce the number of repairs outside official service centers and complicates the task, including for an independent attempt to repair.
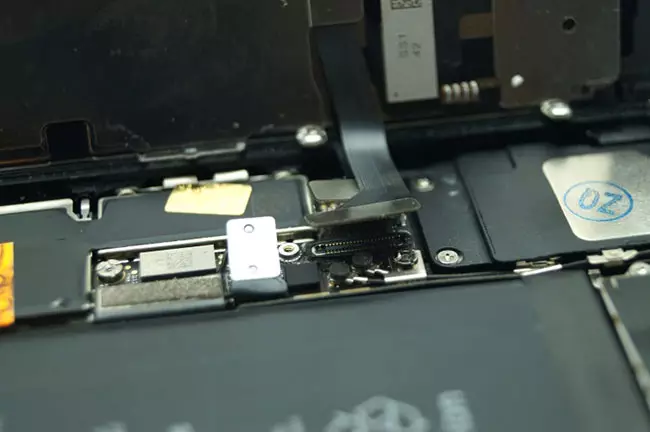
The first thing we turn off the accumulator loop, extra problems and chance to us for nothing.
Next, we disconnect the two plumes of the module, it is better to use a wide plastic blade, in order not to overload a fairly extended connector and do not break the contacts.
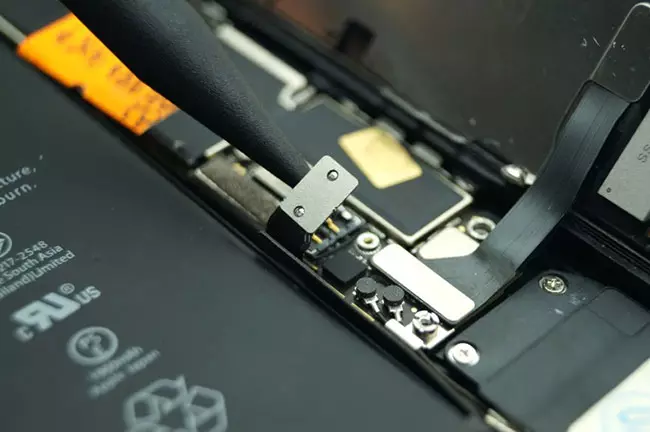
It remains to turn off the upper loop on the camera and the conversational speaker - its connection site is hidden under the next protective planaker held by two screws.

We unscrew and completely disconnect the display module.
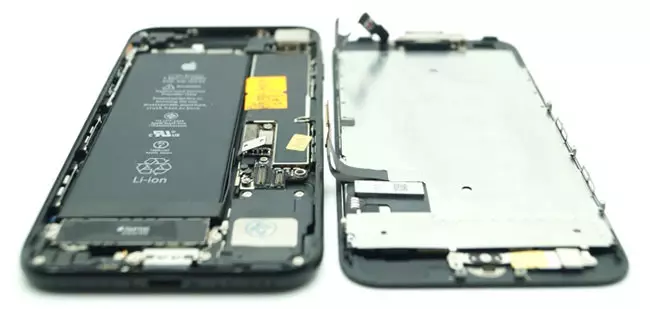
Verification of spare parts
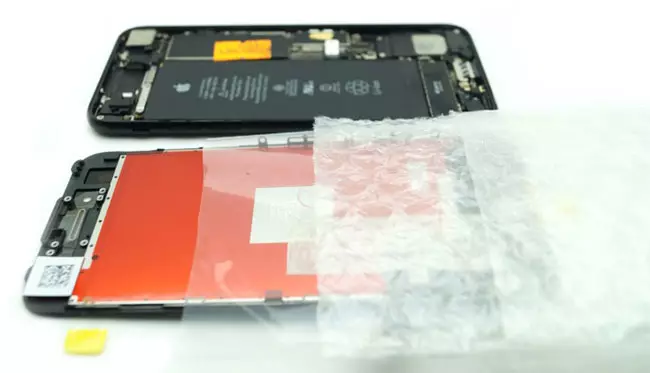
We prepare a new spare part - the original display module. In this case, the replacement is not equipped with mounted elements, such as a conversational speaker and a train on the front camera, sensors / microphone, they will need to be transferred from the broken.
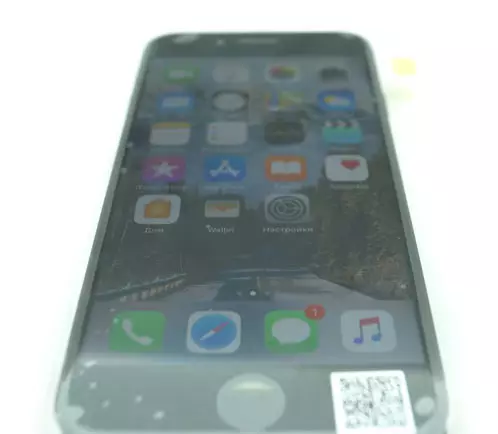
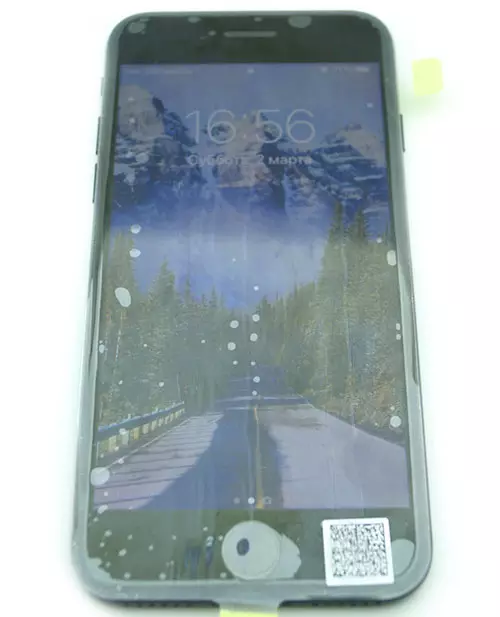
We connect two loops to the sensor and the display to check the new spare parts, lastly connect the battery and turn on the smartphone.
We check the picture, color, brightness and uniformity of the backlight, the lack of graphic distortions on both white and on a dark background.
Sensor check can be carried out in two ways:
- Enter all graphic controls, including those located at the edges (curtain notifications from the top face and the control point from the bottom), buttons, switches. You can additionally check the uniformity of the sensor by dragging any application icon - the icon must measure the finger from the face to the face;
- Enable a special virtual control button - Settings application - "Basic" item - "Universal Access" category - and, finally, "AssistiveTouch". Move the inclusion slider and the translucent button will appear on the screen, withdrawing to pressing and dragging, it will also help check the operation of the touch panel throughout the area.
Build Display
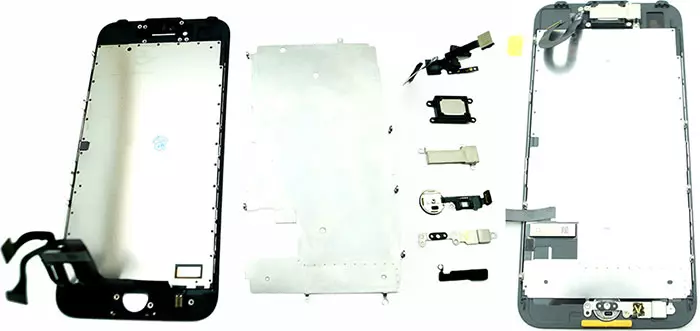
The display is tested completely and is subject to installation, which means you need to transfer the elements and the plug-in peripheral with the replaceable module.
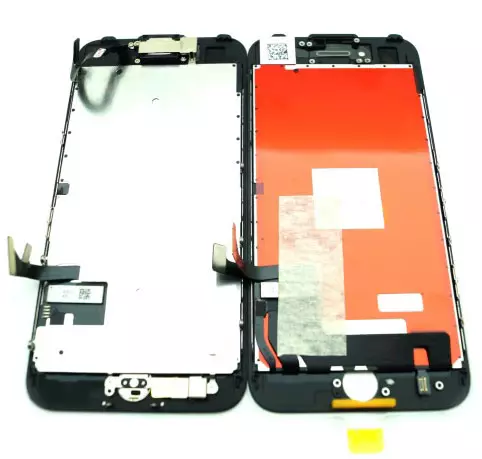
You will need to transfer:
- Metal substrate base of the display module;
- The "Home" button and the basis holds it;
- Cable on camera, microphone, sensors and contacts of spoken dynamics;
- Spoken speaker and a fixing lining;
- Grid of spoken speaker
We start with the side screws holding the substrate panel - their 6 pieces, 3 with each of the sides.
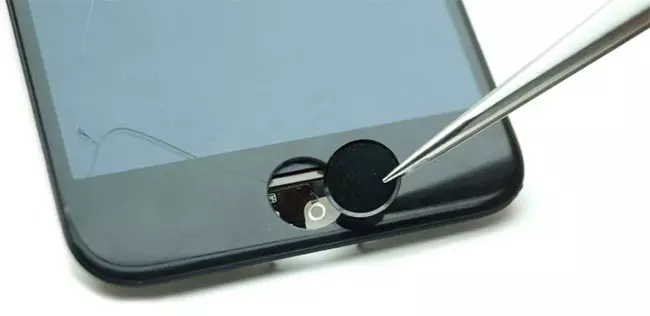
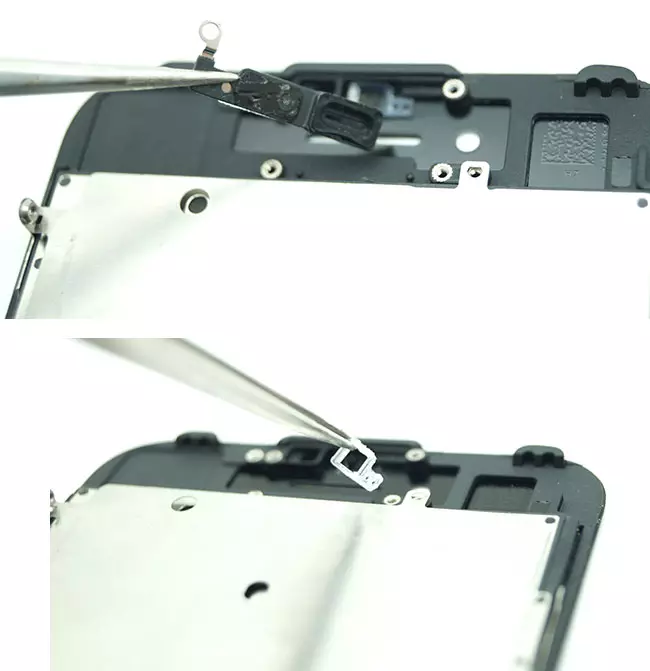
Next to the queue touch button "Home", it fixes the lining with four screws - unscrew and deposit to the side.

Disconnect the connector of the button and reject it to the side, the fine metal blade gently use the loop, held on the plastic scotch.
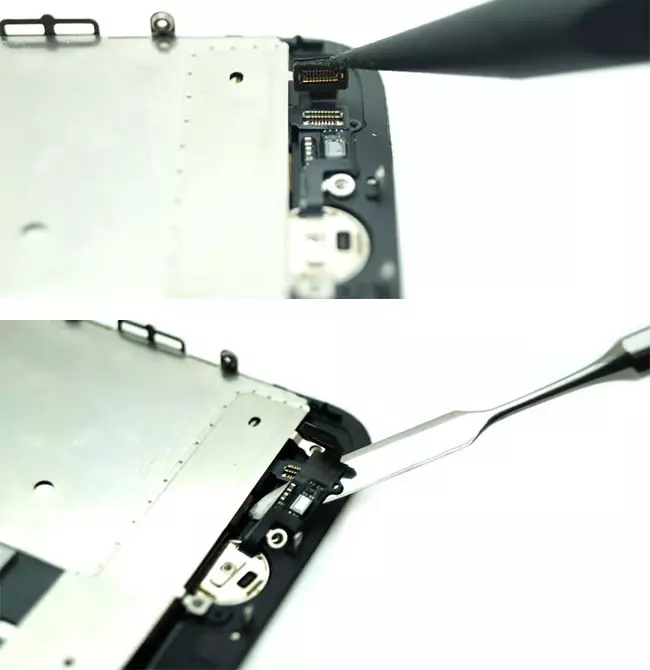
On this model, the button is removed from the reverse, the outside of the display, to install it on the new spare part will also be "from the end".
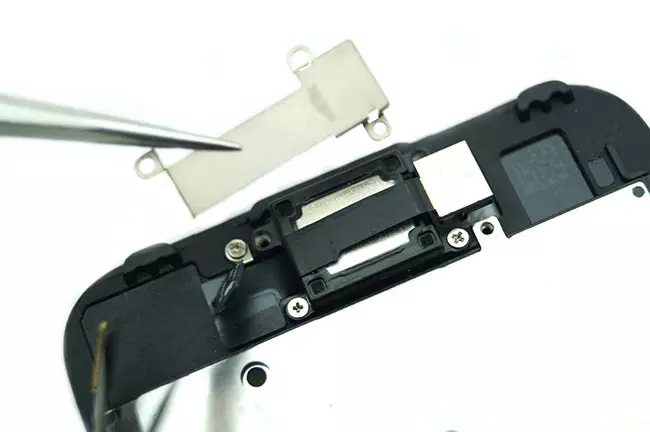
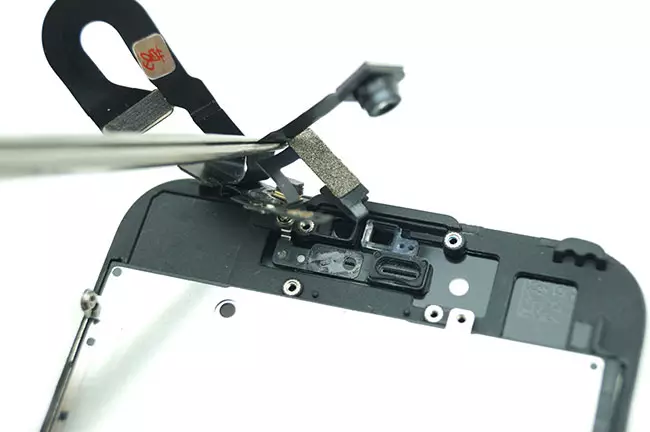
Next to the upper part - namely speaker, camera and grid of spoken speaker. Here are already 6 screws, 3 of them hold the dynamics lining, 2 fix the speaker itself and the last bracket with a protective net of the speaker.

Important: Save the order of the screws, their length is different and may damage the display or glass when inconsistencies.
We remove the metal lining, we release the speaker and flexing the loop with the camera to the side.
Do not forget the plastic holder of the front chamber - it centers the front camera on the window and protects against dust, in the future fix it with glue.
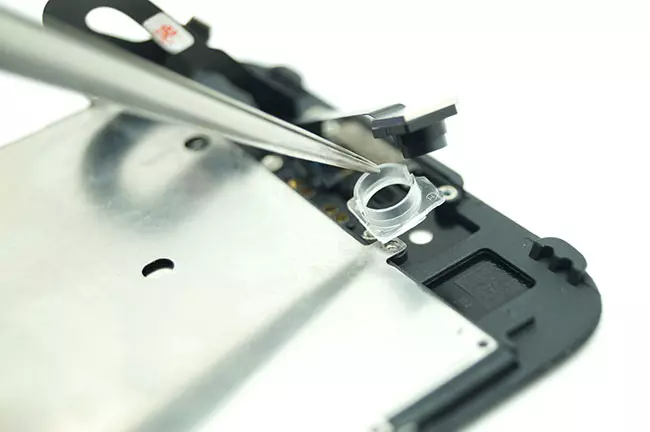
Open the upper loop, trying not to damage it, it is glued with the base of the microphone and contacts to the conversational speaker. To facilitate the process, you can warm the display module from the bottom side or add some isopropyl alcohol.
The latter dismantle the grid of the conversational speaker and the plastic retainer on the approximation / light sensor - we advise it to fix it on glue.
Prepared components and periphery are transferred to a new spare part in the reverse order, observing the location of all screws and elements with marginal attentiveness.
Application Scotcha
Since the iphone is equipped with a sizing, we will restore it and in this case a special set - tape for assembly. It will eliminate the backlash, extra gaps and will be protected from random moisture and dirt.
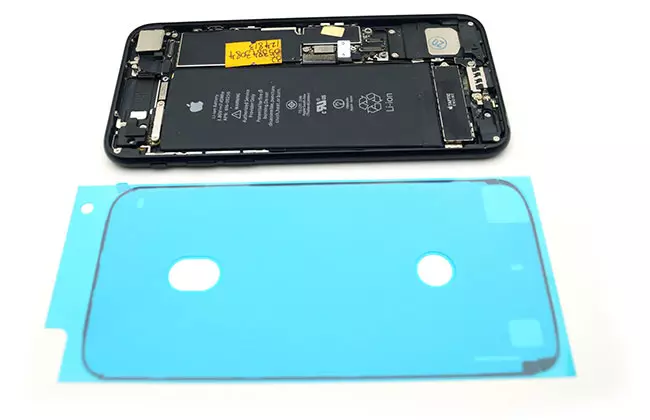
We separate the transport film on one side and apply tape to the pre-purified and skimmed base of the case. Tightly turn the surface at the edges and remove the last film - everything is ready to install a re-assembled display module. Do not forget to return protective strips and hold the screws to the place.
Everything works - perfect. We return two lower screws in place and proceed to the final check.
Several tips that can be useful when replacing the iPhone screen:
- Enclosing the screws in the order of their parsing and location: This will eliminate errors and the possible faults;
- Do photos before parsing: save time and nerves, if suddenly, forget what and from where.
- Latching the display module Start from the upper face - there are two protrusions, moved to the special grooves of the case. Further, lateral latches, starting with the top and last, the bottom.