

Method 1: Menu "Print Setup"
If you are going on an ongoing use of a print printer without fields, you can configure this parameter in the control menu by the device itself. This will allow you to set the changes only once and make them applied when sending to print each document. Regardless of the equipment model, this task is performed equally, and the algorithm of action looks like this:
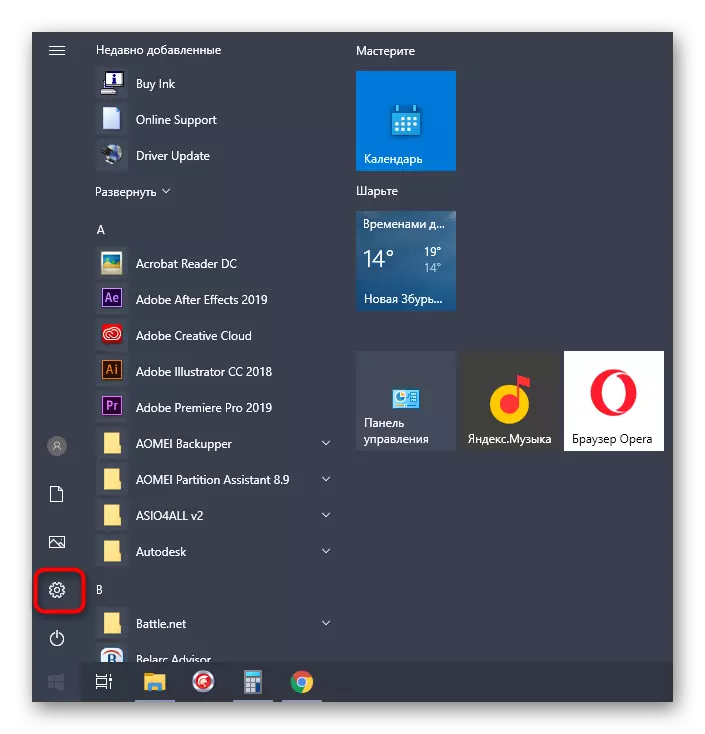
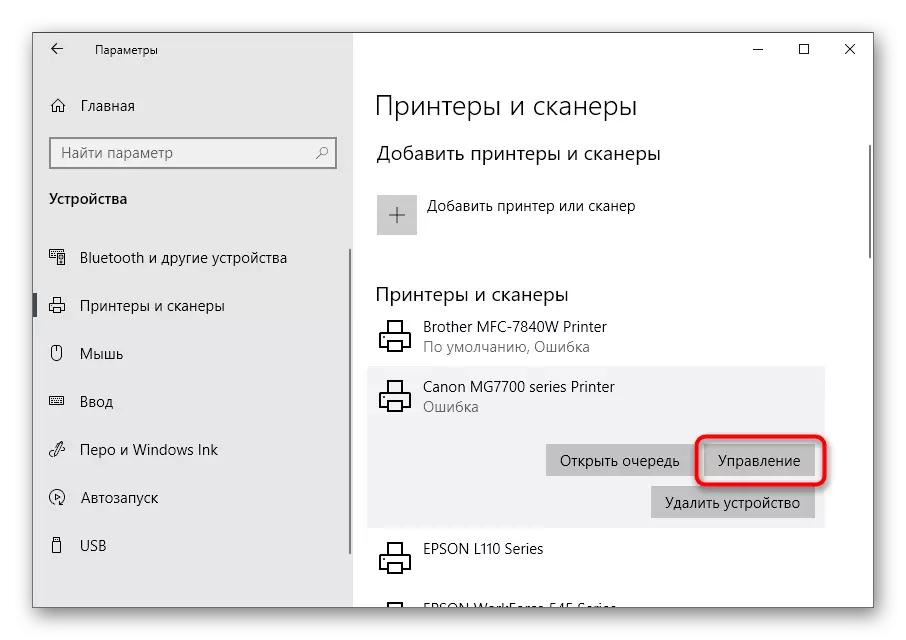
- Open the Start menu and go from there to "Parameters".
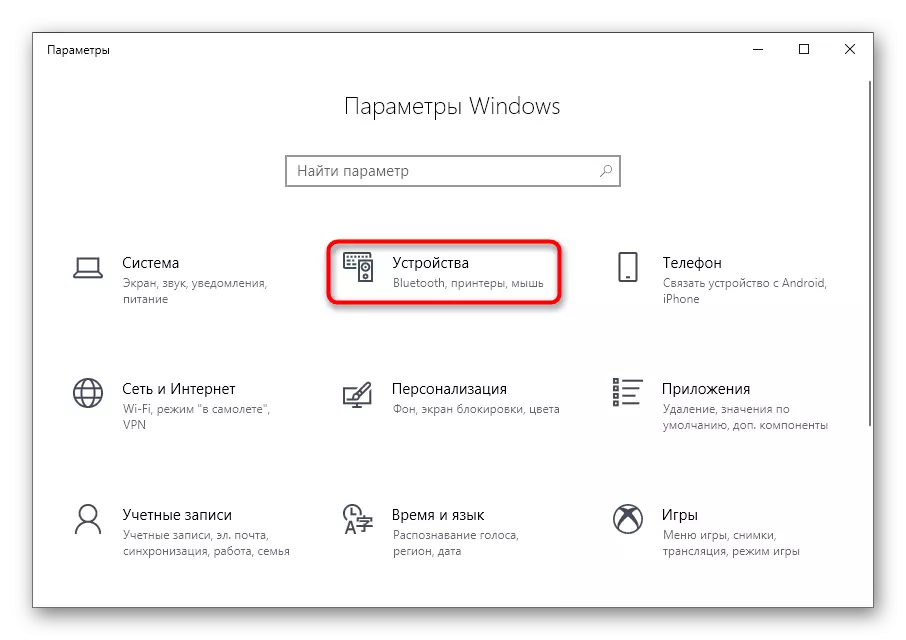
- Among the list of all sections, open "Devices".
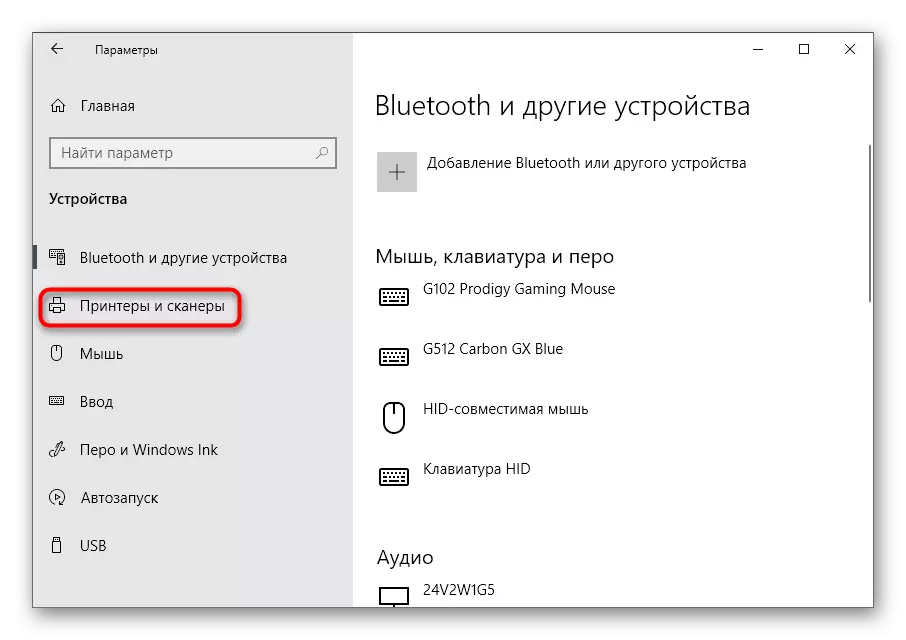
- Note the panel on the left through which and switch to the category "Printers and Scanners".
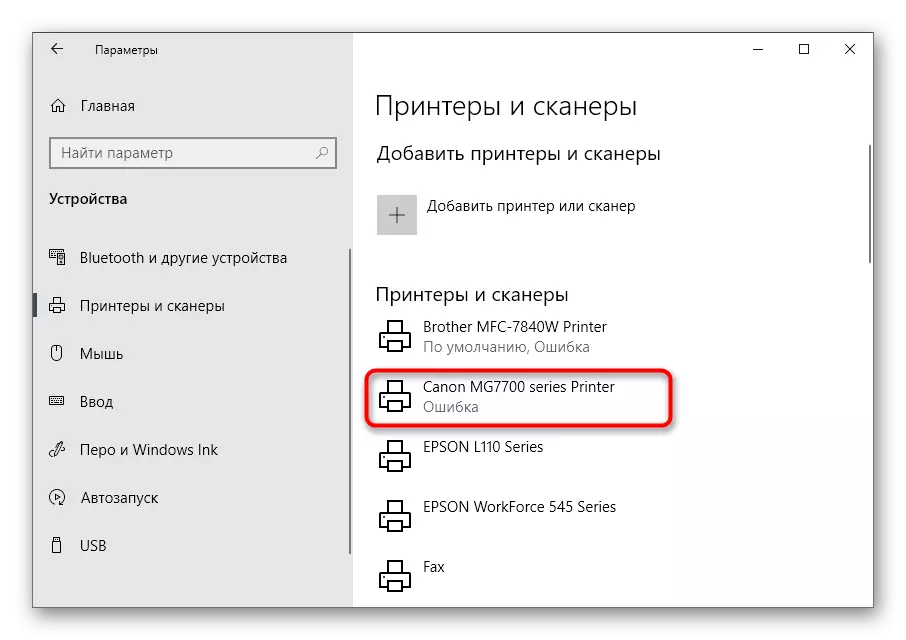
- Find the device for which you want to configure printing without fields, and click on it to display the menu.
- All the necessary parameters for solving the task are arranged in "Management".
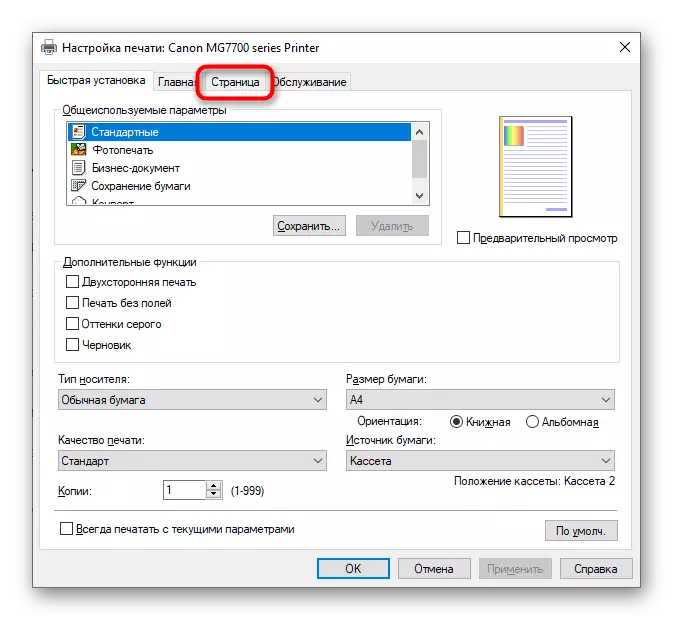
- Click on the click "Print Settings" - item is always in this menu and has the same name for any model of printing equipment.
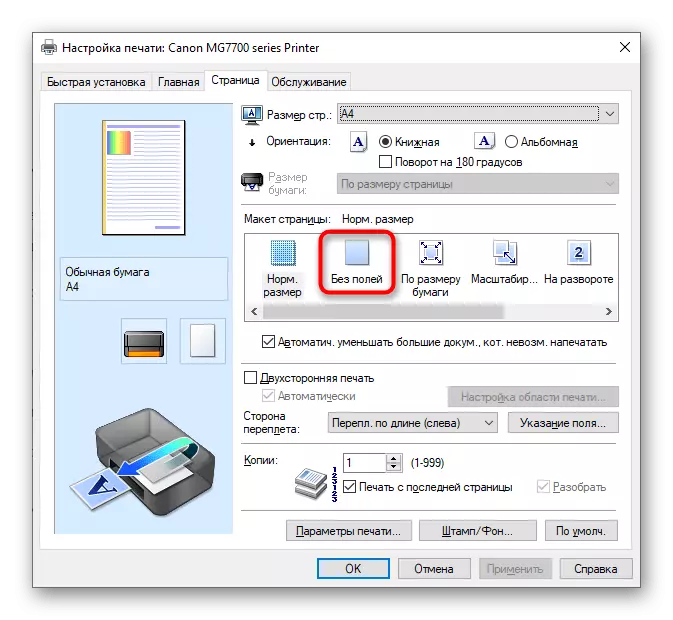
- Select the "Page" or "Print" tab.
- As a layout of the page, set the option "without fields" or find it in another block of settings - their location depends on the brand and model of the printer.
- If the printer supports work with different types of paper, a separate notification will appear where you need to specify which paper to make changes.


It remains only to print a document that already has fields to check if their printer ignores now. If suddenly the field did not disappear anywhere, try to restart the computer and printing equipment, and then repeat the operation.
Method 2: Printer's branded application
This option will suit those users who prefer to send documents through the proprietary application of the printer and, accordingly, it is installed on the computer itself. We will specify that not all devices support similar solutions that are installed with the main driver.
- Follow the steps in the previous process steps to find your printer in the list and display controls them. Under his name, click on the line "Open the printer application."
- Start the print job documents by clicking on a specially-designated button.
- In the "Explorer", select the text file or document format PDF, you want to send in borderless printing.
- When you print a configuration change the value of an item, gets rid of the following fields.
- If it is not in the main menu, go to the "Other settings" and look for it there.


Precise description of the location of this option to fail, because each application is different in appearance and functional features.
Method 3: to work with documents Program
If the document should go to the borderless printing once, it makes no sense to constantly switch option in printer settings. Instead, you can just set it once in the interaction with the program, which is carried out document preparation. This can be any text editor, the principle of further action does not change.
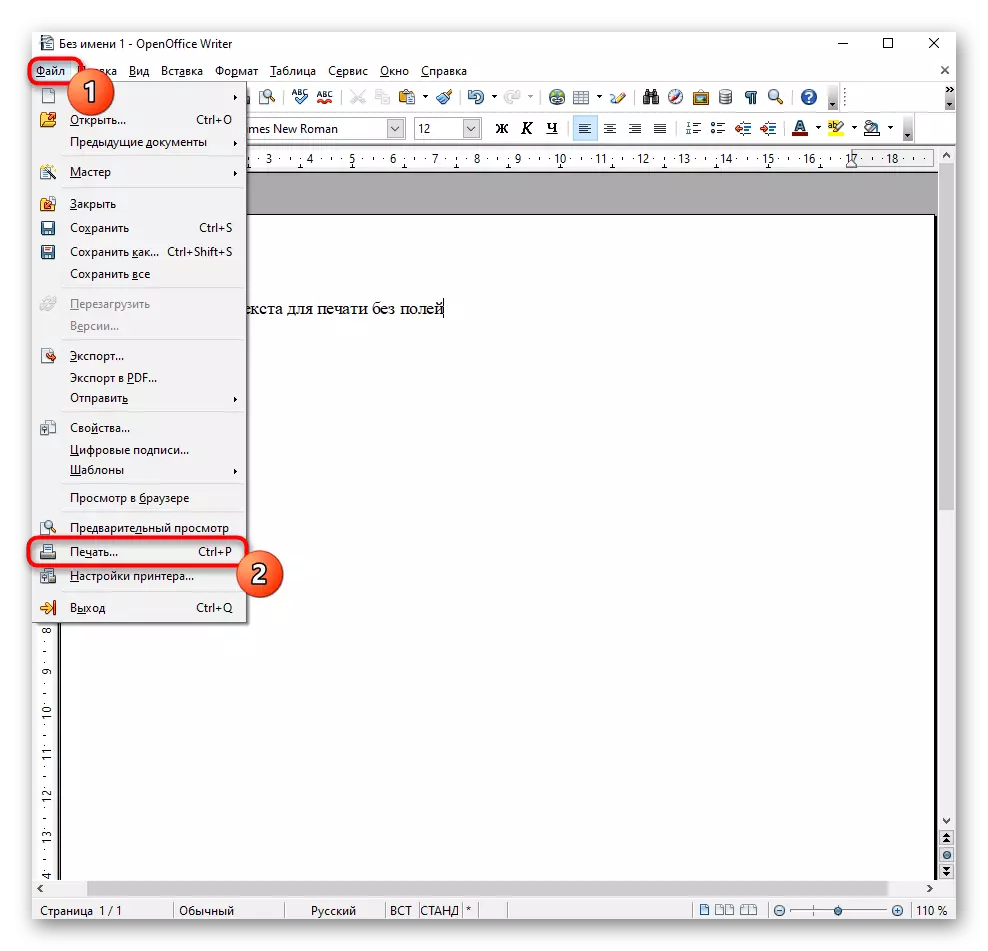
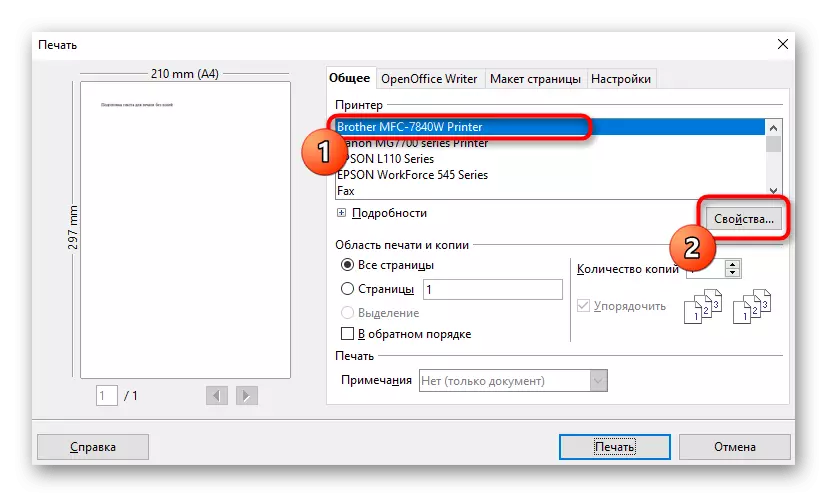
- Open the "File" and through the drop-down menu, go to "Print". You can run this component and using hot keys Ctrl + P.
- In the menu select the printer you want to use for printing, and then click the button "Properties".
- Click the "Page", which we have already mentioned in Method 1, and then select a borderless printing mode, and then go back and start the process.

Method 4: Edit the document
Sometimes the only way workers will be editing the document by removing the field via software, in which you are working with him. On our site there is a separate article on how to cope with this task in Word, and you just have to adapt the instructions for use a text editor and start printing without margins.
More information: Change the page field in a Microsoft Word document
