

Method 1: Connection Check
First you need to make sure that you have completed the correct connection of the printing equipment to the computer. To do this, check all the cables and make sure that the printer itself is turned on. If difficulties arise with the connection or you have never come across this action, contact a separate article on our website, where you will find a description of all stages of this procedure.
Read more: Installing a printer on computers with Windows
This can also include the absence of drivers, because it is not always the operating system automatically picks them up and installs, carrying out normal operation of the device. Sometimes installing it will be necessary to do it yourself, and if you have not yet done, install the software, following the instructions from the link below, or find the manual for a specific printer model from HP using the search on our site.
Read more: Installing drivers for printer
Method 2: Running troubleshooting tools
The method with starting troubleshooting means is not always effective, but it is extremely easy to implement, since all actions are performed by Windows. It is intended to verify the main problems caused by improper operation of system components.
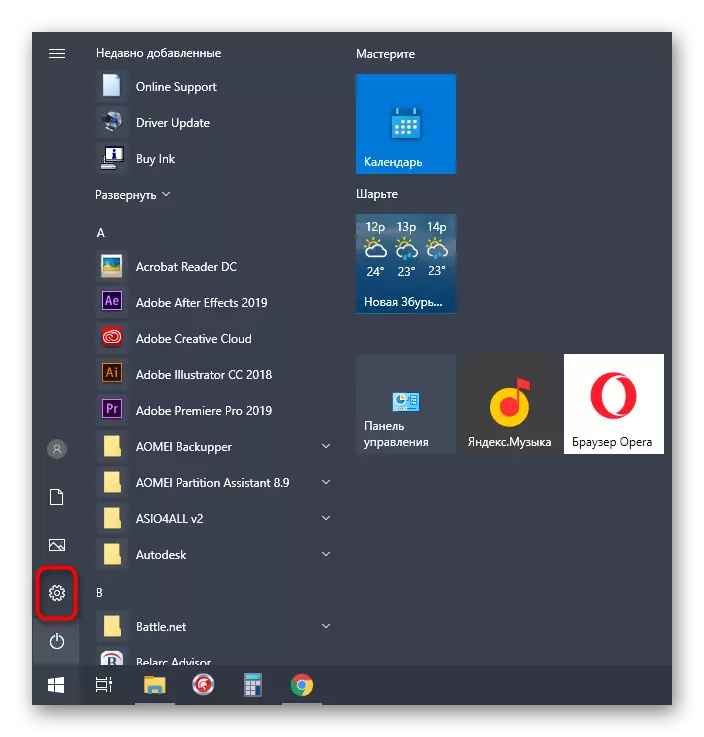
- Open the "Start" and run the "Parameters" application by clicking the icon in the form of a gear.
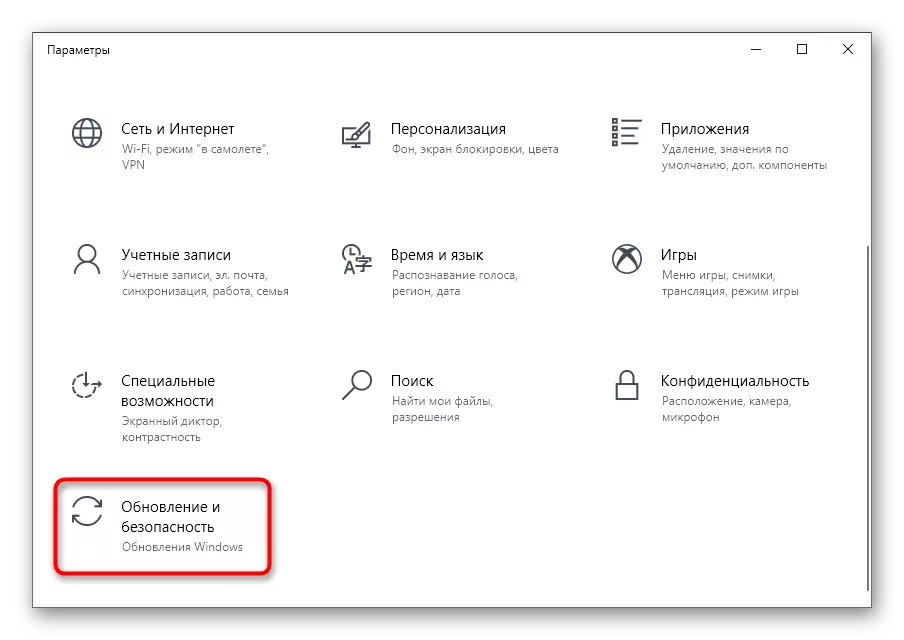
- Select the latest category called "Update and Security".
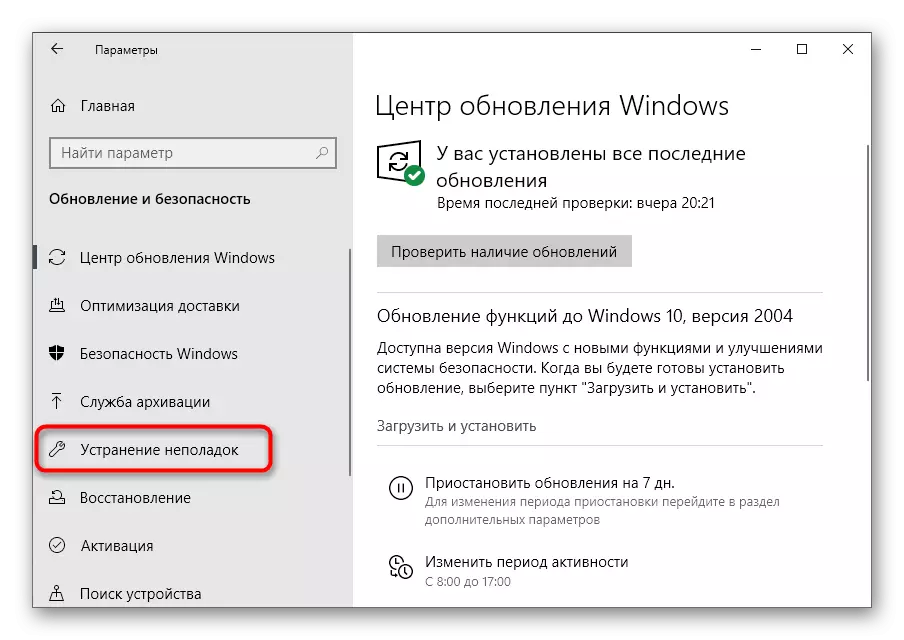
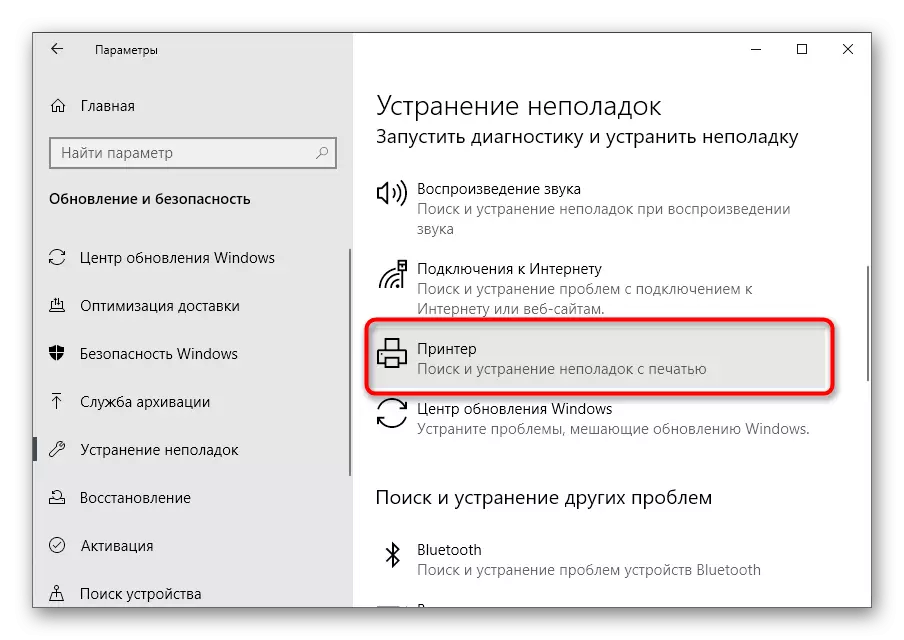
- In the list of available sections, go to "Troubleshooting".
- From present diagnostic tools you need a "printer".
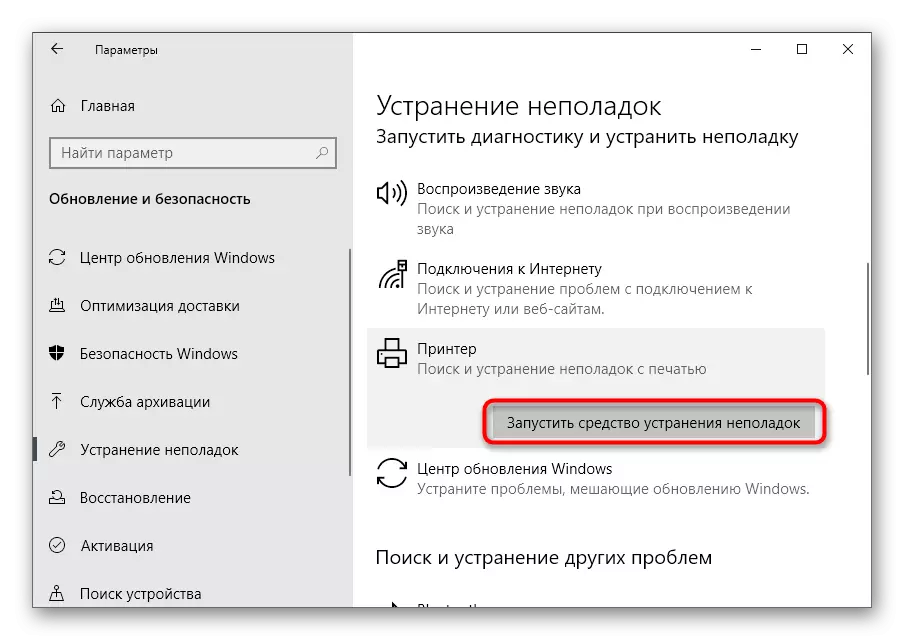
- After clicking on this line, a list of actions will open, where there is only one button - "Run a troubleshooting tool."
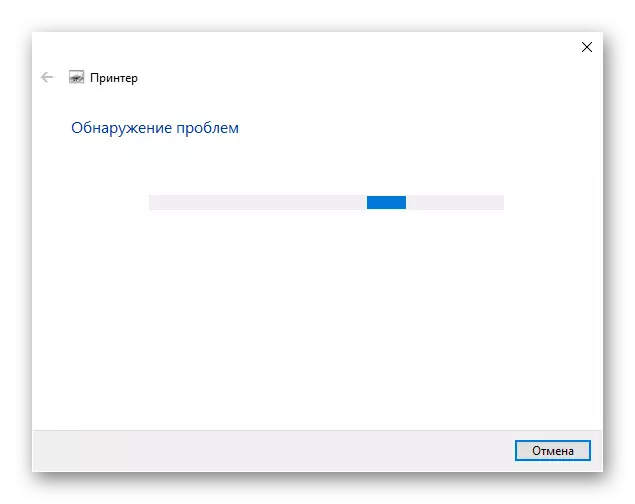
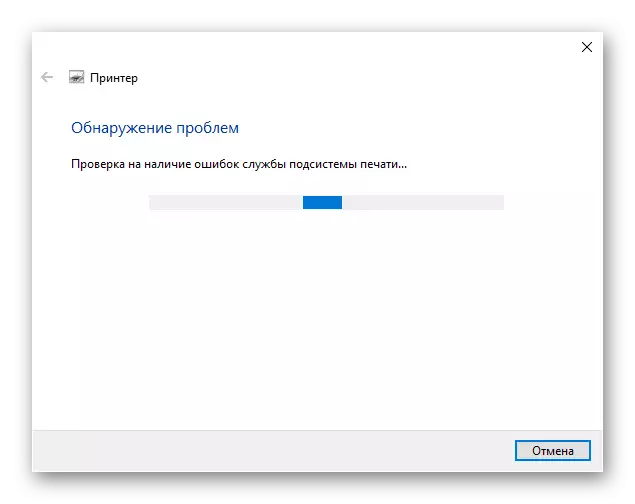
- Scanning will start automatically, and you remain waiting for further instructions.
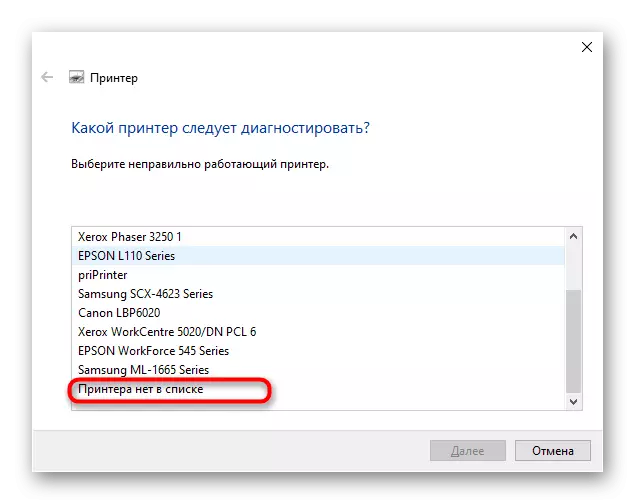
- The question of the diagnosis of the printer model will appear. It is not defined by the computer, so we choose the option of the "printer is not in the list" and go to the next step.
- Scanning will continue, and upon completion, a diagnostic report will appear on the screen. If problems are most likely detected, they will fix automatically and you can normally connect the printing equipment.
In the event that the executed check did not bring due results, go to the following methods.
Method 3: Adding a device to printers list
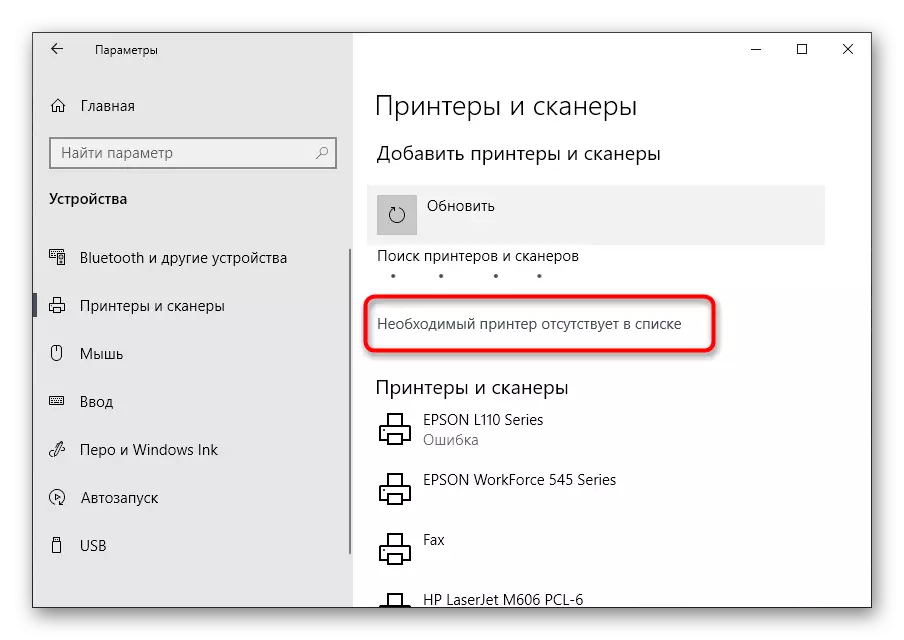
Sometimes the problem is on the surface and lies in the fact that the operating system for some reason cannot independently add equipment from HP to the list of printers. Then you need to do it manually by choosing one of the existing options. The easiest way to start scanning in the "Printers and Scanners" section or go to manual adding, as read in the article Next.
Read more: Adding a printer in Windows
In it, you will find solving problems associated with displaying printers in the list.
Method 4: Enabling the Print Manager Service
Only one service is responsible for managing printing in Windows, and if it is disabled, the work of printers will be suspended. The problematic troubleshooting means described above checks this service, but it does not always have to activate it, so the setting must be changed independently.
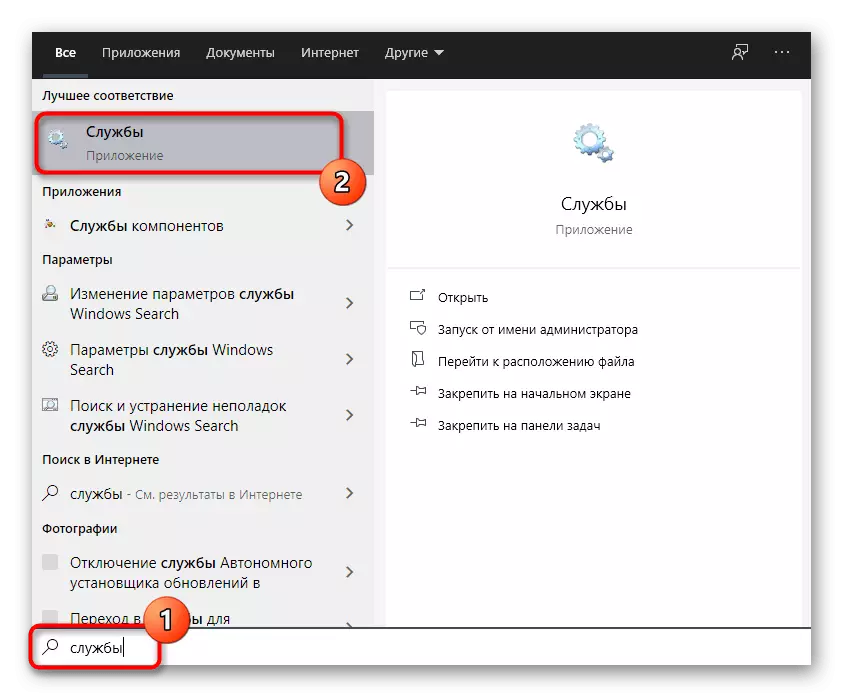
- Open "Services", for example, finding this application through the "Start" menu.
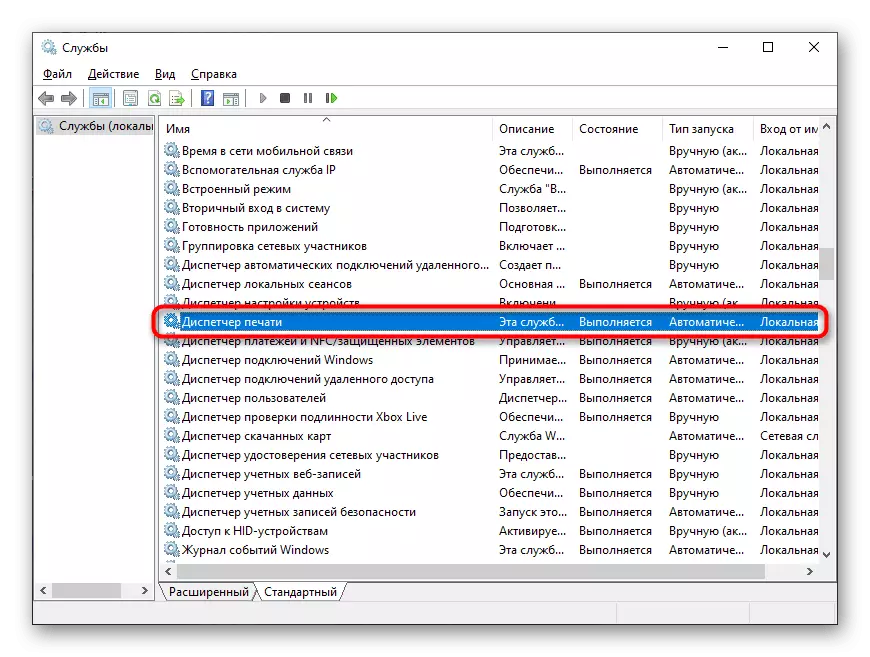
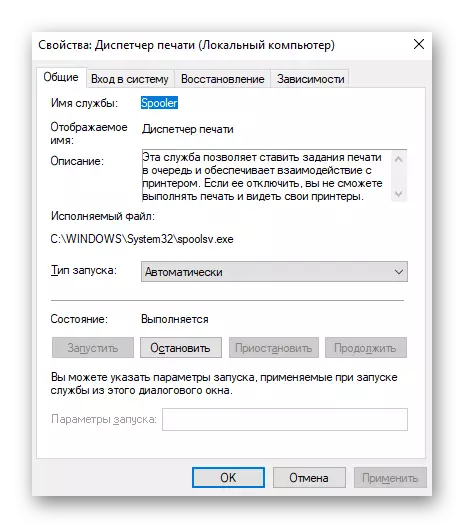
- Locate the "Print Manager" list and double-click on this line with the left mouse button.
- Change the start type to "automatically", and then enable the service if it is disabled.
Usually, there are no problems with the start of this service, since there are not many related parameters in the OS, which may prevent it. However, if you failed to start the "Print Manager", check the PC for viruses, and in case of use of the unlicensed version of the OS, make sure that this service has not been deleted by the creator.
See also: Fighting Computer Viruses
Method 5: Entry "Local Print Subsystem is not executed"
The last error that may appear when trying to install the printer, is accompanied by the notification "Local Print Subsystem is not performed". In such cases, the user needs to check a number of different ways affecting the correction of this situation. The of them in the exploited article described another author on our website, to whom you can by clicking on the following header.
Read more: Troubleshooting "Local Print Subsystem is not executed" in Windows
Even after solving the problem with the connection, other errors associated with the printer's print appear sometimes. If you managed to deal with the display of the device in the OS, but it is still not possible to send the document to print, read the thematic material on the link below.
Read more: What to do if the HP printer does not print