

Method 1: Connection Check
The "Printer does not respond" error is most often caused by physical problems with its connection, so first item check the cables. Try to connect them again or select another free USB connector on your computer, and then run the print. If any documents remained in the queue, you will first clear it using the instruction from the method 3.

If you carefully examined all cables and made sure that the connection is made correctly, proceed to check the following methods in turn, because they are set in the order of efficiency and simplicity of implementation.
Method 2: Disable autonomous mode
Situations occur when due to the unexpected completion of the work or failures, the printer goes into the offline operation mode automatically, and this mode is not deactivated after reconnecting the device. In this case, the error under consideration will appear, and to solve it, it will be necessary to display equipment from this mode yourself.
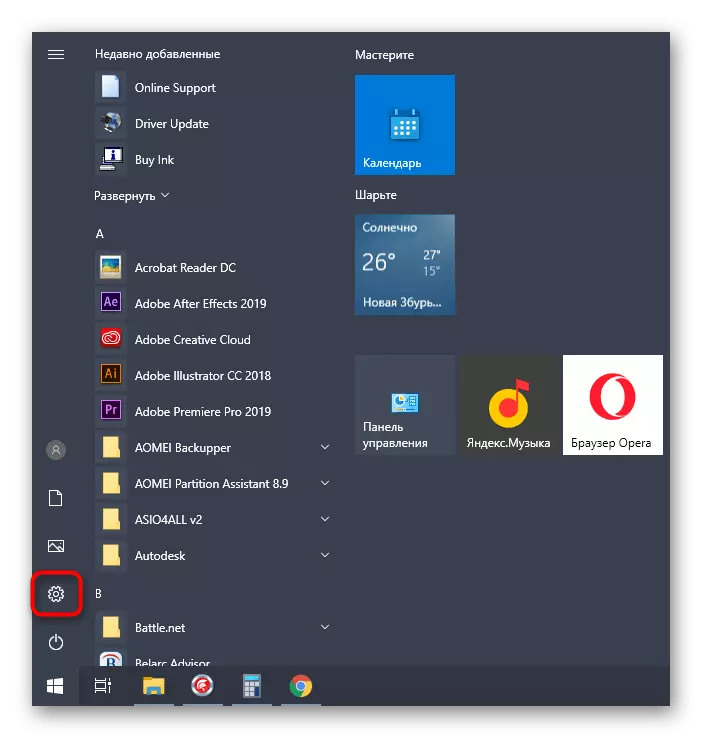
- Expand the Start menu and go to "Parameters".
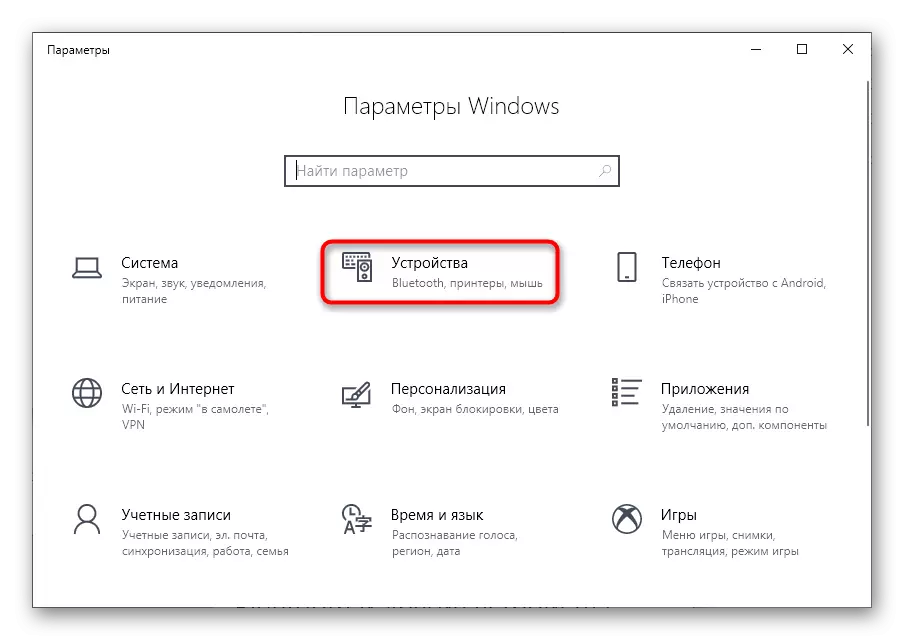
- Click on the "Devices" section.
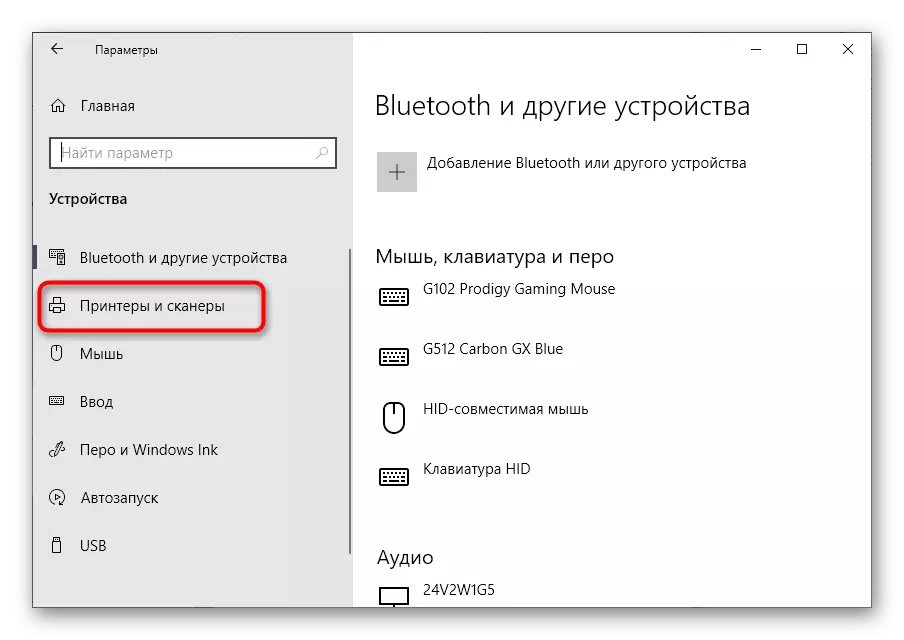
- Open a category that is dedicated to printers and scanners.
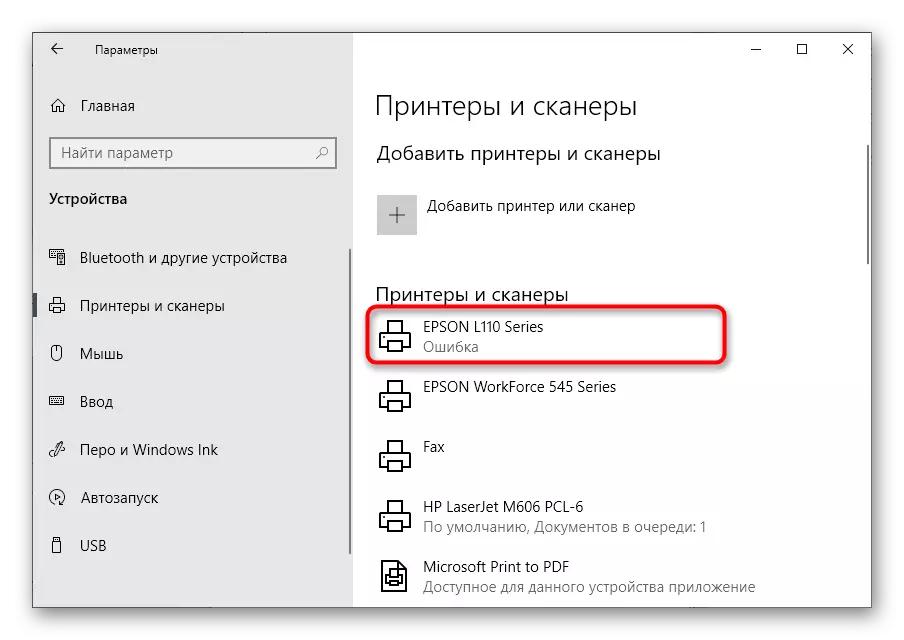
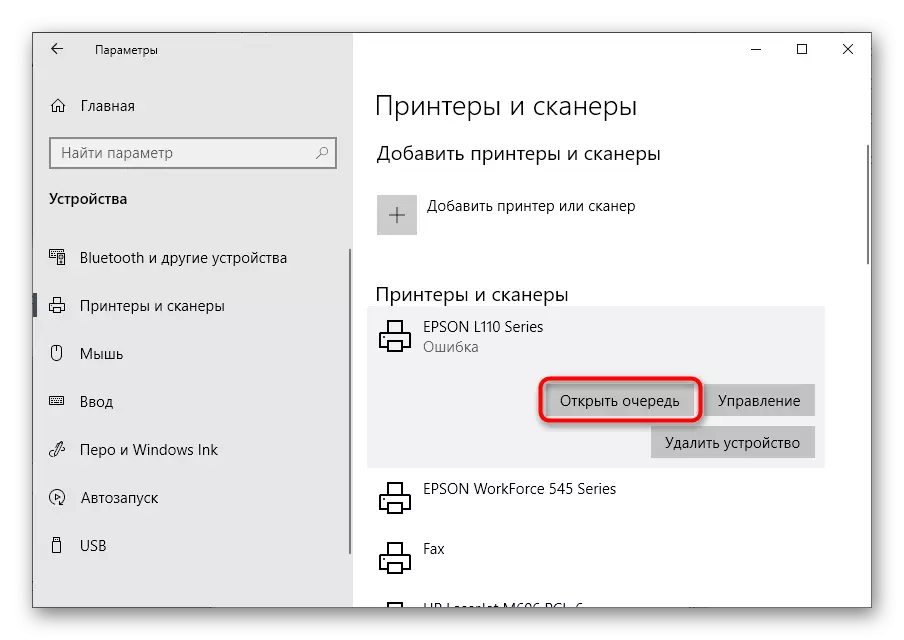
- In it, select the printer to be output from the autonomous mode of operation.
- A block with interaction tools will appear, where press the Open Queue button.
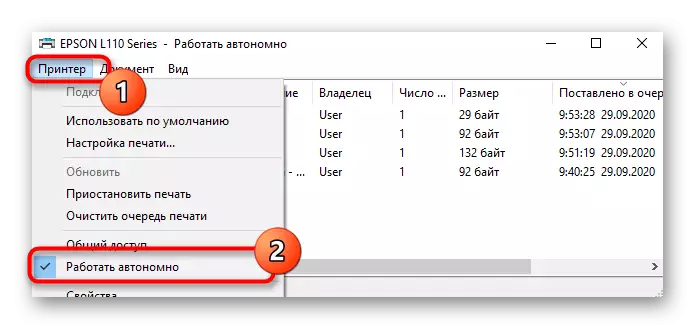
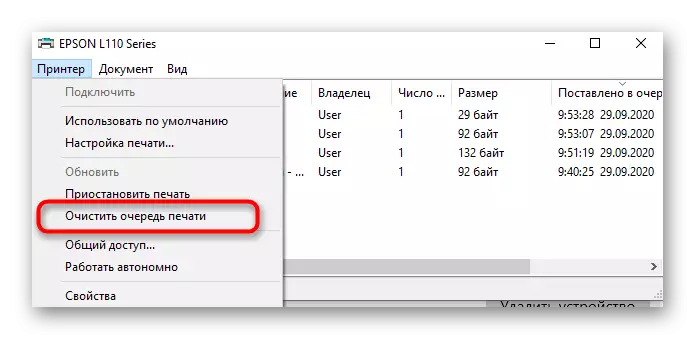
- Expand the "Printer" drop-down menu and remove the checkbox from the "Work Autonomously" item. If it is missing there, it means that no actions do not need.
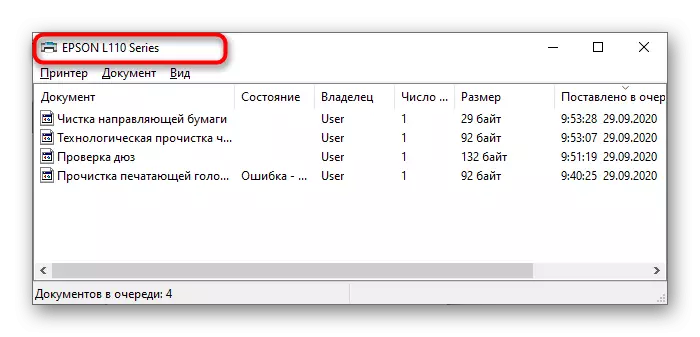
- As soon as the parameter is disabled, the inscription "Work autonomously", displayed earlier in the title of the window, will disappear, and you can go to the following method to clear the print queue and repeat the attempt to work with the device.
We note the situation when a window with a print queue for some reason does not open. The instruction will be useful including WINDOWER 7, since in this version of the OS there is no "Parameters" menu and disabling the autonomous mode is otherwise.
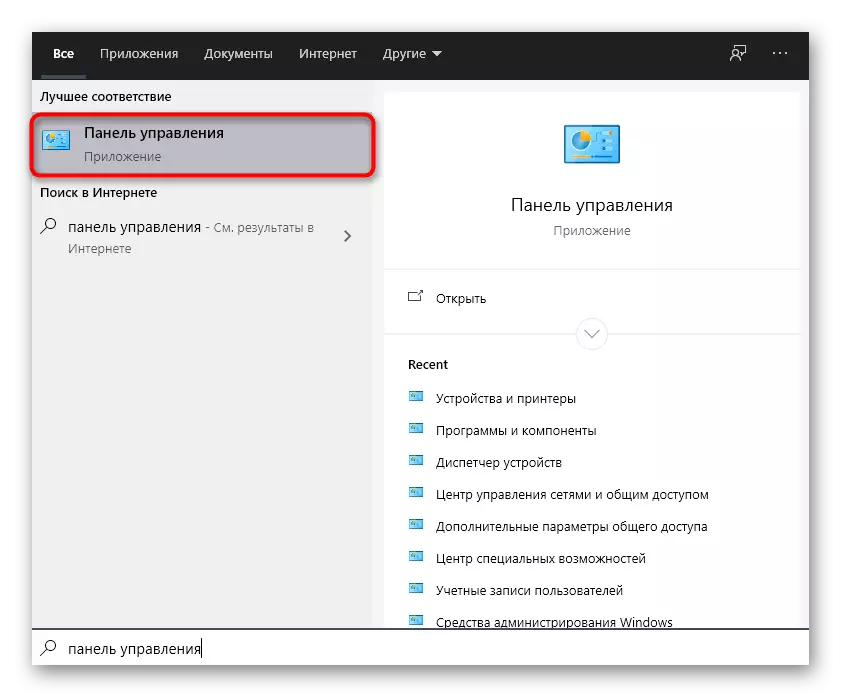
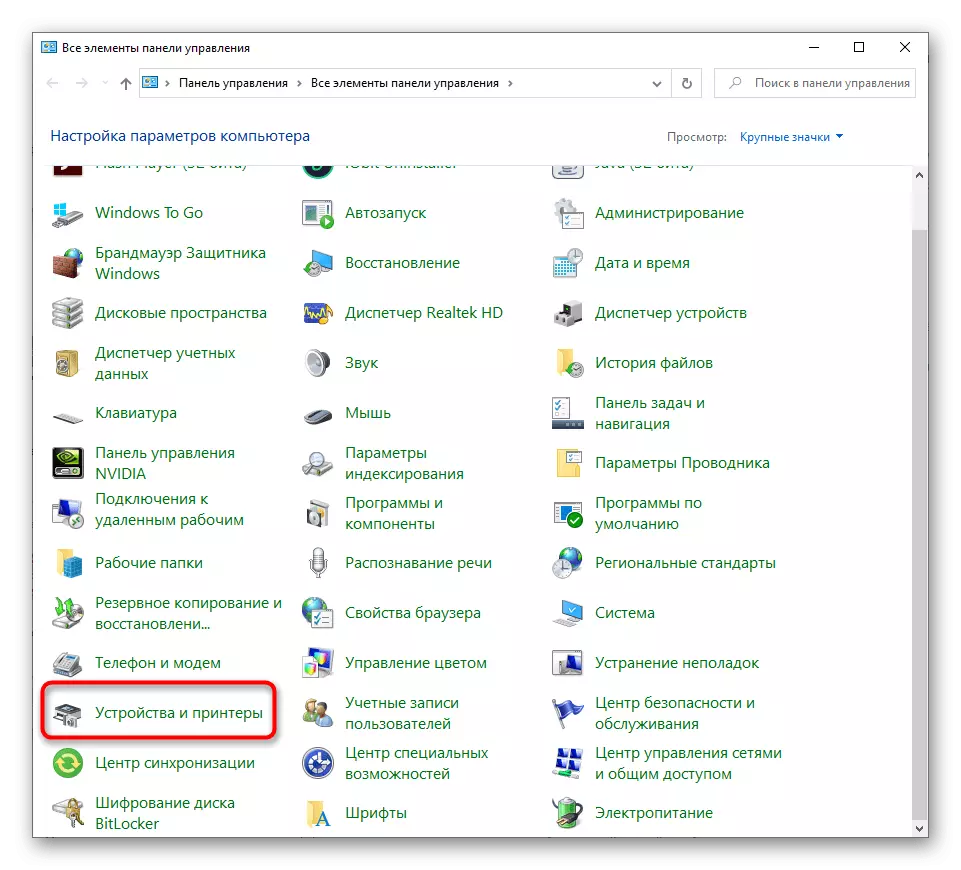
- Call the "Control Panel" by following the search for "Search" or by clicking on its name to the right in the same menu.
- You need a category "Devices and Printers".
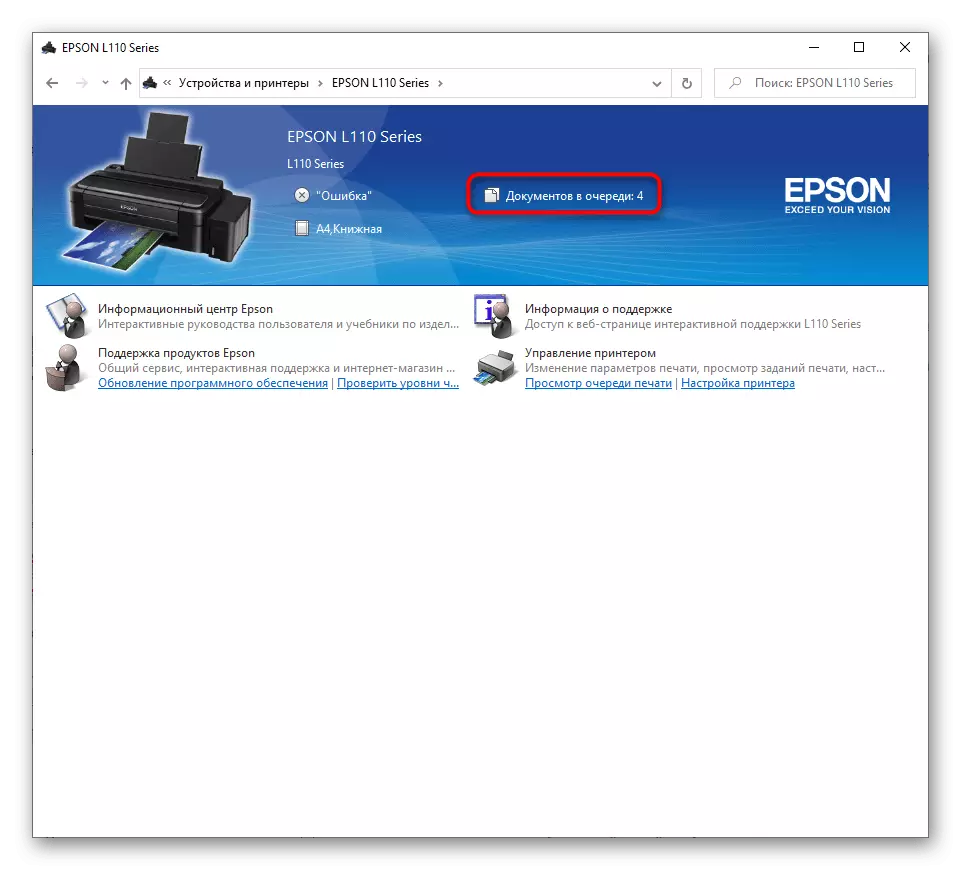
- Double click on the equipment icon to open the control window.
- Click on the link "Documents in the queue".
- After clicking on it, the same queue management menu will appear through which the printer is derived from the autonomous mode of operation.

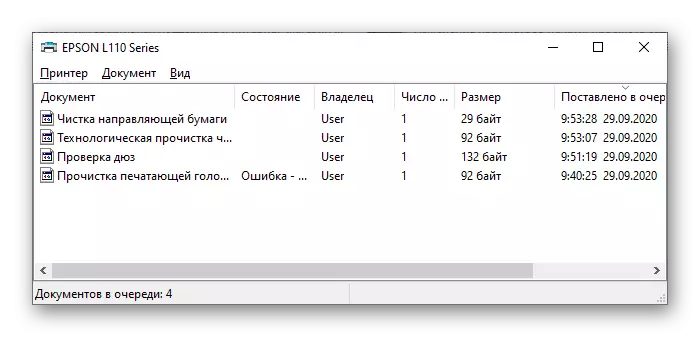
Method 3: Cleaning the print queue
Sometimes a failure with the message "Printer does not respond" when working with a Canon device arises due to the fact that the print queue is a document that cannot be printed and removed automatically. Accordingly, this is the appearance of a malfunction. You can get rid of it if you manually clear the print queue, and read about the cleaning methods in a separate instruction on our website by clicking on the following link.
Read more: Clear printer print queue
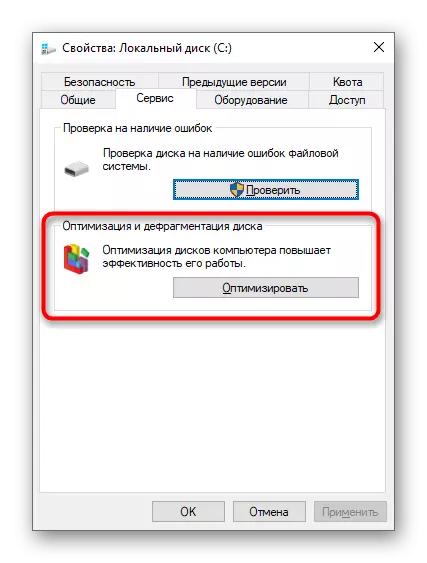
Method 4: Performing a hard disk defragmentation
This option is extremely rarely useful, but some users he helped get rid of the problem under consideration even when none of the previous actions had a proper result. Strong disk fragmentation can interfere with the exchange of documents when placing them in the queue, therefore the response from the printer does not come. If you have never dealt with the defragmentation of the hard disk, now it's time to do this by reading the special guidance from another of our author.
Read more: All you need to know about the defragmentation of the hard disk
Method 5: Reinstall the printer driver
The last possible reason that causing the current problem is incorrectly selected or outdated Canon Printer Driver. Other problems associated with the work of this component may also occur, so it should be reinstalled, for which it is first removed.
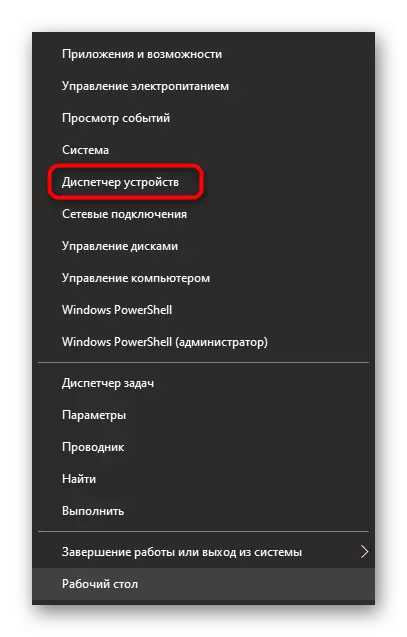
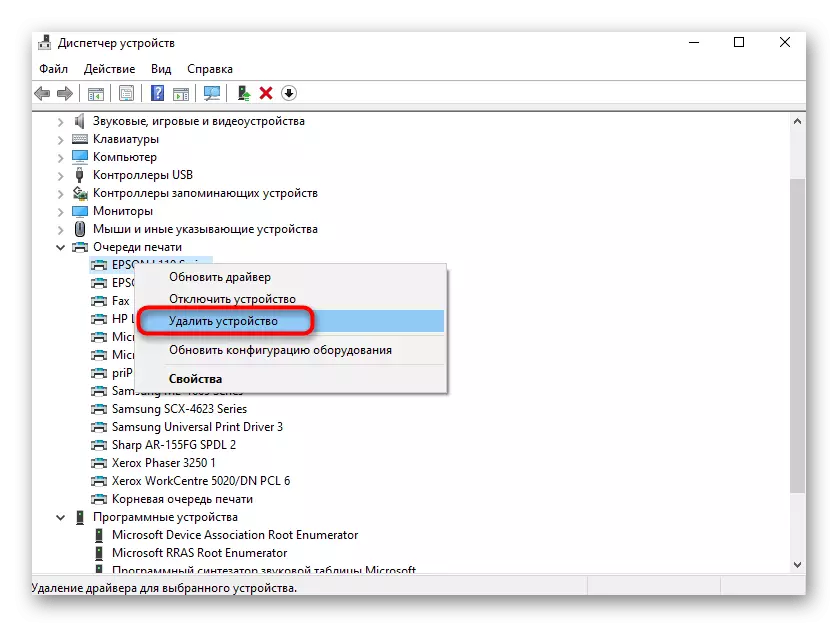
- Right-click on the "Start" and in the menu that appears, select Device Manager.
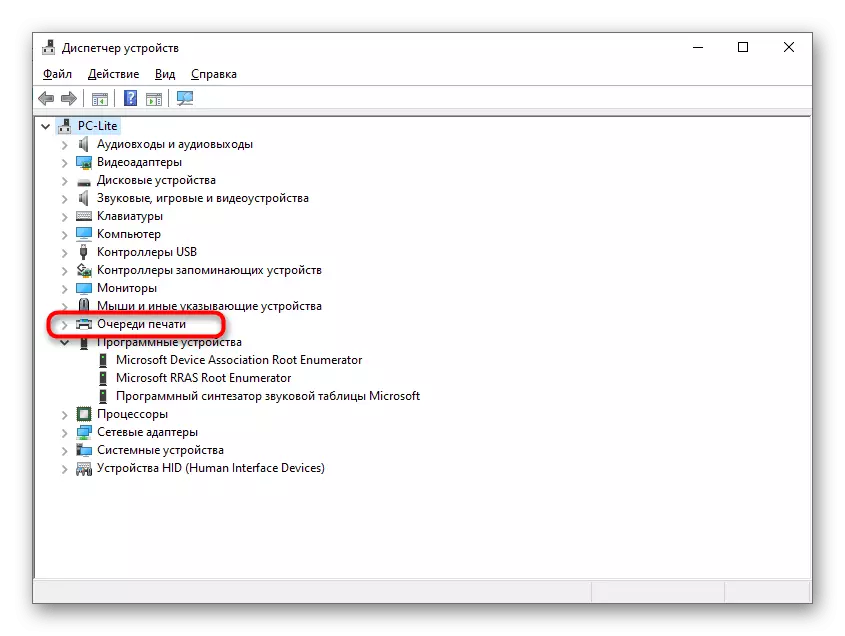
- Open the "Print Queues" section.
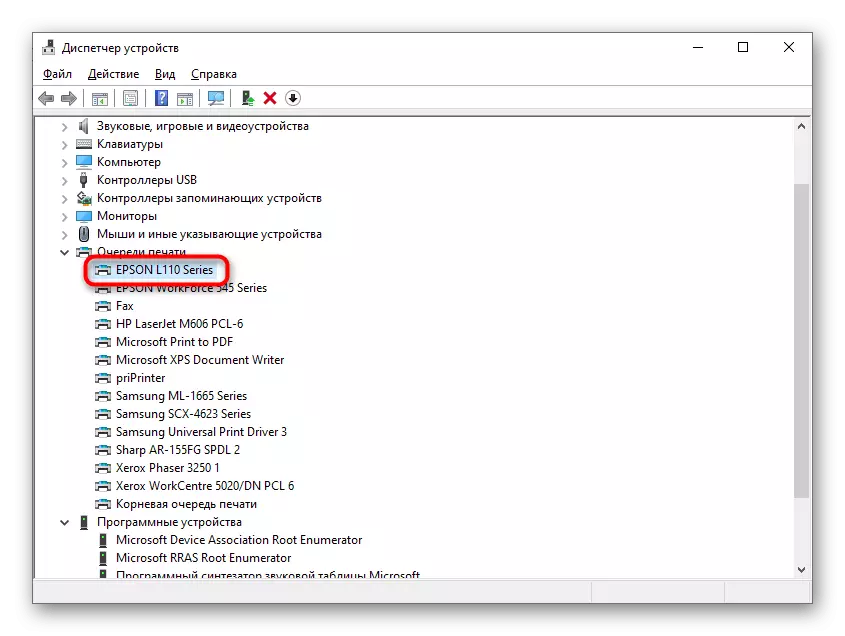
- Find among the printers the necessary and make the PCM click on it.
- In the context menu, select Delete Device and confirm uninstalling with the driver.
Additionally, familiarize yourself with other actions that will help completely get rid of the current printer driver and any mention of it in the OS, if you are not sure that the process described above entirely uninstalls the equipment in the operating system.
Read more: Remove the printer driver in Windows 10
It remains only to find the appropriate driver for the CANON printing equipment model used on the official website or using other sources, and then install it in the OS and check how it affects the device itself.
Read more: Installing a printer driver