

Manual saving files
Files obtained via Skype do not have to search on the computer if you save them manually, after selecting for this folder. This can be done absolutely with all documents, archives, videos and music.
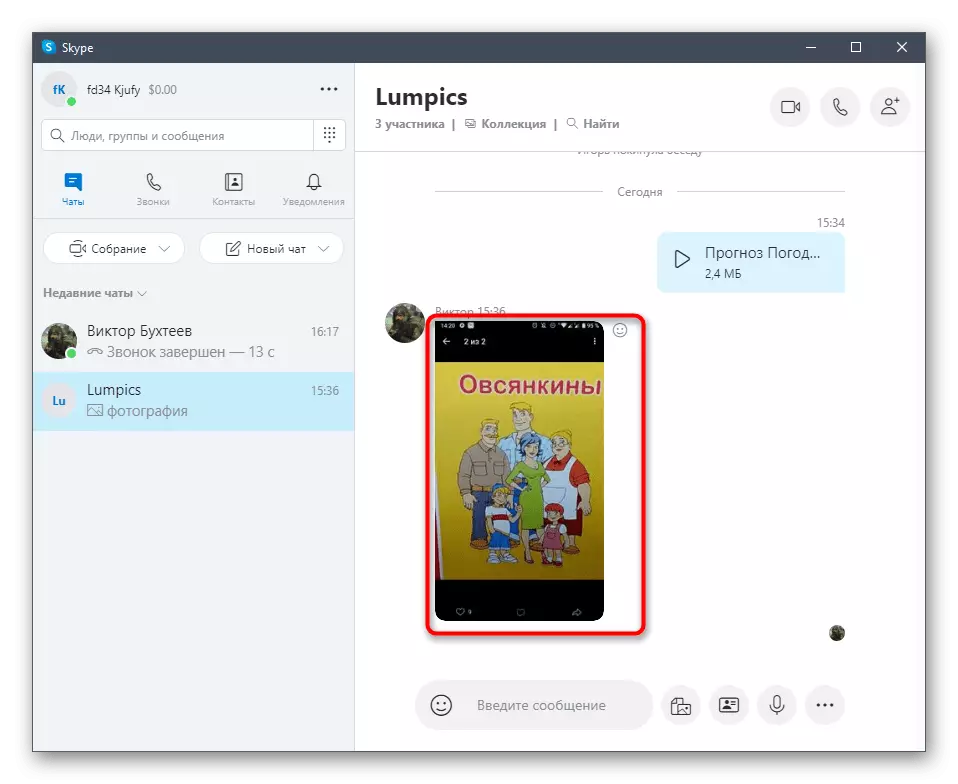
- Find the desired picture or another item in the Skype conversation and right-click on it.
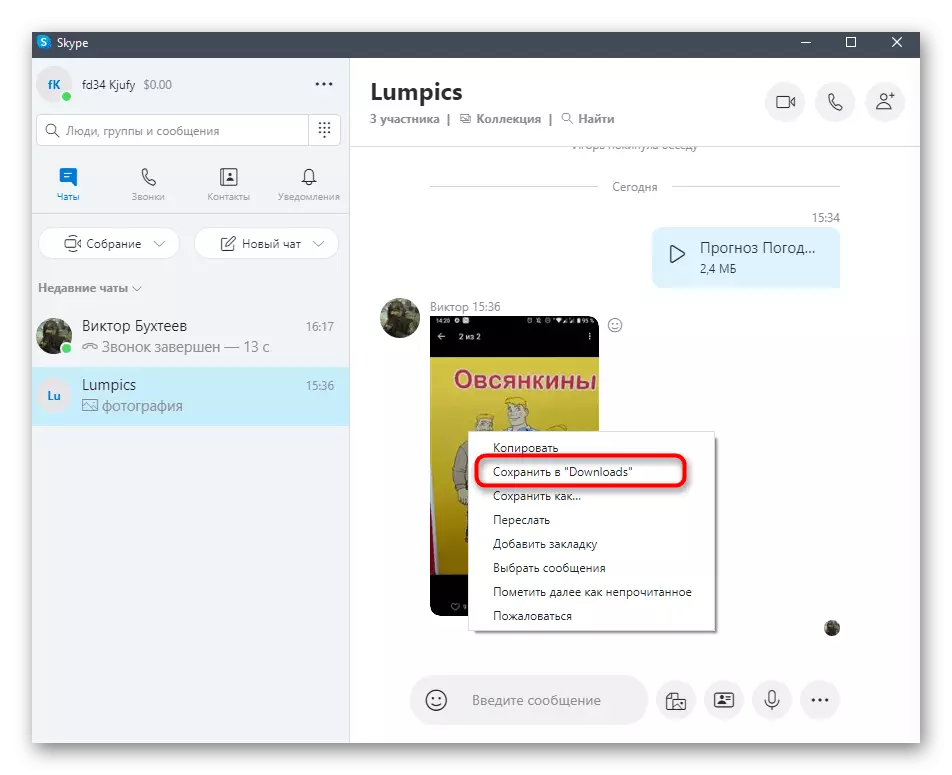
- The context menu will appear in which you can select "Save to" Downloads ". This is the default folder for saving.
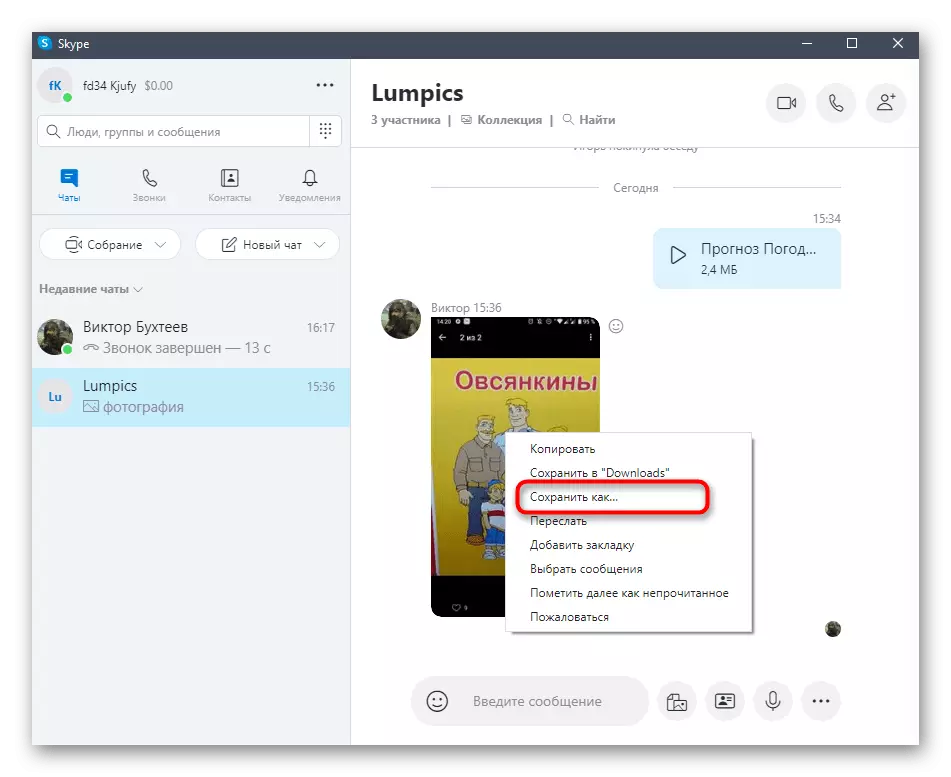
- If you want to change the path, click "Save As", but this option is not available for all types of data: for example, when you call the context menu of the audio file only there is only the first item.
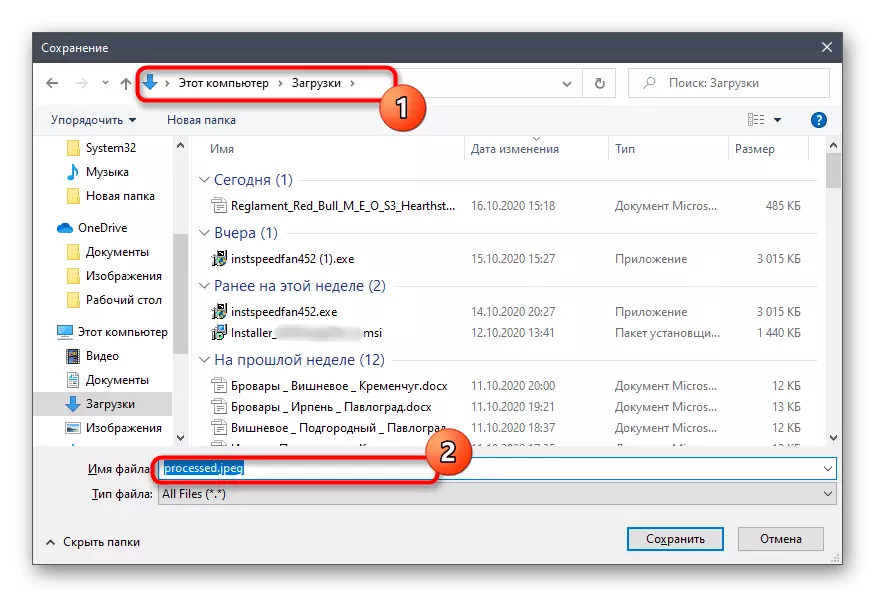
- The "Explorer" window opens, in which specify the preferred path, if necessary, change the name of the object and save it.
If we are talking about the archive, then there is always a download button near it. As soon as you click on it, it starts uploading to the default directory, and how you already understood, it is "downloads" or "downloads". In the case when such a directory does not suit, go to the next section of the article to understand how to change it.
Change directory to download files
It is not always possible to use the "Save As" button, constantly engaged in the movement of incoming files also want not to everyone. Then it's easier to simply change the standard folder where Skype and places all downloads.
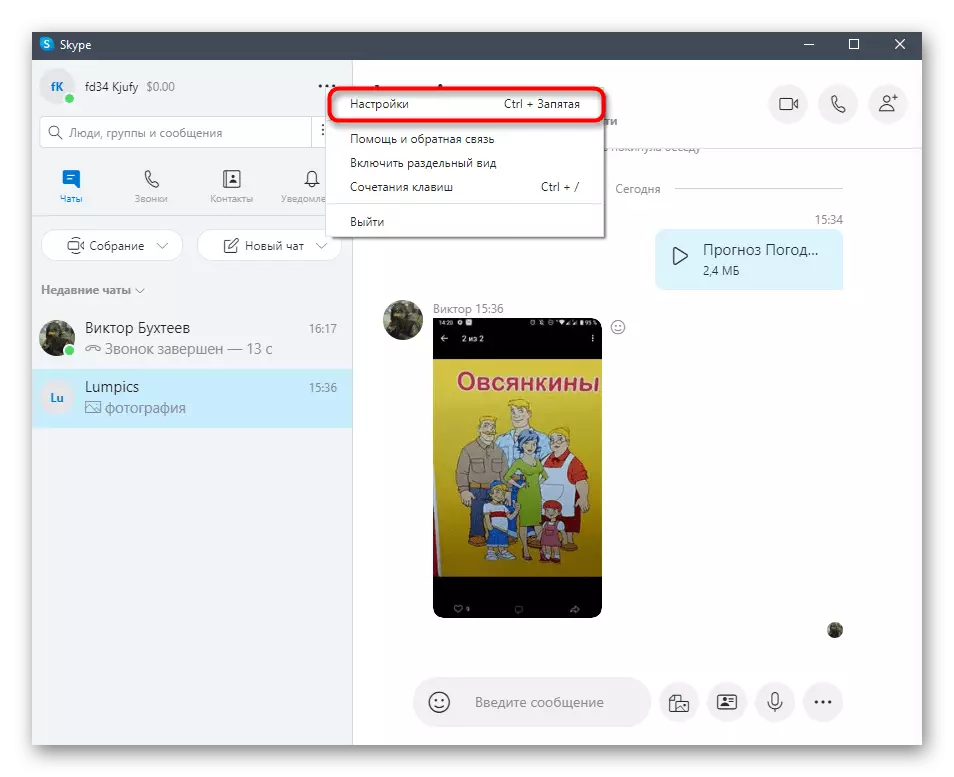
- To do this, on the opposite of your name, click on the icon in the form of three horizontal points.
- A drop-down menu will appear, where you need to select "Settings".
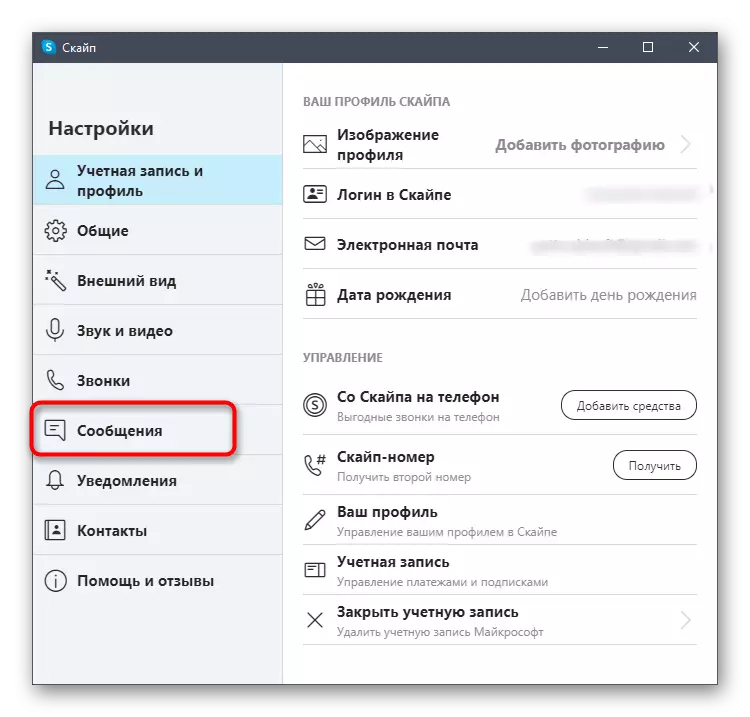
- Go to the category "Messages".
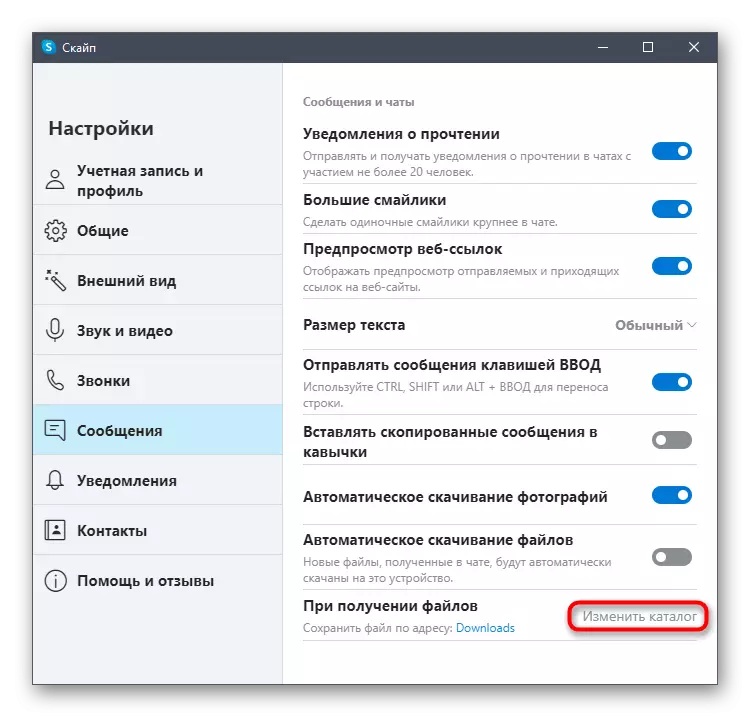
- You are interested in the latest item - "When receiving files". Click "Change Catalog" to edit the parameter.
- The "Folder" window is displayed, where you find the necessary directory and confirm the selection of it as the main one.

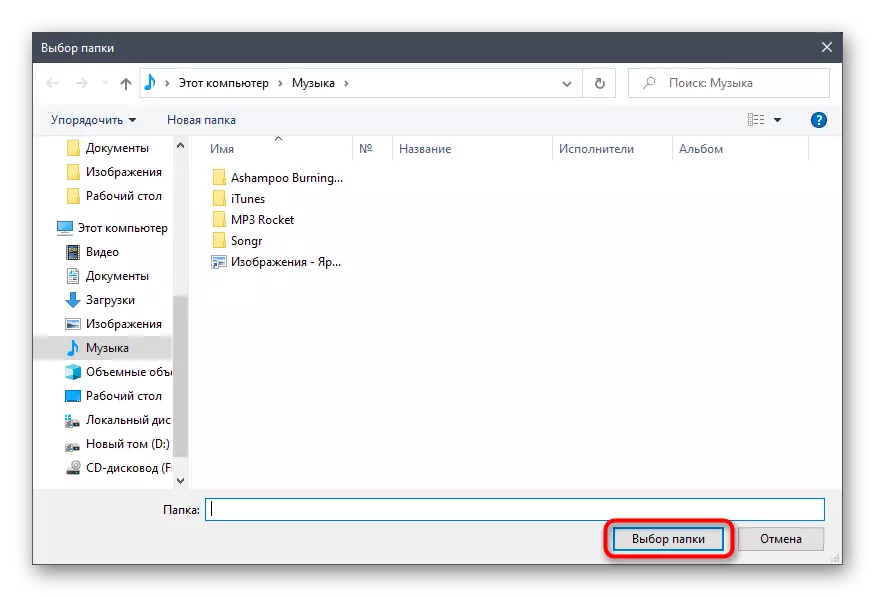
There are no restrictions on a reusable change in this directory, so you can return to this menu and make editing at any time as soon as it takes.
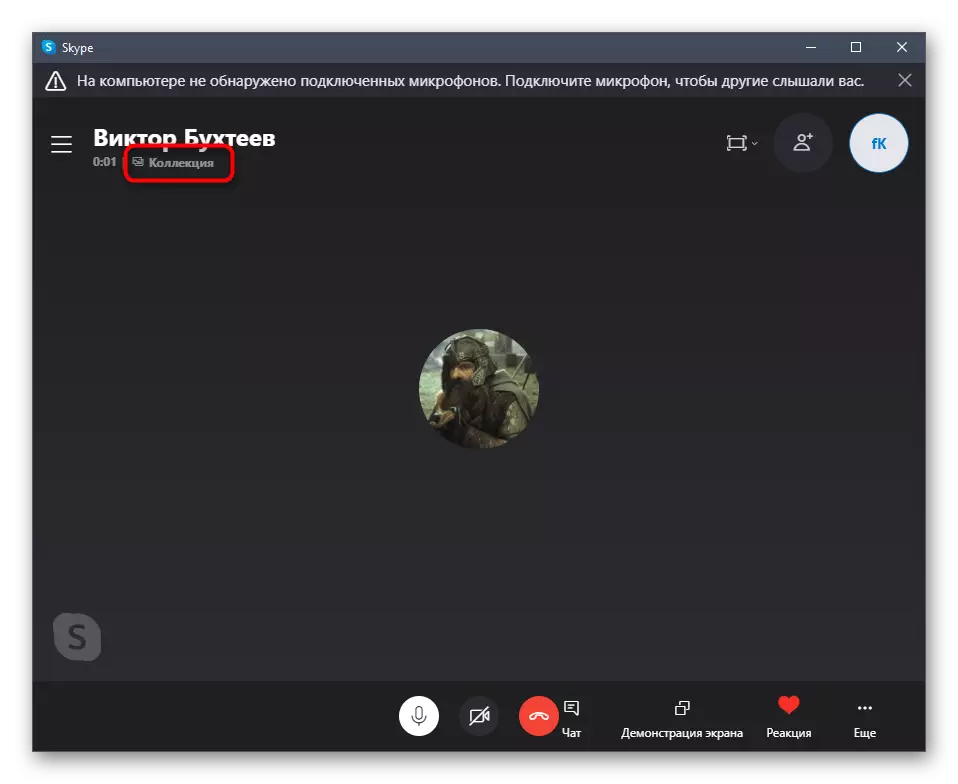
View collection during conversation
Sometimes you need to view or received files even during a conversation with the user. It is not always convenient to return to the chat, especially since the developers have provided an option that allows you to immediately display a list with all media content.
- During the conversation in the conversation control window, click on the "Collection" row.
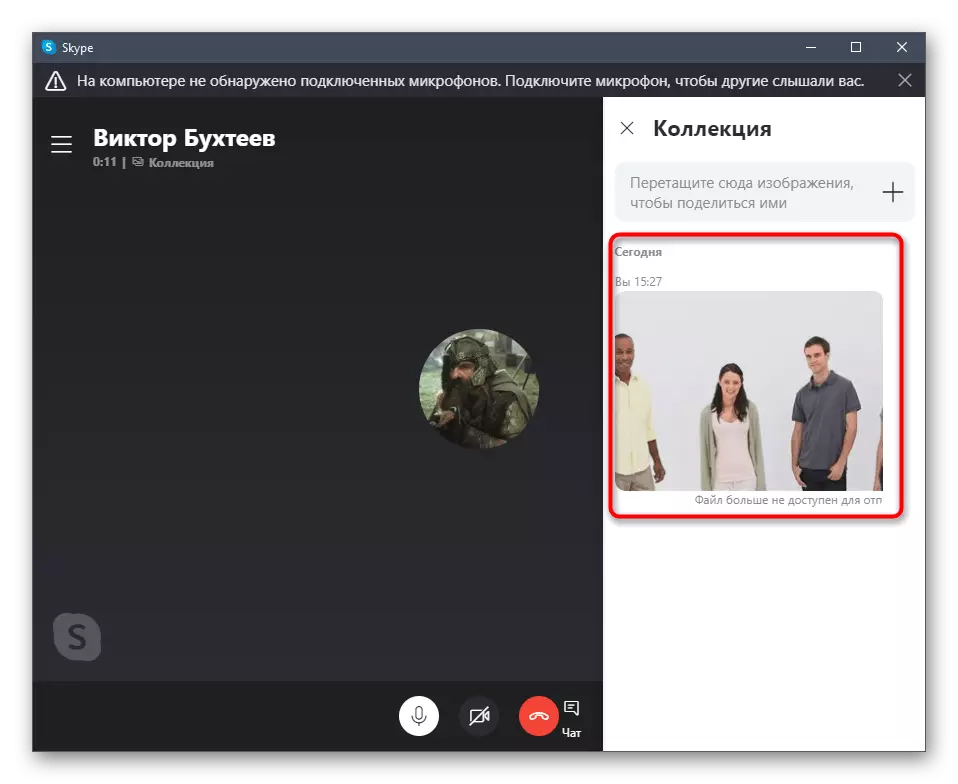
- On the right will display a list of already received or sent files - use them for viewing or saving anywhere on the computer.
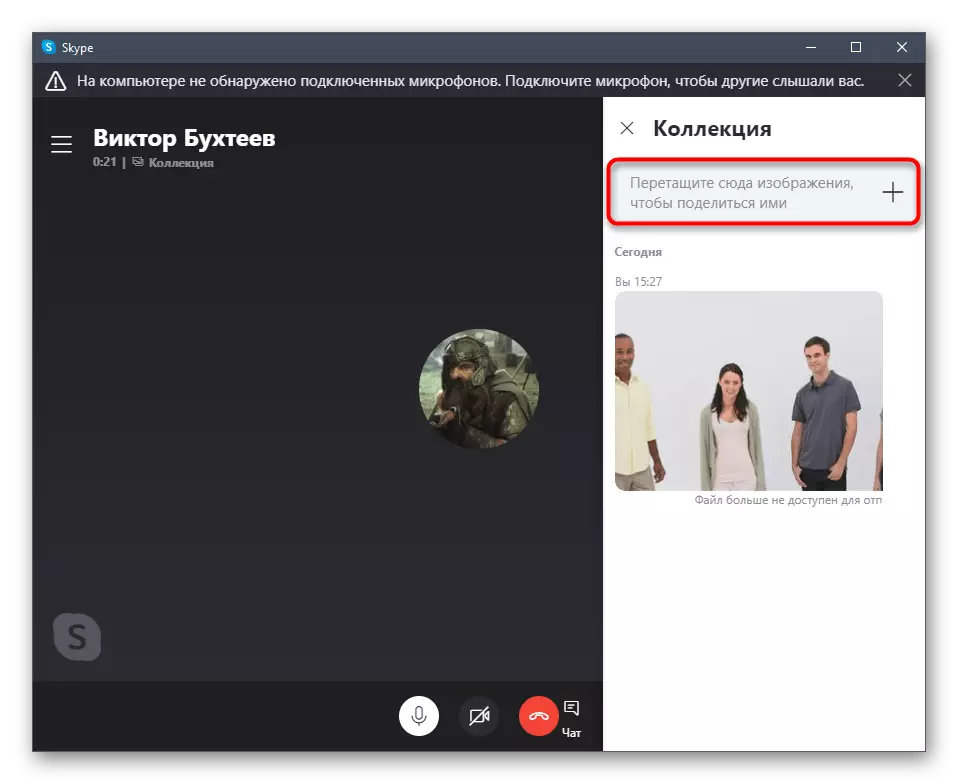
- If you want to send more files, click on the appropriate button on the top.
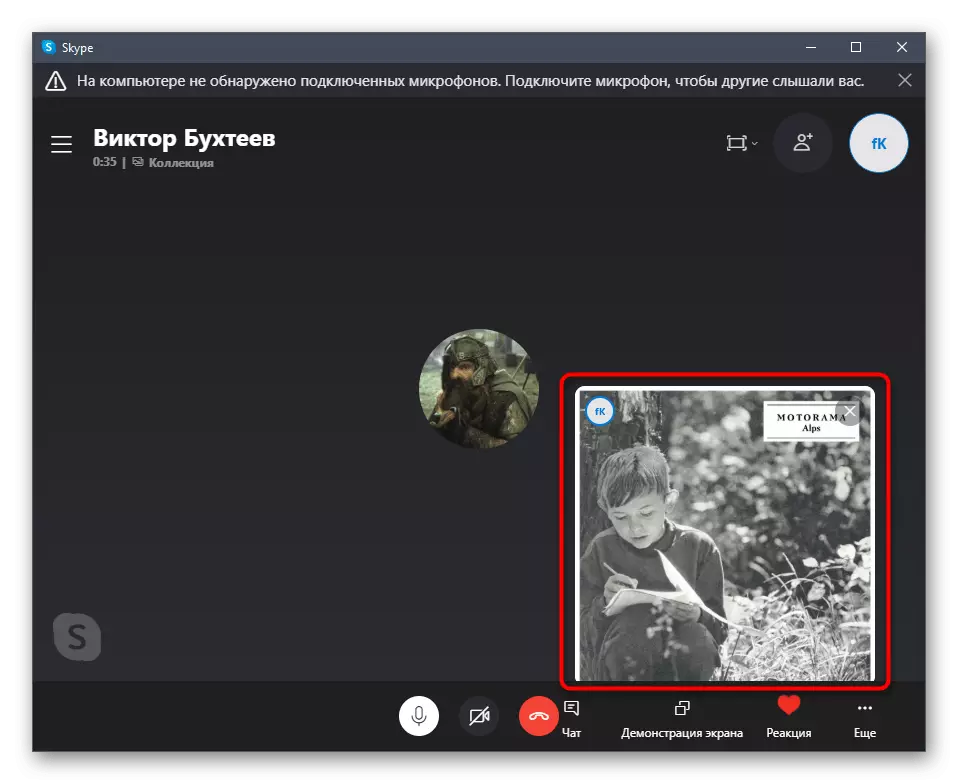
- Once you get an image or other file, a notification will be displayed on the screen.
User files
With a media content, everything is clear, it remains to understand only with user files that include: cache, correspondence history and other temporary data. Sometimes the user is interested in viewing logs, other objects or delete them, for which it is necessary to find the corresponding system directory.
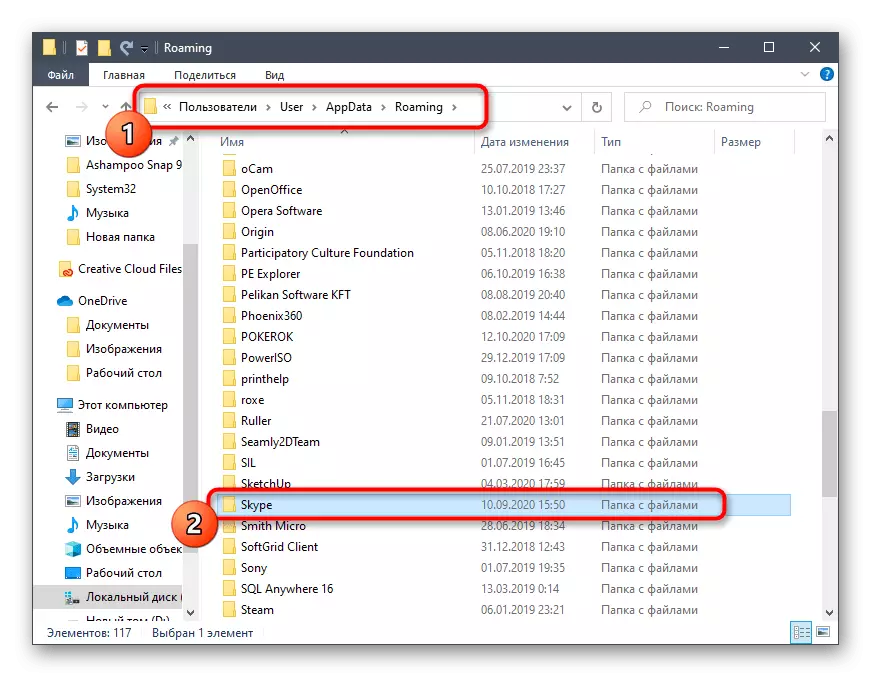
- Open the "Explorer" and go along the path C: \ Users \ user_name \ APPDATA \ Roaming, where you find the "Skype" folder. "Username" here - the name of the folder of your account. If the "APPDATA" folder is not displayed, it means that it is hidden by the operating system settings. Includes its visibility with our instructions.
Read more: Displays hidden folders in Windows 10 / Windows 7
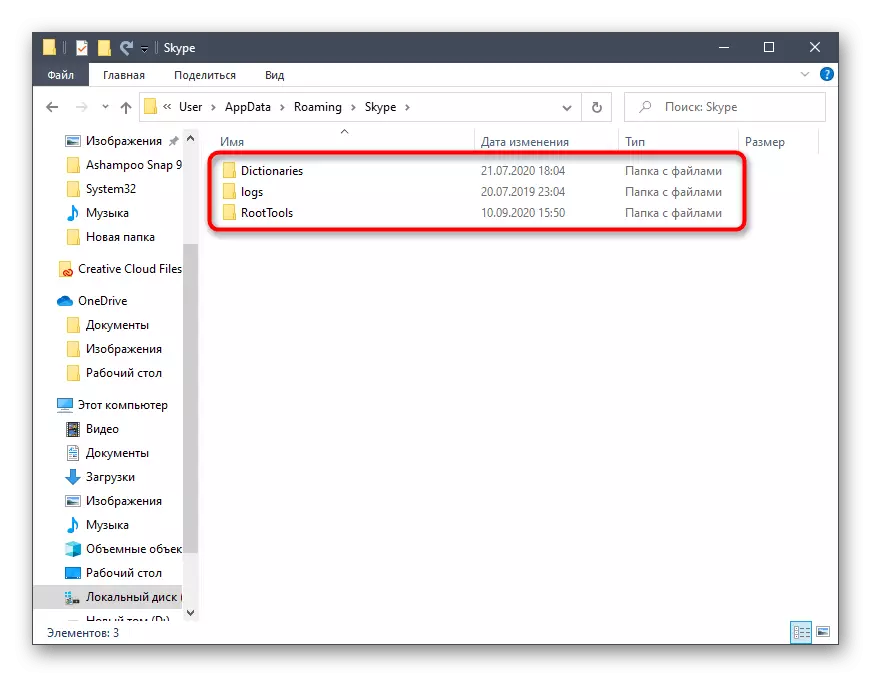
- In it, you can familiarize yourself with all the catalogs present and their contents.
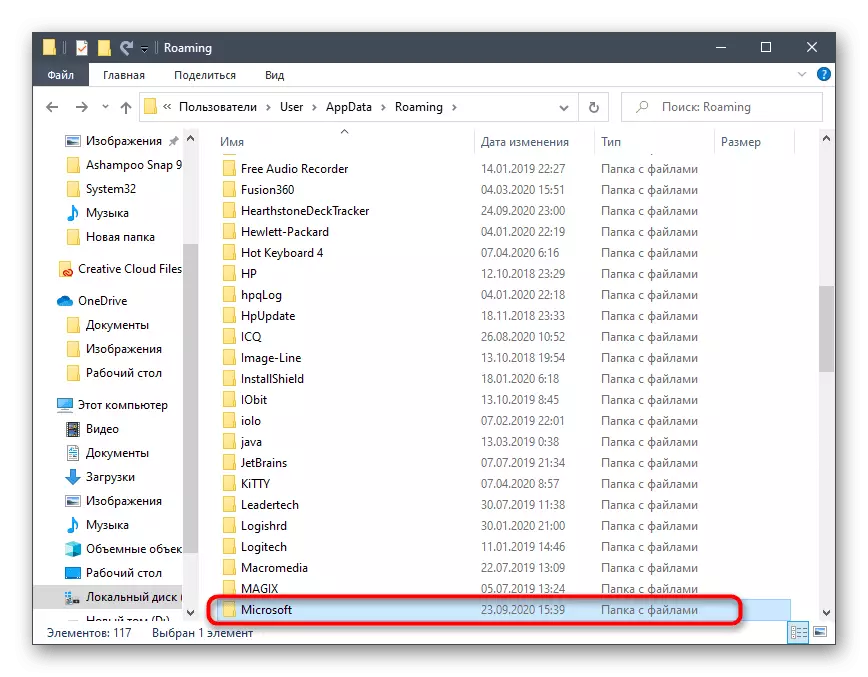
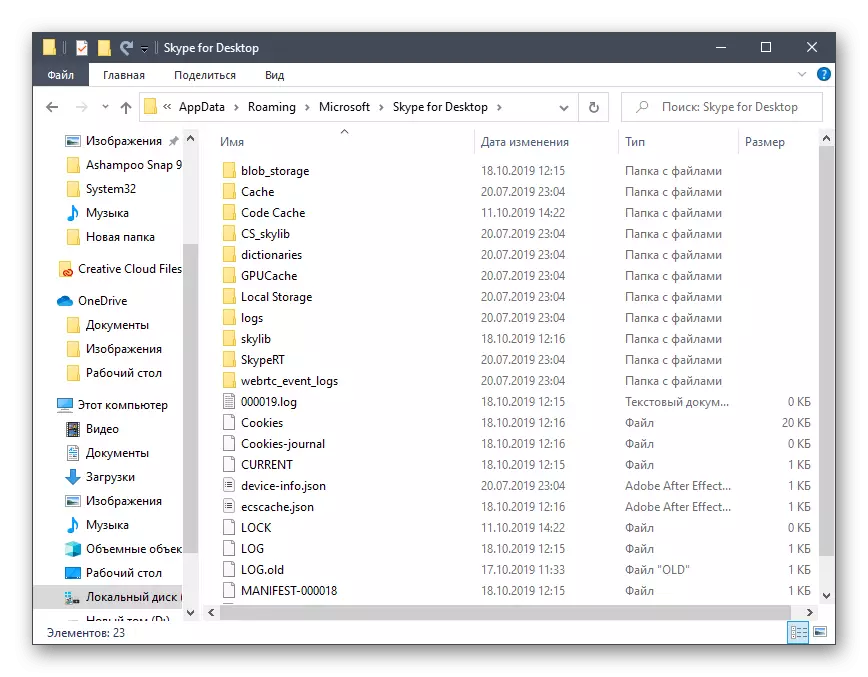
- When using Skype, installed via Microsoft Store, files are likely to be saved elsewhere. While in the "Roaming" folder, open "Microsoft".
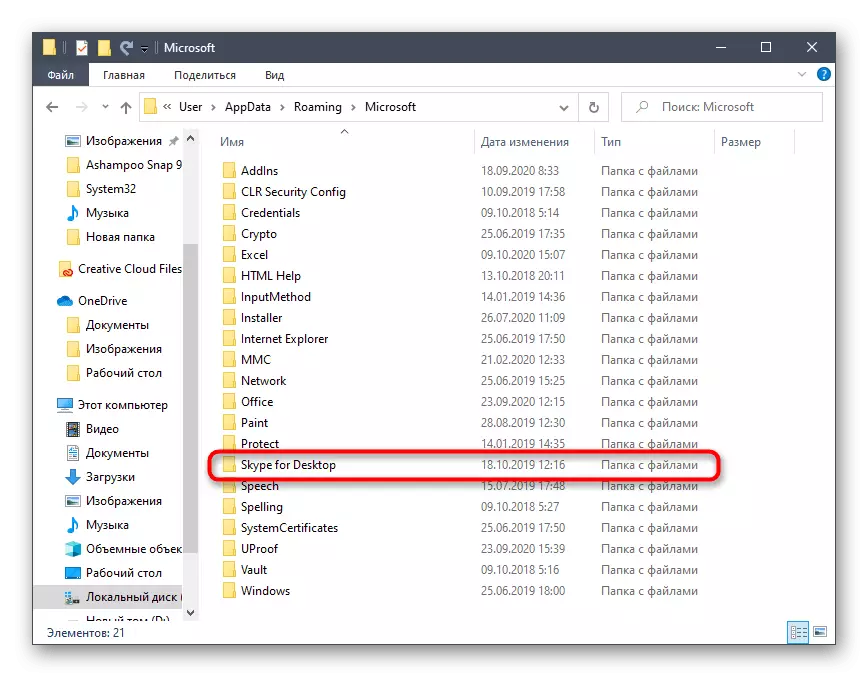
- Lay "Skype for Desktop" there.
- At the root you will find everything that may be useful when controlling cashem and logs.
Often users who are engaged in searching such files are interested in removing the history of messages or other data. In this case, we advise you to familiarize yourself with the materials on our website where you will find all the auxiliary instructions.
Read more:
How to remove call history and correspondence in Skype
Clearing Message Store in Skype