
Method 1: Poster of geometric shapes
As a first version, we will analyze an example of a poster, where the focus is focused on adding and editing geometric shapes. In the following instructions, you will learn how from simple ellipses to make a gradient representation of the planet, add a glow and make the final adjustments to the project before saving.Step 1: Creating a new project
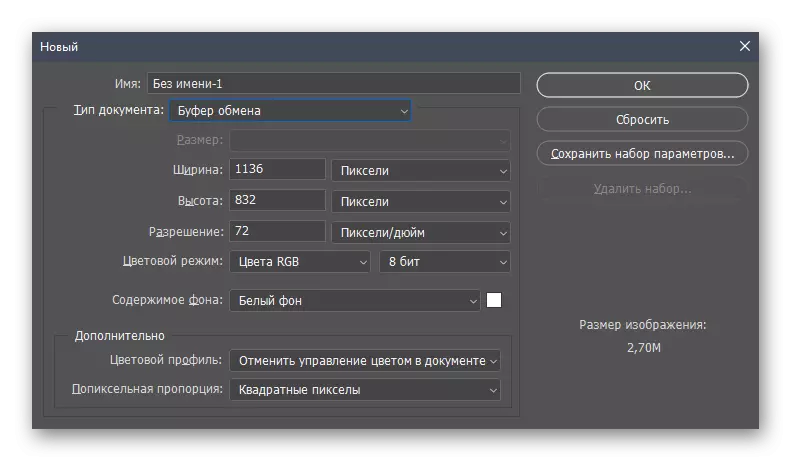
Start standing with the creation of a new project, because a poster must often be a definite size to simplify printing or publishing on the network. This is usually a standard A4 or A3 format, so you don't have to manually enter the parameters, and you only need to select a ready-made template in Adobe Photoshop.
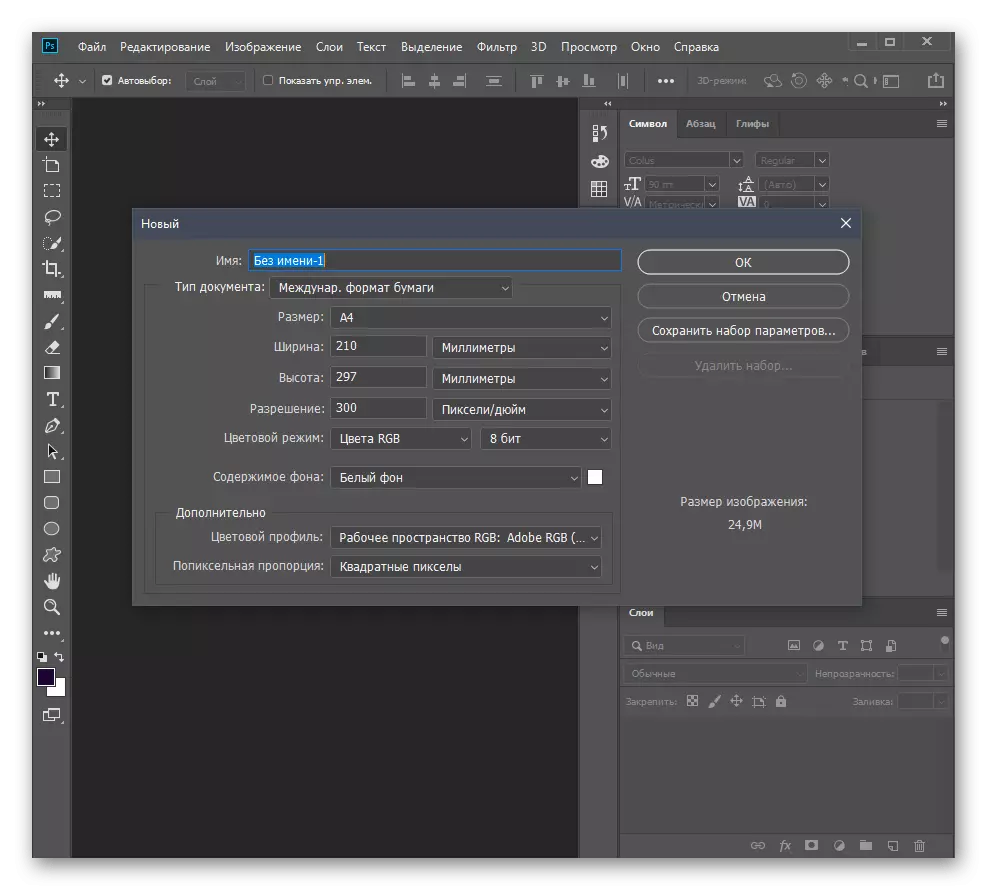
- Run photoshop, expand the File menu and select the first item "Create". The required window can be caused by the CTRL + N key combination.
- In the form that appears, nothing is possible to manually set the width, height, permission parameter and configure the color mode if it is necessary.
- When working with standard types of documents, specify the option "International. Paper format "and in the" Size "field, determine the appropriate format.
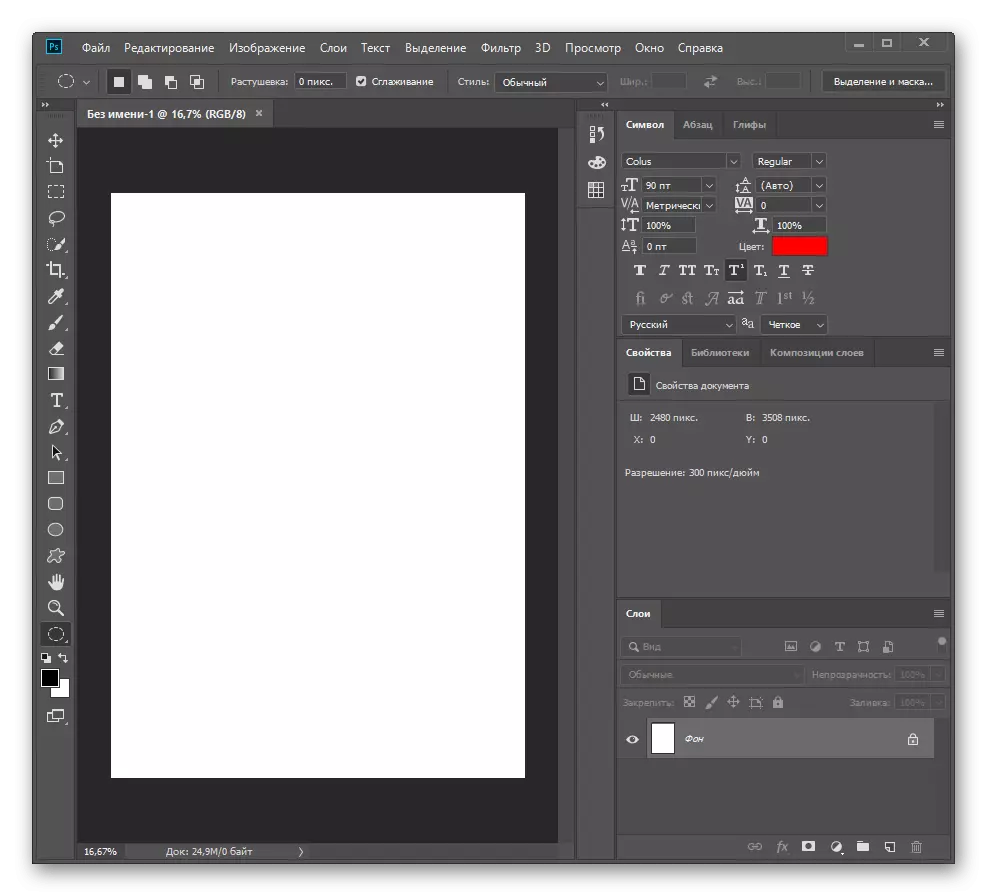
- The sheet is added as a background that you see in the following screenshot, which means that you can move to the formation of the poster itself.


Step 2: Work with geometric shapes
The stylistics of the posters is a huge amount, therefore certain of them require a special approach to adding and processing images. We take for an example completely manually created by the poster with an arbitrary geometric figure illustrating the contents to demonstrate not only the addition of finished pictures and their color correction, but also to pay the time to other popular functions of the graphical editors under consideration.
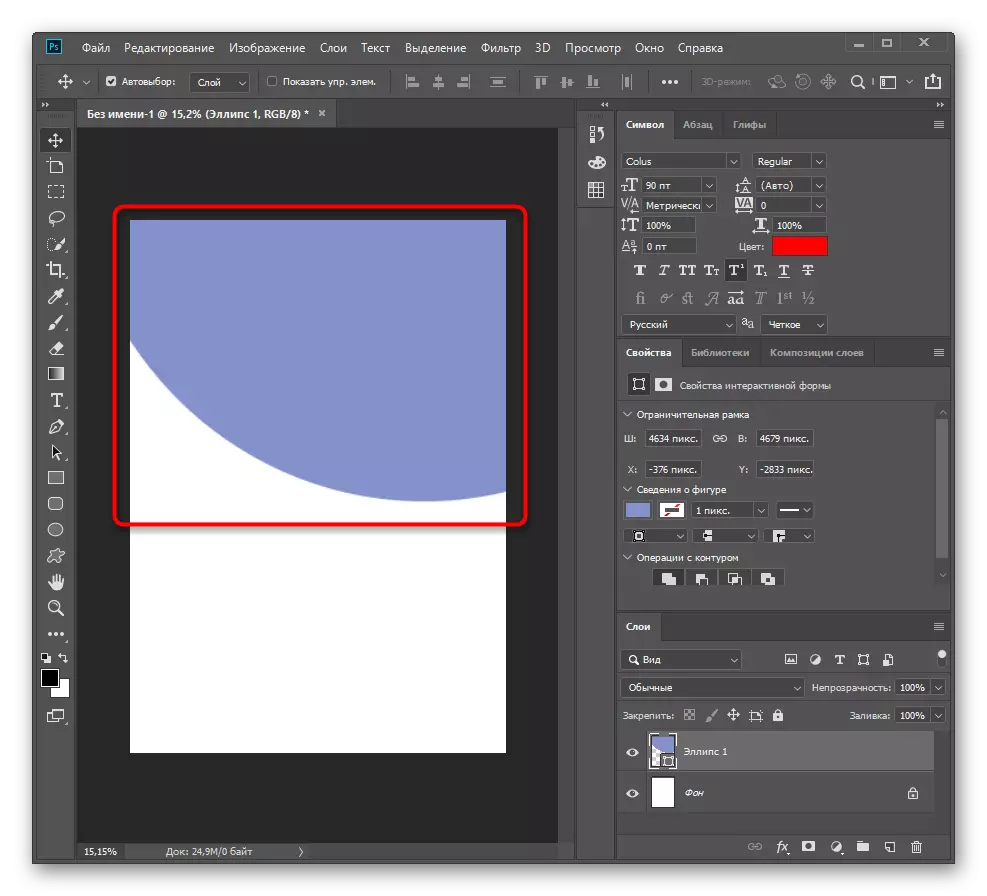
- Take a look at the panel on the left, where four different geometric shapes are located at once. Decide which of them should be used to form the main image. In this case, we create a similarity of the planet, so we choose the "ellipse".
- If you also draw a flat circle, expand it or reduce the SHIFT key to comply with the proportions.
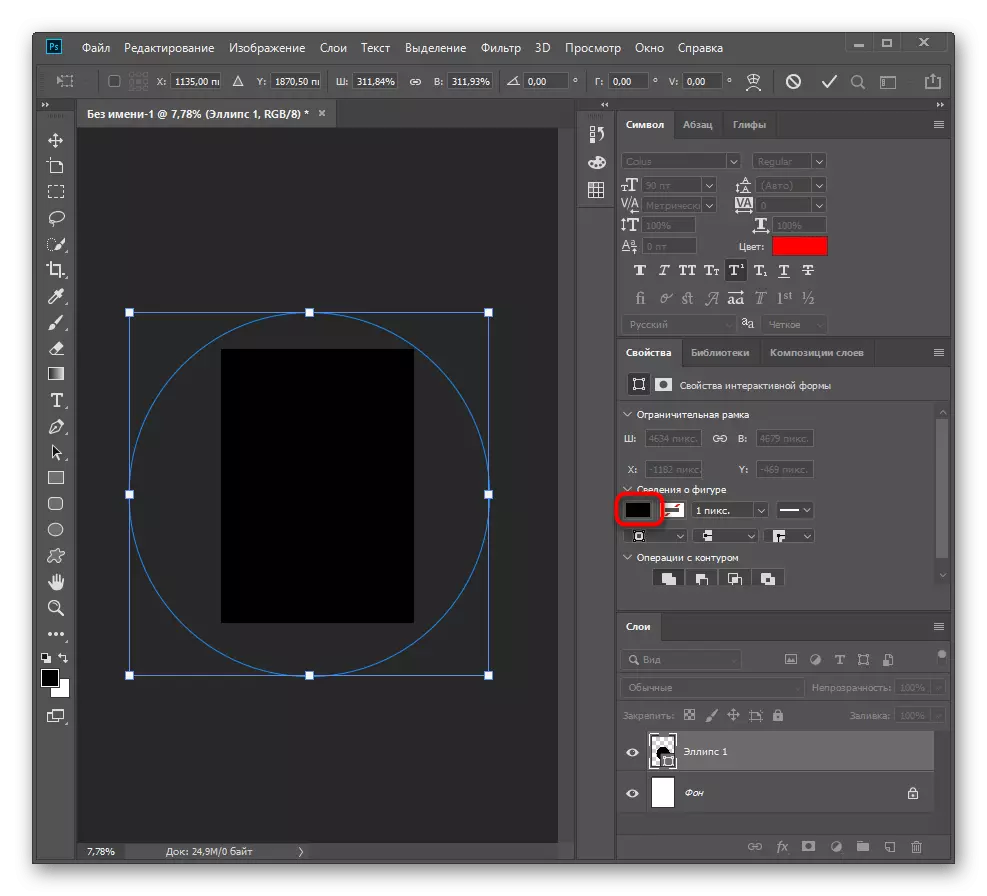
- After creating, press Ctrl + T to call the edit tool. Then the figure will appear on the figure and lines that can be used to resize.
- On the bar on the right, find the "Properties" tab to change the color of the shape.
- Standard Moving tool Place an object on the project at a suitable place. We only partially overlaps the background.
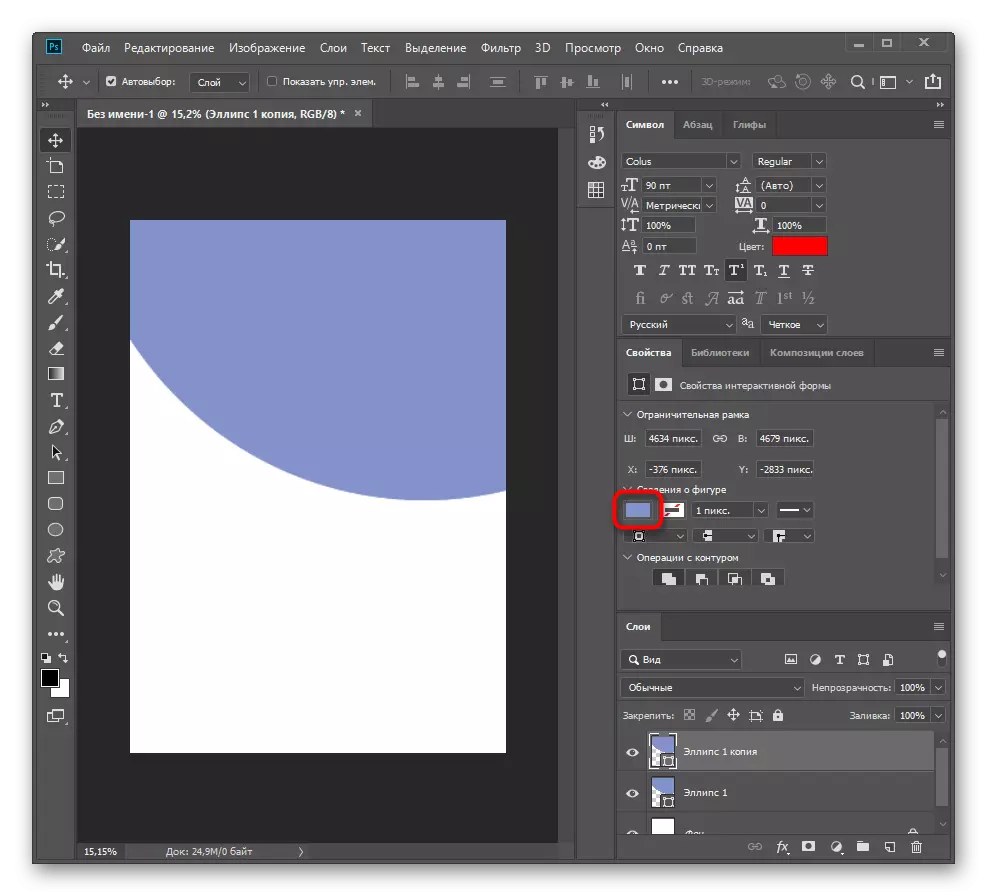
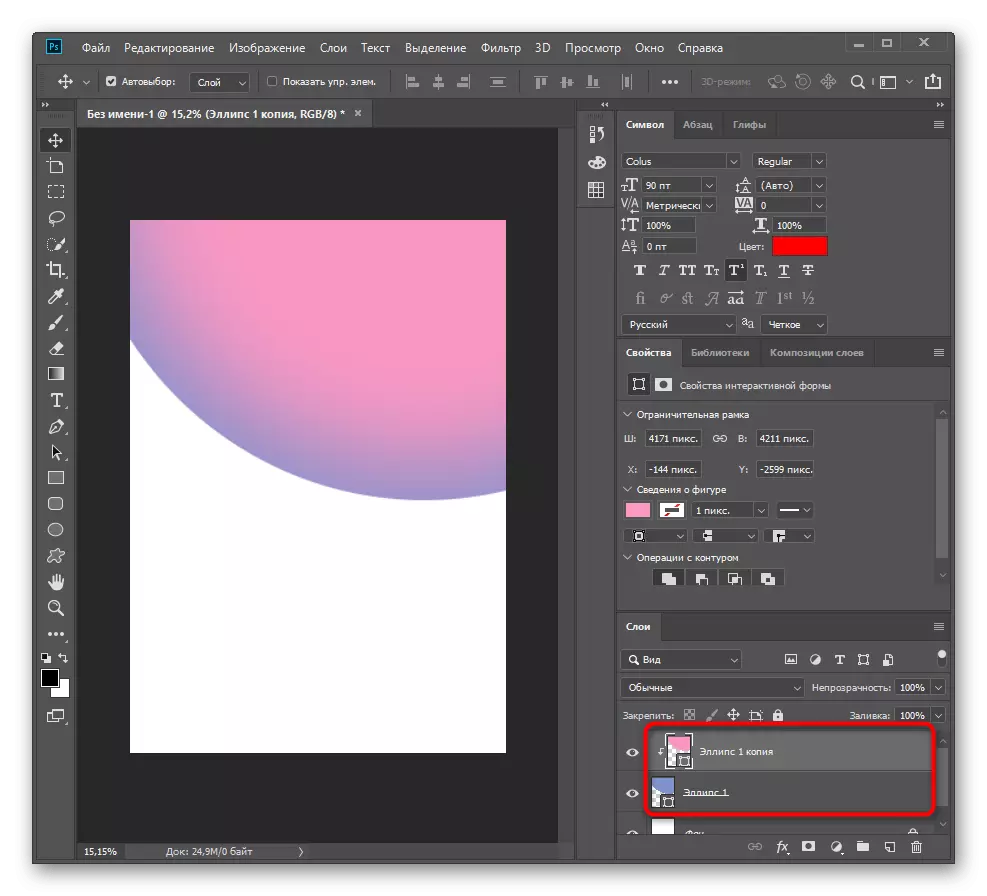
- We will work a little with the color, giving the figure like a gradient and glow. To do this, create a copy of the Ctrl + J key combination.
- Change the color of the new layer to the gradient.
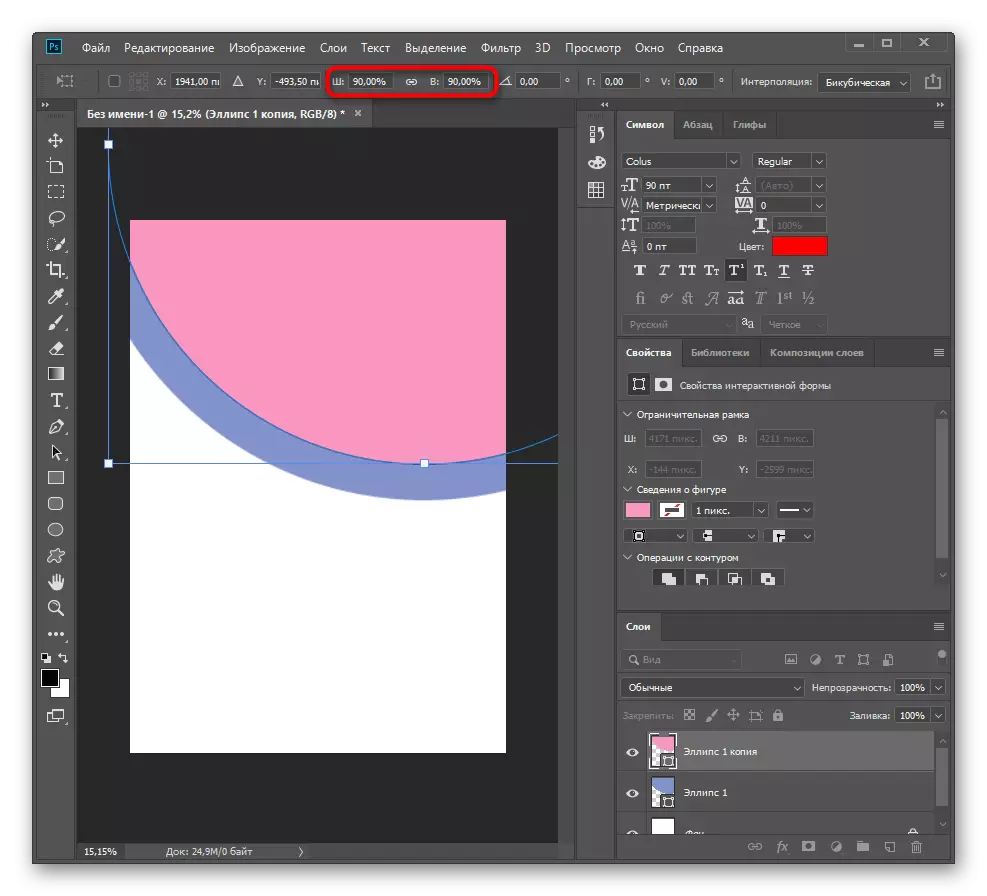
- Press Ctrl + T to call the edit tool and change the width and height to 90% on the top panel.
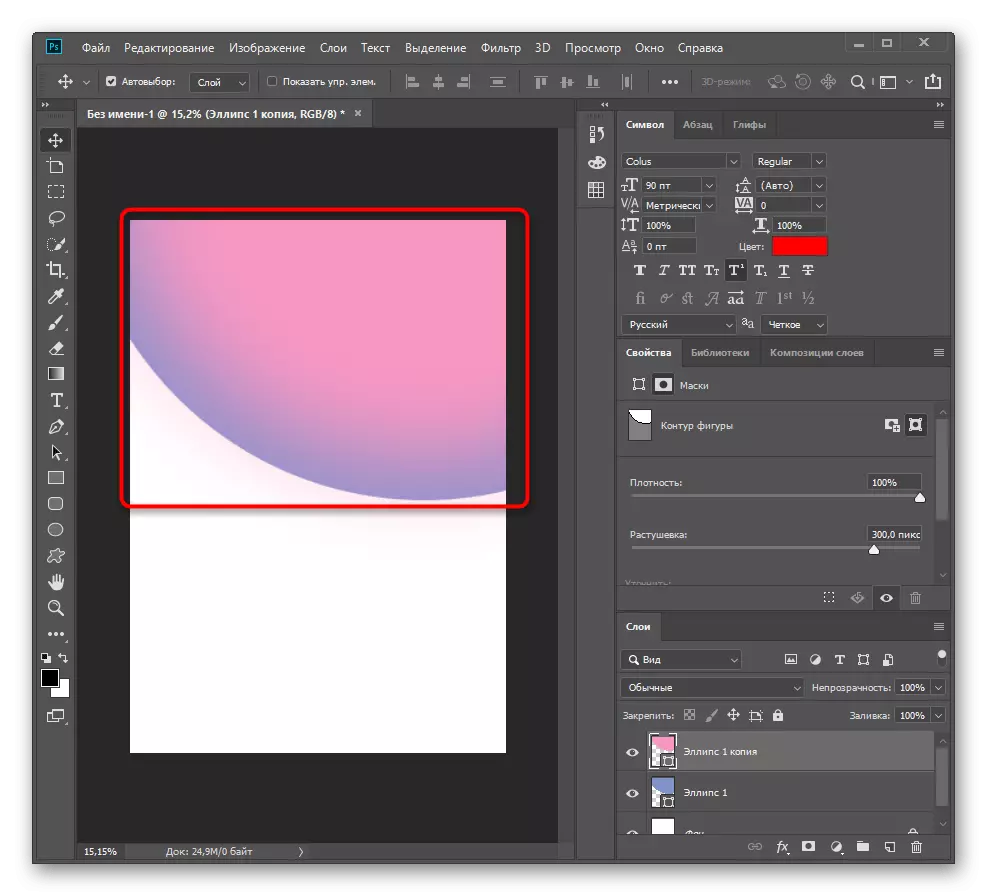
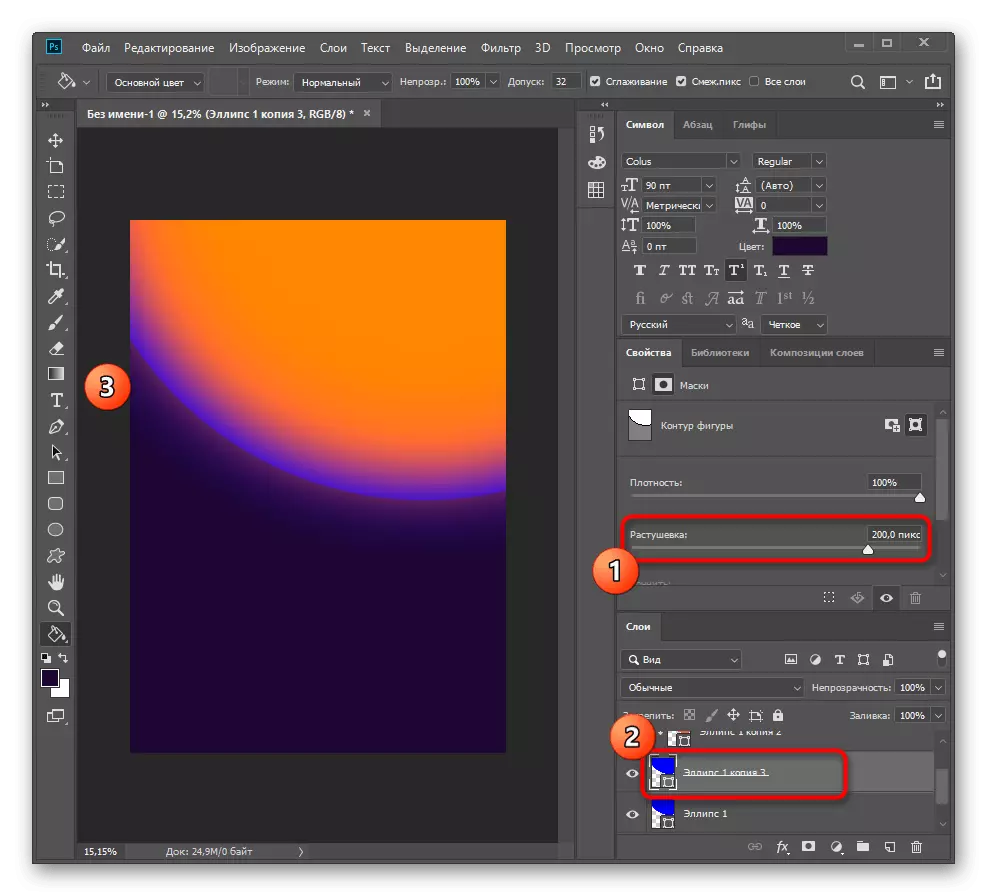
- To create a smooth transition of the gradient on the "Properties" tab, open the "masks" and unscrew the "Rastune" on an acceptable number of pixels, which in our case will be 300.
- As can be seen, I decided to completely get rid of the visible edges of two figures, however, a problem could appear with the imposition of one gradient over the bottom layer.
- To correct this, clamp the ALT key, hover over a copy of the layer before the new pointer appears and click the left mouse button. So you assign the mask the main layer.
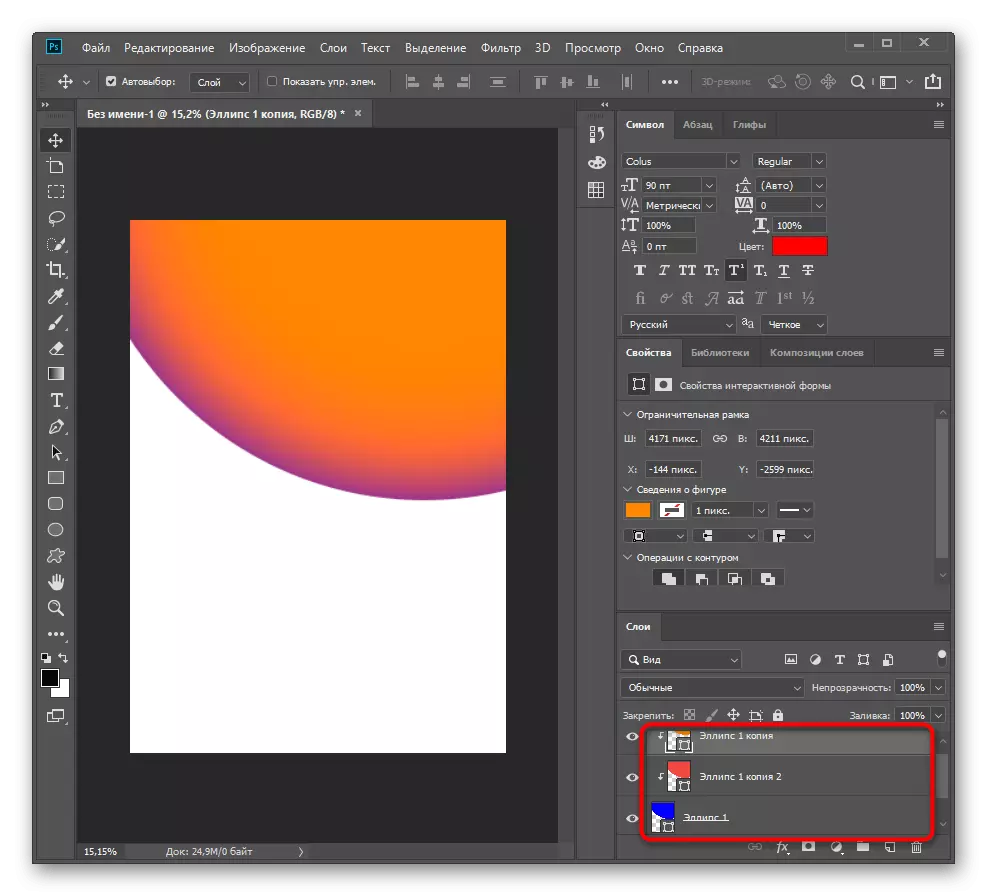
- Nothing prevents add more elements for the gradient, copying the layers and also placing them under the main to achieve the desired effect.
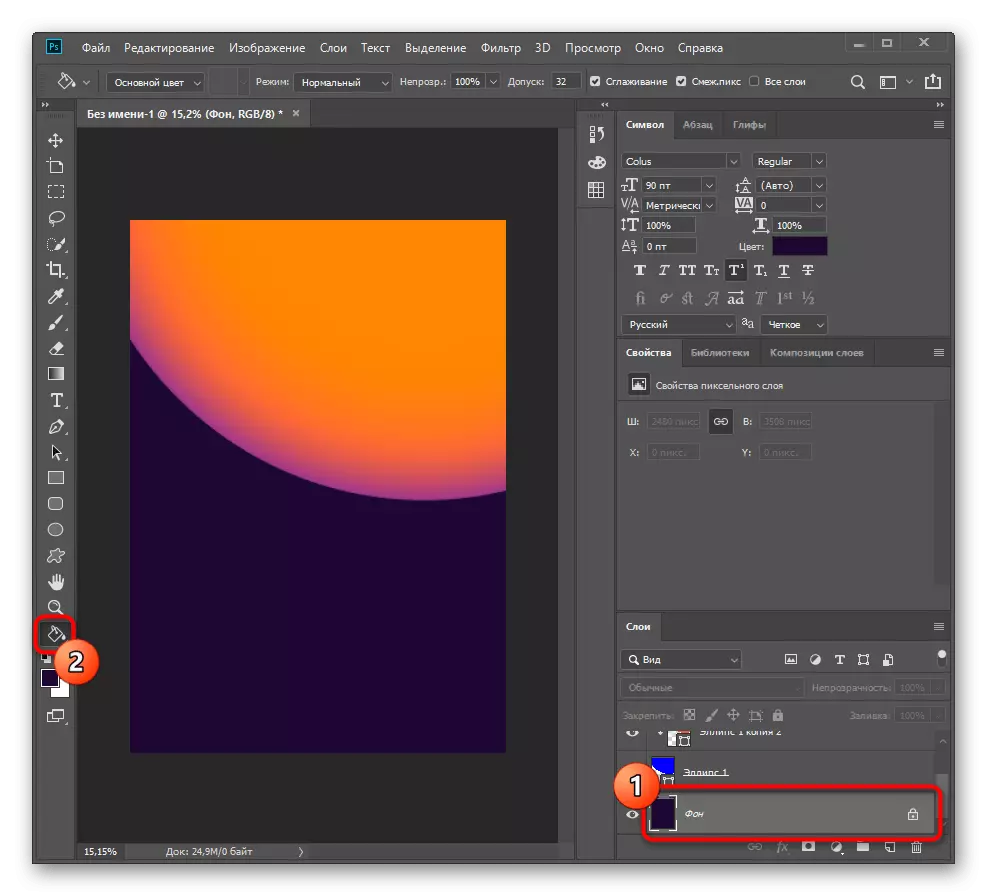
- By the way, do not forget about the background itself, if it should not be white. Use the "fill" to change the color.
- Finished the work on the figure by adding the glow, for which you create another copy, but this time do not put it as a mask of the main layer, and apply the decisive to one third less than the previous one.


This step is not required and sometimes not needed when working with posters of certain formats, however, if you wish you so diversify the background or create a basic poster image, the instructions provided will help to deal with basic actions performed with geometric shapes in Adobe Photoshop.
Mostly novice users who presented the information were not enough to understand how to draw shapes in Photoshop, we advise you to go to another management on our website by clicking on the headline below.
Read more: Tools for creating figures in Photoshop
Step 3: Adding Images
Separate images, such as logos, vector graphics objects and other elements, are almost always added to the poster.
- To do this, in the same section "File" select "Open".
- In the "Explorer" window, find and double-click on the desired image.
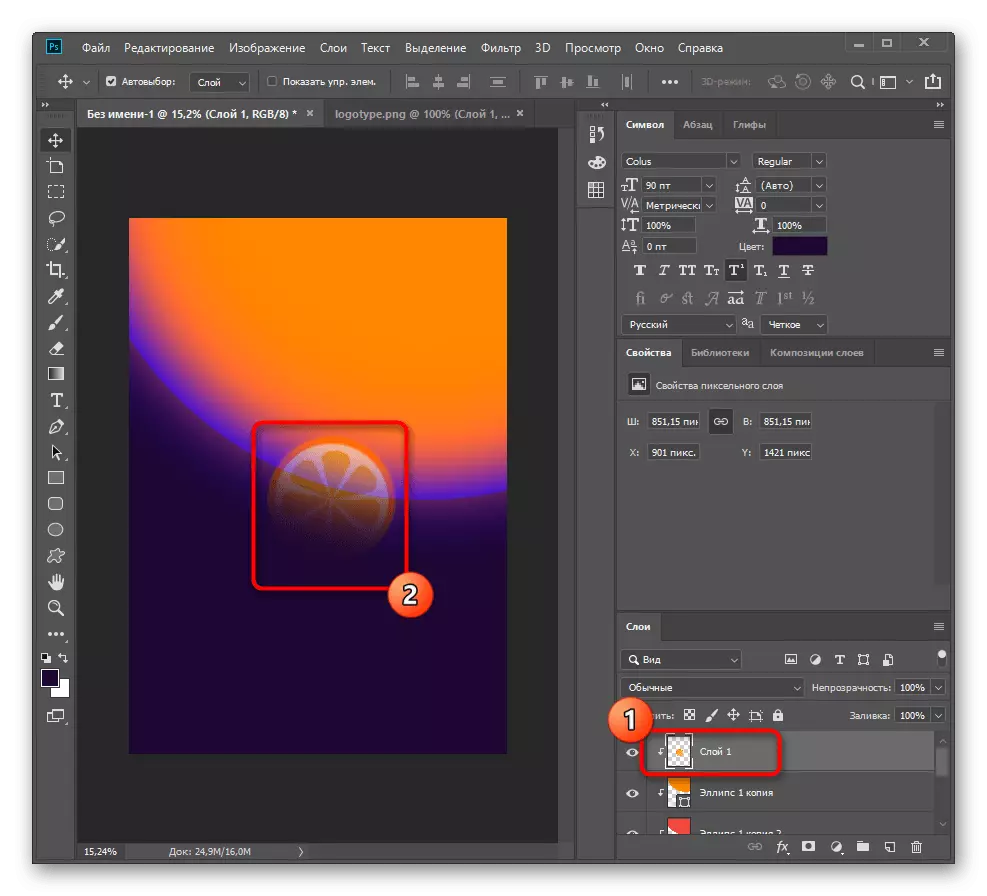
- It will appear in the new tab, so with the help of the move tool, take it on the poster project.
- Set up the size and location of the added picture and make the same with others if it should also be present on the poster.


For more information on the proper handling of the added image, contact other instructions on our website by clicking on the link you are interested in below.
Read more:
Color correction in photoshop
How to make inversion in photoshop
Perform pruning photos in photoshop
Change the color of objects in Photoshop
Step 4: Working with text
On the poster, the company's name, activities or other information relating to this image are almost always written. Adobe Photoshop functionality fully allows you to implement any tasks associated with the text.
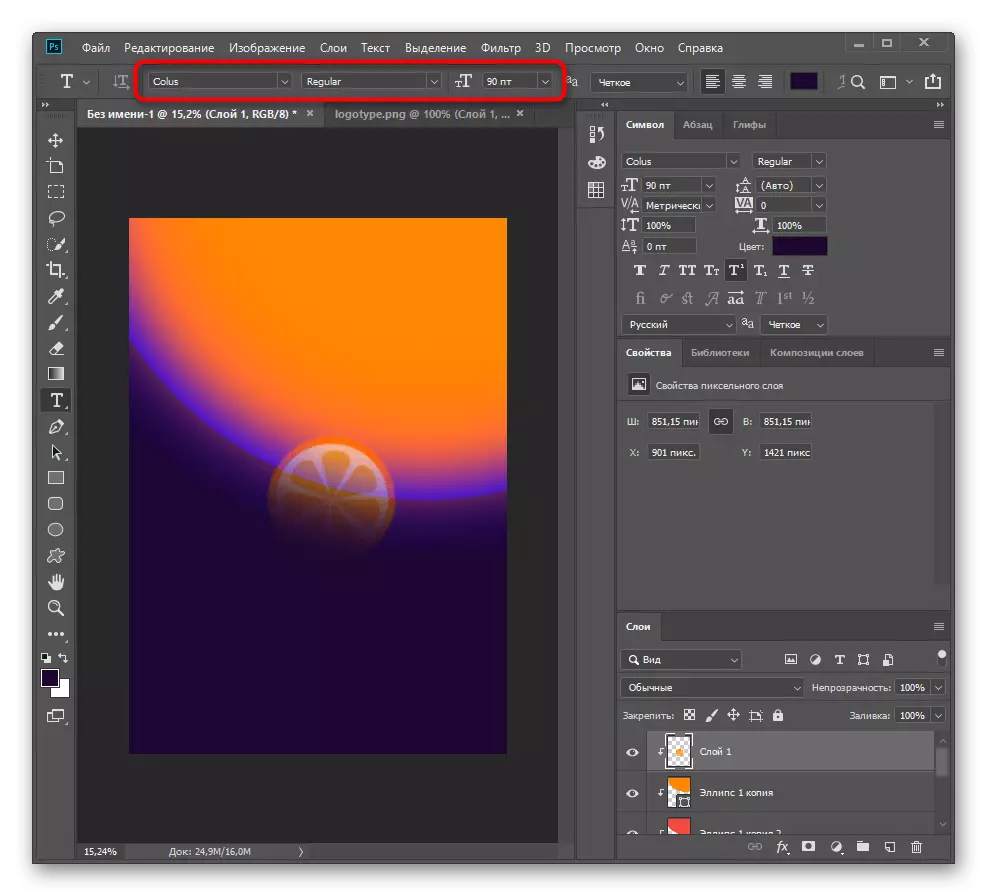
- To start working with inscriptions, activate the "Text" tool on the left pane.
- Configure the font parameters from above, after setting your own design options or using already available.
- Immediately you can replace the color, then not to change it.
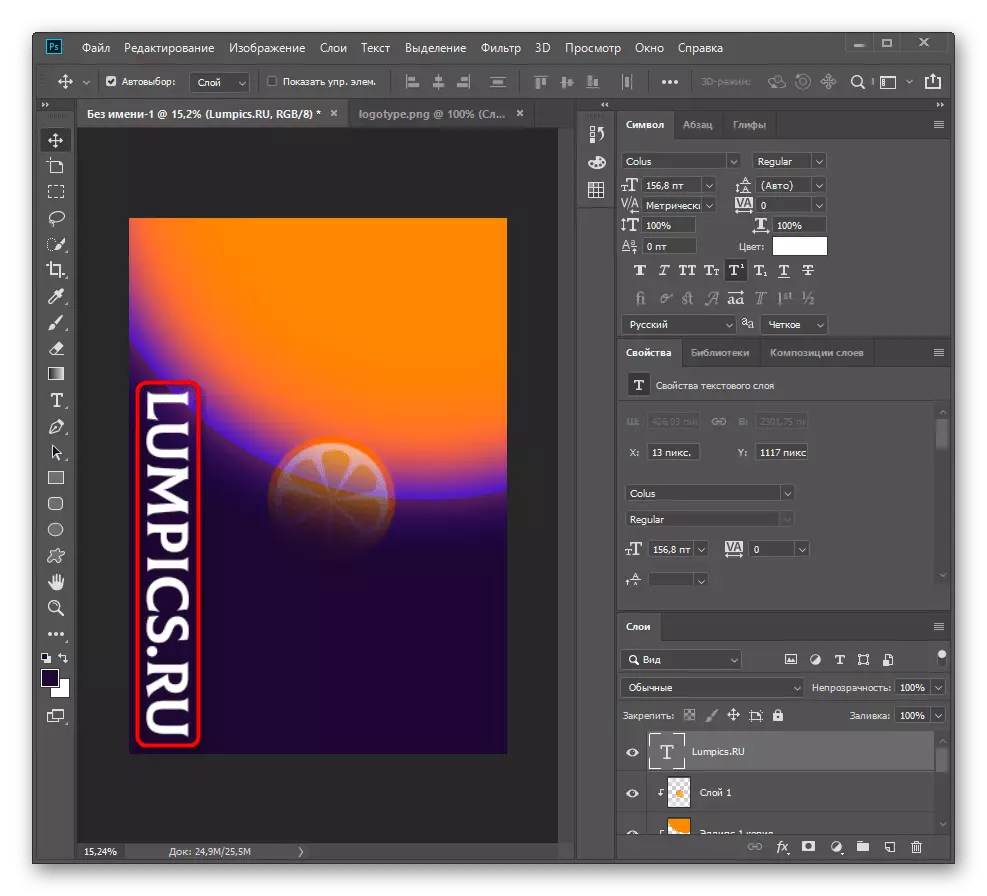
- Click on the appropriate place on the poster and add the inscription. Create a new layer and do the same with all the following inscriptions if they should be present in the project.
- If the text needs to be rotated to a certain number of degrees, when edited, use the Turn Tool tool.
- We made it at 90% and placed on the left side of the poster.


Additional information on how to work with the text in Photoshop can be found in another article on our website.
Read more: Create and edit text in Photoshop
Step 5: Project Saving
The main actions performed with the poster, we disassembled, so it remains only to save the finished project to return to it in the future, send to print or publish on the network. There are several basic principles of proper preservation.
- To begin with, select all the existing layers of the poster, click PCM and select "Combine Layers" in the context menu. So you will create one poster group to move it faster or further editing.
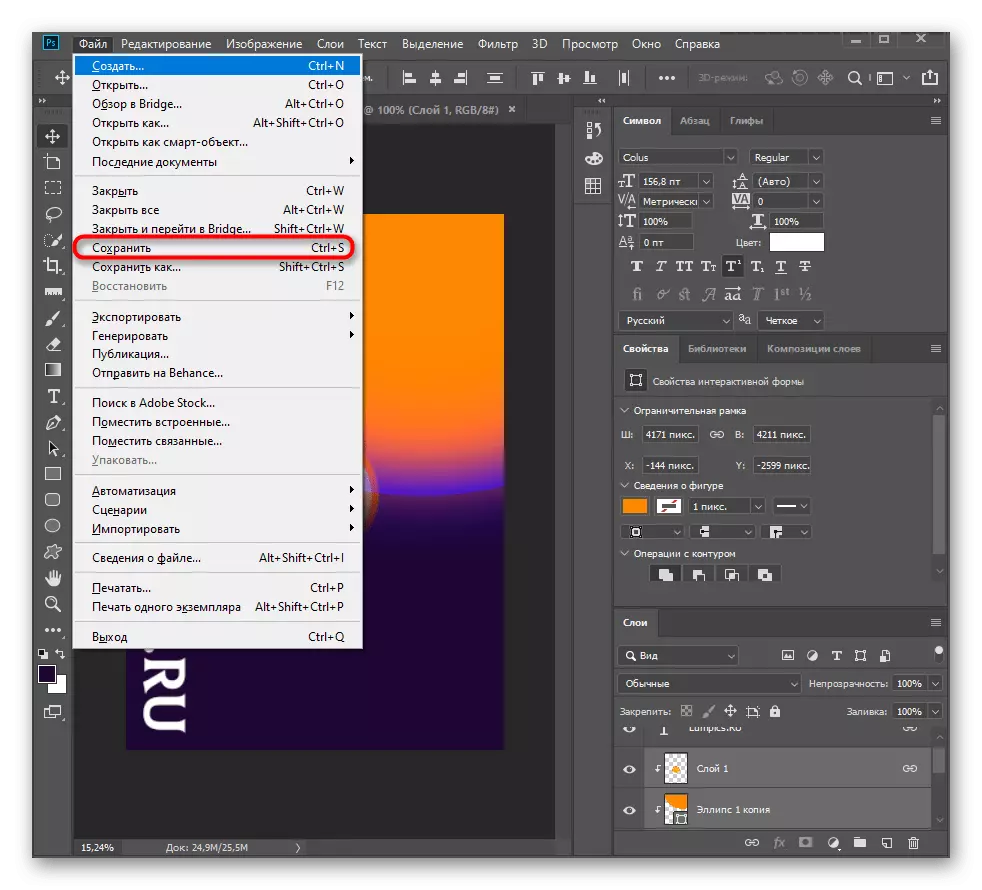
- After the "File" menu, call "Save" or use the Ctrl + S Helf.
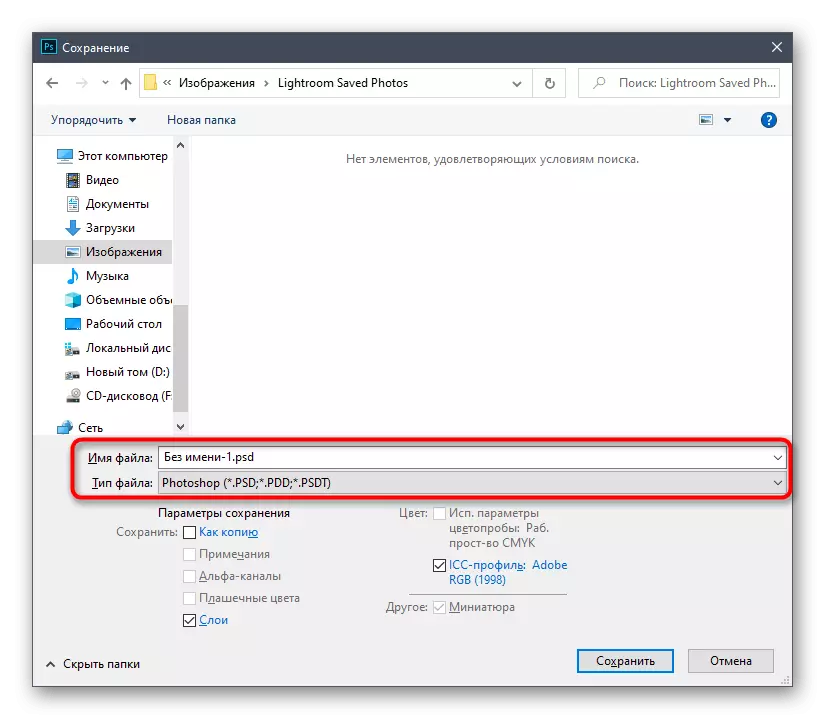
- Now we keep the project in PSD format so that it can be opened through photoshop to change. In the "Explorer" window that appears, simply change the file name and select a suitable place for it.
- If you want to save a poster as an image, use "Save As" or "Export".


Method 2: Photo processing poster
When creating different posters related to ads on the concert or campaigning moments, the project of a group or a separate person who needs to be processed, add information and create a general view of the poster to add information and create a general view of the project. Consider this option on the example of a notice of the nearest artist concert.Step 1: Creating a canvas
We have already spoken about the creation of the canvas in step 1 of the previous way, so we recommend returning to it and clarify all the necessary moments. In this case, all the above rules retain their relevance, unless otherwise require the customer.
Step 2: Adding basic figures
The concept of this project is that the photo itself will be divided by a strip of one color, and the rest of its space is in the haze or is lost in another color, which already depends on your personal preferences. To do this, you will need to create two basic figures to repel from them with further editing.
- Select the Rectangle tool on the panel on the left and stretch it on the entire canvas, thereby creating a new layer. We will ask him a gray color, and you can use any other shade.
- Create another layer with a rectangle in a horizontal position as shown in the following screenshot.
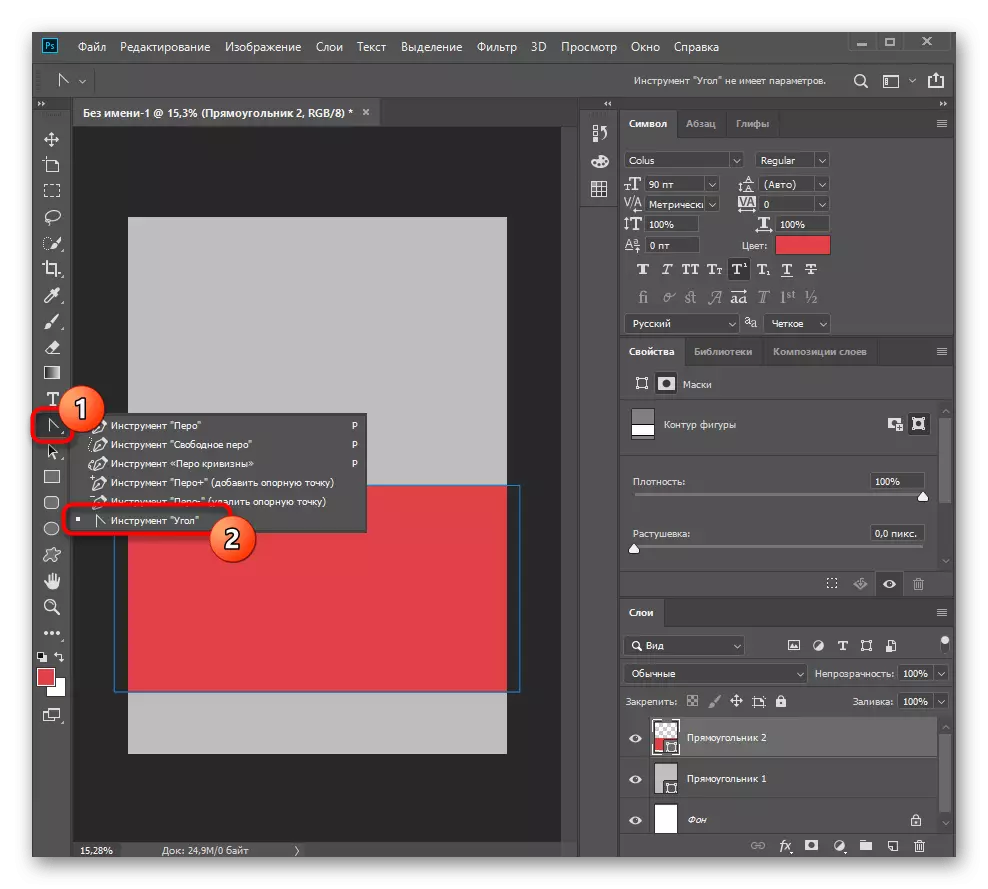
- Expand the Feather tool menu and switch to the angle.
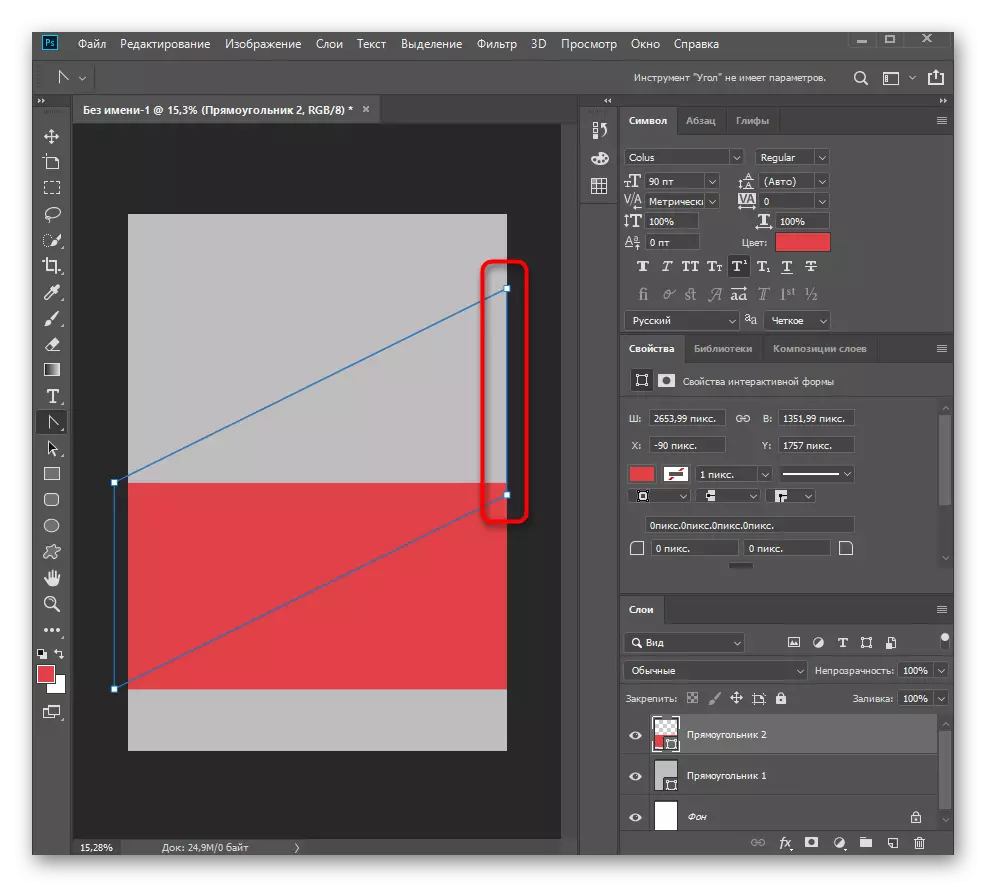
- Click on the right side of the second rectangle and drag it to the top corner.
- Do the same with the second part, creating a diagonal intersection.


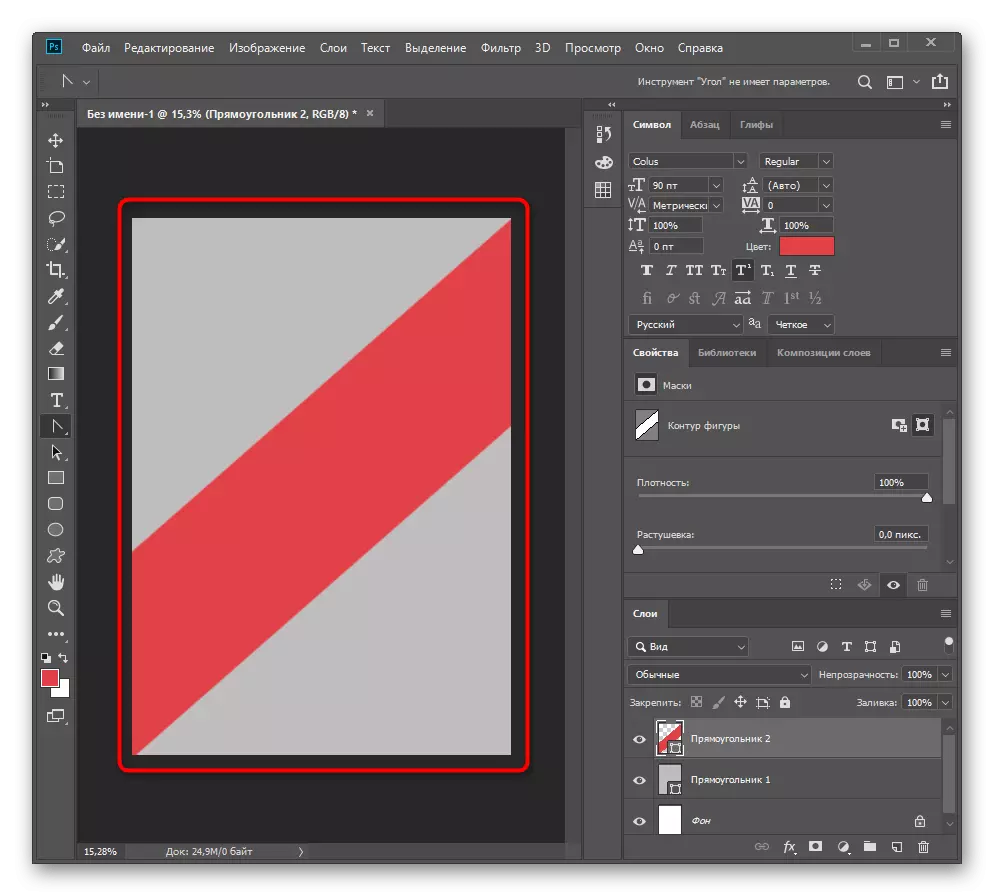
On this formation of basic figures is completed. If you want to give them another form, change the angle or do without it without it, use the same editing tools, but already following our own ideas.
Step 3: Adding Photos
This stage is one of the most important, since the photo must be prepared for subsequent processing. Try to take a picture in advance so as to quickly remove the background, otherwise you have to manually allocate the contours, achieving the desired result. If you do not know how to perform such a task, seek help to other auxiliary materials on our website on the links below.
Read more:
Remove background with images in Photoshop
Remove the green background in Photoshop

Then use the "Open" (Ctrl + O) function to add the finished image on top of the base figures.

Step 4: Photo Processing
The main process of working with such a poster type is correct image processing. For this, basic figures have already been added, which act as a background, and then it remains only to give them a normal form by processing the snapshot.
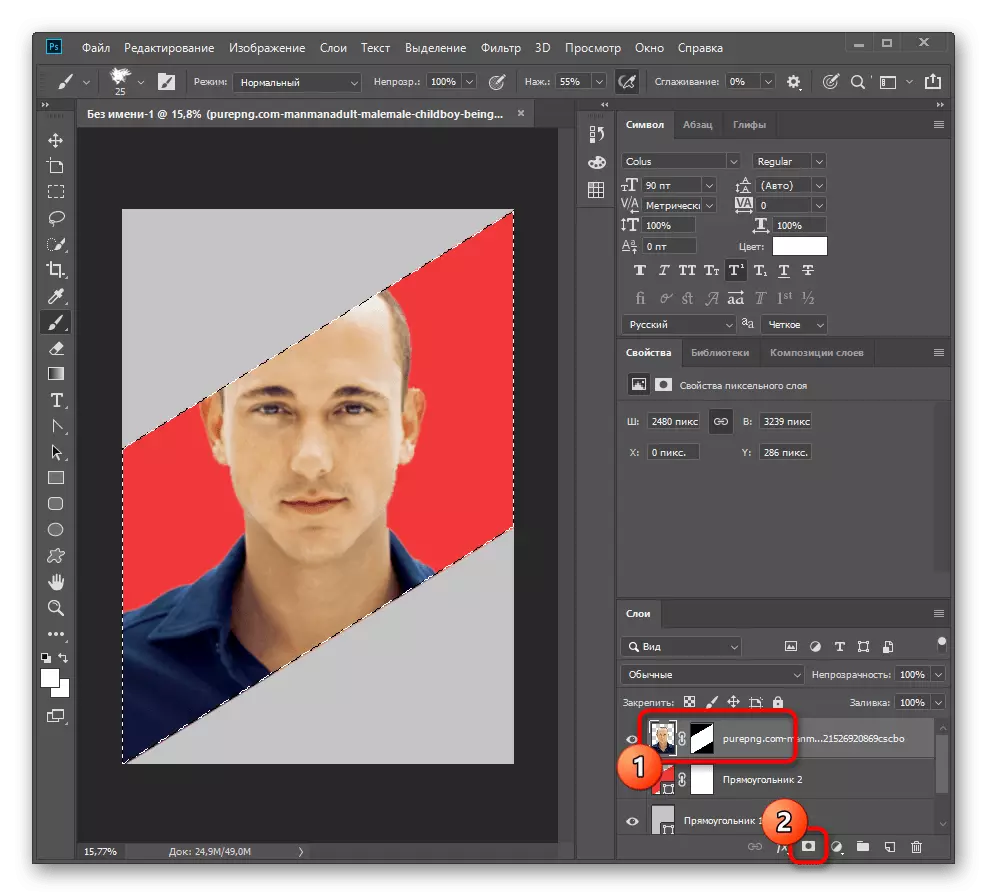
- Press the Ctrl key and click on the layer with the second rectangle to highlight it.
- Immediately click on the layer with a photo and add a mask that will repeat the shape of the geometric shape.
- Highlight a new mask and with further editing, make sure that it is always active.
- Many users prefer additional sets of brushes to create unusual effects, and in the articles below you will find guides about their installation and use. So you can choose a suitable editing tool.
Read more:
Tool "Brush" in Photoshop
Installation and interaction with brushes in Photoshop
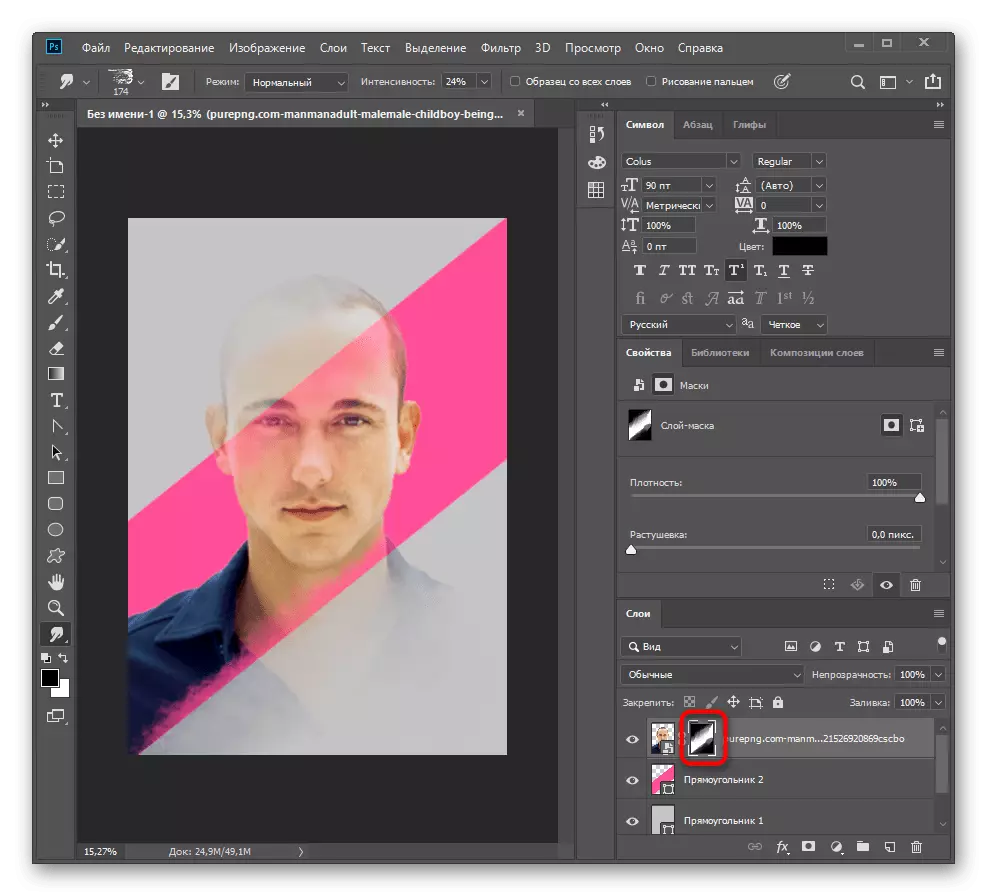
- After activating it, click anywhere on the canvas of the PCM and in the selection menu, decide which type of brush you want to apply.
- Start drawing on a mask, seeking the effect of divorces, hassle or any other, depending on what the installed brushes are intended.
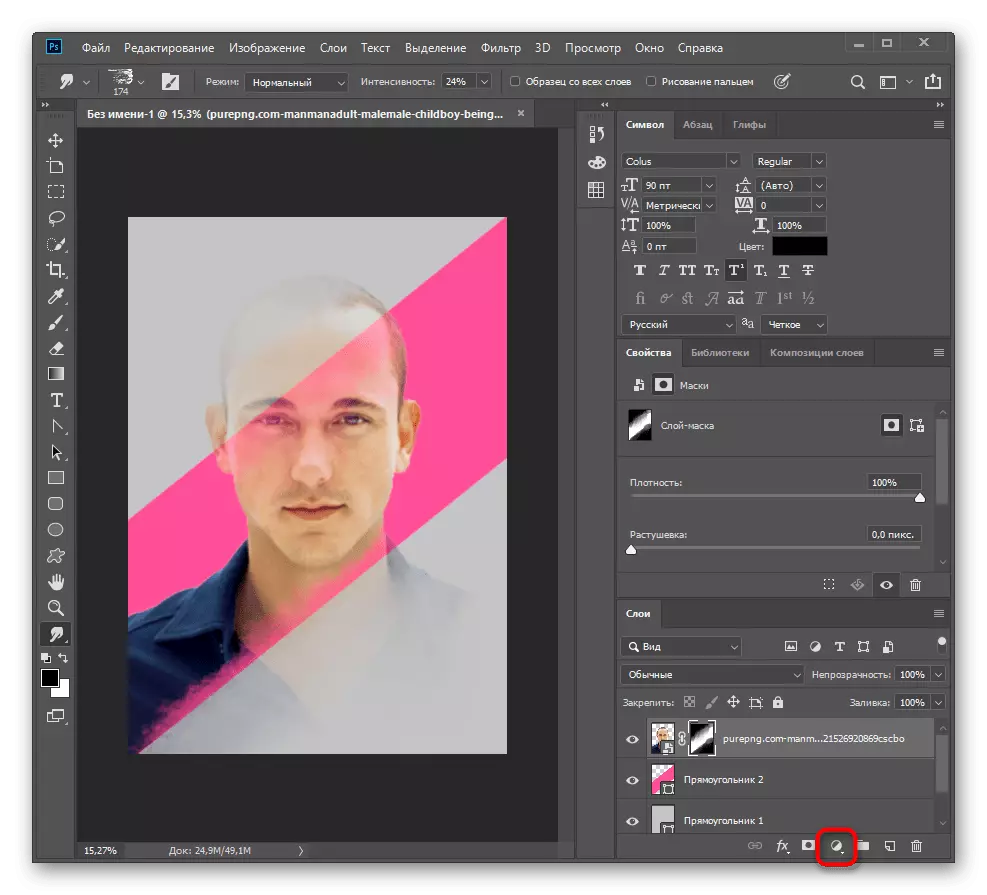
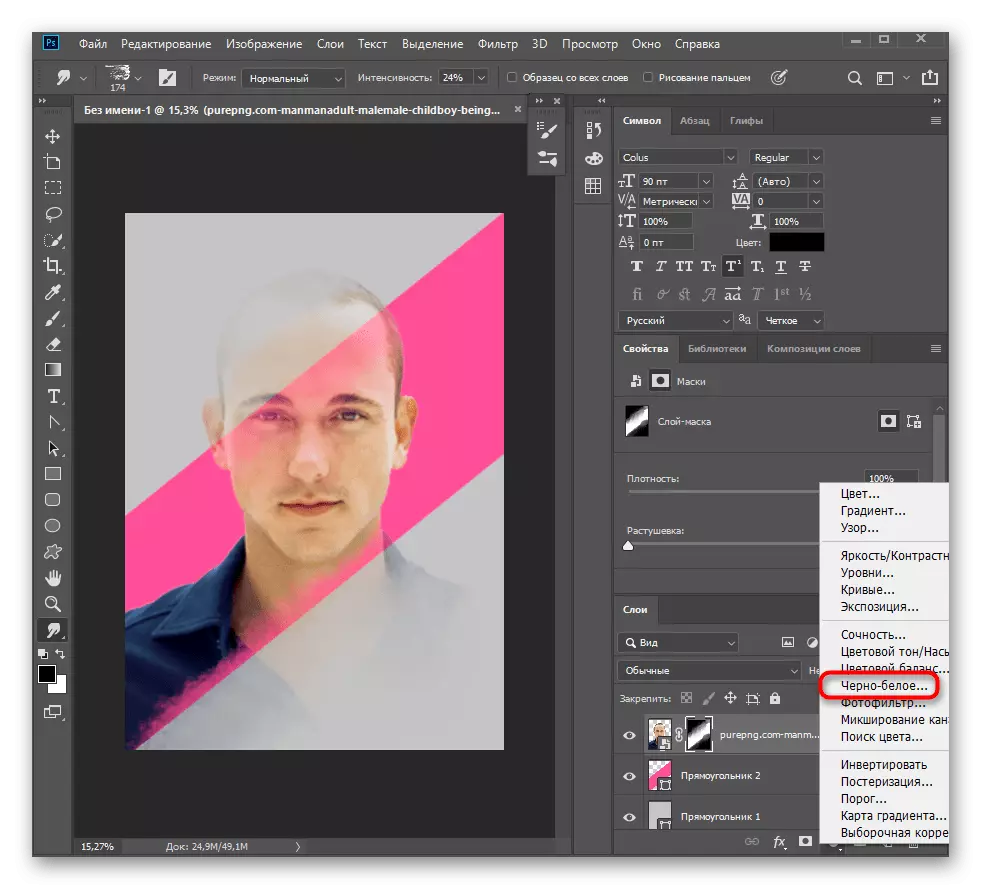
- Next, create a correction layer by clicking on the button marked at the next screenshot.
- In the menu that appears, select "Black and White".
- Activate the layer cut-off function so that the color correction effect affect other project objects.
- After that, again highlight the mask of the photo.
- Expand the "Normal" drop-down menu.
- In it, familiarize yourself with the available effects and pick the one that you like to perform the transition from black and white to color display.


Of course, this processing process is not a reference - you can use the described techniques for your own purposes, creating something individual. Do not be afraid to experiment, because any action is easily canceled by pressing Ctrl + Z.
Step 5: Working with details
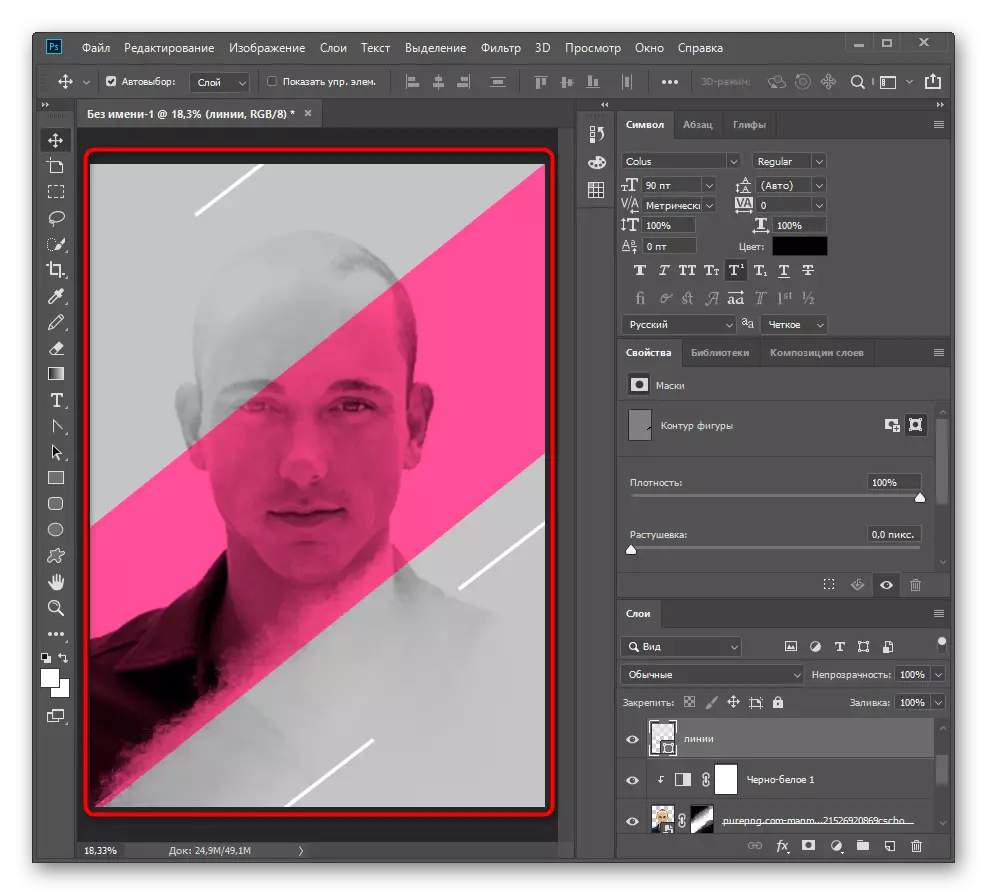
In addition to the poster inscriptions add lines, different geometric shapes and other details that give the project a more perfect view. Now we will analyze it on the example of just a few lines, and you will be able to improve the poster at your discretion.
- Be sure to create a new layer before switching to adding other items if only the tool you use will not do it yourself.
- Select the "Line" tool, adjust its color, thickness and stroke, and then proceed to drawing.
- We placed several lines at the edges; Note that it will not hinder anything to change their shape, add a dotted or cut corners.


Let us leave references to two material from another our author, which may be useful when adding parts to a poster.
See also:
Tools for creating figures in Photoshop
Draw lines in photoshop
Step 6: Finishing actions
We have already spoken about working with the text and preservation of the poster in the method 1, so we will not repeat. Those who want to just go to the last stages and get acquainted with the instructions. We only add that not always standard fonts are suitable for posters of this level, so you will need to find the appropriate design on the Internet. Manuals on the installation of such fonts and text stylization options are in other materials.
See also:
Install the fonts in Photoshop
Stylization of font in photoshop
How to make text stroke in photoshop
How to make bulk letters in photoshop
How to make a beautiful inscription in photoshop
Create a burning inscription in Photoshop
Create a gold inscription in Photoshop
