In order for the Adobe Photoshop to cut a circle, you will need to use the appropriate geometric figure acting as a stencil.
- On the left toolbar, find a "rectangle" (instead there can be any other figure you used the last), press it right mouse button and switch to "Ellipse".
Immediately for its convenience, you can configure how it will look like: flooded or only in the form of contour. Many choose any contrast primary image color of the fill so that the circle is more convenient to arrange in the place that you need to cut. We suggest to resort to the contour, allowing you to make a figure as it as correctly on the background and do not trim unnecessary or do not make it crooked with respect to the object cut.
- Now, with the SHIFT switched key on the keyboard, draw a circle. If you are just a mouse, it will be uneven, and as a result there is a big chance to cut a disproportionate, oval or flattened figure. If necessary, the circle can be changed in the amount by clicking on it with the right mouse button and selecting "Free Transformation" item. For the same action corresponds to the hot key Ctrl + T (but then the layer you want to edit it is pre-selected. Moving tool Place the circle on the original image more accurately.
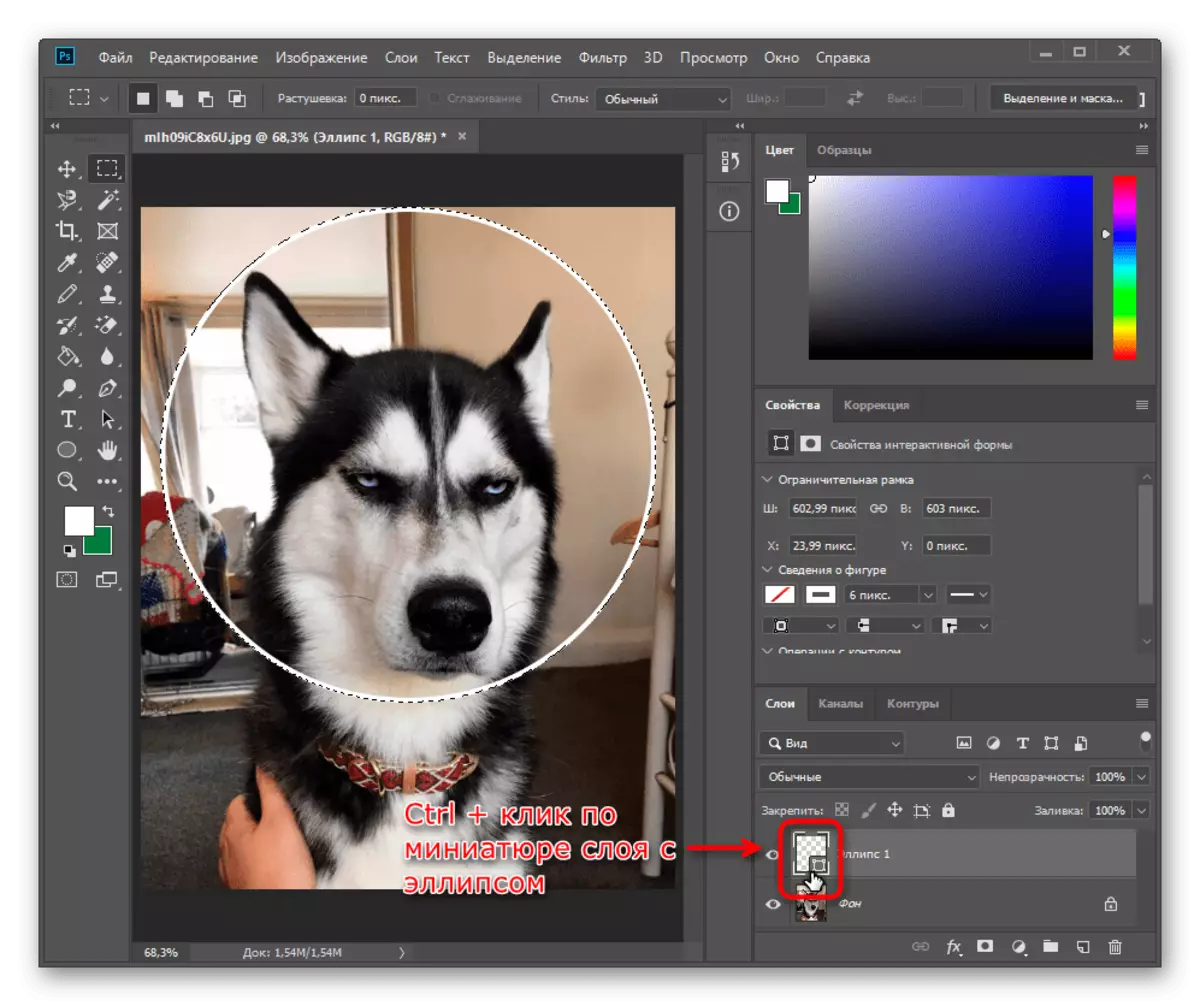
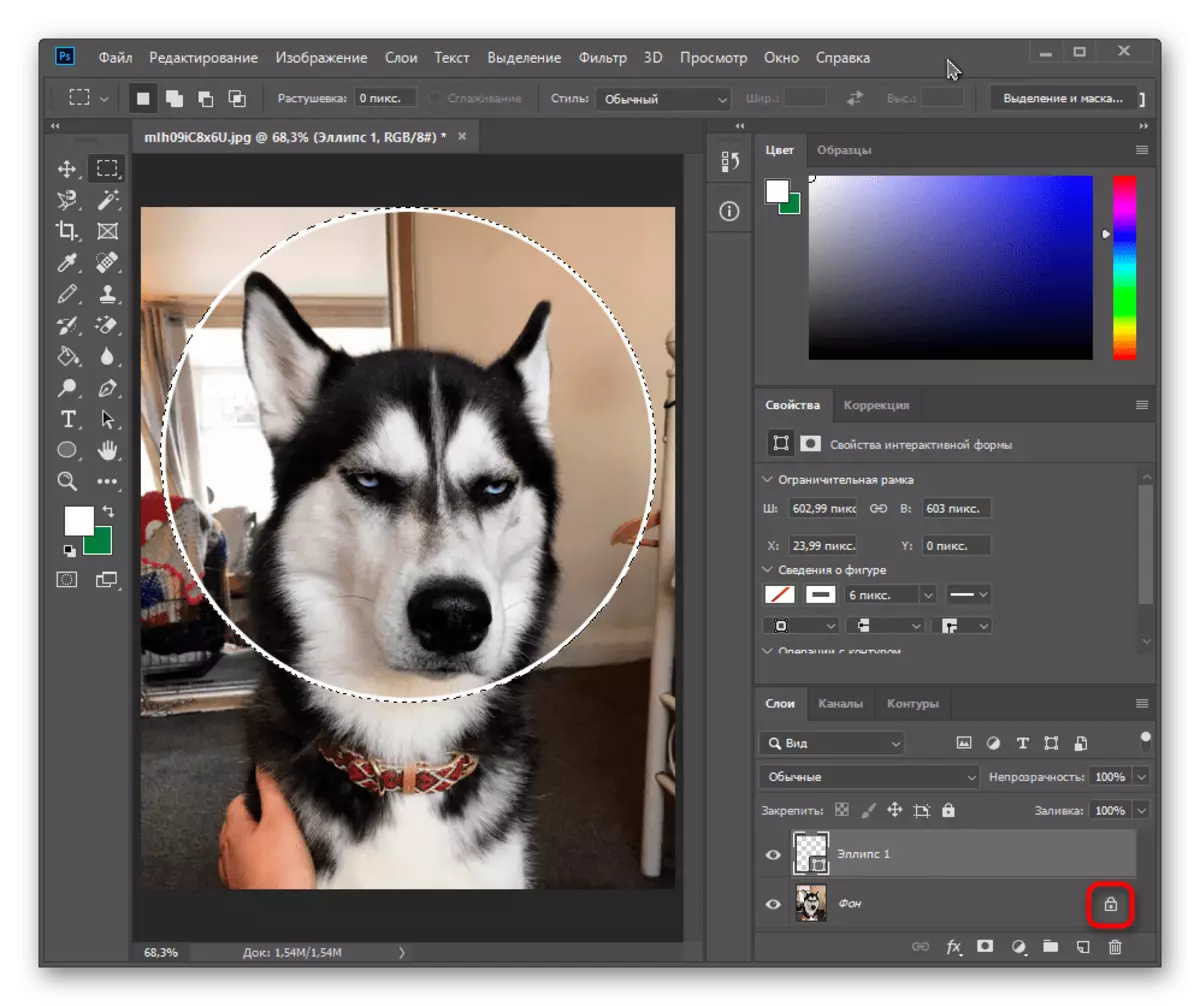
- Now highlight the layer with the created figure by clicking on its thumbnail on the "layers" panel with the left mouse button with the CTRL pre-clad key (Command in Mac computers). You will see that an animated stroke appeared on the edges of the layer.
- By the way, if the background layer with the image from which the circle will be cut is blocked, click on the icon with the lock on the layer panel. Allocations made in the previous step, it will not remove it.
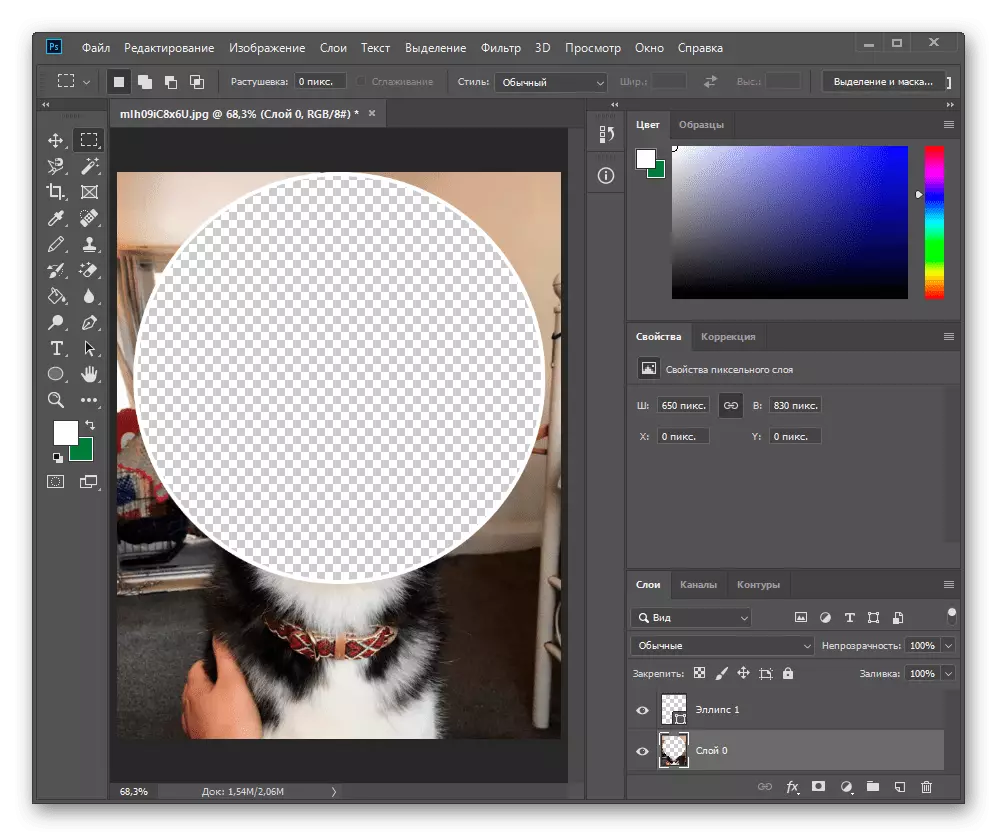
- The process of cutting circle itself implies two possible options: cutting the circle that was drawn (on the spot of the drawn figure in the background layer will be emptiness) or crop the rest of the rest, leaving only what is under the circle. If you are interested in the first option, it is already enough to press the CTRL + X key combination. Where the ellipse is located, an empty place will appear in which in the future you can insert any object or use the file as a template for anything.
- However, as a rule, users are interested in the opposite version of cutting, respectively, the previous item is not necessary. It is necessary to create an inversion of the selection to cut off the entire such area, which is outside the drawn circle. To do this, press the CTRL + SHIFT + I key combination, after which you will see how the same dotted selection appeared on the sides of the picture.
- Switch to the background layer through the corresponding panel so that the program can understand what you must cut off.
- Press the CTRL + X key combination or call the Editing menu and from there. Use the Cut tool.
- The result will be the removal of the entire inverted area, which is not under the circle.
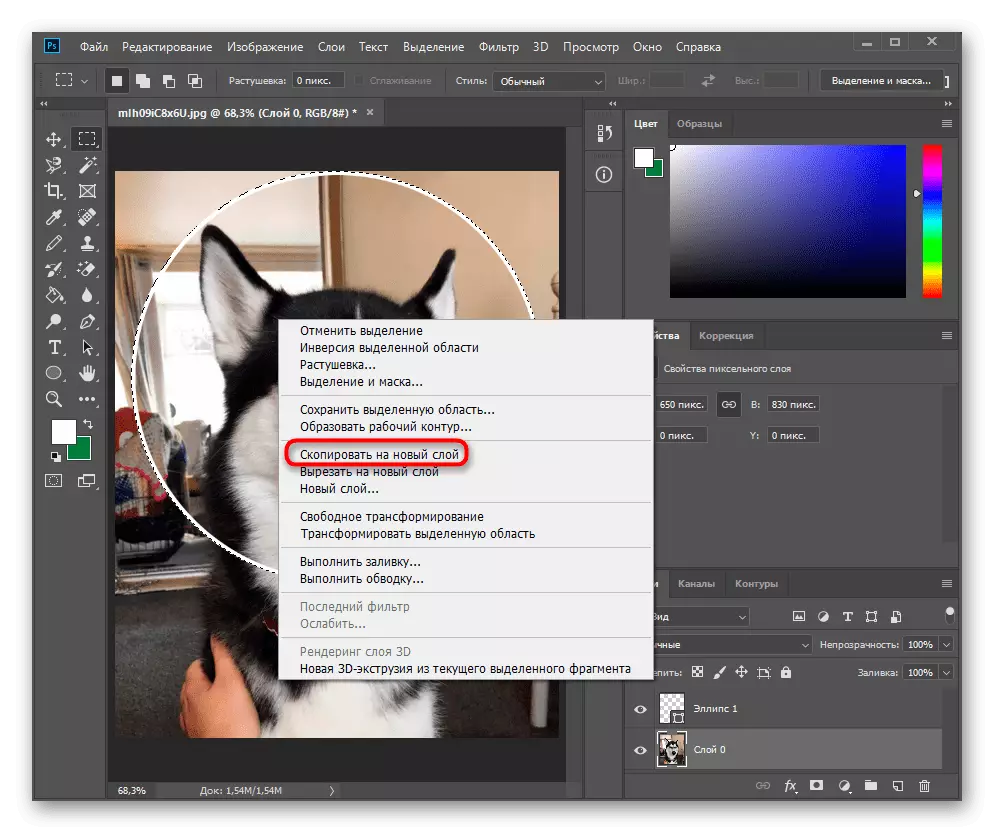
- If you need a source for performing other tasks, instead of cutting or Ctrl + x keys you can click on any PCM place and use the "Copy to a new layer" function.
- Now you can remove the ellipse layer by selecting it on the panel with the layers and pressing the Delete key.
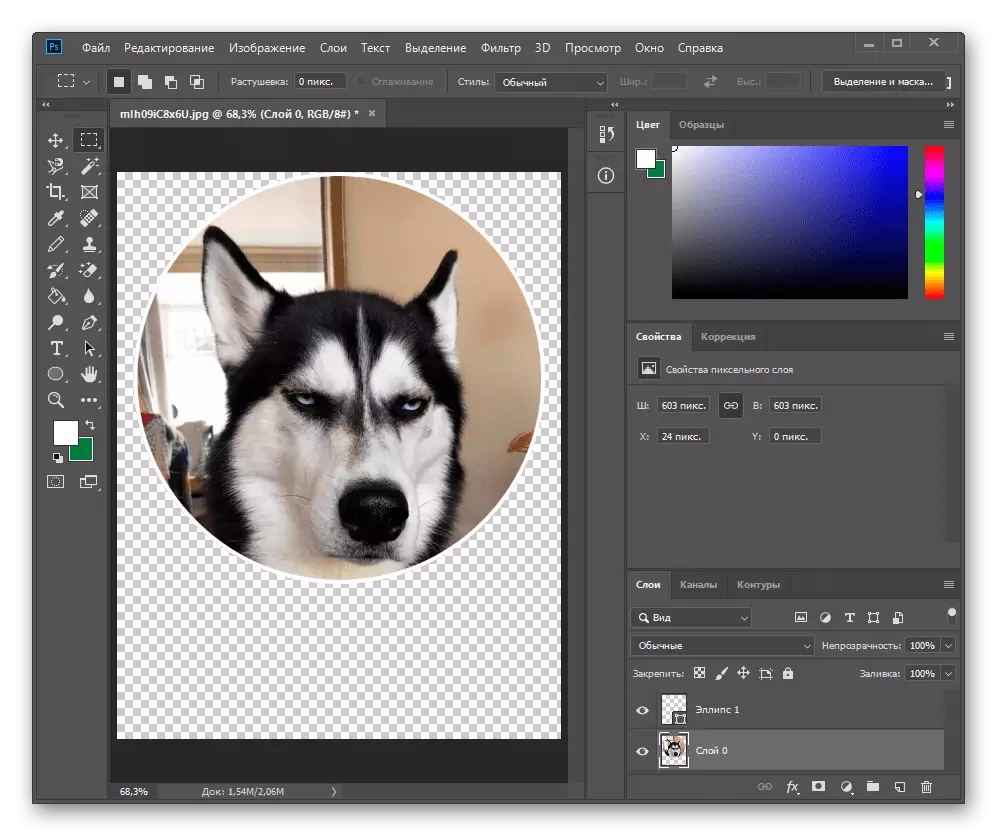
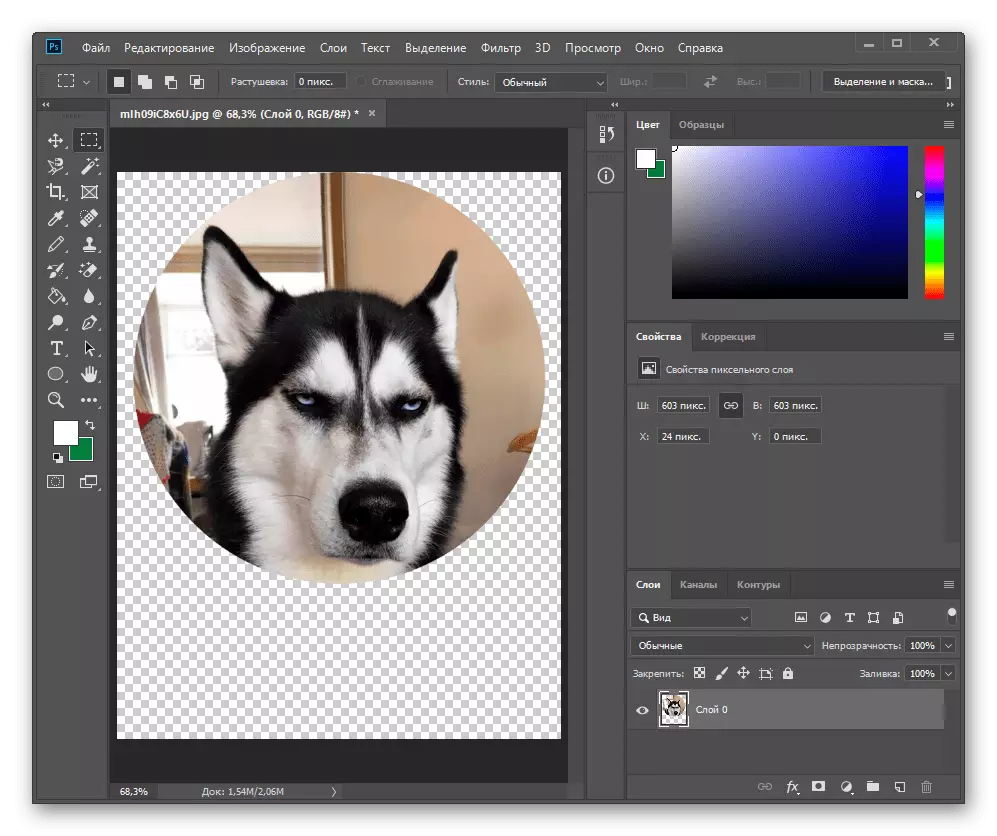
- Created circle is ready for further editing.
- Immediately show how the excess empty area remains is removed after removing the unnecessary parts of the background image. Go to the "Image" menu and call Trimming.
- In the tool window, specify the value of "transparent pixels" and click "OK".
- Now all unnecessary areas will be cropped with the exception of areas forming a square canvas that cannot be removed.
- Save the result ("File"> "Save As" or Ctrl + SHIFT + S keys) in PNG due to the presence of a transparent background, if there is a need.


Instead of a hot key, you can also click on any place of PCM and select the "Inversion of the Selected Area" item.