

Method 1: "Programs and Components"
By default, the Telnet utility is disabled, but it is possible to easily activate it. The easiest way to do this is to use the system snap-in "Programs and Components".
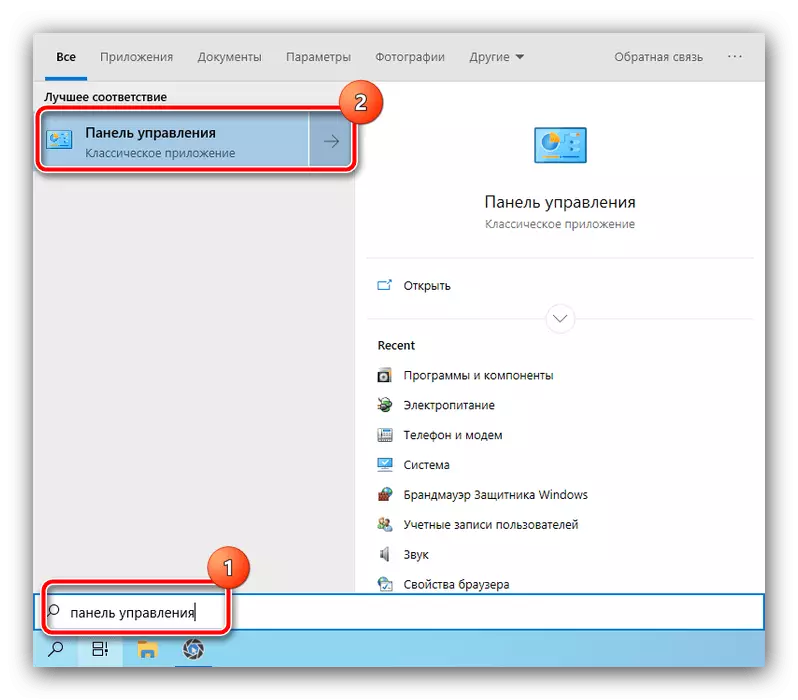
- Call "Search", enter the control panel request in it and open the result found.
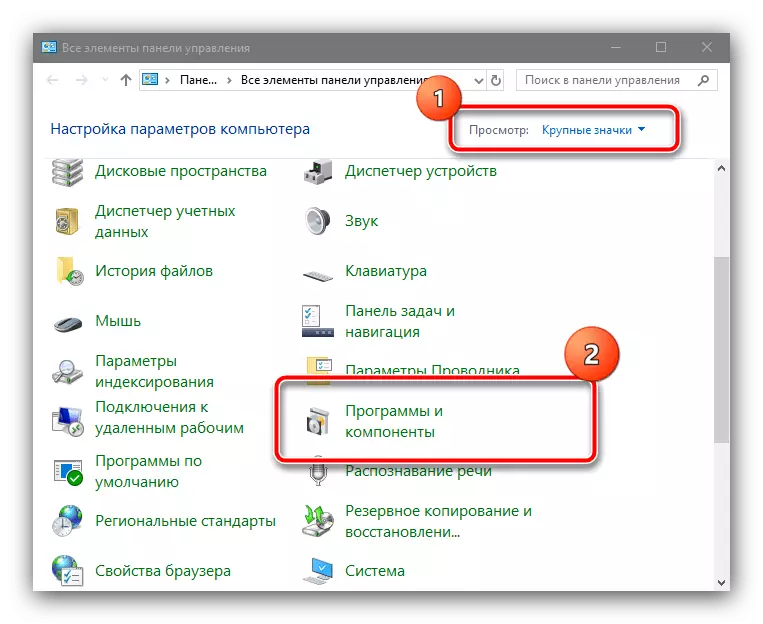
- Switch the display of icons in "Large" mode, then find the "Programs and Components" item in the list and go to it.
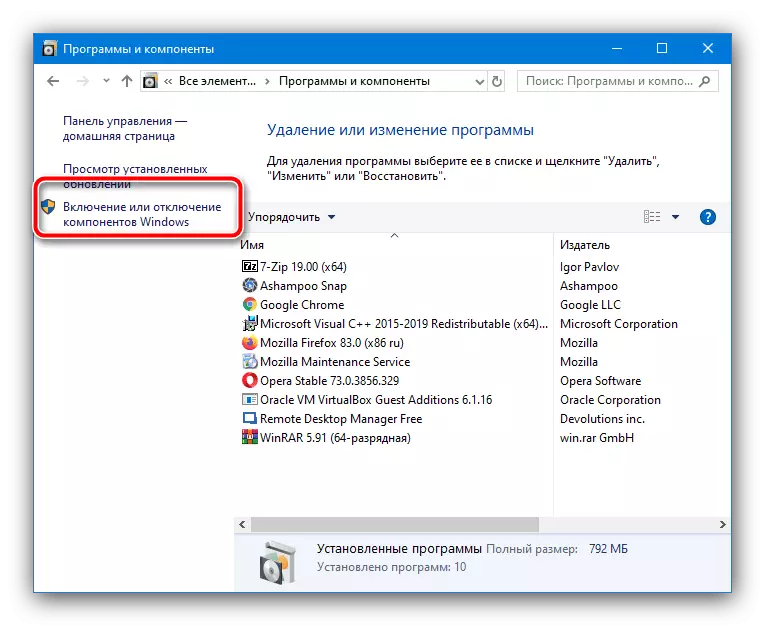
- Here, use the "Enable or Disable Windows Components" link in the left menu.
- After starting the window, find the CLIENT TELNET directory list and place the mark opposite it.
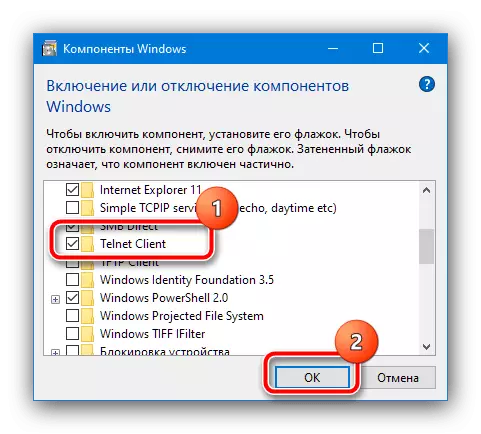
Wait until the installation is completed and restart the computer, after which try to use Telnet - now everything should pass without problems.
Method 2: "Command Line"
If the first option for some reason is not available, the "command line" will be alternative to it.
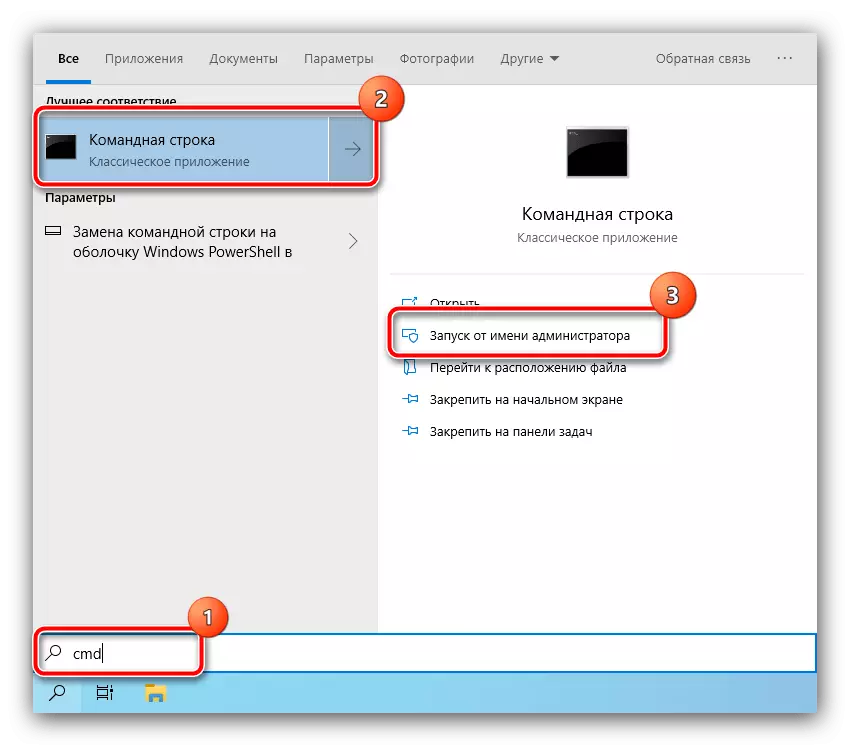
- Run the instrument on behalf of the administrator - do it in the "dozen" the easiest way will be through the same "search": Open it, start entering CMD, then use the corresponding startup option.
Read more: Run "Command Line" on behalf of the administrator in Windows 10
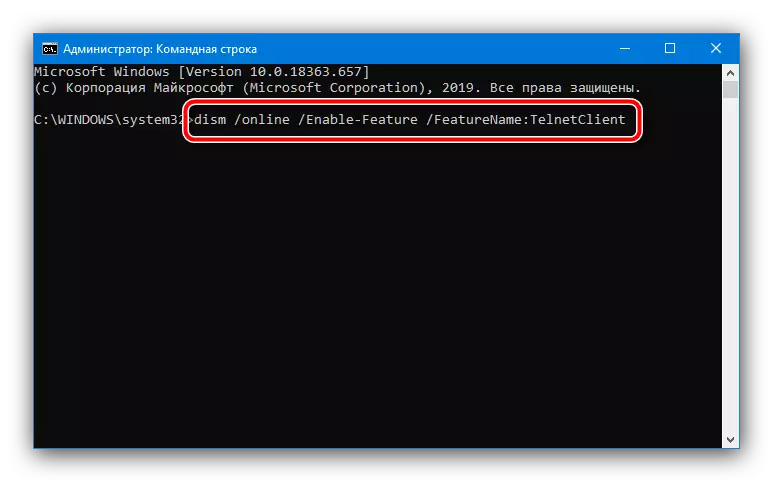
- In the input interface, write the following and press ENTER.
DISM / Online / Enable-Feature / FeatureName: TelnetClient
- Wait until the inscription "Operation is successful" appears, after which you close the console and restart the system.
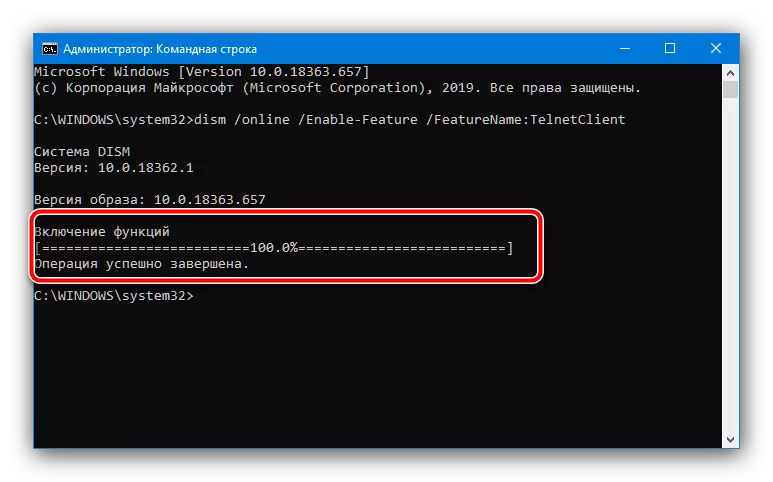
As a rule, the use of the "command line" guarantees a solution to the problem.