

Method 1: Copy Settings
The first option of loading presets into mobile lighters is to use the parameter copying functions. Do the following:
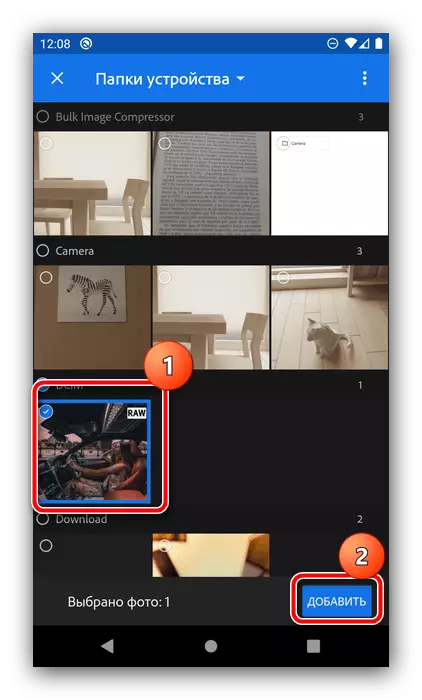
- Load the press on the phone, then run the Lightroom and start adding the photo to the program by clicking the button at the bottom of the screen.

Next, use the File Manager embedded in the application - select the downloaded photo from the preset in it, select and click Add.
- After downloading the picture, use the All PHOTO points and specify the downloaded file.
- Click on three points at the top, where they tap the "Copy Settings" option.
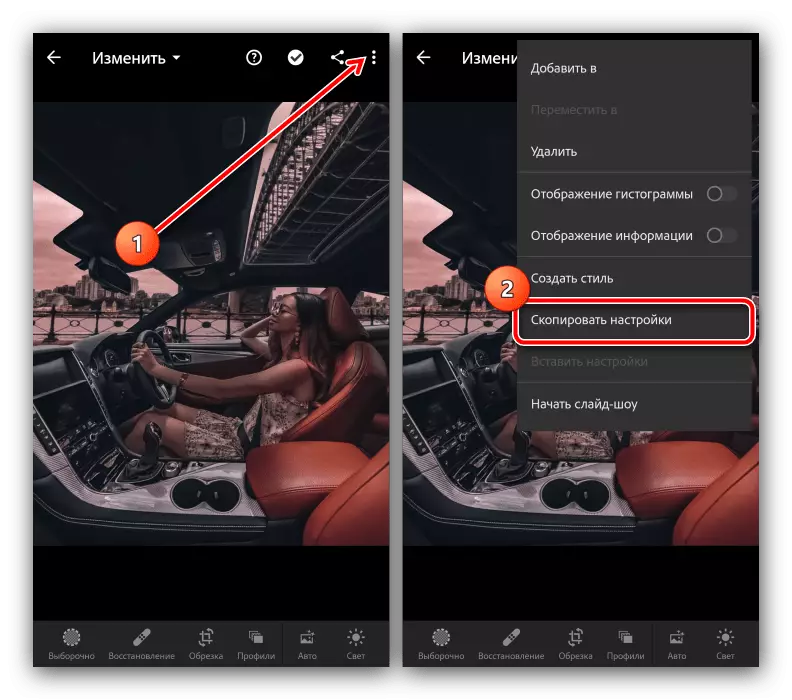
Set the parameters that you want to use and press the Tick button.
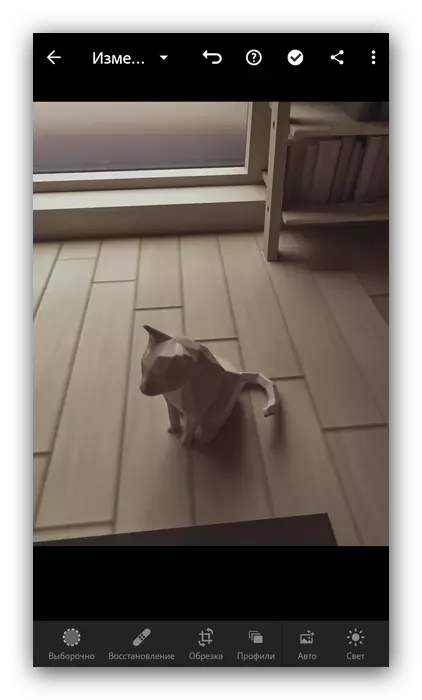
- Next, download the photo program to the program to handle in the same way as the snapshot with the preset, after which you call its context menu and select "Insert Settings".
- Ready - the photo will be changed, and the result can be saved.


Method 2: Creating Style
An alternative to the first method is to use the preset parameters for creating a new style that can be applied with all future pictures. To implement it, follow these steps:
- Repeat steps 1-3 of the previous instruction, but now in the context menu, select "Create Style".
- Specify which preset settings you want to use, then set the name style and save it by pressing the checkbox at the top right.
- To apply the preset style, open the photo you want to change, scroll the toolbar below to the "Styles" option and click on it.

Select the "User Sets" item, then specify the steps created in step 2. The preset will be involved.


Use style more convenient than copy settings every time.
Export presets from the desktop version of Lightroom in mobile
Many Lightroom users on the desktop would like to use their presets and in the mobile version. Software supports work with the Adobe Cloud service, automatically synchronizing the parameters between the devices to which the account of the mentioned clouds is attached, including presets. With the synchronization enabled, it is not necessary to do anything additionally, the program independently transfers everything you need.
If a synchronization method for some reason is unavailable, the preset can be transferred manually. This is done like this:
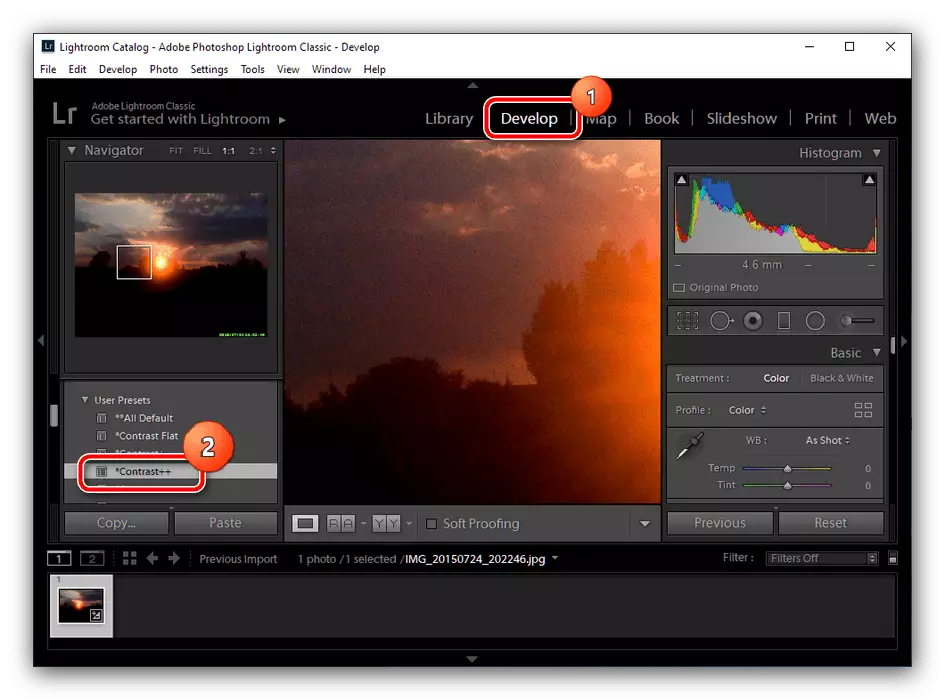
- On the computer, open Light and select any photo. In the main menu of the program, go to the "Develop" tab and use the PRESETS block: specify the desired and click on it.
- After applying the settings, open "File" - "Export with Preset" - "Export to DNG".
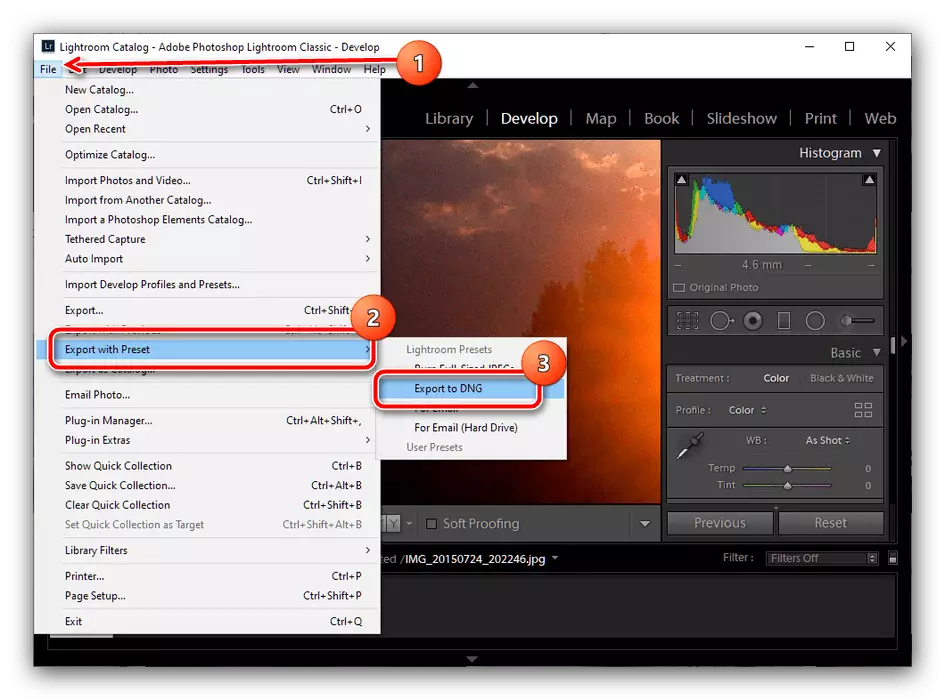
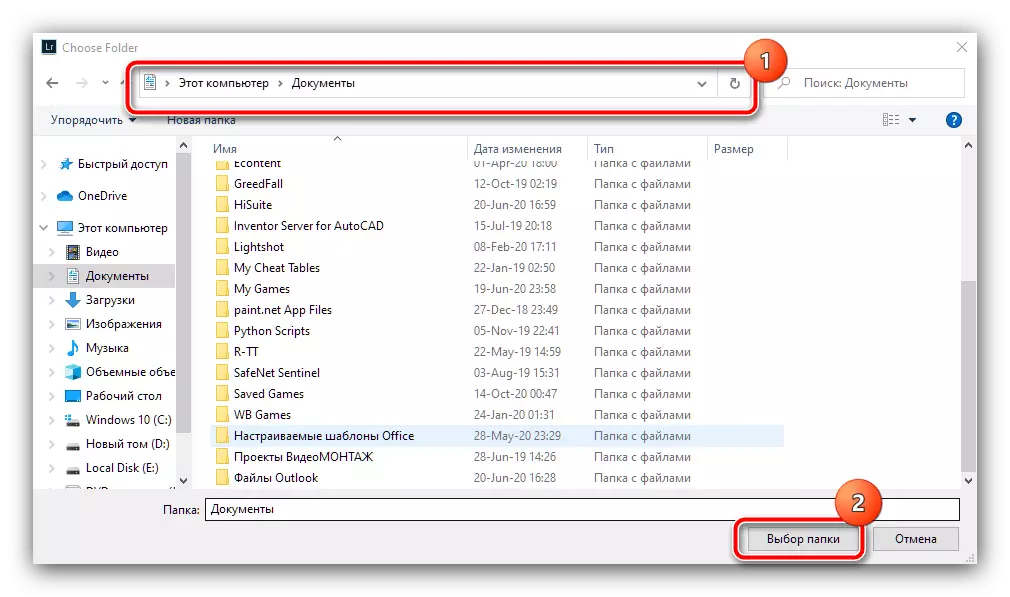
Specify the directory to which you want to export the file, and click "Folder Selecting".
- Next, simply move the DNG to the phone in any suitable way, and use one of the installation instructions shown above.
As you can see, no difficulty with the transfer of presets from the desktop Lightroom in mobile.