

In this instruction detailed how to install, change or delete an avatar in Windows 10. And if the first two actions are very simple, the removal of the account of the account is not implemented in the OS parameters and you will need to use bypass paths.
How to install or change avatar
To install or change the current avatar in Windows 10, it is enough to perform the following simple steps:
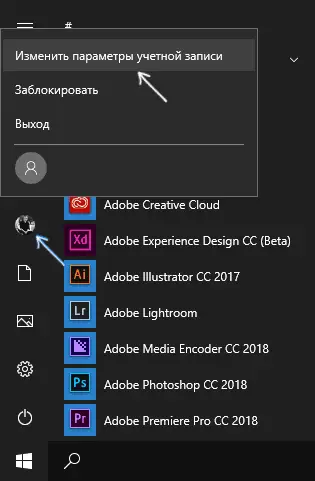
- Open the Start menu, click on the icon of your user and select "Change Account Settings" (You can also use the "Parameters" path - "Accounts" - "Your Data").
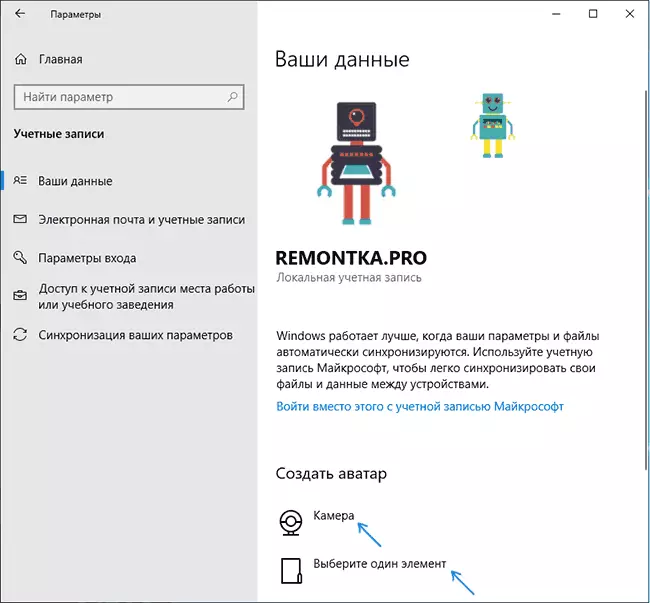
- At the bottom of the "Your Data" settings page in the "Create Avatar" section, click on the "Camera" section to set a snapshot from a webcam as an avatar or "Select one item" and specify the path to the picture (supported by PNG, JPG, GIF, BMP and Other types).
- After selecting a picture of the avatar, it will be installed for your account.
- After changing the avatar, previous image options continue to be displayed in the list in the parameters, but they can be deleted. To do this, go to the hidden folder C: \ Users \ user_name \ APPDATA \ Roaming \ Microsoft \ Windows \ AccountPictures (If you use a conductor, instead of AccountPictures folder will be called "avatars") and delete its contents.
At the same time, consider that in the case you use the Microsoft account, then your avatar will also change in its parameters. If you later use the same account to enter another device, then there will be the same image for your profile.
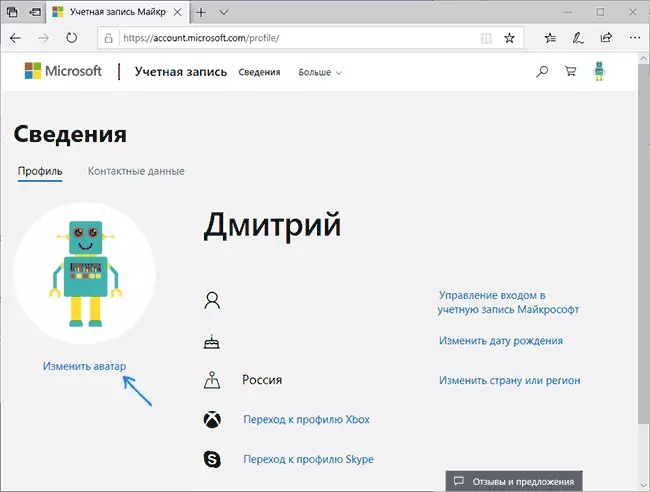
Also for the Microsoft account, it is possible to establish or change the avatar on the site https://account.microsoft.com/profile/, however, everything works not entirely as expected about what at the end of the instructions.
How to delete Windows 10 avatar
In terms of removing Windows 10 avatar there are some difficulties. If we are talking about a local account, then there is simply no deletion item. If you have a Microsoft account, then on the Account.microsoft.com/profile/ page you can delete an avatar, but changes for some reason are not synchronized automatically with the system.
However, there are ways to get around, simple and complex. The simple option is as follows:
- Using steps from the previous part of the instructions, go to the selection of the image for an account.
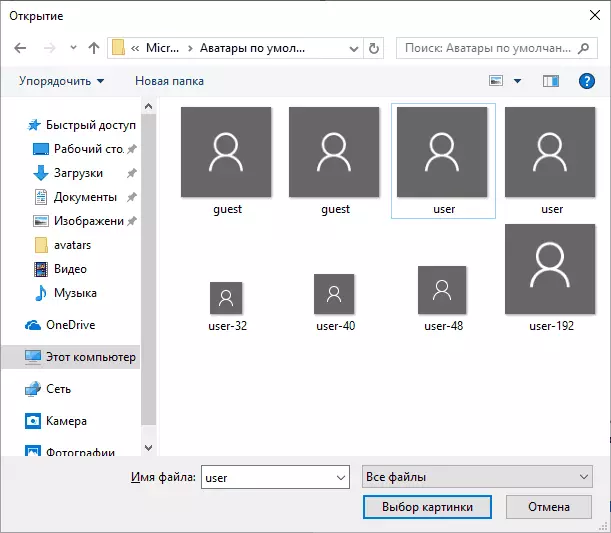
- As an image, set the user.png or user.bmp file from the C: \ ProgramData \ Microsoft \ User Account Pictures folder (or "Default Avatars").
- Clean the contents of the folder folder: \ users \ user_name \ APPDATA \ Roaming \ Microsoft \ Windows \ AccountPictureSext Previously Used Avatars have not been shown in the account settings.
- Restart the computer.
A more complex method consists of the following steps:
- Clean the contents of the folder P: \ Users \ user_name \ APPDATA \ Roaming \ Microsoft \ Windows \ AccountPictures
- From the C: \ ProgramData \ Microsoft \ User Account Pictures folder, delete the file named file name. DAT.DAT
- Go to the C: \ Users \ Public \ AccountPictures folder and find the invested folder corresponding to your user ID. You can do this on the command line running on the name of the administrator using the WMIC UseRacCount Get Name command, SID
- Become the owner of this folder and provide yourself with full rights to actions with it.
- Delete this folder.
- If Microsoft account is used, also delete the avatar on the https://account.microsoft.com/profile/ (click on "Edit Avatar", and then "Delete").
- Restart the computer.
Additional Information
For users who use Microsoft account, there is an opportunity for both installation and removal of avatar on the site https://account.microsoft.com/profile/
At the same time, if after installing or deleting the avatar, you first configure the same account on your computer, then the avatar is automatically synchronized. If the computer has already been made on the computer, synchronization for some reason does not work (it works more precisely in one direction - from the computer to the cloud, but not vice versa).
Why this happens - I do not know. From the paths of the solution, I can offer only one, not very user-friendly: delete an account (or switching it to the local account mode), and then re-enter the Microsoft account.