

The trustedinstaller rights transmission operation to edit the system element is as follows:
- Find using the "Explorer" the item you want to change, click on it with the right mouse button and select "Properties".
- In this window, go to the "Security" tab and click "Advanced".
- The access control setting tool will appear. In it, use the "Edit" button.
- Here in the "Enter the names of the selected objects" print the following:
NT Service \ TrustedInstaller
Make sure the data are correct and click "Check Names".
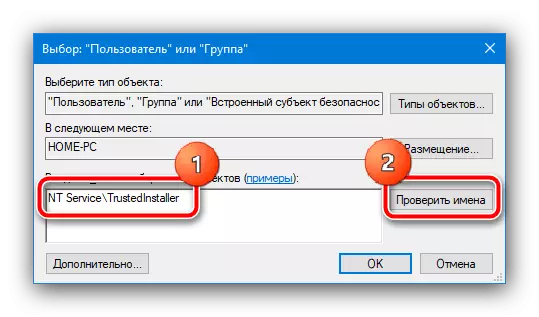
After this operation, the name must be changed to TrustedInstaller - this means that everything is done correctly, and you can click "OK".
- After performing this operation, you will return to the owner's changes to snap - now the system object will be needed for the item.
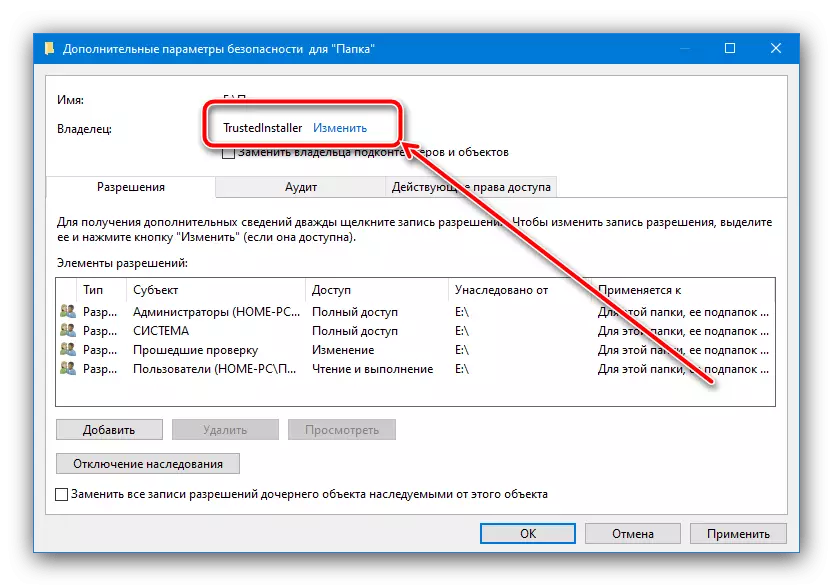
For more reliability, you can note the options "Replace the owner of the subspeteners ..." and "Replace all records ...", then click "Apply" and "OK" to save.


Thus, the owner of the directory or file will be replaced.
Also, if you need, on the contrary, change TrustedInstaller to another account, use the instructions further.
Read more: Entry "Request TrustedInstaller" error when deleting a folder in Windows 10