

Check fixed areas
Some users do not quite understand how to recognize the fixed areas in Excel and can confuse other settings with this function, trying to turn it off. There is a simple method for determining the activity of consolidation - scrolling sheet.
The fastened areas remain in place at a time when other cells are scrolled. In the case of the first top line, pinning can be determined along the gray line, different from conventional cell boundaries.
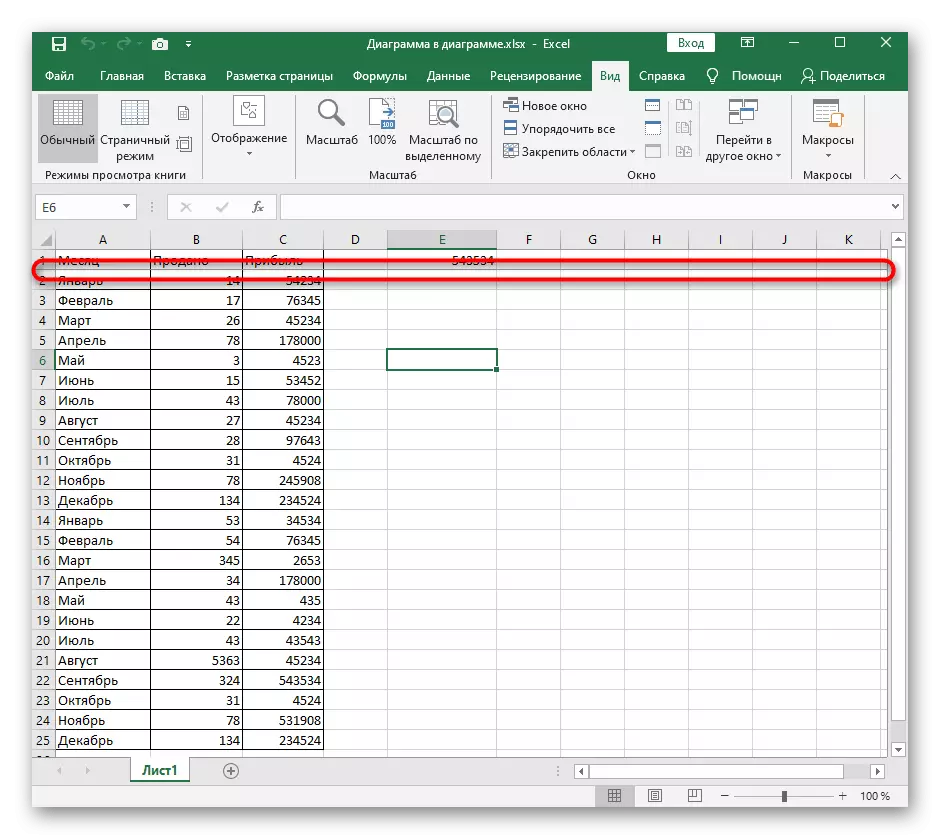
If it does not help, just start scrolling down the page down using the wheel and you will see whether the first line remains in place.

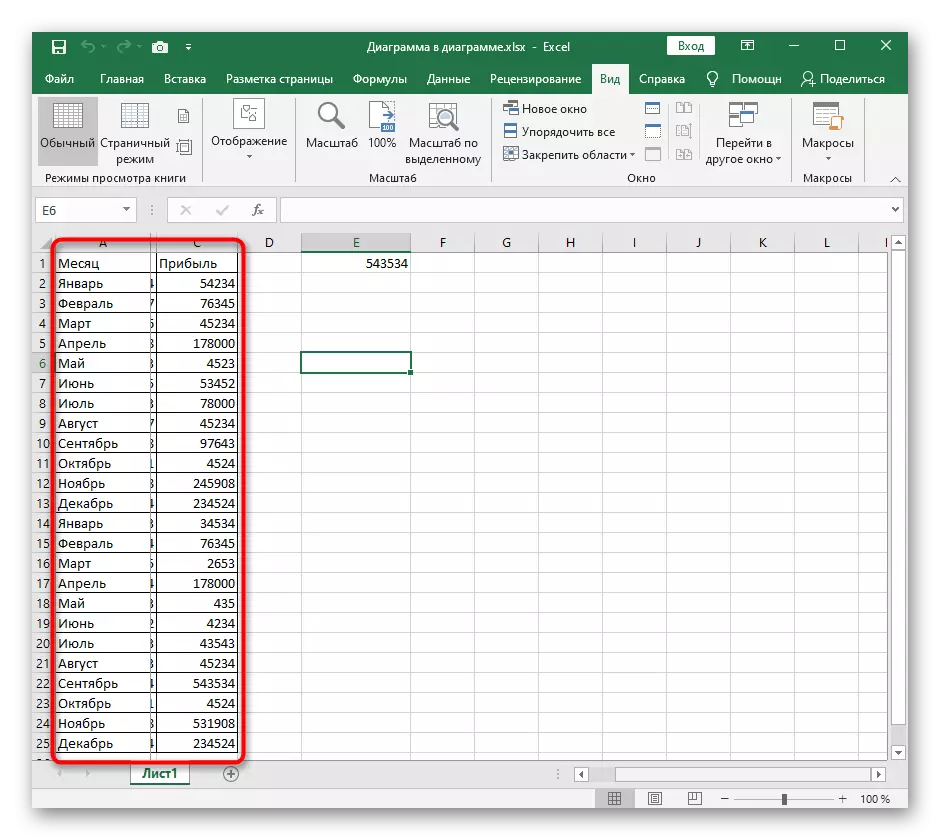
Approximately the same applies to the first column, but this time it will have to scroll through the page, and it will be more complicated to recognize the separation line.
When you understood or initially confident that the fixed areas are present in the table, proceed to their removal as shown below.
Remove the consolidation of areas in Excel
There is only one available way to remove the area fastening to extell, which automatically applies to all fixed lines and columns, so consider it when you roll back the settings, otherwise you will have to manually create those securing, which you do not want.
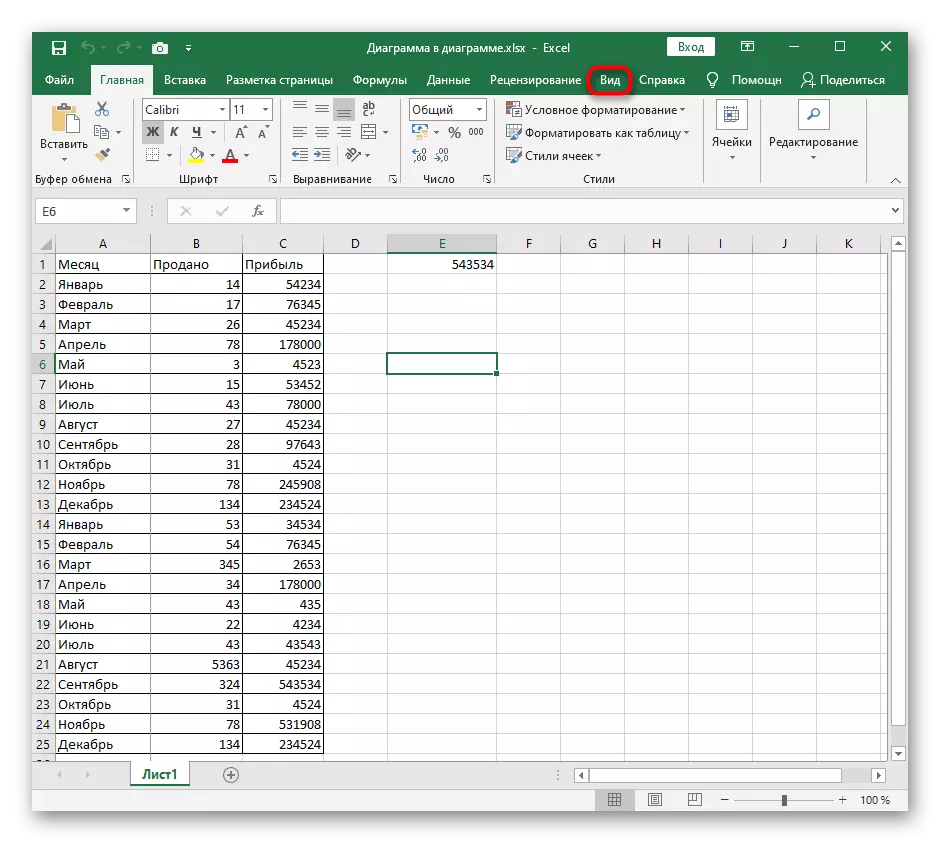
- Open the View tab, where the necessary tool is located.
- Expand the "Secure Area" drop-down menu.
- Click on the "Remove Enchanting Region" button, but read the description of this function in advance.
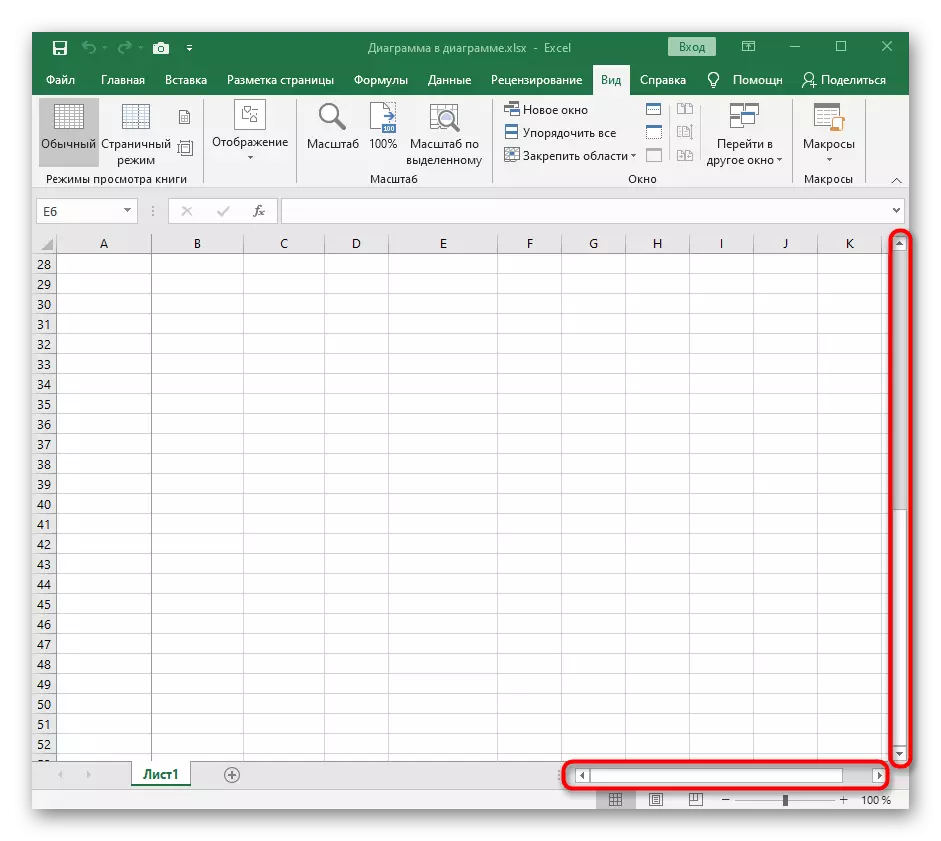
- Return to the table and use the scrolling to re-verify the successful removal removal.


If you suddenly need to consolidate certain areas, for example, when it was done wrong for the first time, we advise you to get acquainted with another instruction on our website, where the author describes all the options for performing this operation.
Read more: Fastening the area in Microsoft Excel