Method 1: Publisher
Publisher is one of the most common programs for creating various printed products. Its functionality includes a separate module designed to develop booklets, which greatly simplifies the overall process of working with similar projects.
The user is available to a huge number of auxiliary tools that will be useful when inserting text and images. You will find a detailed instruction on creating such brochures in another article on our website by clicking on the link below.
Read more: Creating a booklet in Publisher

Method 2: Adobe Photoshop
You can not bypass a full-fledged graphic editor called Adobe Photoshop, known to almost all active users of the computer. His advantage is in universality - there are no limitations in terms of creating simple or even semi-professional booklets with different design. This program supports image processing, adding text and its formatting, working with guides and layers. Another, our author described the development of a booklet in Photoshop as much as possible, step by step disassembled every important action.
Read more: Movement Booklet in Photoshop
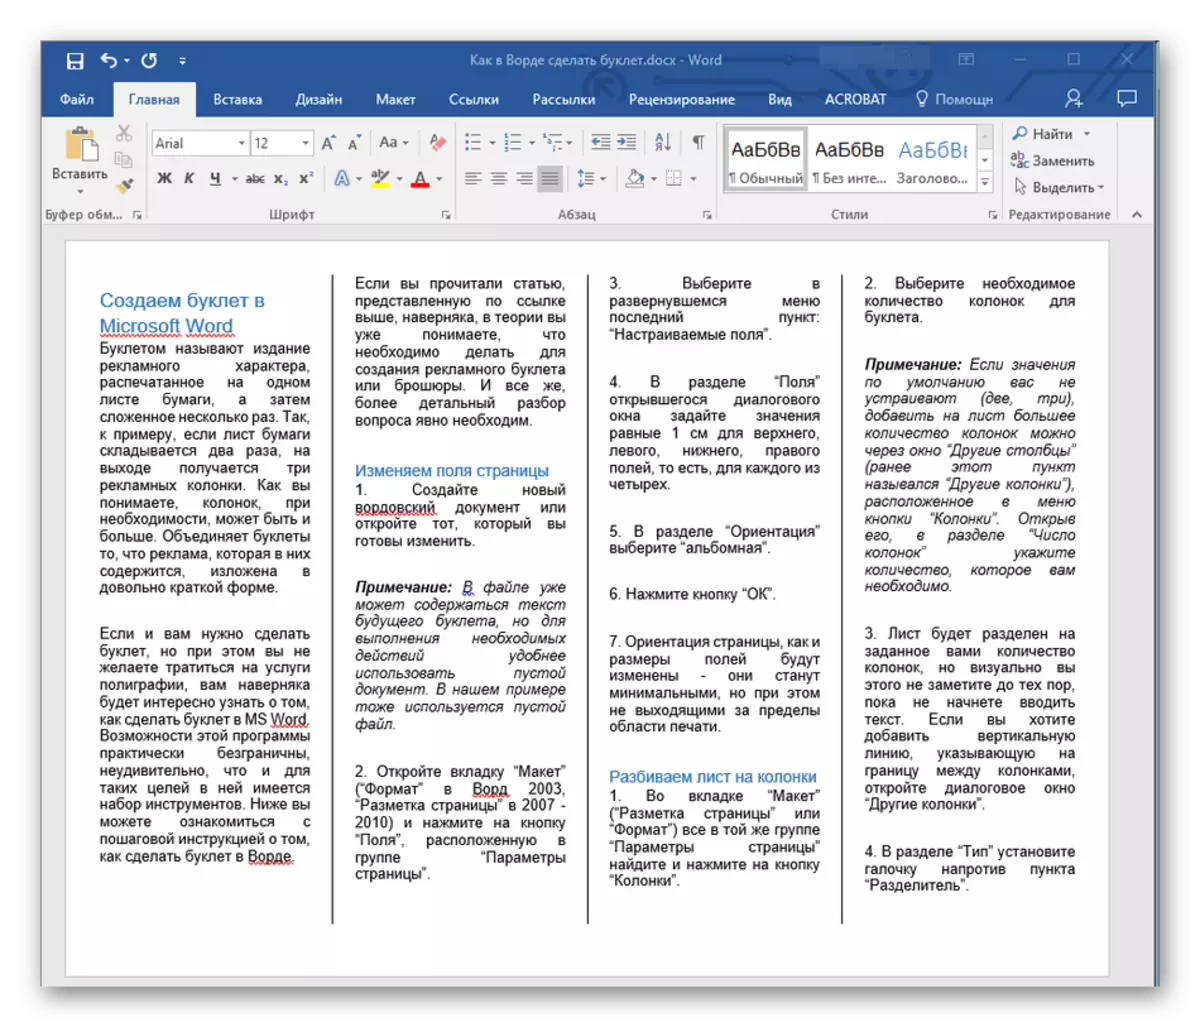
Method 3: Microsoft Word
In the usual text editor, Microsoft Word, you can also create a booklet, because for this there are several useful tools associated with adding images and text formatting. Yes, complex professional products using such software will be developed to develop due to problems with further image processing, separation into layers, insufficient functionality in terms of setting items, however, it is enough for small projects. About how the creation of a brochure in Microsoft Word is happening, read further.
Read more: Create a booklet in Microsoft Word
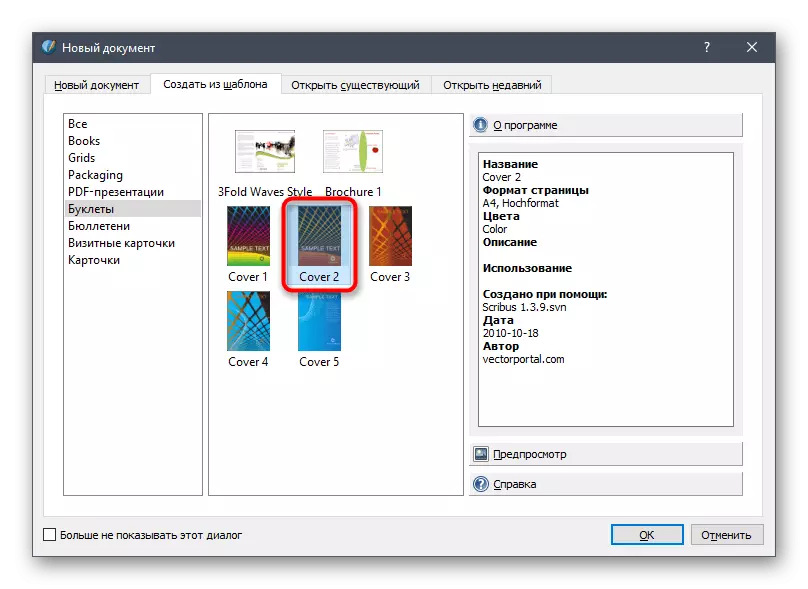
Method 4: scribus
As another program to create booklets, we propose to consider SCRIBUS. This is a professional solution for working with printed products that support templates and presets when creating new documents, which greatly simplifies the initial stage of interaction with documents.
- Use the reference above to get acquainted in detail with this software and install it. After starting, the New Document window will immediately appear, where to decide on the layout or try to create from the template.
- In a separate tab, "create from the template" there is sorting by different types of projects, so it is possible to find the right way quickly.
- This process will also help the presence of miniatures and parameters in the same window.
- If some of the initial fonts are missing, replace it with the installed or download yourself, and then restart the program.
We advise you to read the official documentation on the SCRIBUS website and learn about the beta versions of this program. So you will find new tools that can be useful when creating different printed products, which also include booklets.
Method 5: Adobe InDesign
Adobe InDesign is a professional software designed for layout of logs and other similar projects. Its functionality with a head covers all the requirements of users who want to develop booklets, however, to master all the capabilities of this software will have to spend a lot of time, reading and looking at the lessons from experienced users or developers.
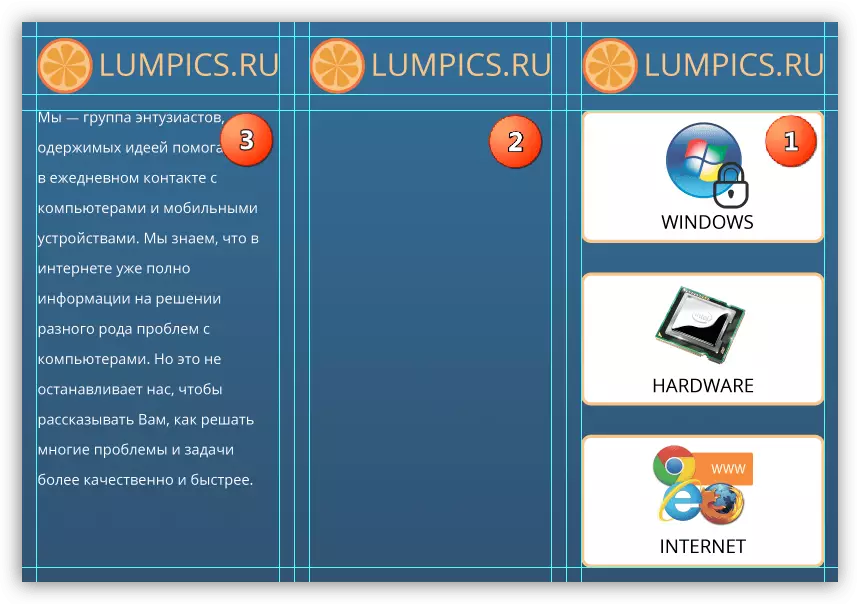
- Within the framework of one article, not to disassemble all the tools present in Adobe InDesign, so we will focus only on the main, taking a small project for an example and considering each element in parts. Let's start with the guides presented in the form of lines on all pages. These are auxiliary designs that are not visible after the export of the project. They are necessary in order to correctly place objects on the page relative to each other.
- Open the "Layout" drop-down menu and select "Create Guides" to add these items yourself.
- Set the number of rows, columns and their furniture.
- Guides additionally can be edited after their choice by installing width, height, position and angle of inclination.
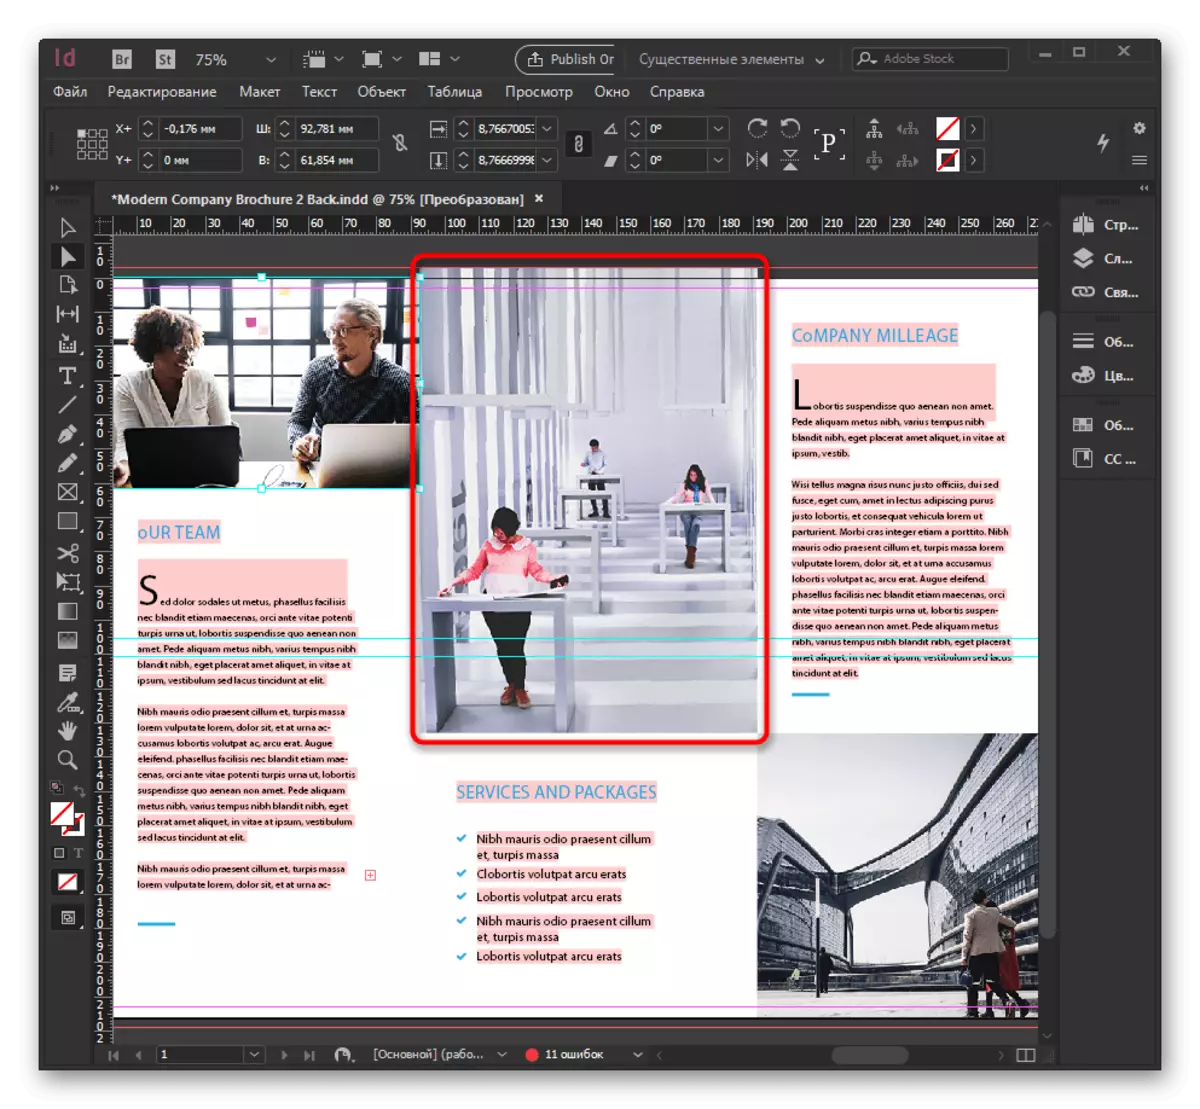
- Adding images and their editing occurs in the same way as in other analogues. Just transfer all files, and then press Ctrl + T to change their size.
- To work with inscriptions, select the "Text" tool and look at the new parameters displayed on the top panel. Use them to edit the font, its format and colors. Separate text on paragraphs, headlines and build position in accordance with the guides.
- Do not forget to divide each element on the layers so that with further editing do not experience difficulties.
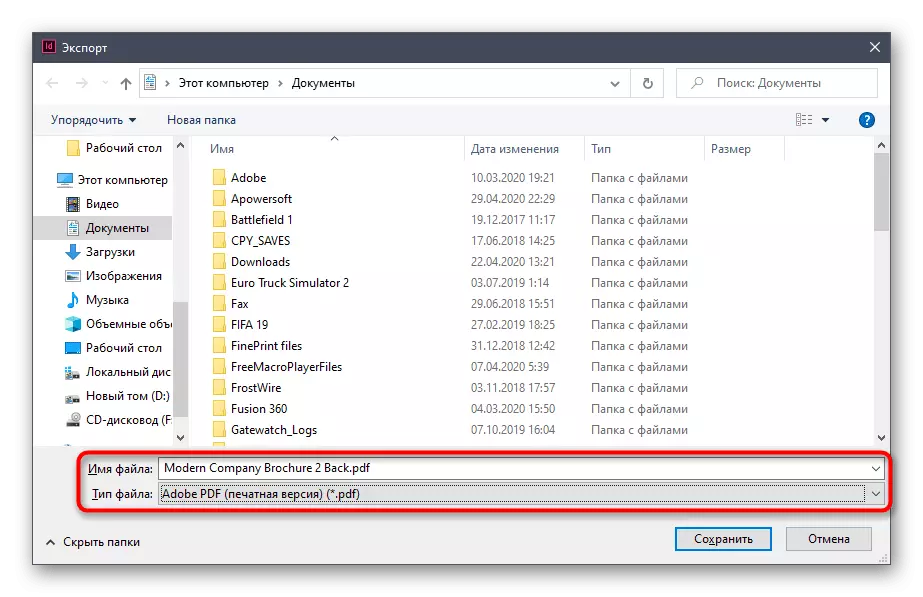
- Once work with a booklet is complete, open the "File" menu and select Export.
- Specify the name file and select Location on your computer.


Let's notify your attention that the basic information about working with those present in the InDesign tools is better to receive when watching training videos. So you can quickly pump your skills, find out the subtleties and tricks from advanced users.