Option 1: only in electronic form
If you make a notebook required exclusively to work with Word on a PC, without the need to print a document, it is enough to enable the display of the grid and correctly configure it. For this:Option 2: For printing
It is much more common to make a notebook sheet not only or not so much to interact with it directly in Word, as for printing. The grid on the paper copy is not displayed, and therefore the solution in this case will be the creation of a table or the above-mentioned change in the background. Consider two different types of sheet-format A4 and both in a notebook, that is, having almost twice the dimensions and, that is also possible, stitched.
Method 2: Standard Notebook Format
The method that we will look at the further allows you to create both clean notebooks and whole notebooks with already ready-made records, for example, abstracts.
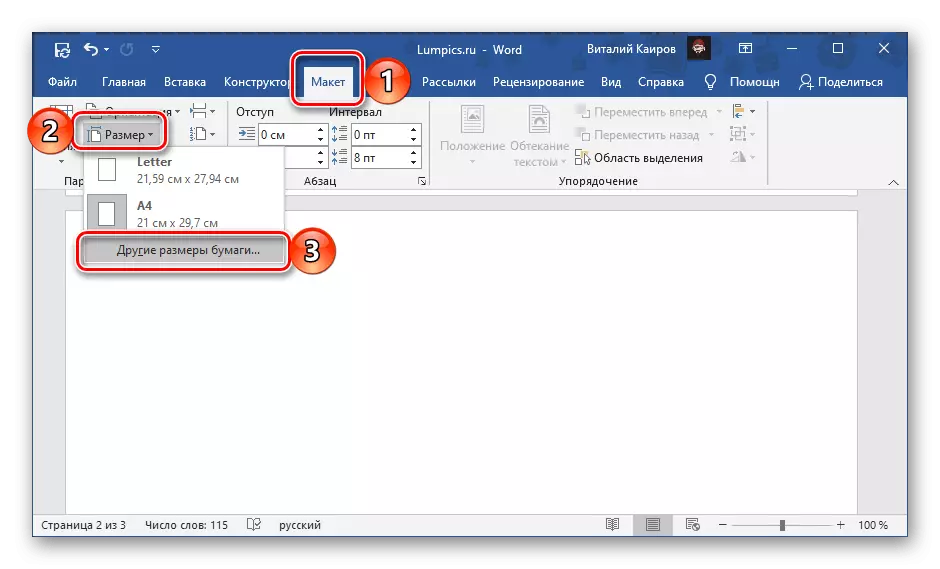
- First of all, it is necessary to resize sheet. To do this, go to the "Layout" tab, expand the "Size" button and select "Other paper sizes ...".
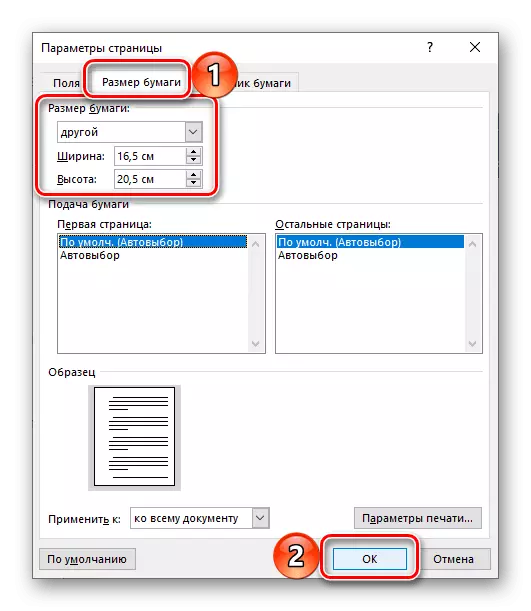
- Enter the following values:
- Width: 16.5 cm;
- Height: 20.5 cm.
To confirm, press OK.
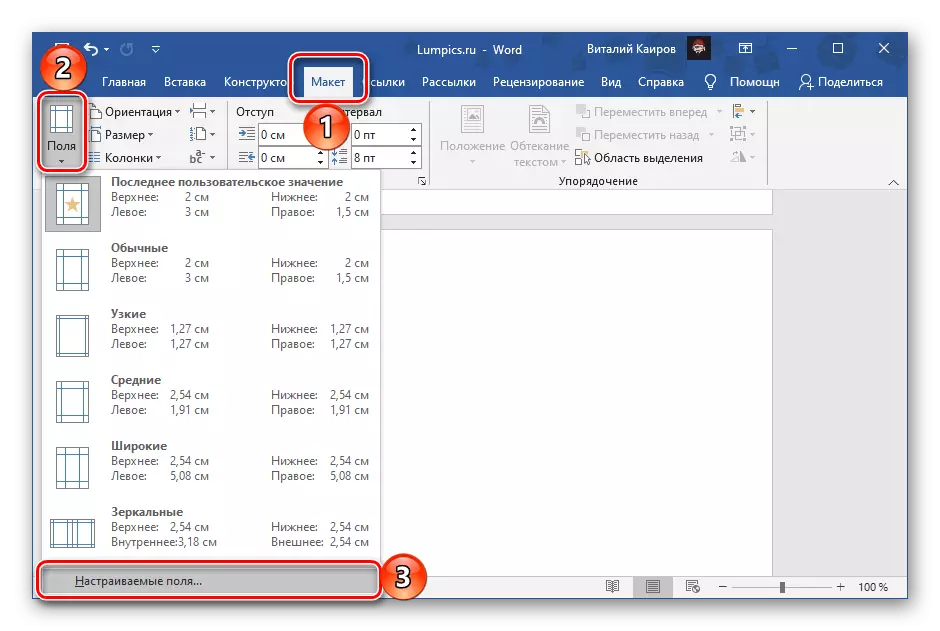
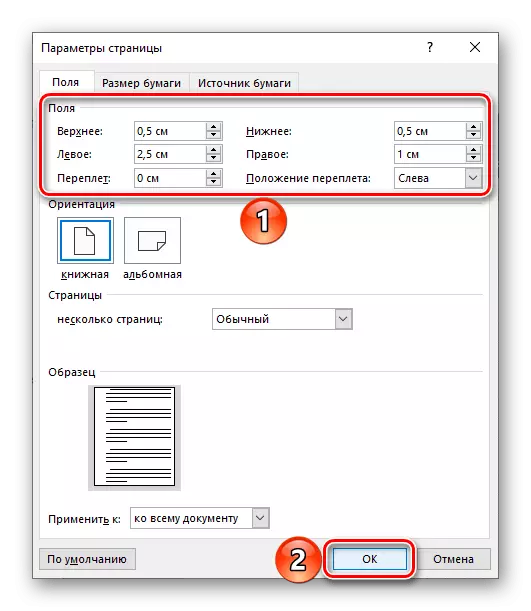
- Next, you should configure the fields. To do this, expand the menu of the same button in the same tab and select "Customizable fields" in the list that opens.
- Set the following parameters:
- Upper: 0.5 cm;
- Lower: 0.5 cm;
- Left: 2.5 cm;
- Right: 1 cm.
Having completed with the setting, click "OK".
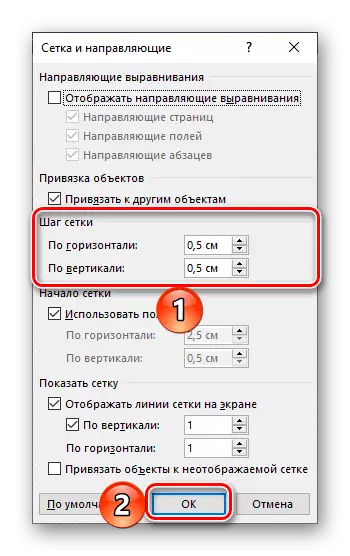
- Follow the steps from paragraphs No. 1 to 5 of the first part of this Instruction ("Option 1: only in electronic form"). This time the sizes of the cell must be set only 0.5 * 0.5 cm - this is exactly what corresponds to the standard notebook.
If you do not plan to print the resulting notebook sheet, on this task from the header of the article can be considered solved, but if you want to print it, or even add text to the pages, as close as possible in your own way to handwritten, go to the next instructions.
Pure notebooks
After completing all the recommendations from the previous part of the article, do the following:
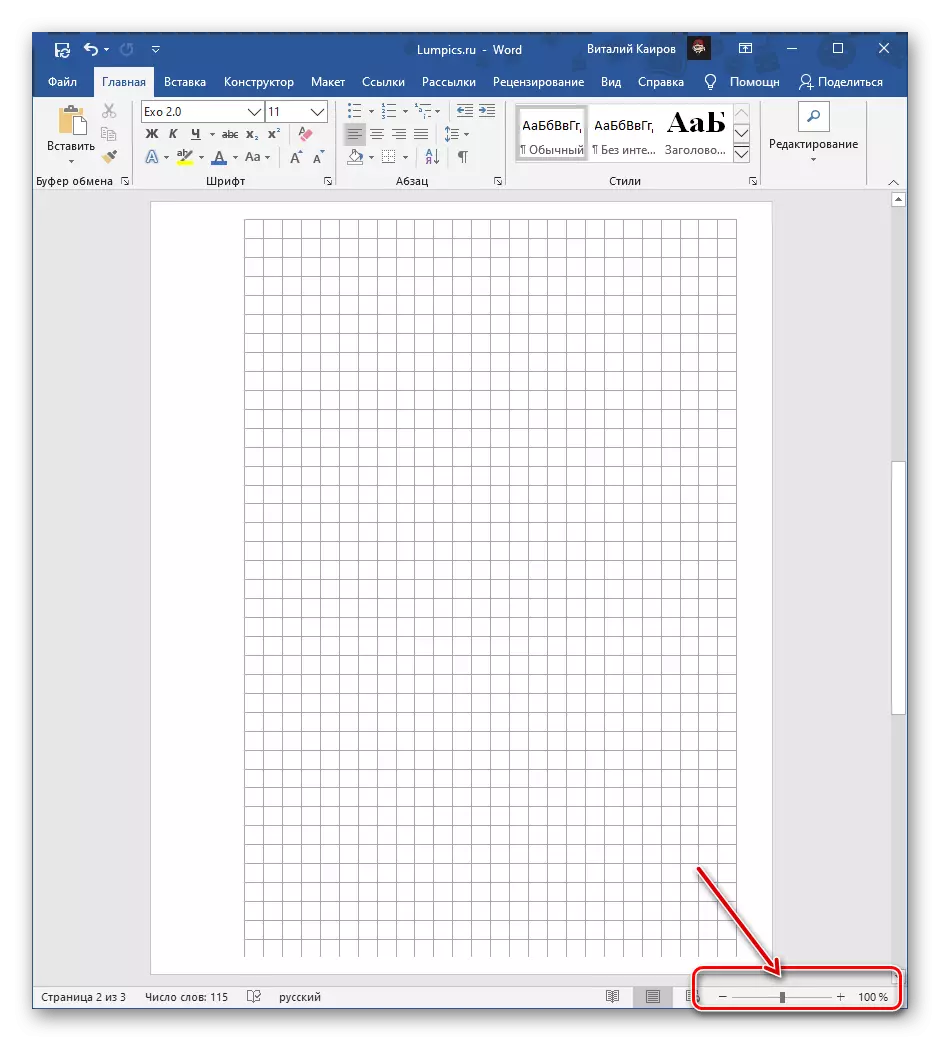
- For a page with an enabled and configured grid, set the scale of 100%.
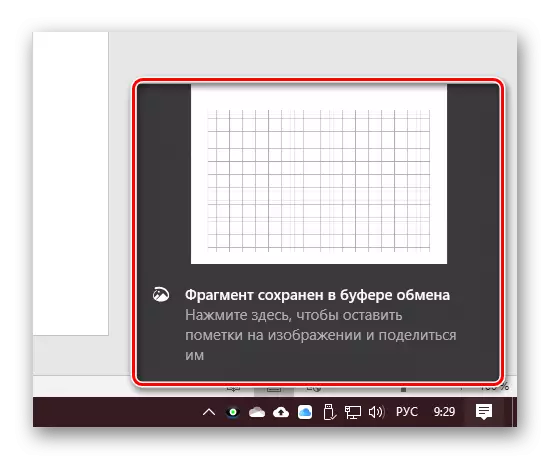
- In any convenient way, make it a screenshot, carefully highlighting the circuit or then cutting the finished file, and save it on the PC.
- Install the resulting image as a page background. About how to do this, we have previously written in a separate article.
Read more: Installing your image as background in Word
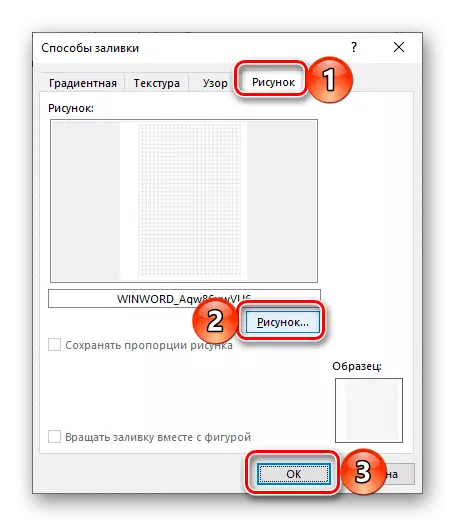
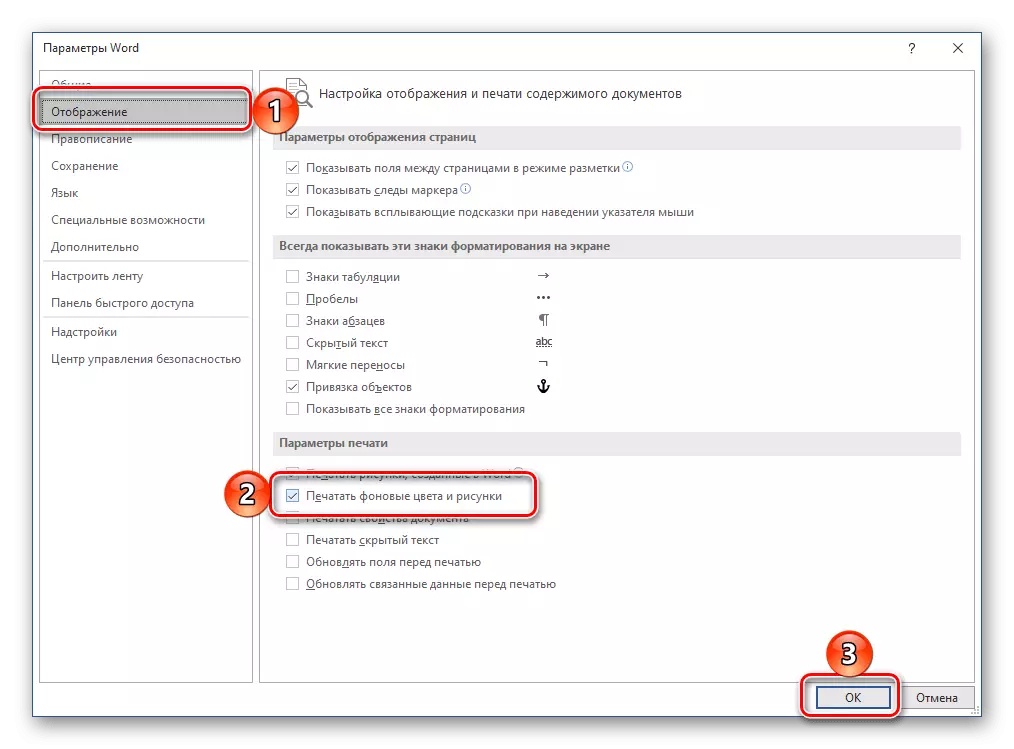
If you plan to write on the airtal sheets manually, go to print them. Previously, it is necessary to activate in the display settings item "Print Background Colors and Pictures".
Next, having prepared a printer to work, go to the "Print" section and set the desired settings. Be sure to select "Print manually on both sides", click on the "Print" button and follow further prompts.
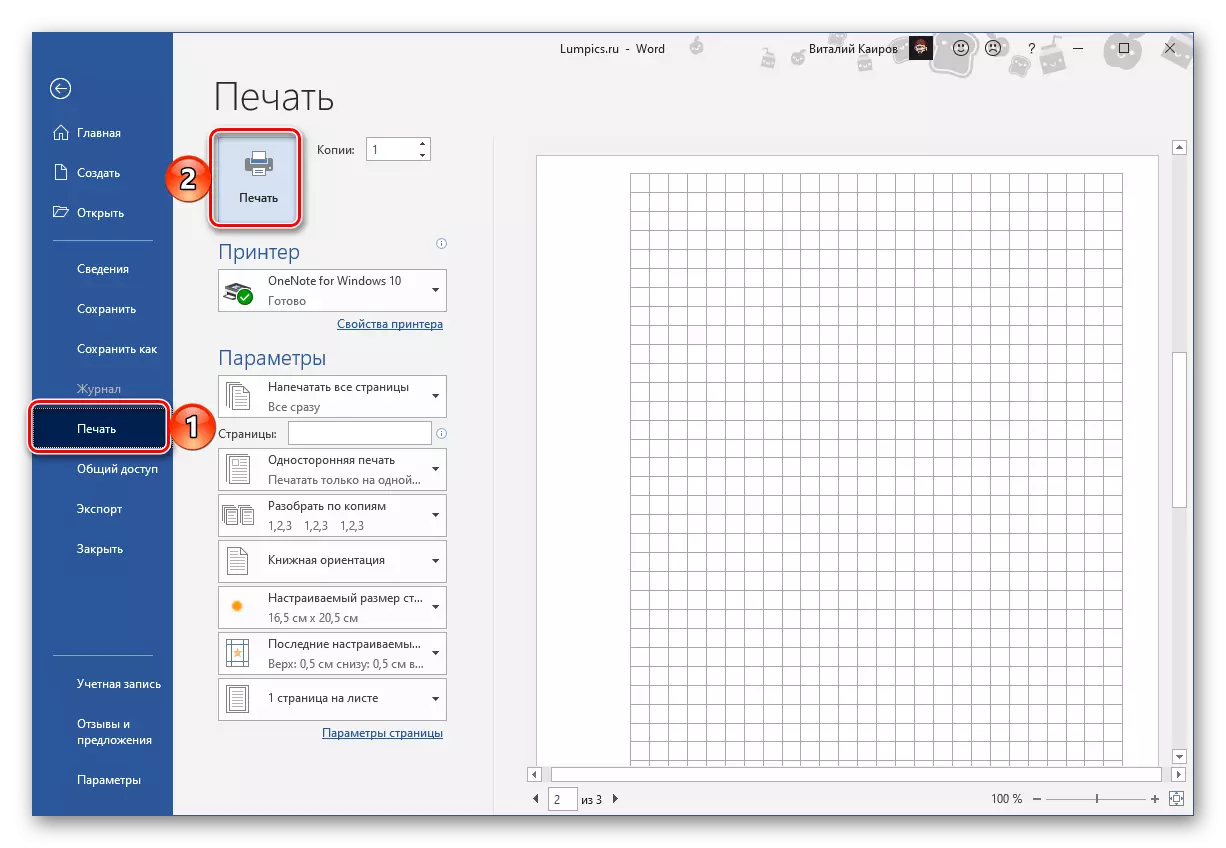
The resulting pages will need to trim a little, removing the fields on which the cell is not displayed.
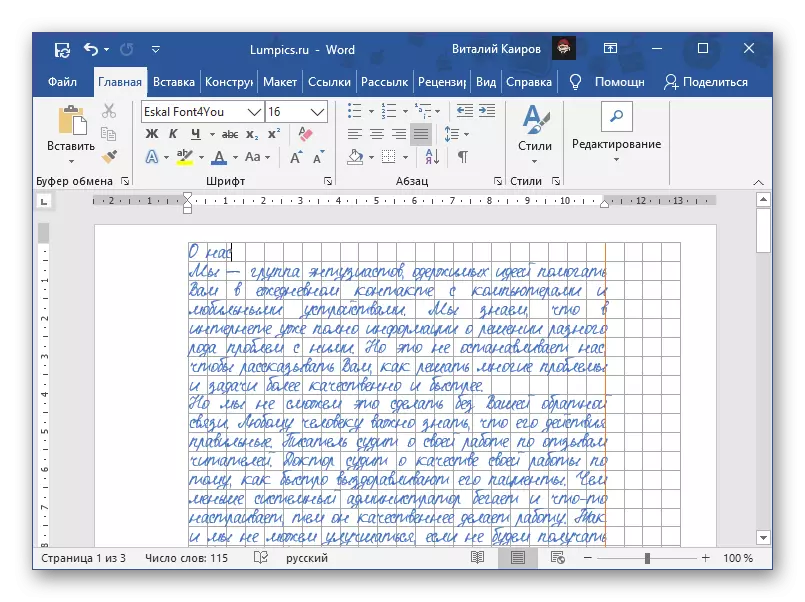
Notebook sheets with handwritten text
Using the mockup of the airtal page, created by us in the previous part of the article, as well as one of the third-party fonts that imitate the handwriting, you can create an almost perfect analogue of the abstract. Of course, you will have to try a little to collect the resulting sheets in the notebook, gluing them with scotch, having to cover and secure the brackets, but this is not as difficult as it may seem. This procedure in all details was previously considered in a separate article.
Read more: How to make a summary to the Word