

Method 1: Microsoft PowerPoint
Microsoft PowerPoint is the most popular program to work with presentations on your computer. Its functionality includes a huge number of auxiliary tools, and among them are both those who use the video in the presentation in the presentation. In total, there are several options for overlaying video to the slide in this software, each of which is suitable in certain situations. We offer all these methods to read in a separate article on our website by reference below.
Read more: Insert video in Microsoft PowerPoint presentation
Method 2: OpenOffice IMPRESS
The Free Office Analogue of Microsoft applications includes a component designed to create presentations called OpenOffice IMPRESS. It can be safely used in order to insert the video if you do not want to acquire the above tool for one-time editing. Let's figure out how interaction with this program takes place.
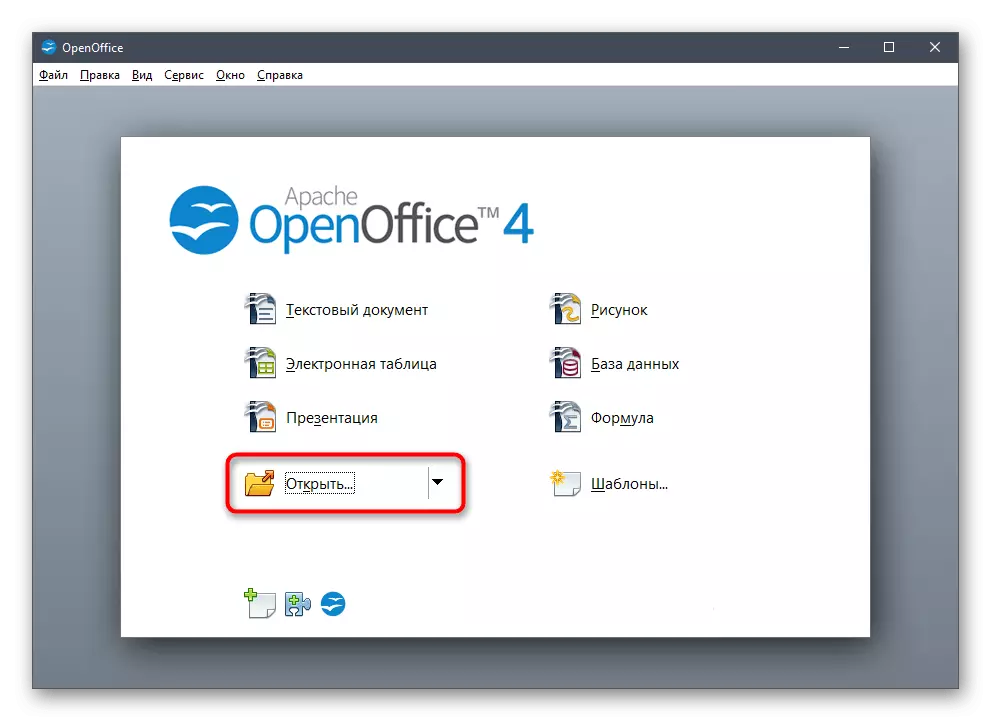
- Use the link above to immediately download the entire set of OpenOffice programs and install them on your computer. After starting, the start menu will appear on the screen, in which you will need to click on the "Open" inscription.
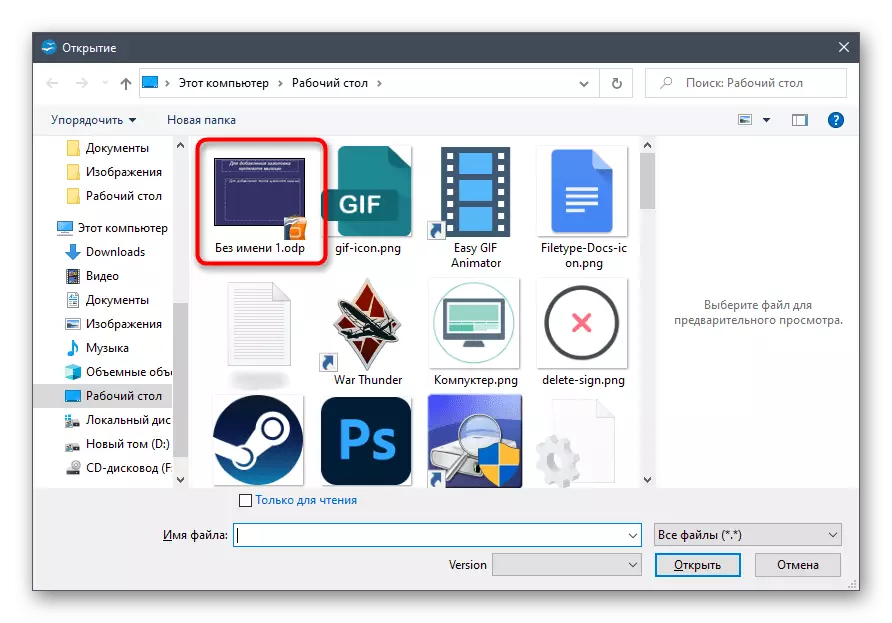
- In the "Explorer" window, find the presentation for editing and double-click it for quick opening.
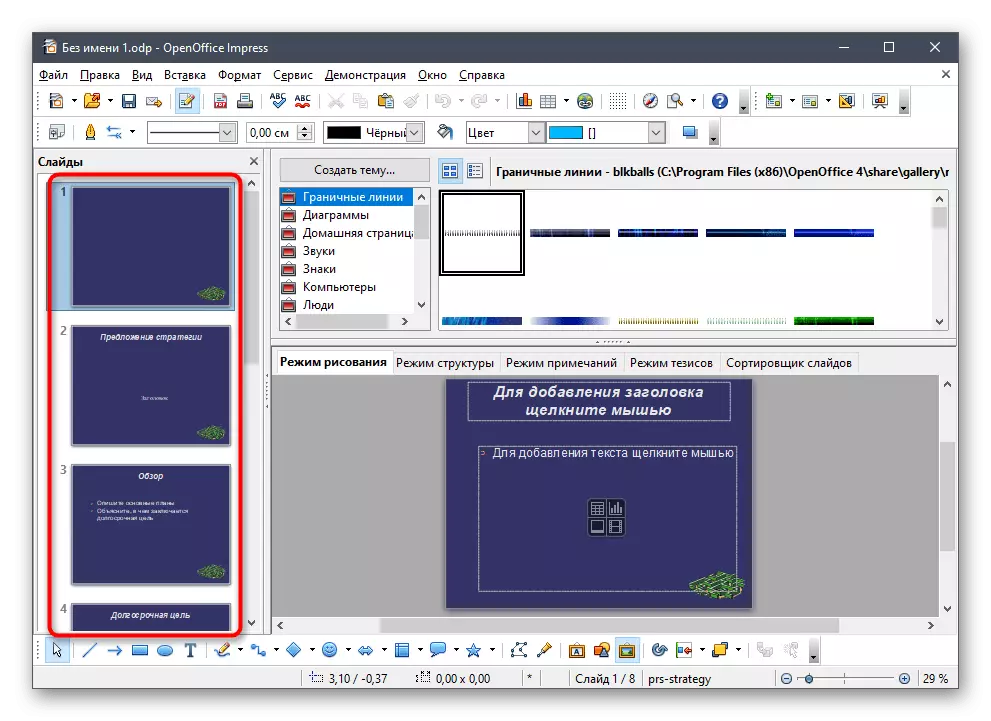
- Through the panel on the left immediately activate the slide to which you want to add a video.
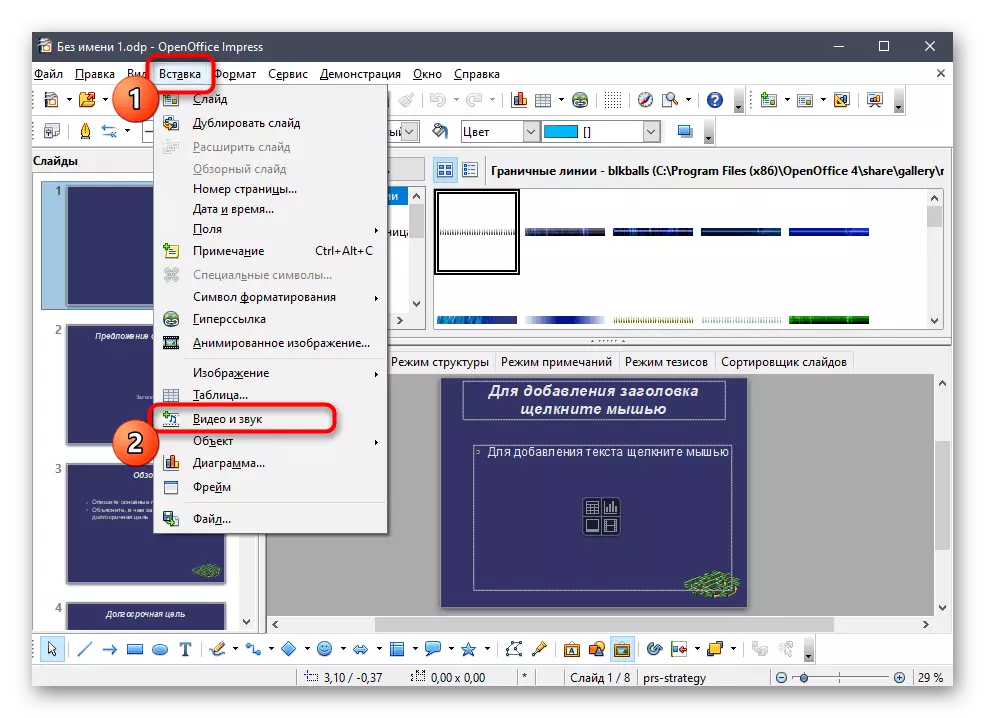
- Expand the "Insert" drop-down menu and find the "Video and Sound" item.
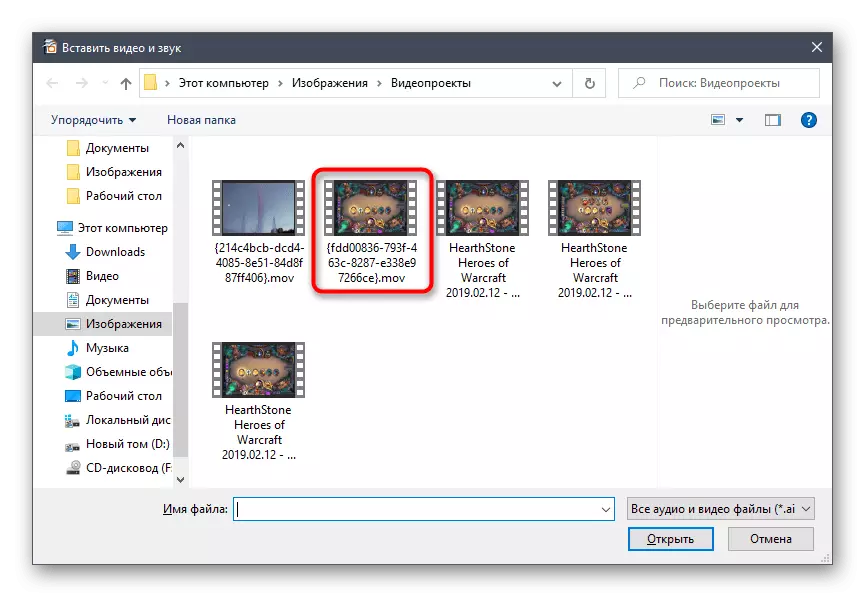
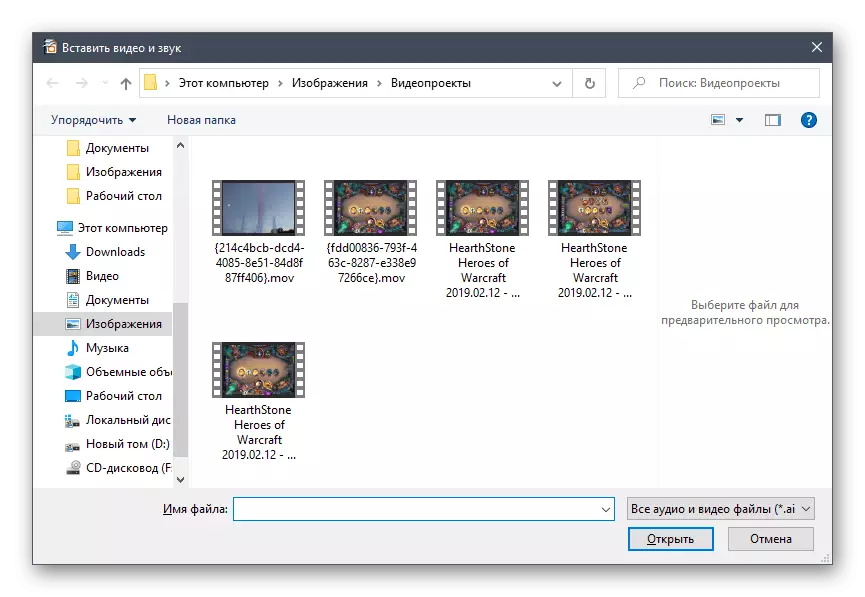
- The "Explorer" window will appear again, where the video file is exactly the same as the video file and move it to the presentation.
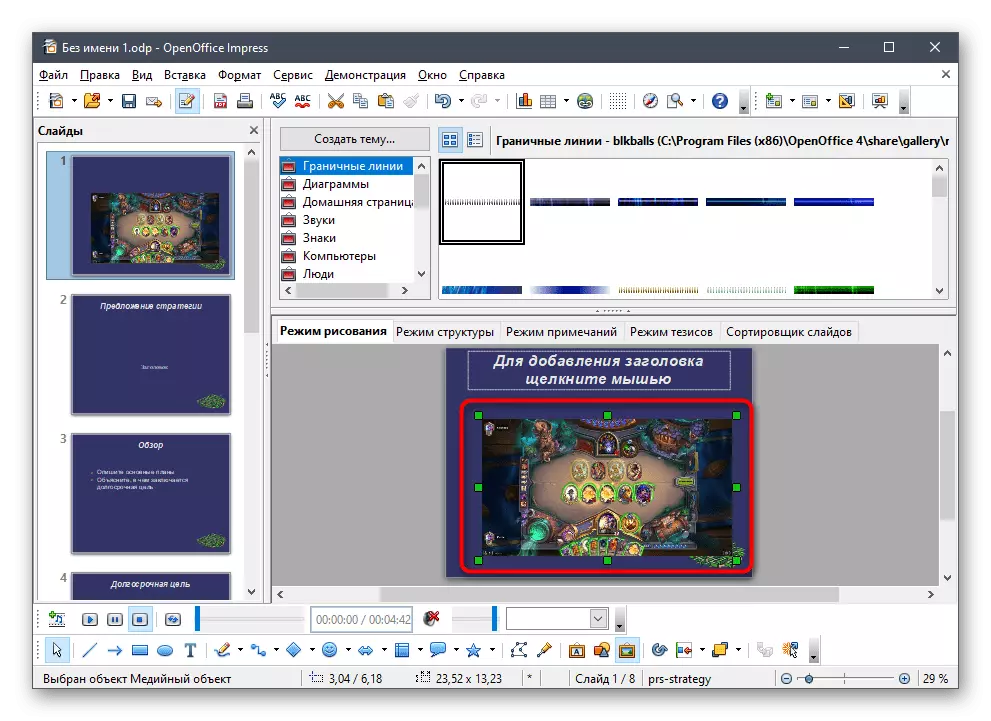
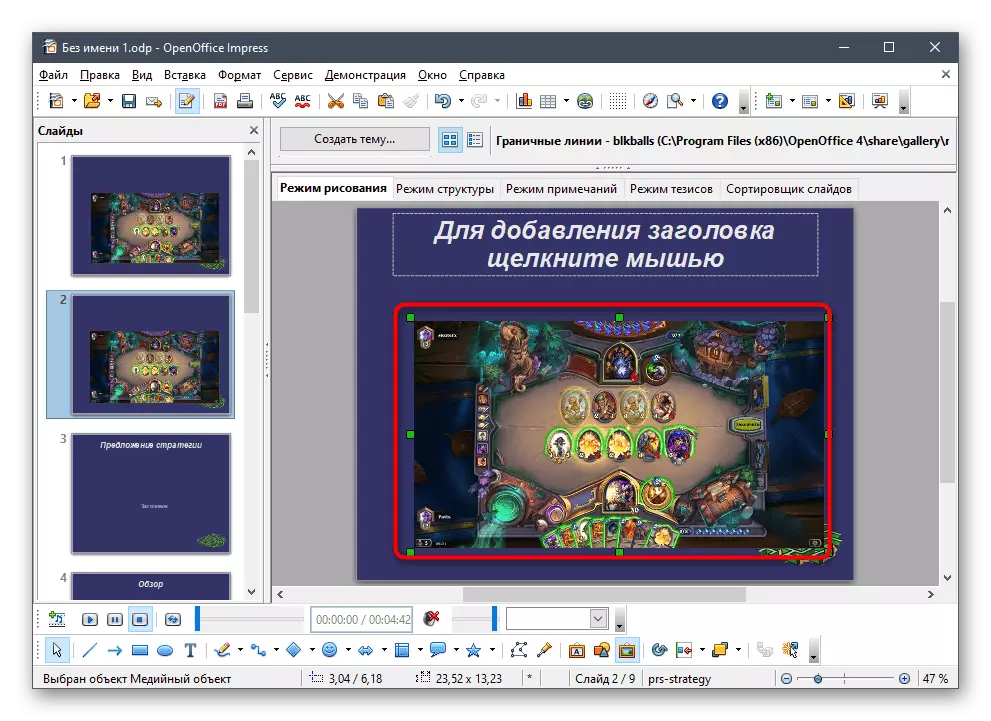
- Edit its size and position if the initial location does not suit you.
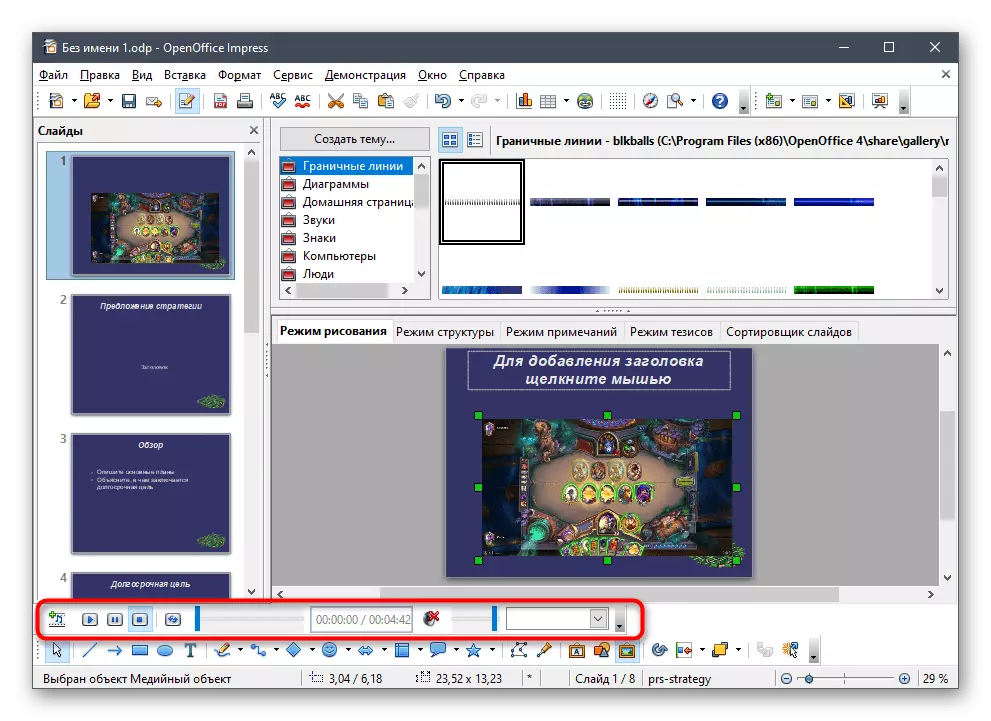
- Use the tools at the bottom if you want to configure the sound in video or check how it is played.
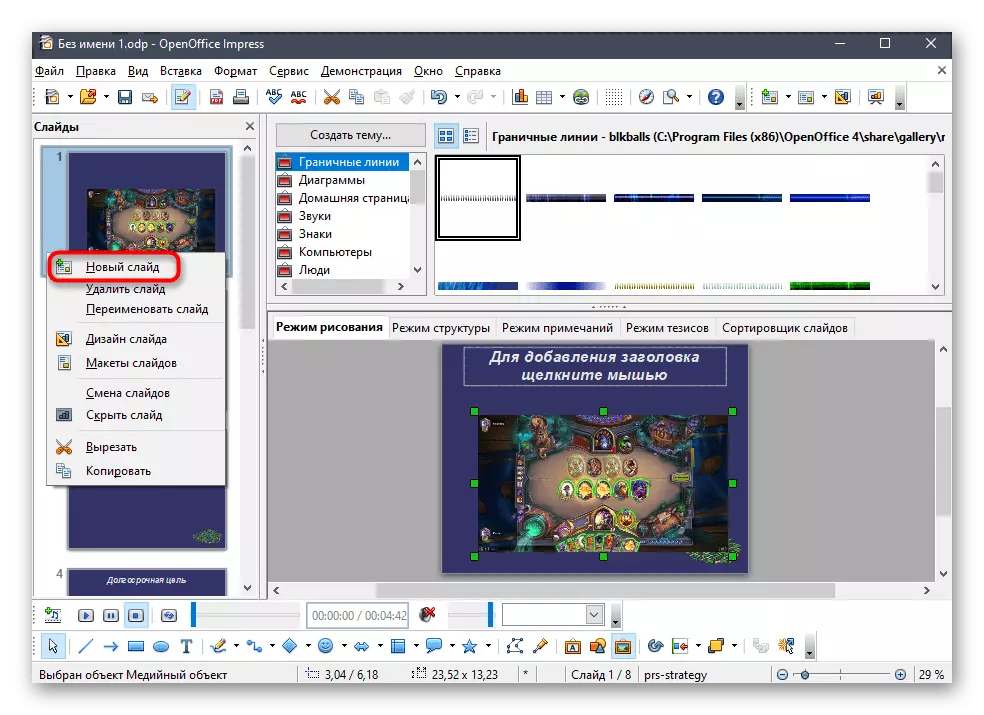
- The second insertion method is adding a video to a new slide. In this case, click the PCM at any place on the panel with slides and in the context menu, click on the "New Slide" item.
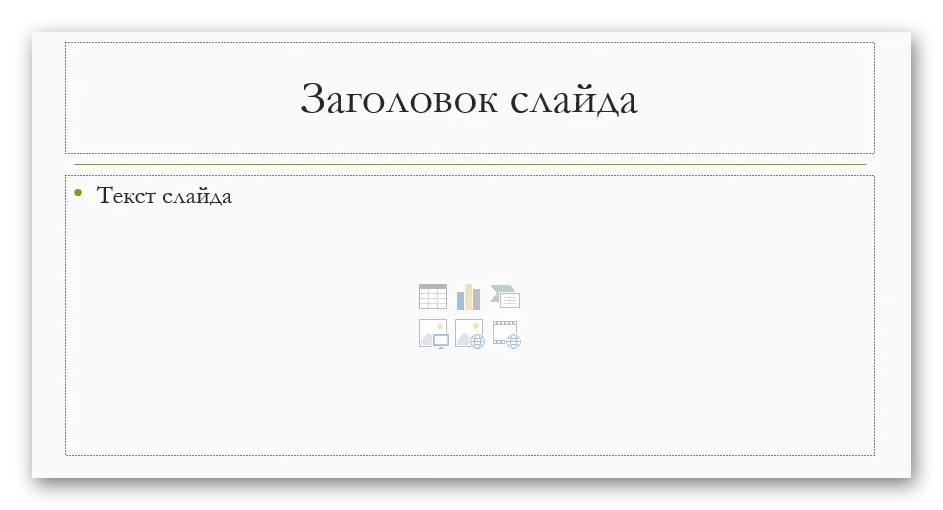
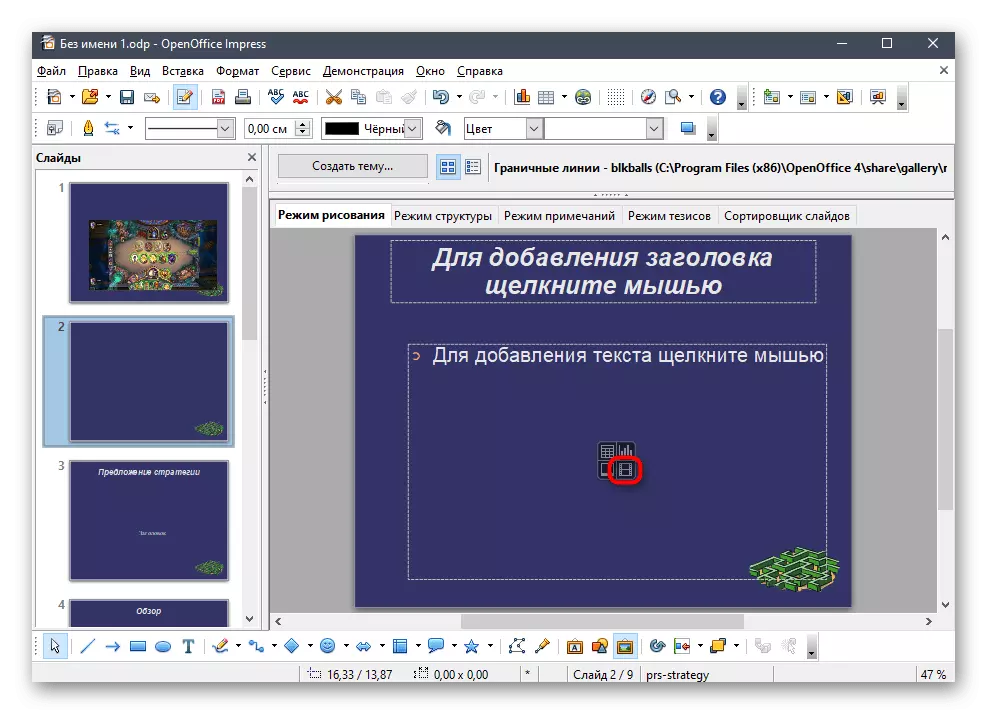
- On it the dotted line marked the area for the main elements, and four buttons are in the center. You are interested in the last called "video", which is responsible for loading the roller.
- Lay it through the "Explorer" as it was shown above.
- Edit the picture and go to the next step.
- If the presentation is already ready to save on a computer, use the corresponding function through the file drop-down menu or the Ctrl + S key.

OpenOffice Impress can also be used for other tasks associated with editing presentations. You can familiarize yourself with the functions present and decide which of them are suitable when working with the current project, and after making all changes, you can also save the finished document on your computer.
3: SWAY Method
SWAY - Free software from Microsoft, designed to quickly design presentations in DOCX or PDF format. Consequently, this software supports the opening of only presentations in these formats and allows you to insert video through the appropriate tool.
Go to download SWAY from the official website
- Use the link above to download SWAY from the official website or find the application in Microsoft Store.
- Run the program and proceed to edit the finished presentation by clicking the "Start Document" button.
- In the displayed "Explorer" window, find the document in Word or PDF format and open it.
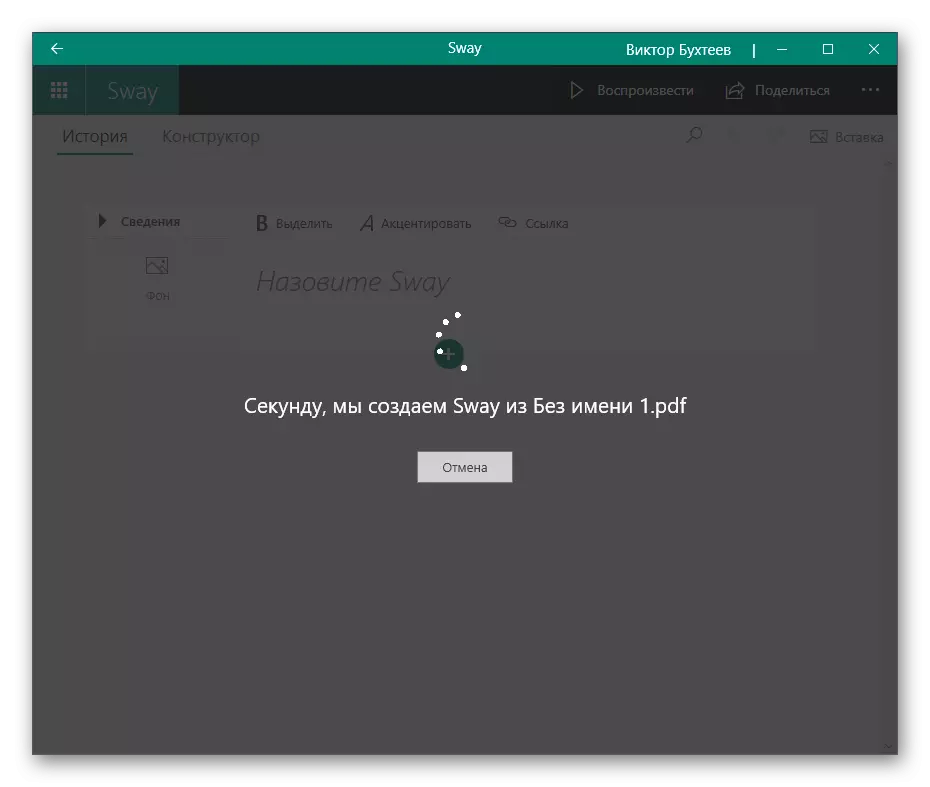
- Expect the completion of the document conversion in SWAY, which will take literally a few minutes.
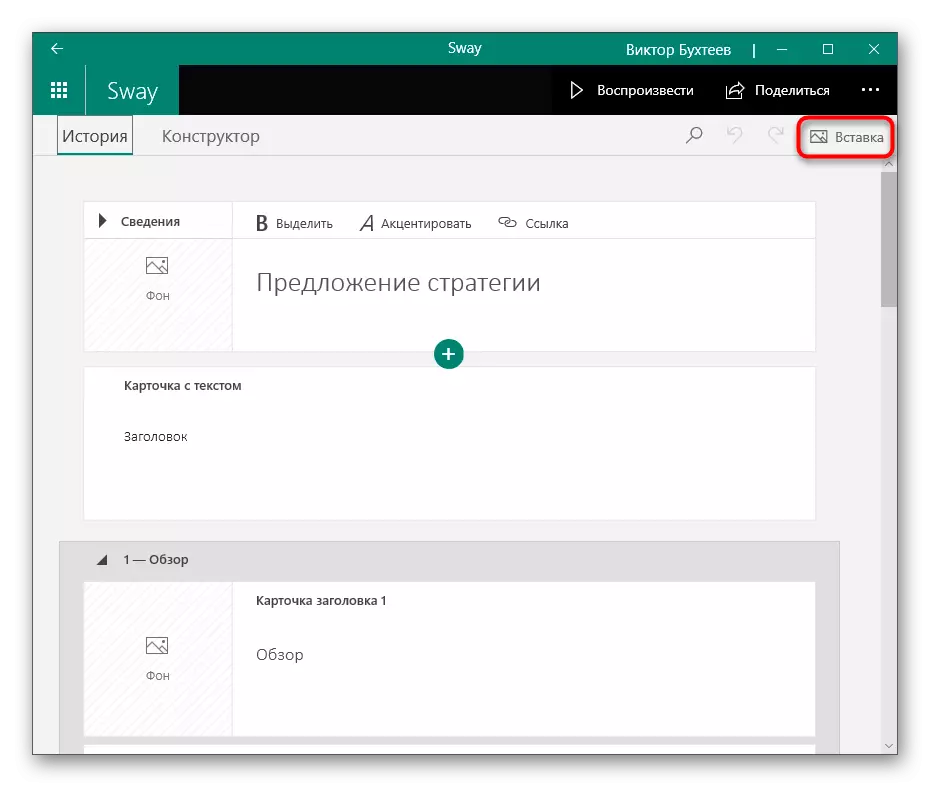
- To add a media file, use the Insert tool.
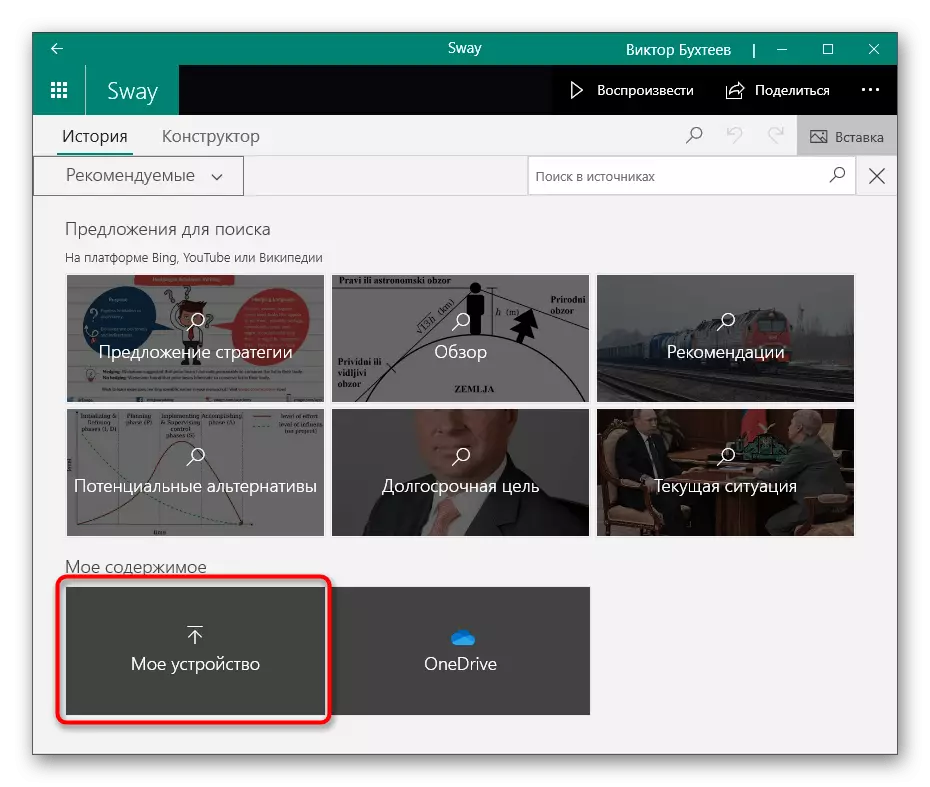
- A menu will appear with various offers to search, among which the "My Device" should be selected.
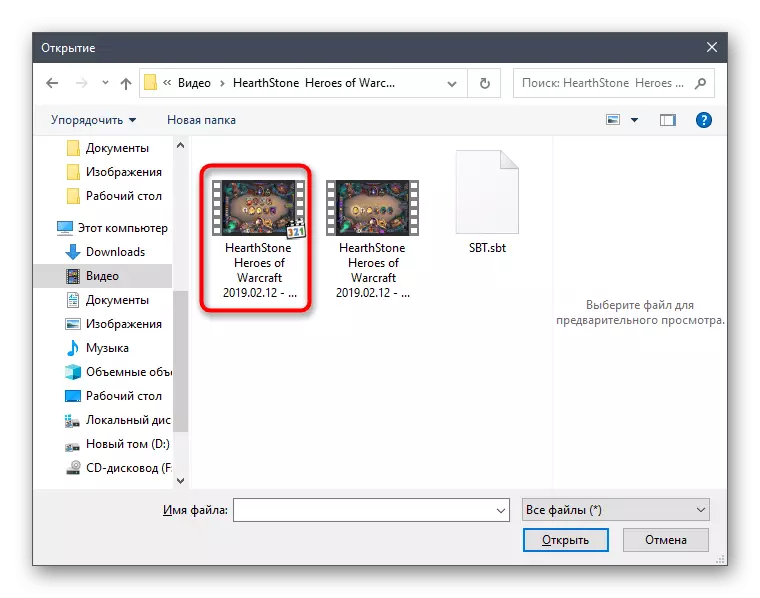
- Find a suitable video file and add it to the presentation.
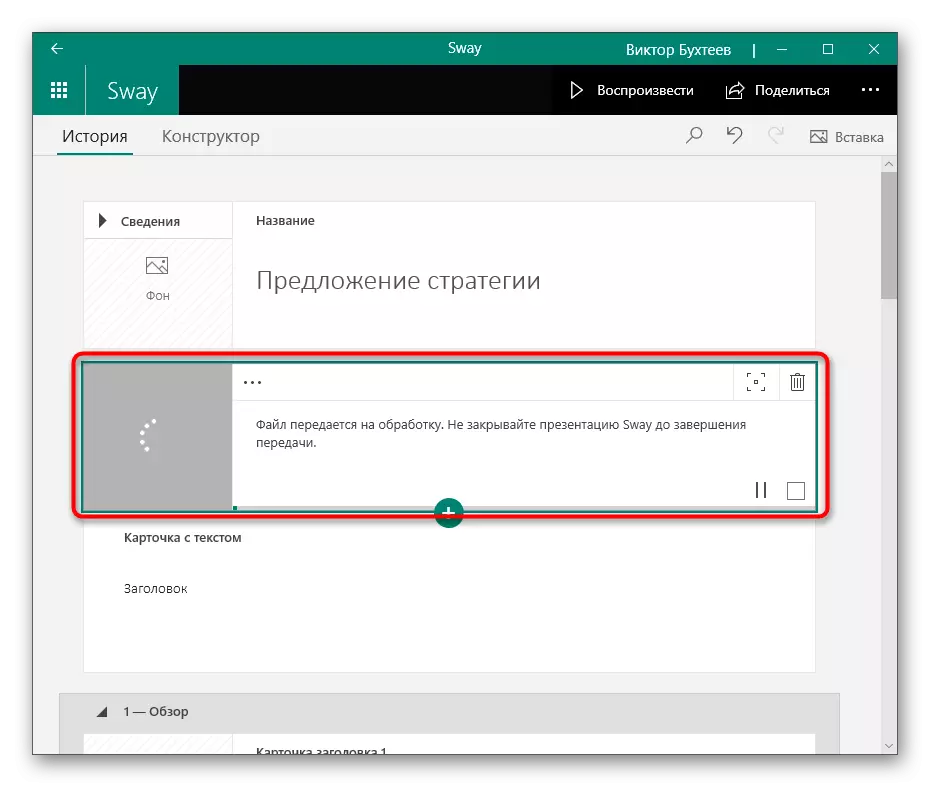
- The transfer and processing of the element will take from a few seconds to half an hour and depends on the size of the file and power of the computer. As long as you can engage in other editing presentations, waiting for the appearance of a preview of the video in "History".
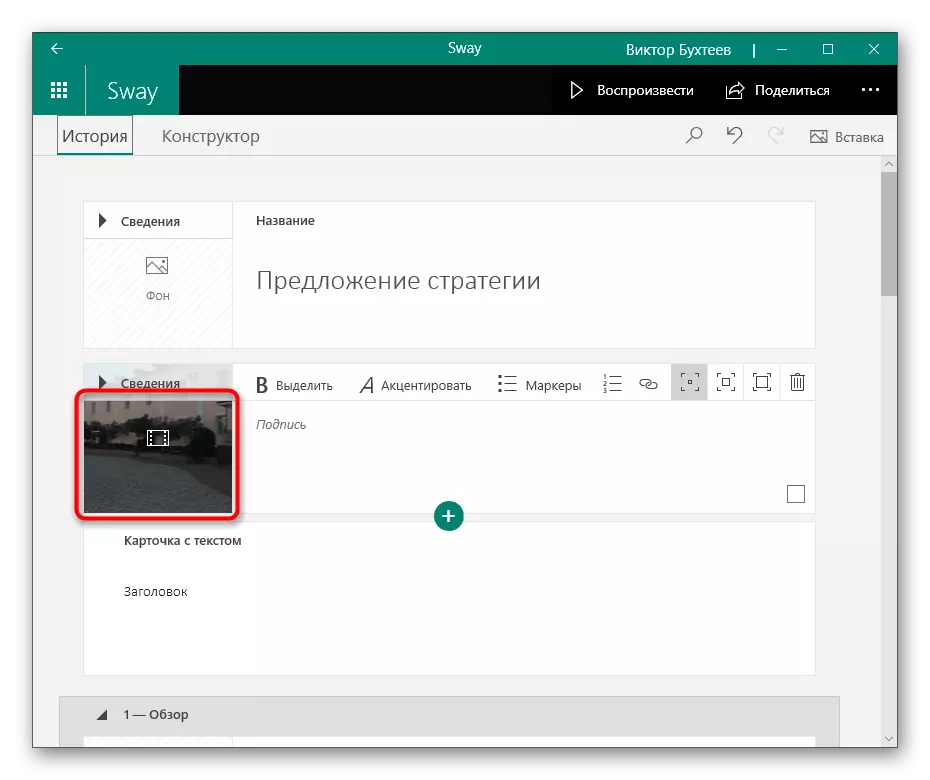
- As soon as it appears, use the playback tools or drag the video to another slide.
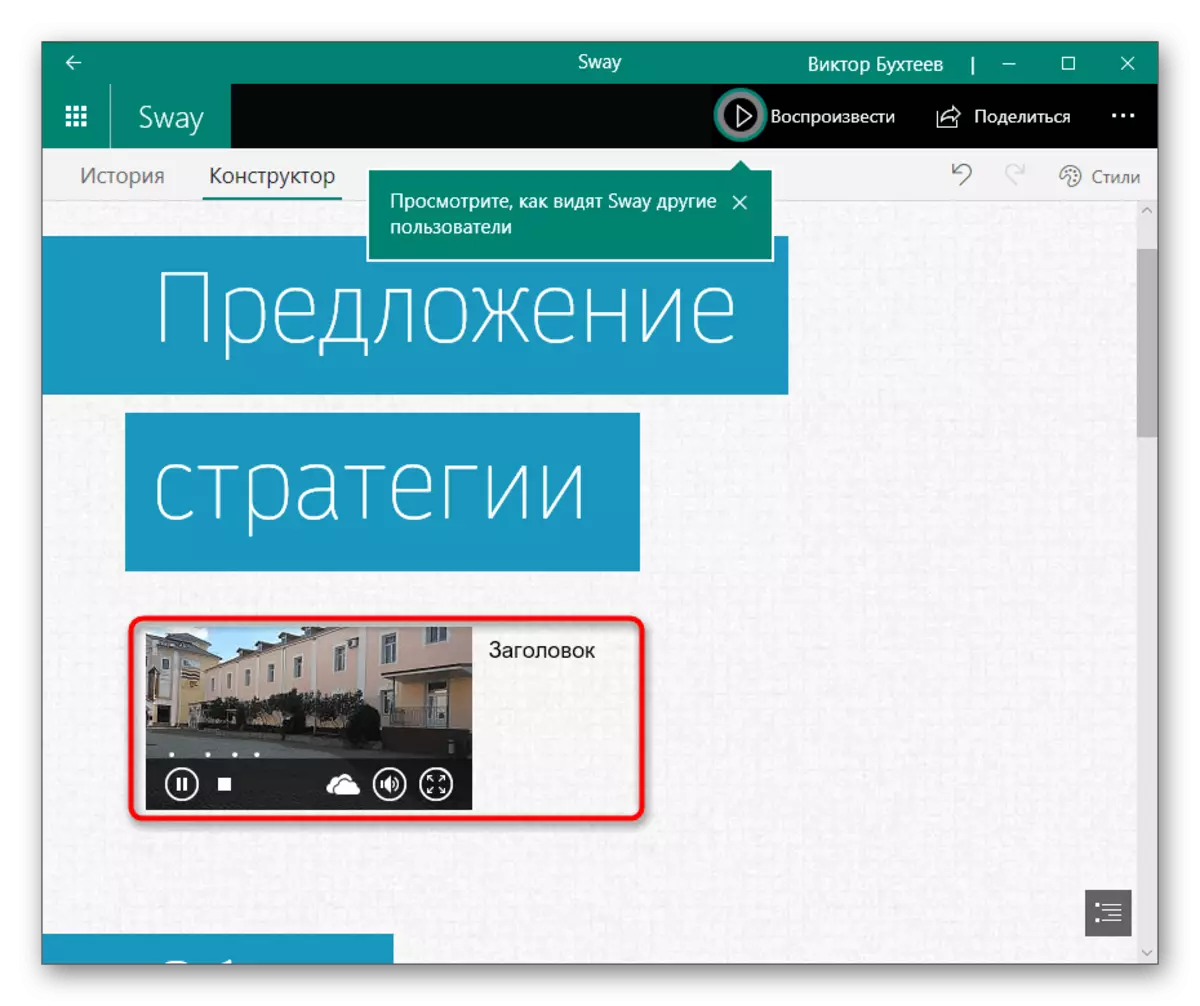
- Play a presentation to view its end-view or familiarize yourself with the text option through the "Designer".
- The roller is played through a special player, so you have to manually run this process and deploy it to the entire screen.
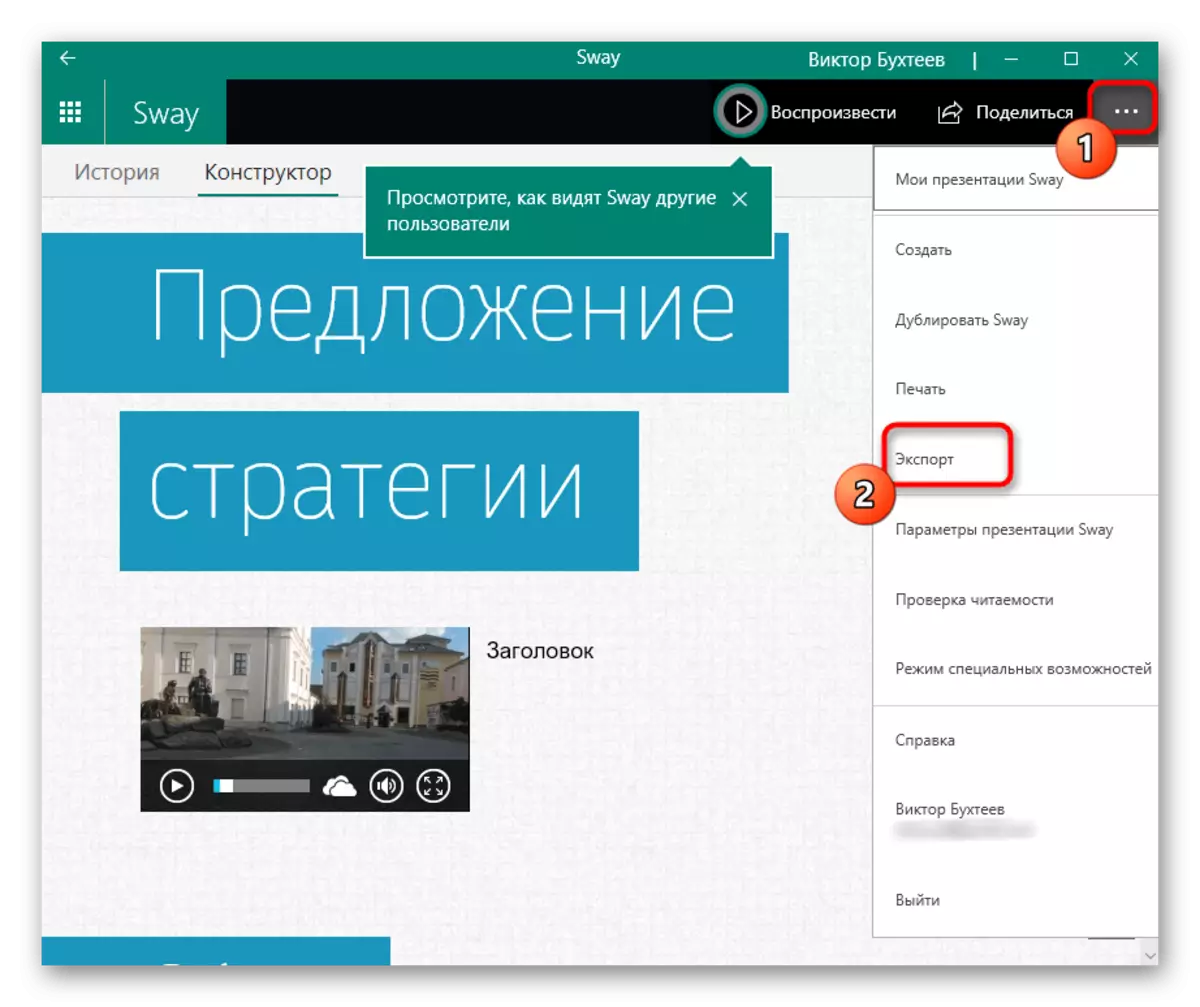
- Open the main SwAY menu by clicking on the three horizontal points button, and select Export to save the presentation.
- Specify the format in which you want to export it.
- Expect the end of processing and proceed to further interaction with the already modified presentation.


Method 4: Online Services
In complete, consider online services, which are also suitable for editing presentations. Google offers users to use the presentation web resource, which will analyze as an example of how interacting with similar sites.
Go to the Google Presentation Online Service
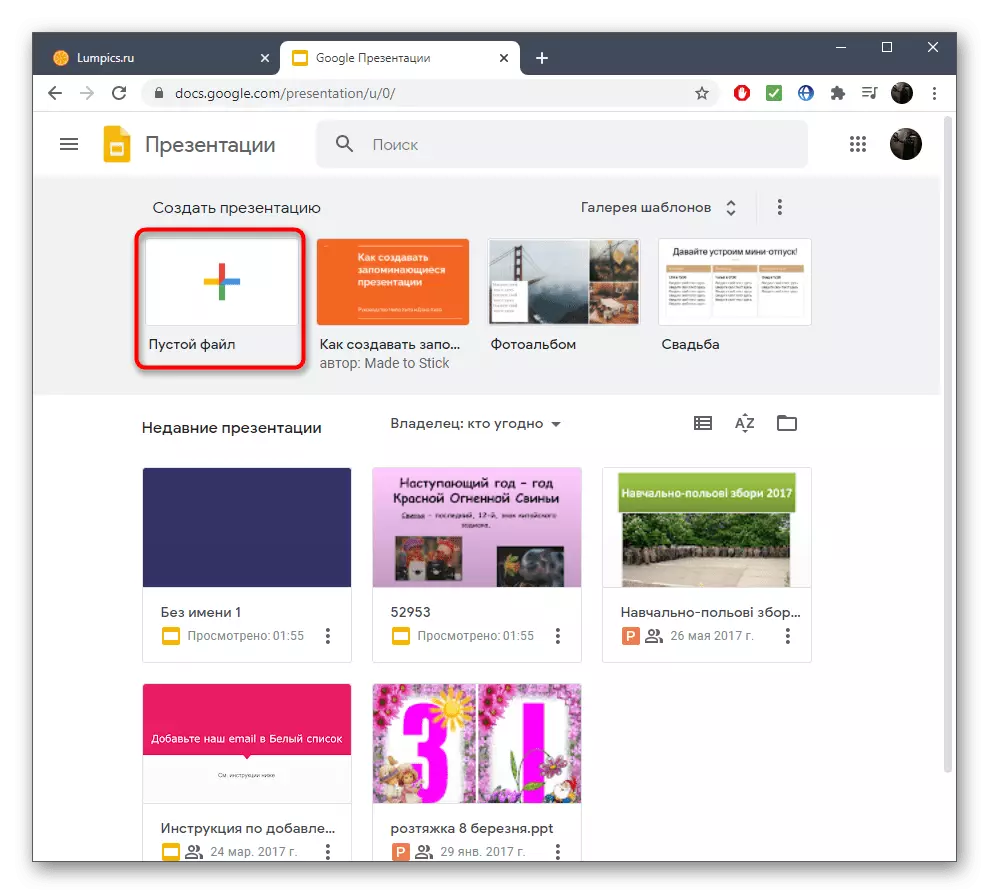
- Click the link above to get to the Create Presentation tab where you select the "Empty File" tile.
- Wait for the editor download, expand the File menu and click on the Open item.
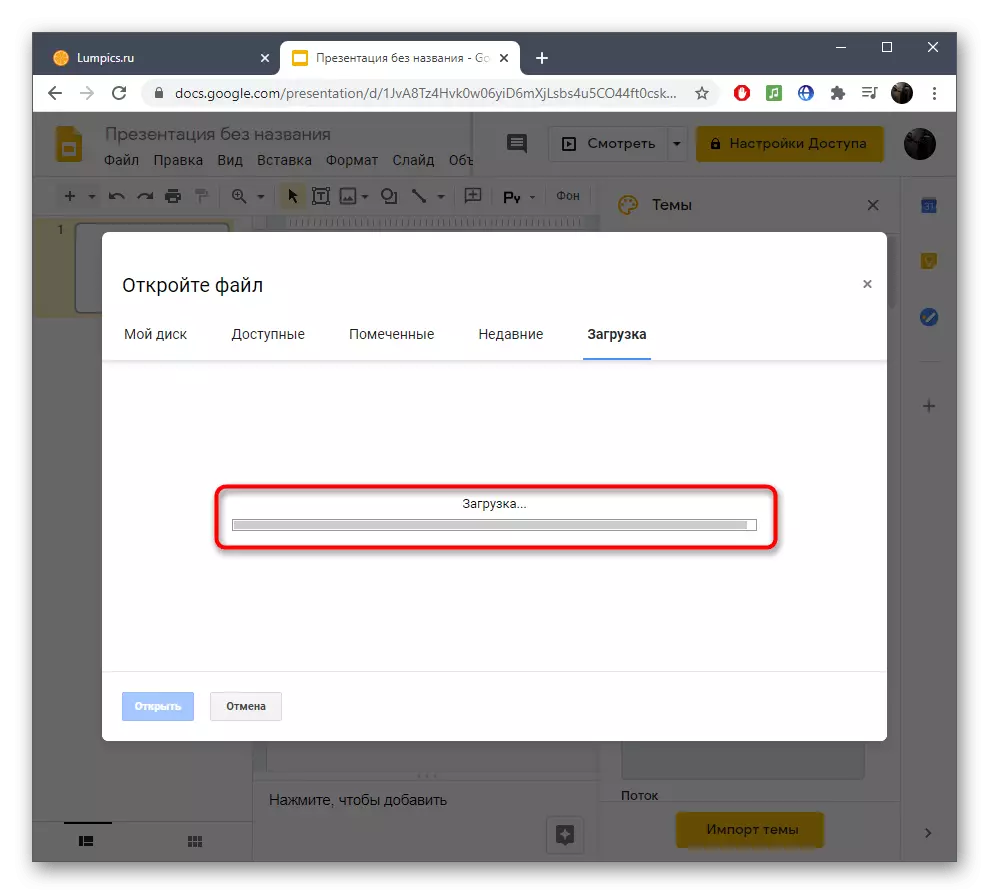
- Click the "Load" tab and add the presentation file located on the local storage.
- Wait for the upload to download.
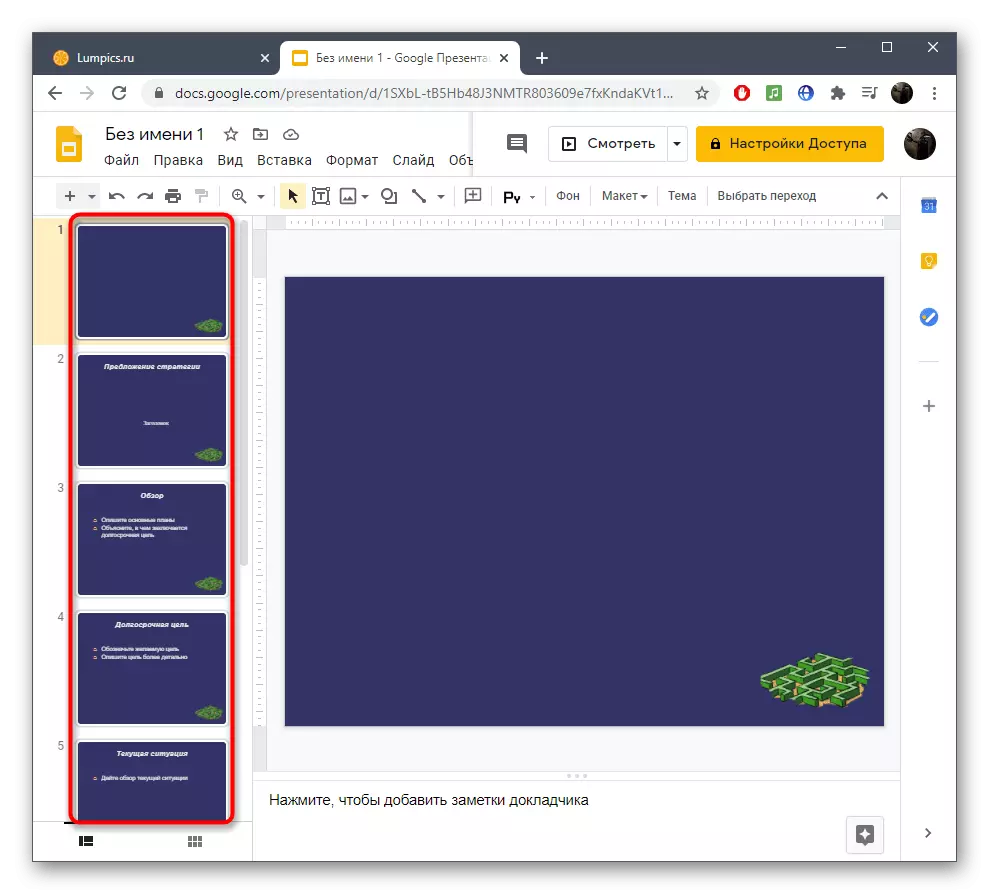
- Select the slide to which you want to add video.
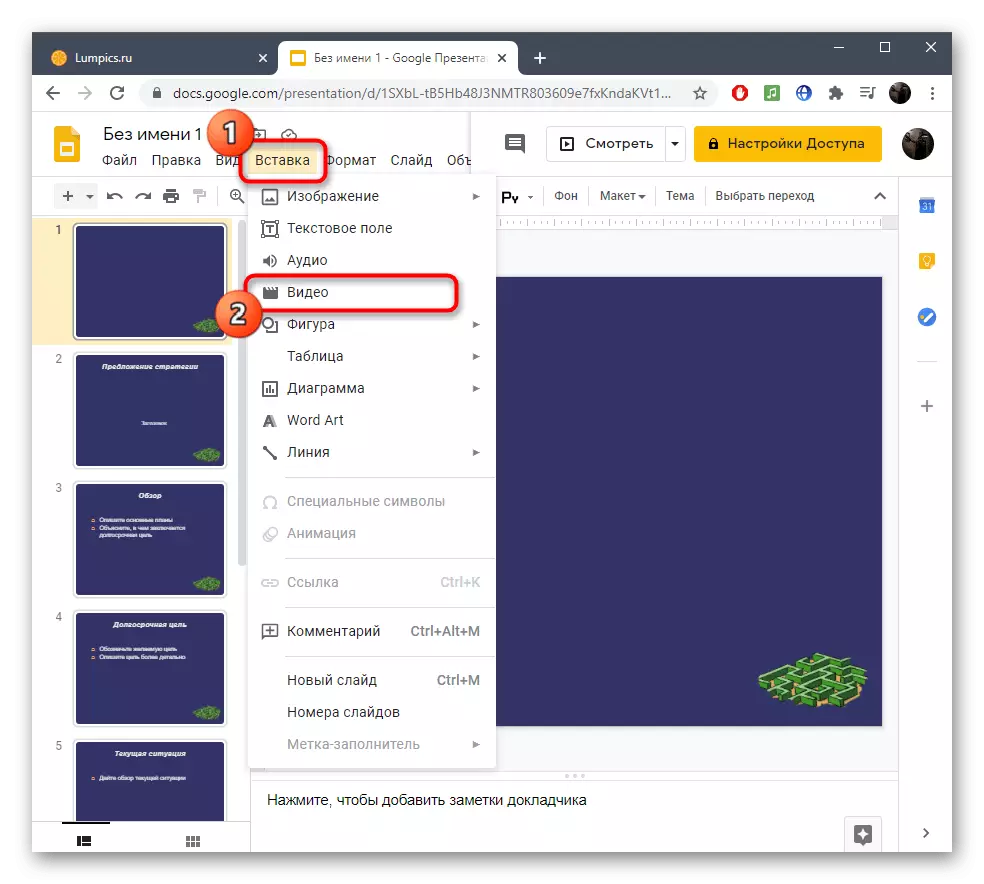
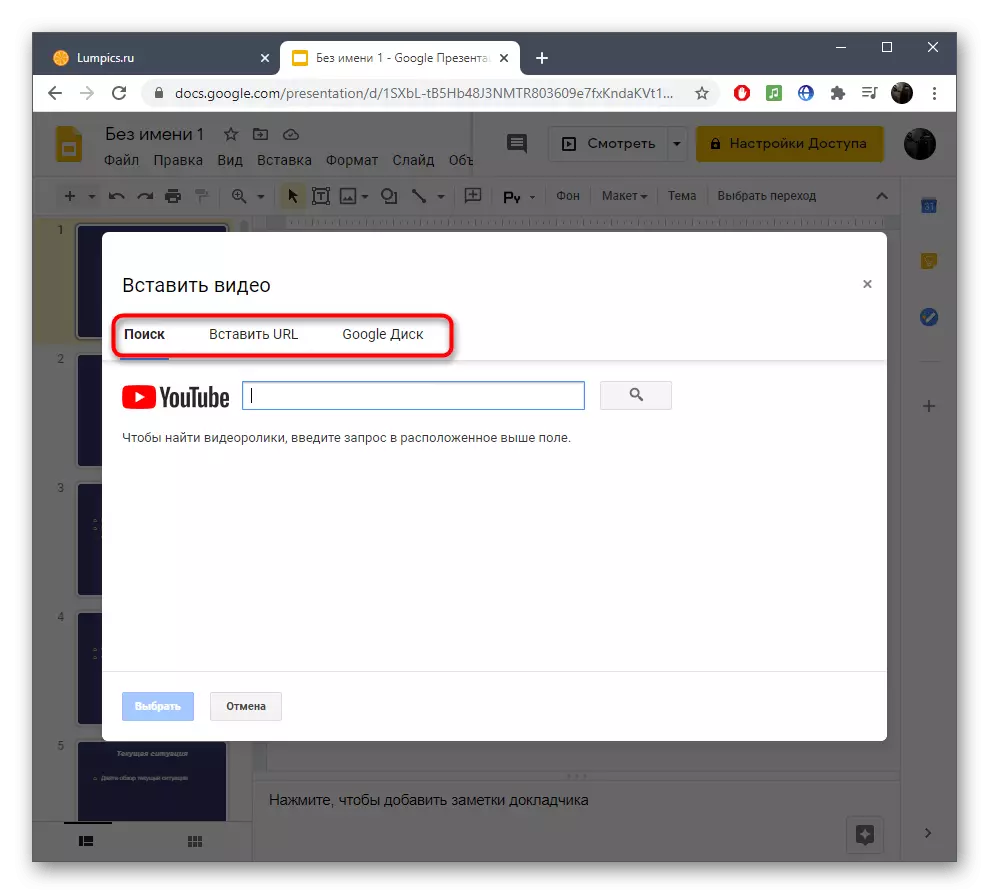
- Find the "Insert" drop-down menu to select the appropriate item.
- Use the search on YouTube, insert the link to the video or download it through Google Disk.
- Edit its size, position on the slide, playback method and duration.
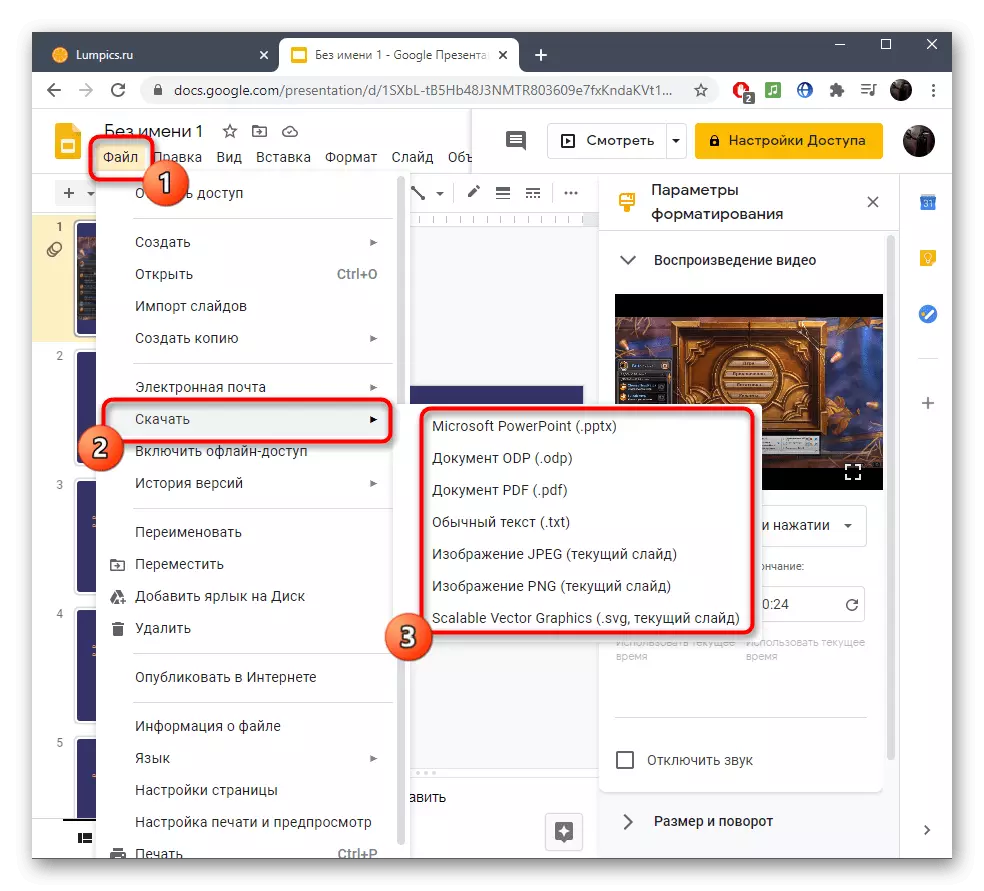
- By readiness through the File menu, save the presentation in a suitable format.


We disassembled Google Presentations only as an example, and if you are not satisfied with such an online service, we suggest familiar with the list of other suitable tools in our separate material. Most of them support the opening and editing of an already existing presentation with video insertion and re-maintain on the computer.
Read more: Creating a presentation online