Method 1: Filter "Noise reduction"
In OBS there are two filters designed to suppress the microphone noise. The first - "noise reduction" - works automatically and offers the user only one setting when the low load profile is selected on the processor. We will consider it first, since the lack of the need for additional selection of parameters is the main plus of this filter for novice users.
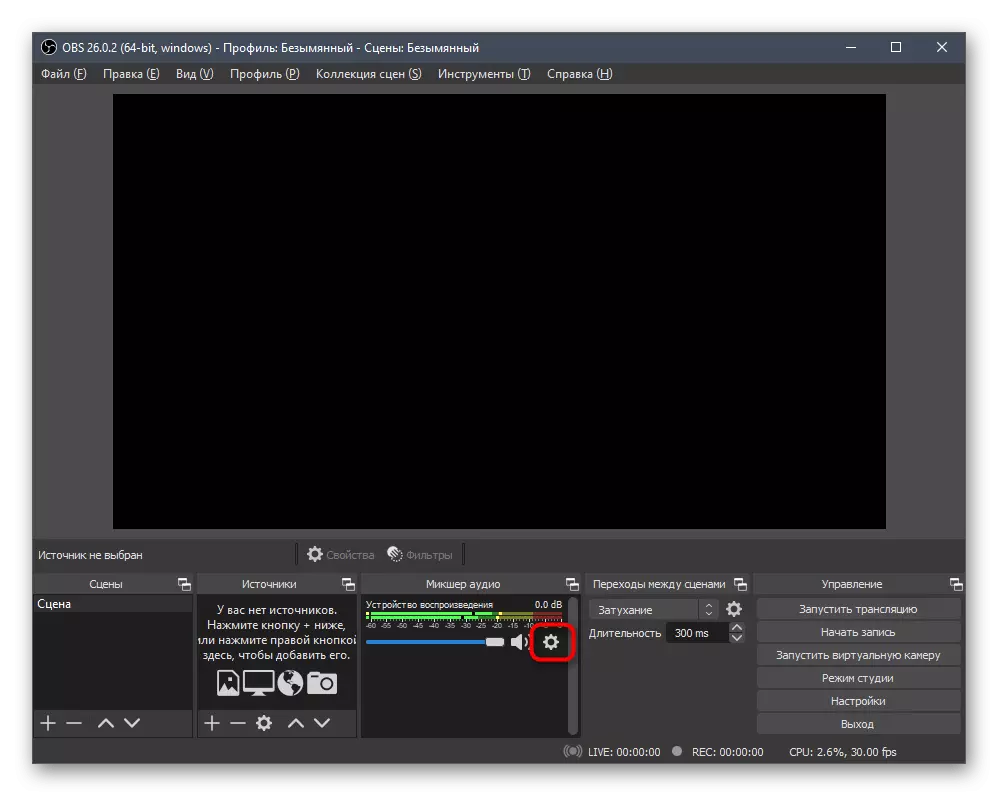
- Run your profile in OBS and in the Audio Mixer window, click the gear icon in front of the recording device.
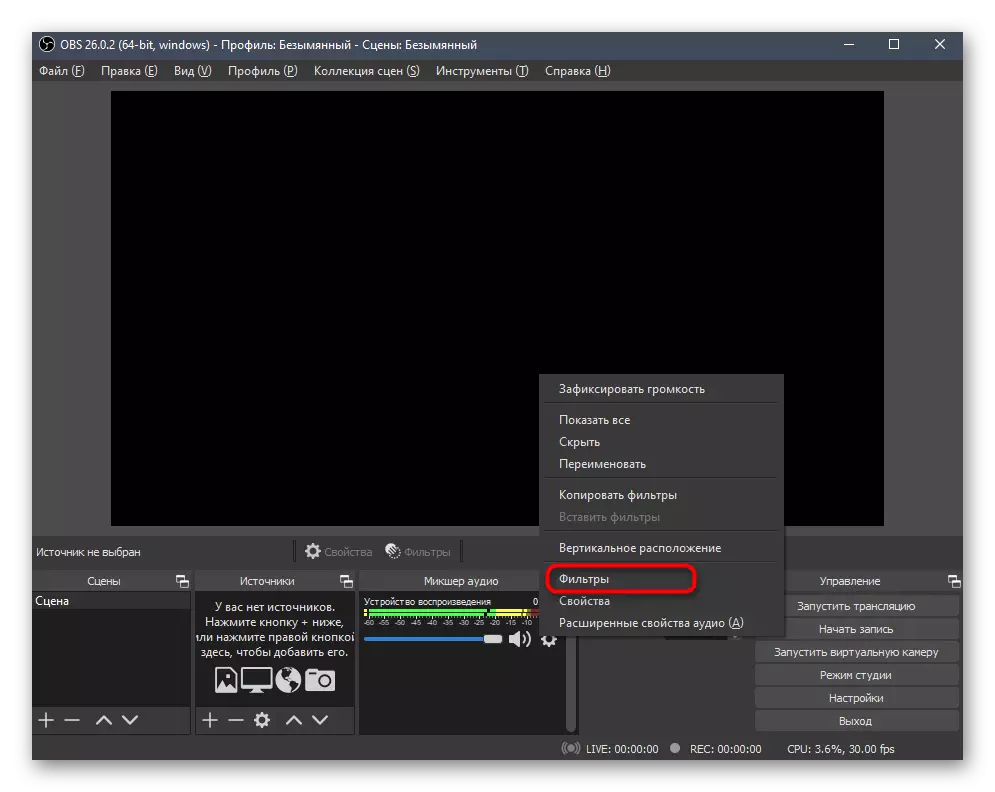
- A menu will appear with functions where you need to select "Filters".
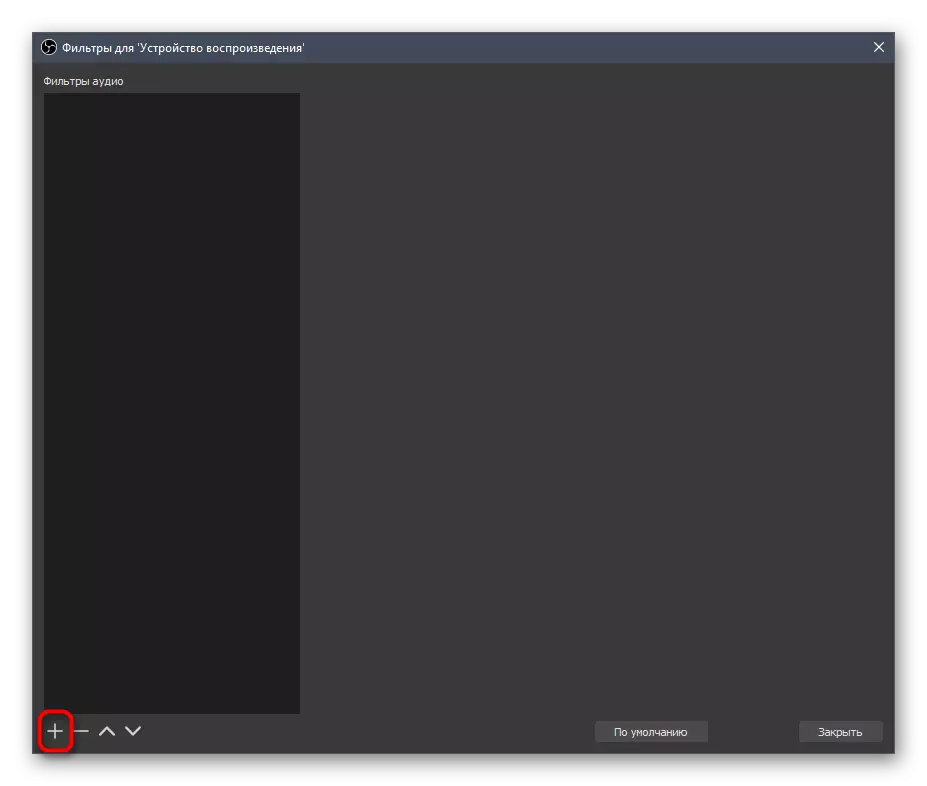
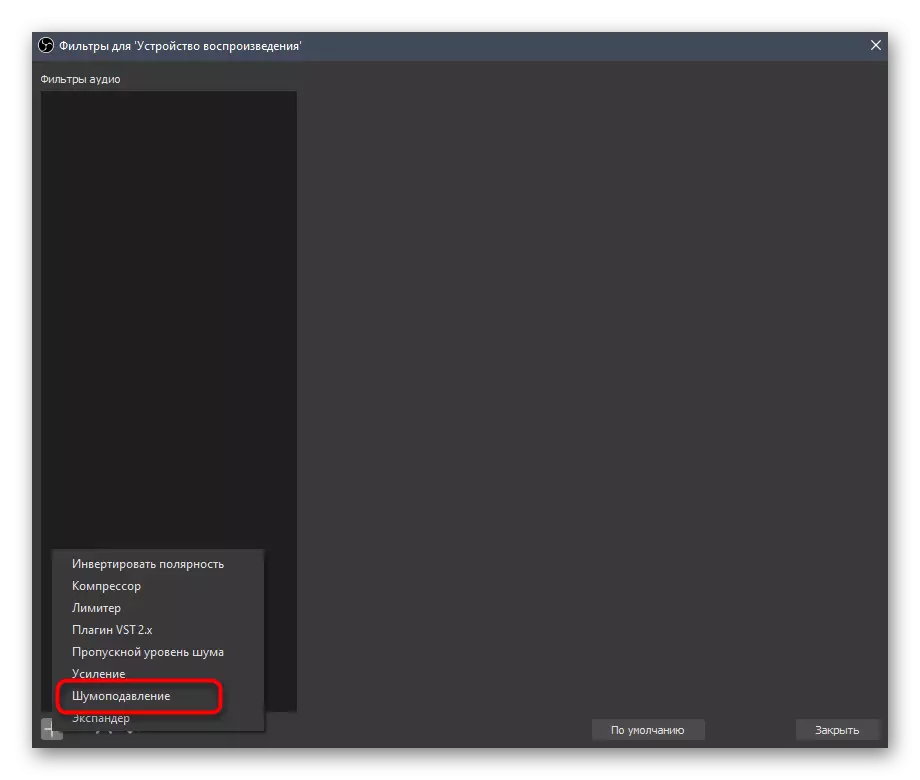
- For Recording and Playback Devices in OBS, there are a number of template filters, which are added by click on the plus icon.
- In the filter list, find "noise reduction."
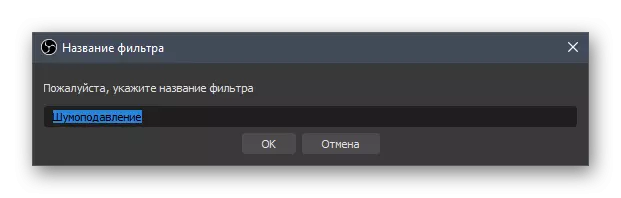
- You can rename it or leave the default name.
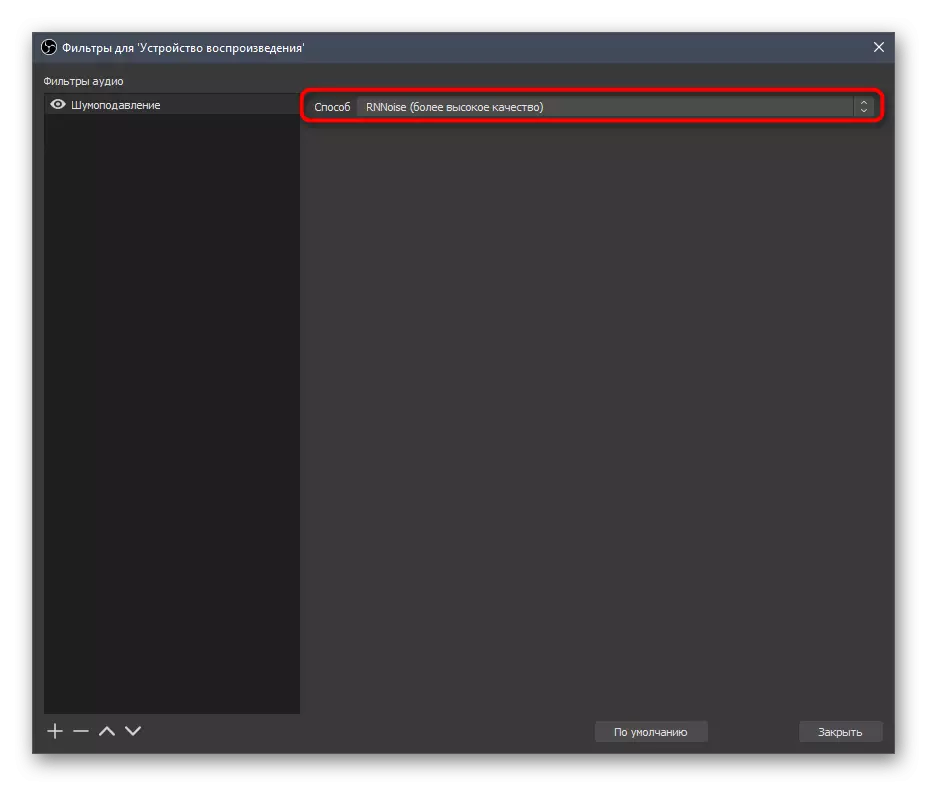
- The "RNNOISE" method is automatically selected, which implies the high quality of noise suppression. In the activity of this mode, the load on the processor is slightly increasing.
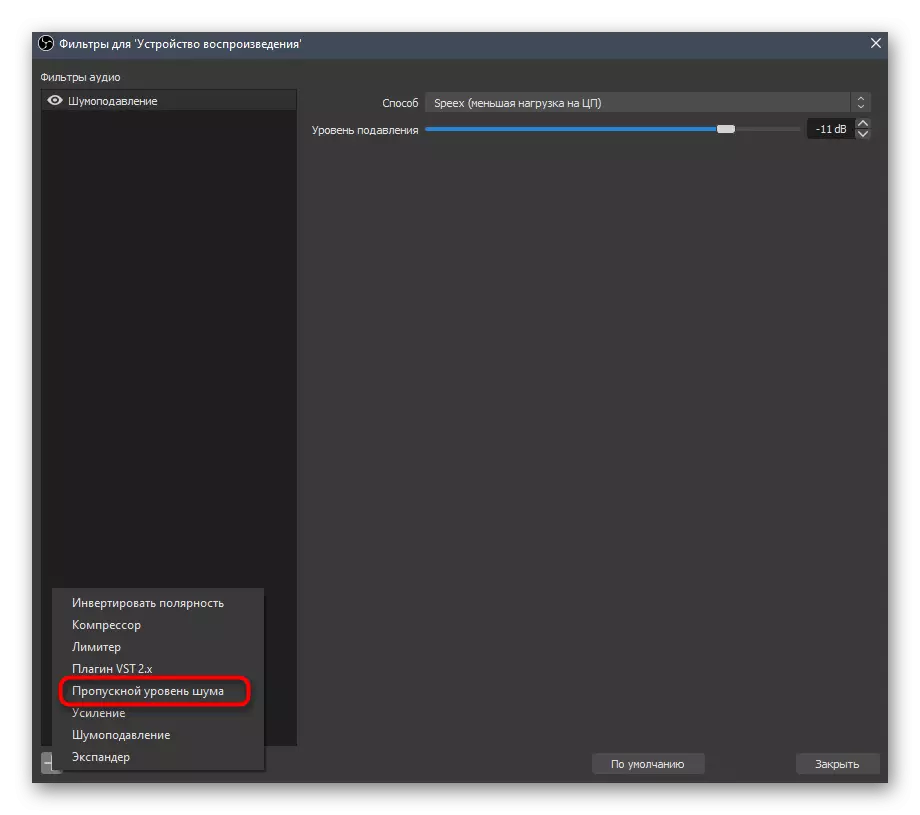
- Change the way to "SPEEX" if you want to reduce the load and independently edit the suppression level, pushing out which sounds captures the microphone.
- If the recording devices are connected to several, call the same popup menu with the settings and click "Copy Filters". Then select the second microphone and click on "Insert Filters". It will save you from the need to re-configure each filter.


The disadvantage of this filter is the lack of the parameters of the threshold of captured noise and delays when they are suppressed, therefore the option is only suitable for users that satisfies the built-in algorithm for such a function. Otherwise, pay attention to the more advanced tools from the following ways.
Method 2: Filter "Control Level Noise"
The custom filter "bandwidth noise" is useful if you want to pay the time to configure this tool, while ensuring good sound transmission with a practically complete cut-off of external noise.
- To add again to the filter menu again, click the button in the form of a plus and select the "bandwidth level".
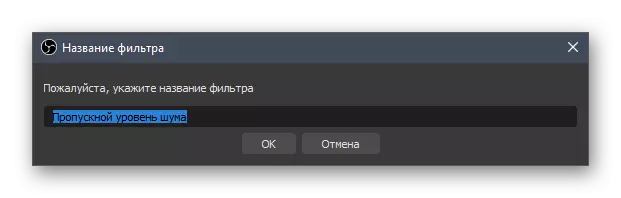
- Change the name for the filter or leave it in the default state, and then press ENTER to confirm.
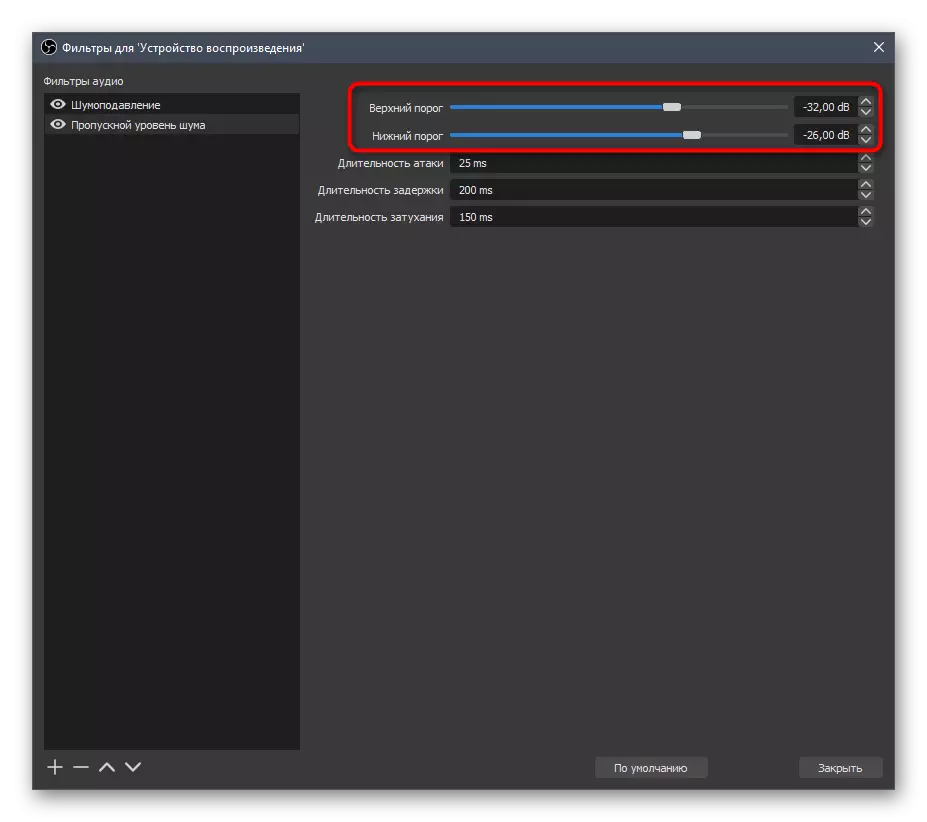
- The first two sliders are responsible for setting up the threshold of captured noise. Here you need to focus on what range is unnecessary sounds, and then edit these parameters.
- The duration of attack, delays and attenuation is necessary to indicate the operation filter algorithms. This duration directly depends on the type of noise, as far as it appears, with what force, or the noise is generally captured by the microphone continuously. We cannot give a specific advice on configuring these parameters, so you have to independently recognize the noise level and through samples of different settings to achieve the desired result.

After successfully setting, copy the filter to another sound capture source if it is connected and has identical parameters. Save the changes in your profile, complete the scene setting and start the stream, securing yourself from the appearance of unpleasant noise.
Method 3: Krisp
Consider a simpler method for eliminating the noise of the microphone, but requiring the download of an additional program called Krisp. Its main purpose is just to automatically drain any unwanted sounds when the utility to OBS is connected.
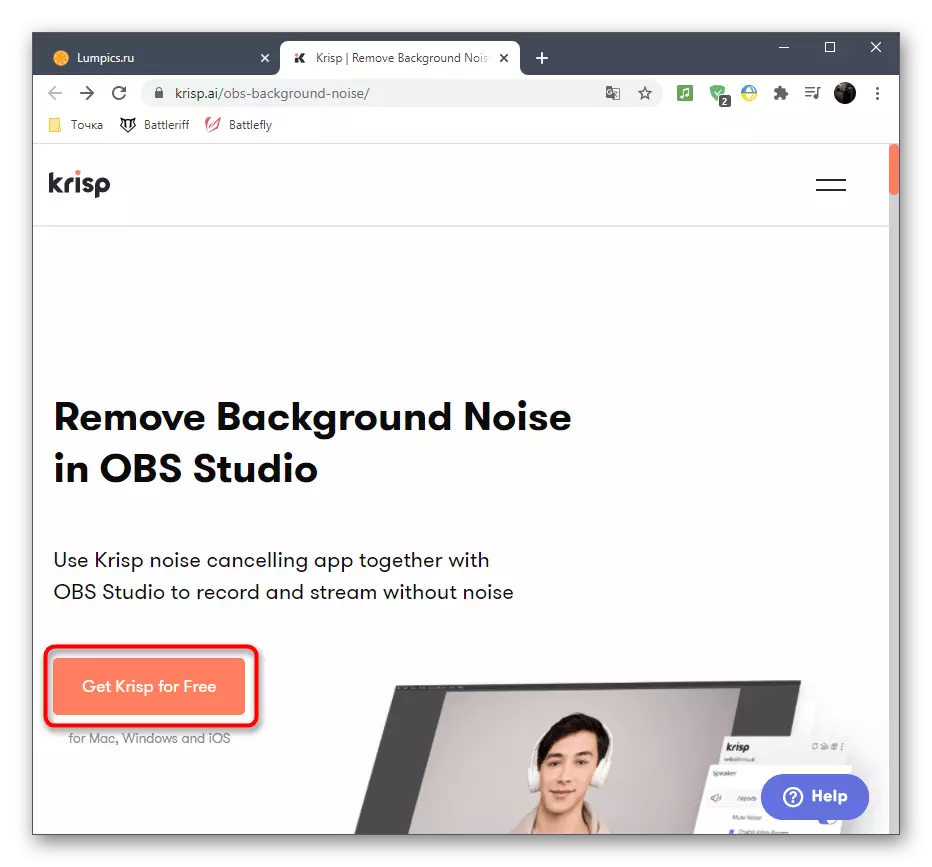
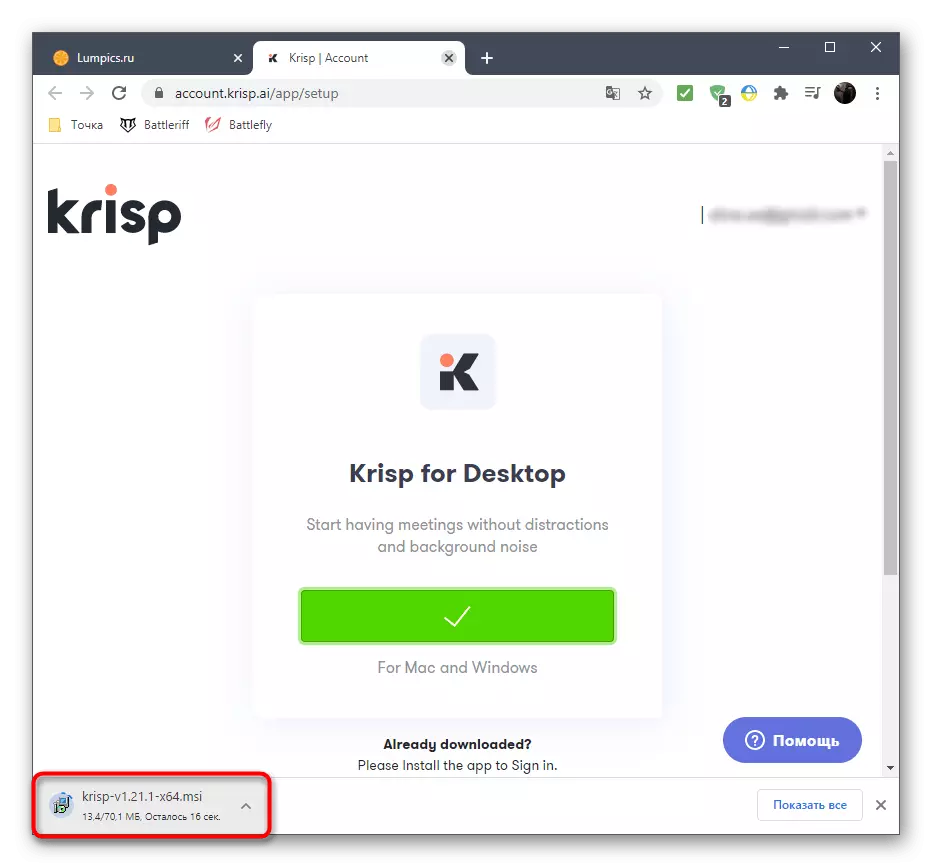
Go to download Krisp from the official site
- KRISP applies for a fee, but there is a free version without any restrictions in terms of functionality, allowing every week to use the program toolkit every week. To download it, click the link above and click "Get Krisp for Free" after switching to the official website.
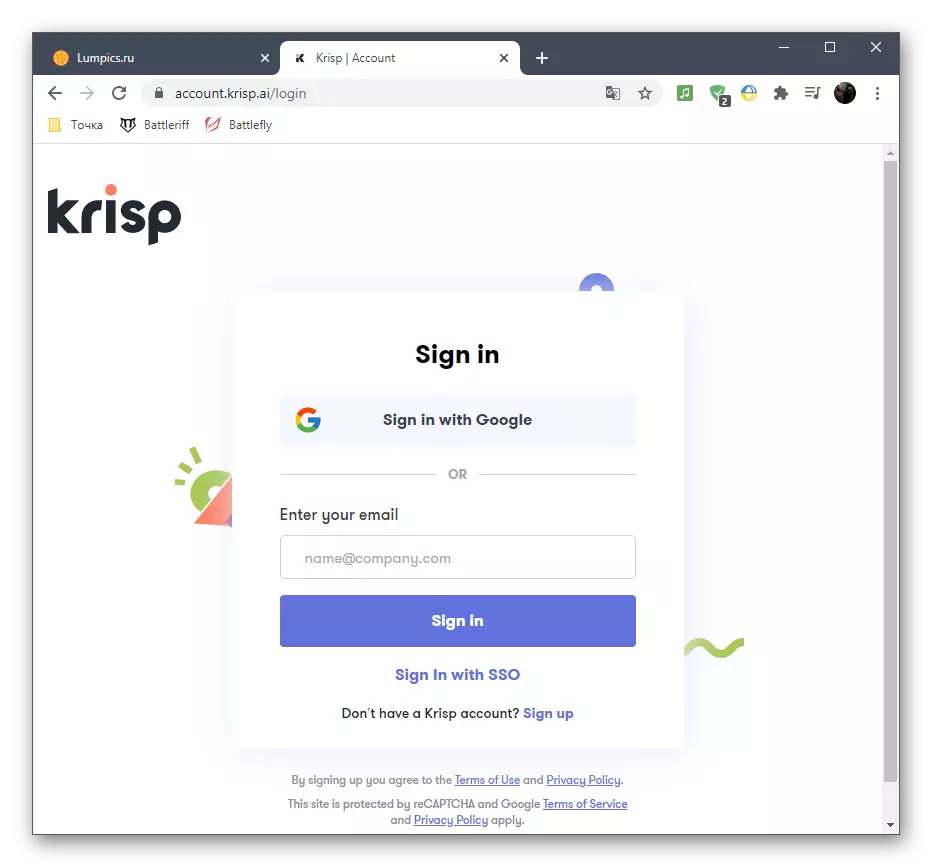
- Be sure to go through the registration procedure, since the license will be tied to the created account.
- Downloading will start automatically after entering the profile, and you remains to wait for the completion and launch the received executable file.
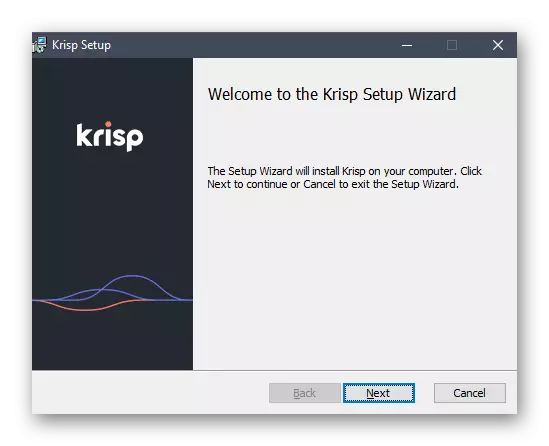
- Follow the simple installation instructions, and then run the program itself.
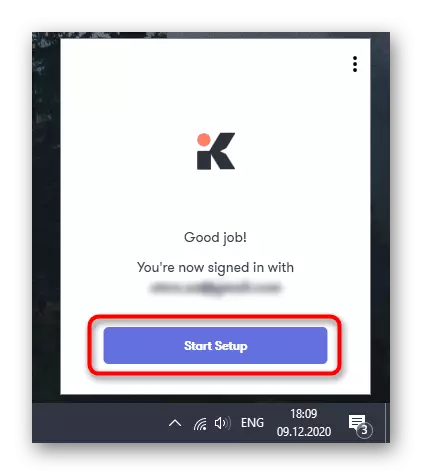
- It is confirmed by authorization in the profile created earlier and click "Start Setup".
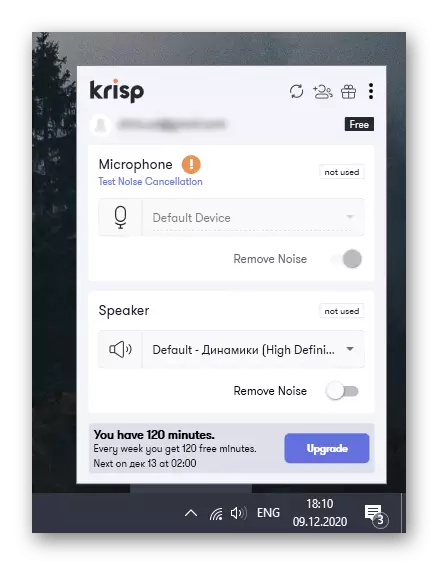
- Equipment setting takes a few seconds, after which a small software control window appears on the screen, where you will see that the noise shutdown for the microphone is already enabled.
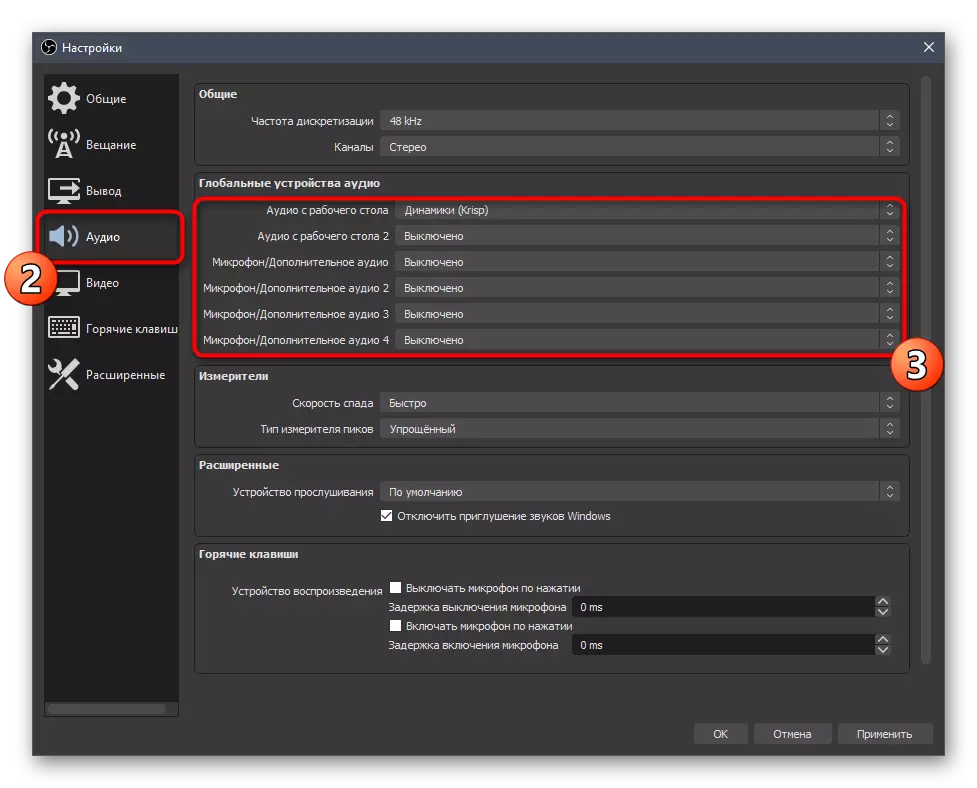
- Do not close the KRISP and go to the OBS parameters, opening your personal profile again.
- Open the "Audio" section and set Krisp as a microphone used.

After applying the changes, KRISP will automatically begin to remove noise when using the microphone in OBS and no additional actions are required of you.
Method 4: General noise elimination methods
Finishing our article by a description of the general methods for eliminating the noise of the microphone, to which the use of other programs, configure the driver or operating system. These options are not always suitable for achieving the desired effect, but in certain situations may be useful. Detailed description of each of them are looking for in separate articles on our website, moving the following links.
Read more:
Remove the background noises of the microphone in Windows
Microphone Noise Changing Programs