Within the framework of this article, we will only tell us about correctly configuring playback devices in OBS. If you are interested in editing the microphone parameters, we advise you to get acquainted with another thematic article on our website, where you find out all the subtleties of this task.
Read more: Microphone setting in OBS
Step 1: Select Play Devices
By default, the profile is already configured to capture sound from the main playback device, however, if the operating system parameters differ from the OBS required or you need to add multiple sound capture sources at once, you will need to specify them in the program itself before proceeding with the settings.
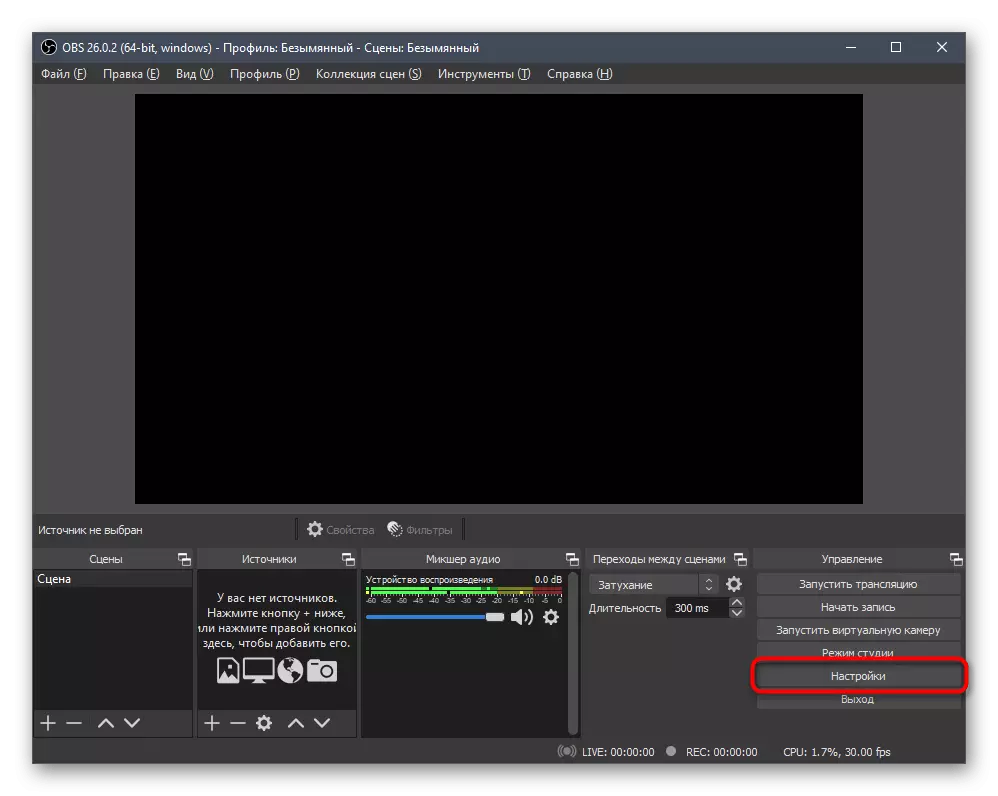
- As the main parameter, check the selected default device for which you go to "Settings".
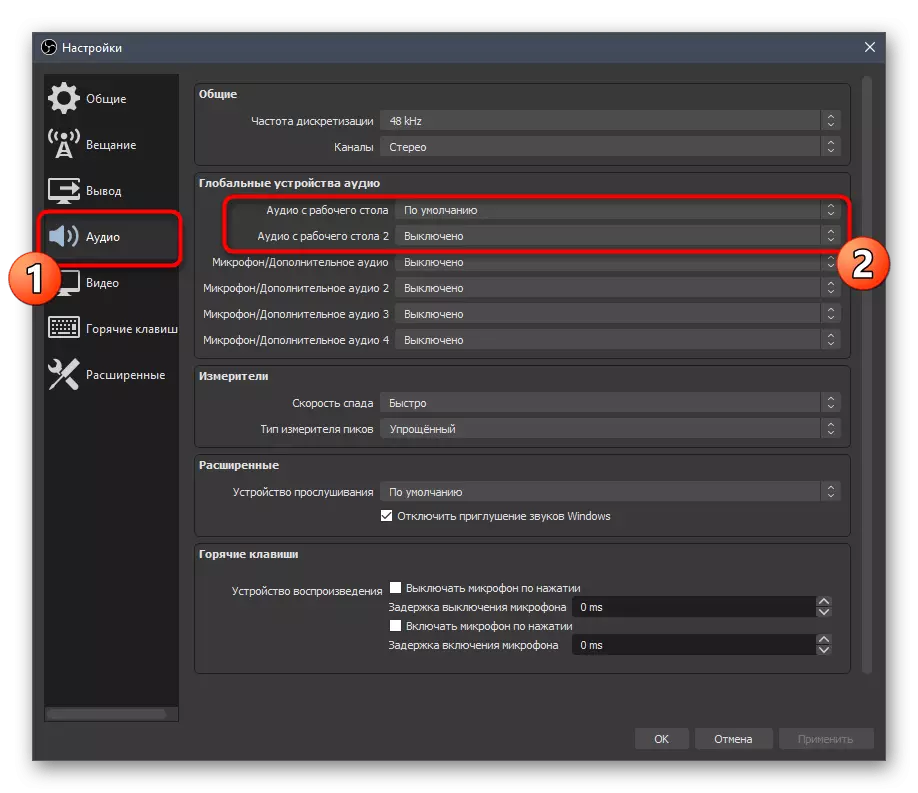
- Open the "Audio" section and expand the list from the "Audio from the desktop" and "Audio from the desktop 2". In the list, find the equipment used to listen to the sound on the computer. The second list is needed if there are several monitors to a PC and all of them are activated when recording.
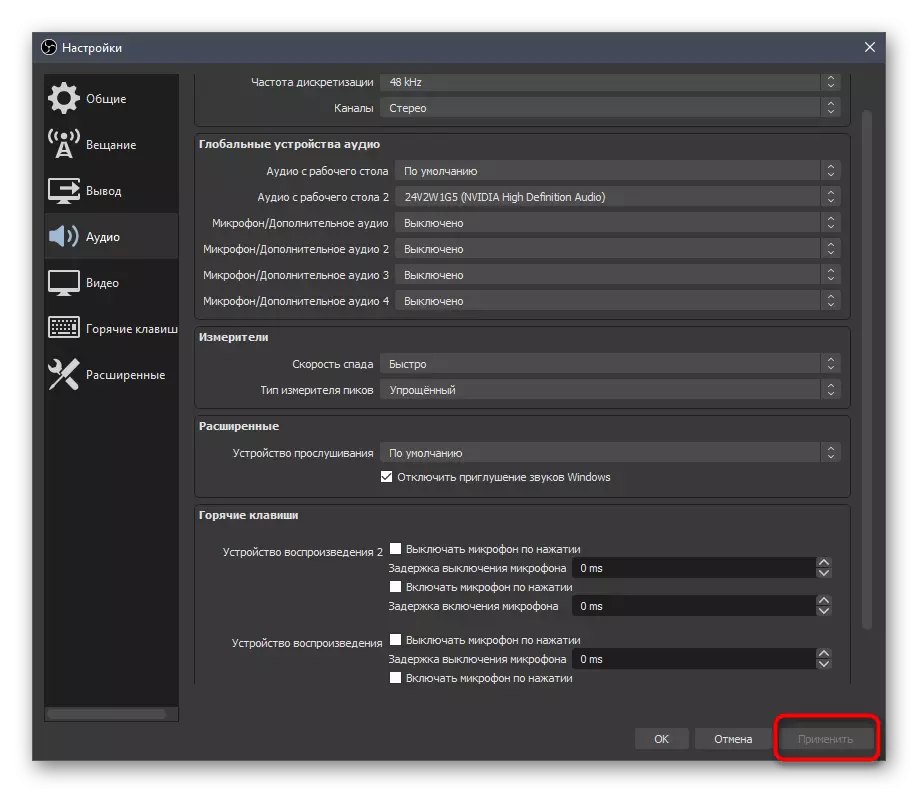
- Before going out, do not forget to apply changes, since otherwise they will be reset.
Thus, you specify a mixture of two main audio sources that should be monitored and allowed to configure through the main menu. If the sources are more or they need a special setup, use the following instructions for adding them.
Step 2: Adding Playback Sources
It is quite rare, but there are situations when the user will use several playback devices at once on its computer and each should be captured by OBS. To specify them as it was shown above is not always convenient, so it opens the ability to add a source:
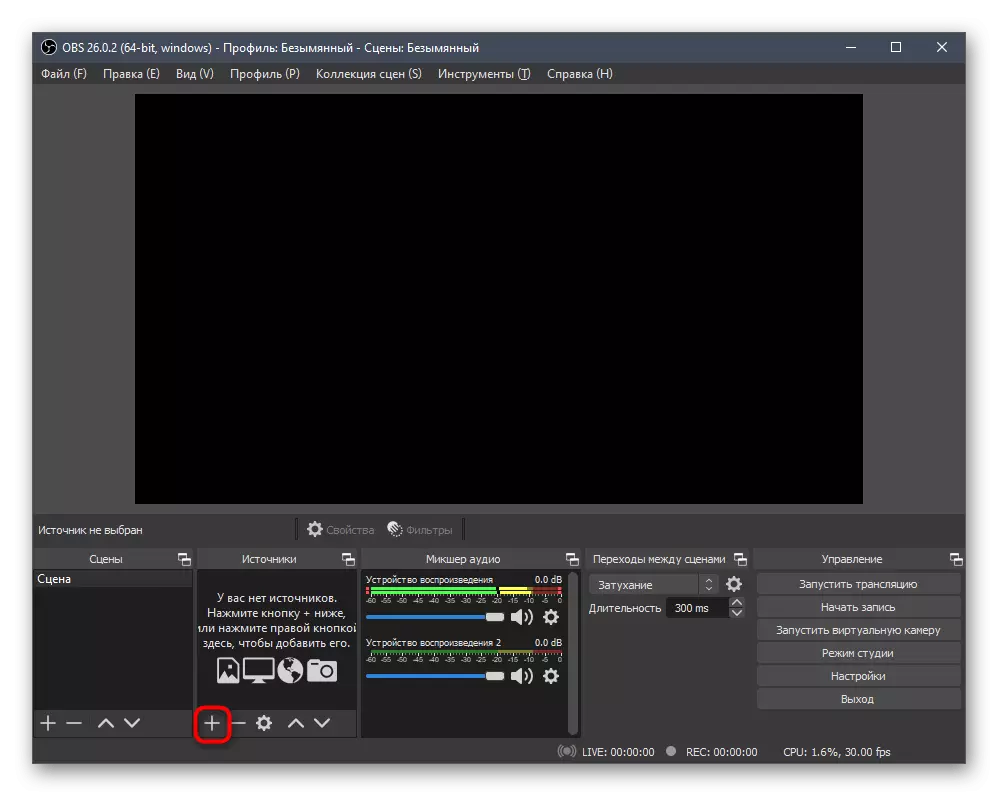
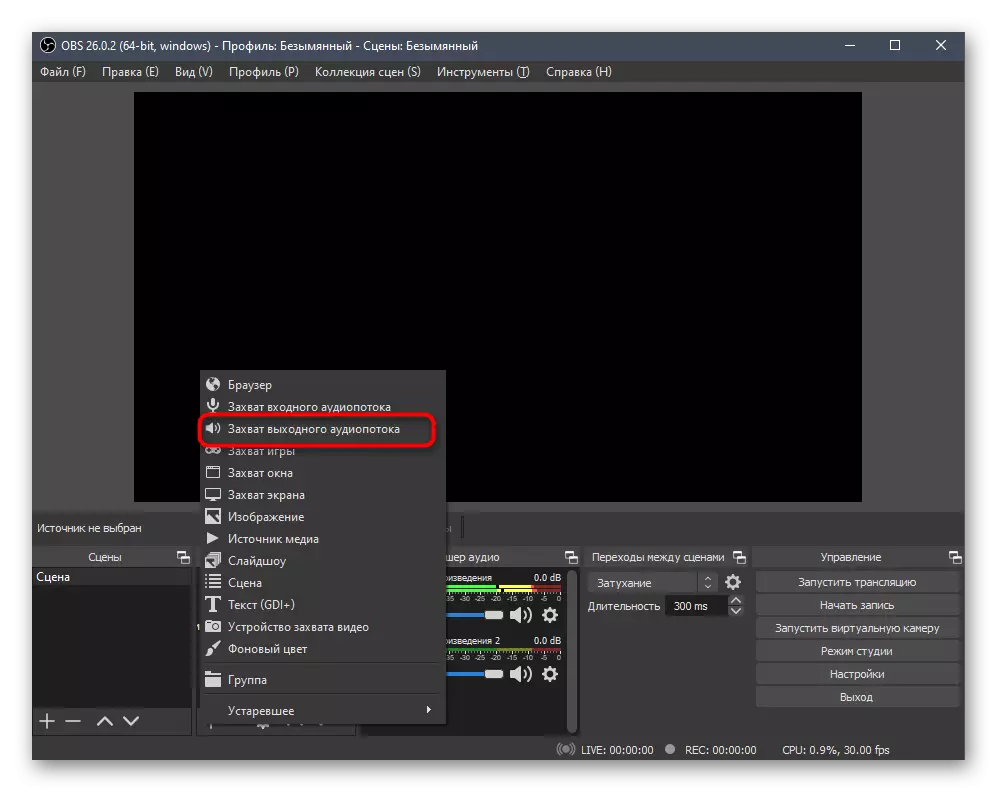
- In the "Sources" block, click the button with a plus to open the list of available devices.
- There find the "Capture of the output audio stream" item and click on it to select.
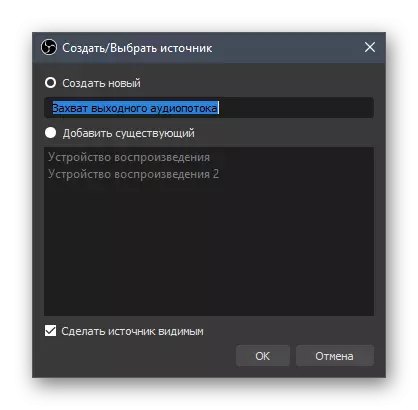
- Create a new source or add one that has already been specified earlier.
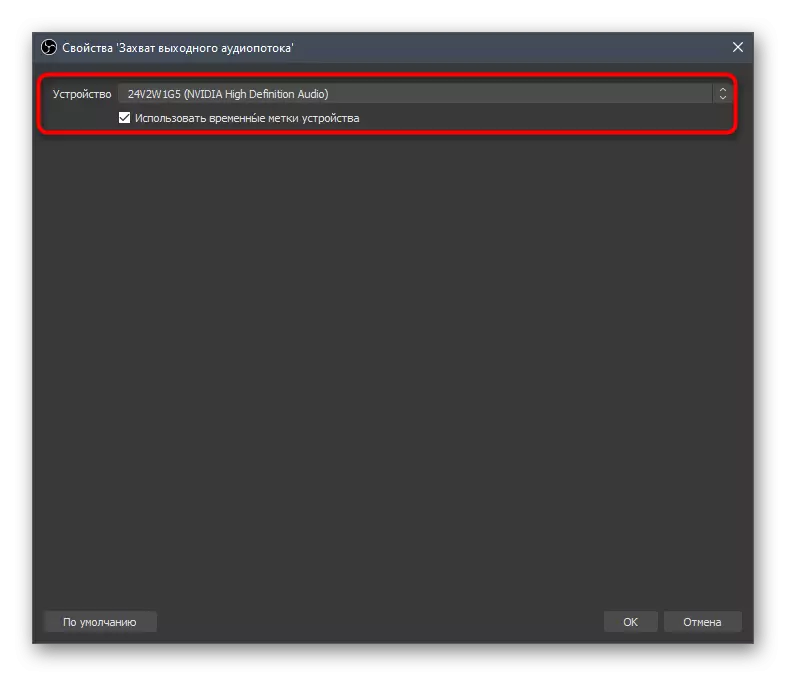
- When creating a new in the drop-down list, the device used is selected, and there are no other preset parameters.
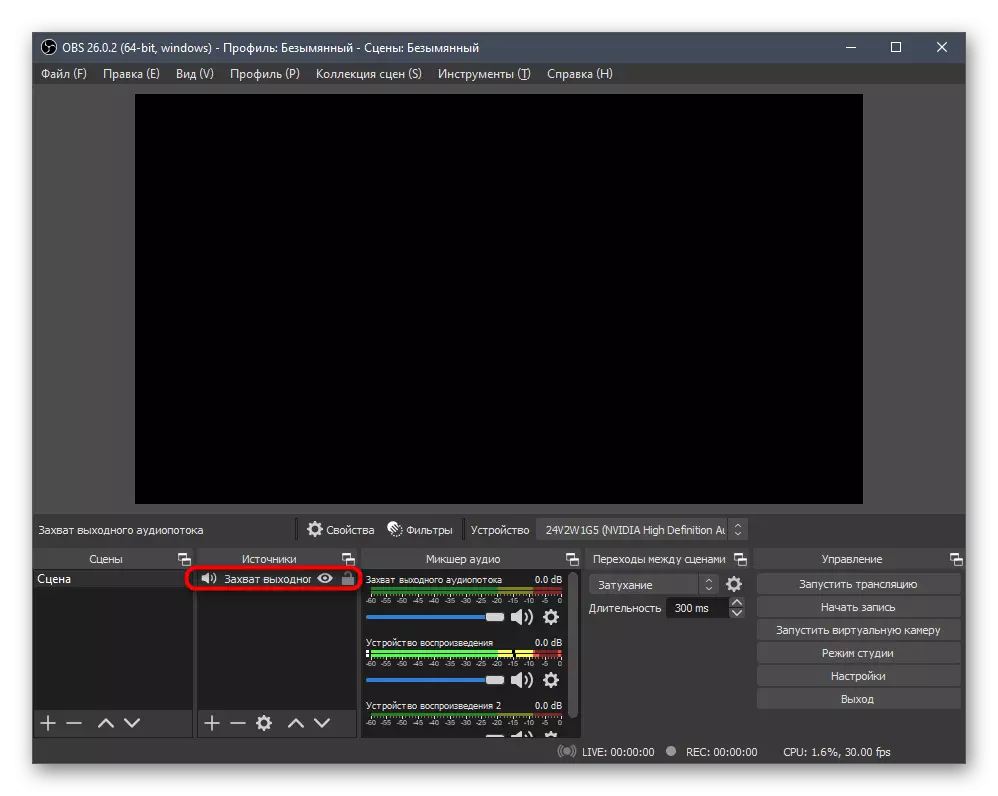
- After adding all sources are displayed in the same block, and you can proceed to edit them.
Step 3: Mixer Management
The main process of setting the sound both before recording and during it is made using the "Audio mixer" - a separate tool displayed in the main OBS window. We suggest familiarizing yourself with the three main functions, and then let's talk about the detailed setting of one of them.
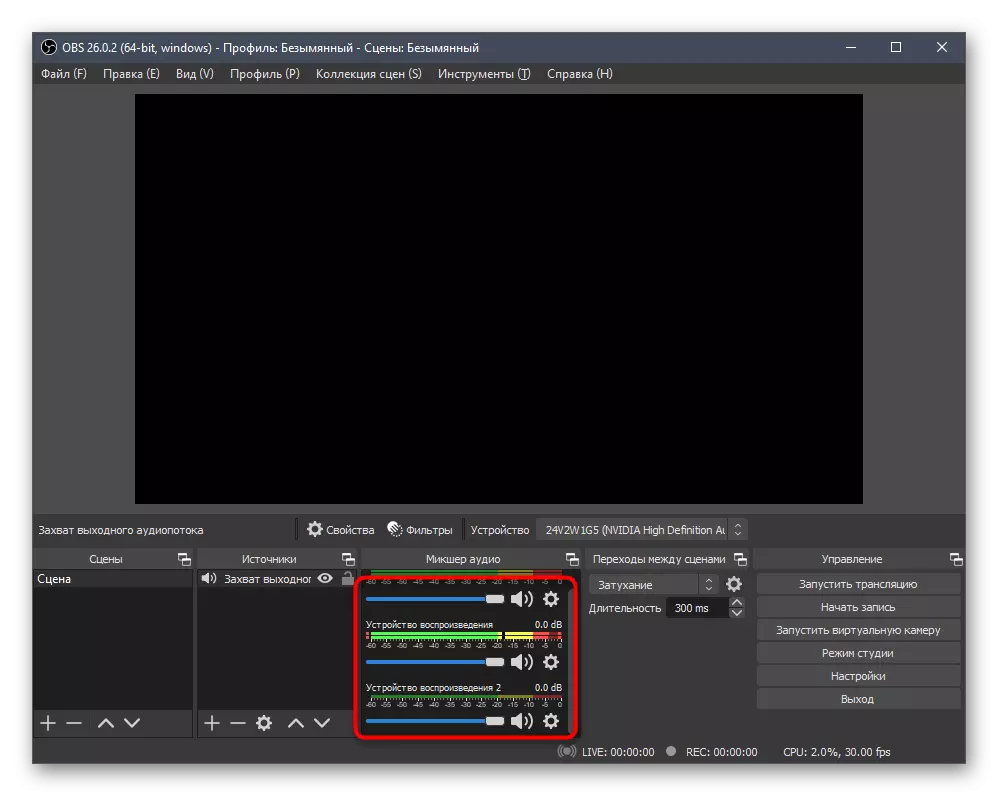
- The following screenshot shows the mixer itself and colored stripes, showing how the sound is now captured by each connected device. For all of them there is a separate volume knob and a button that allows you to turn off the sound at all.
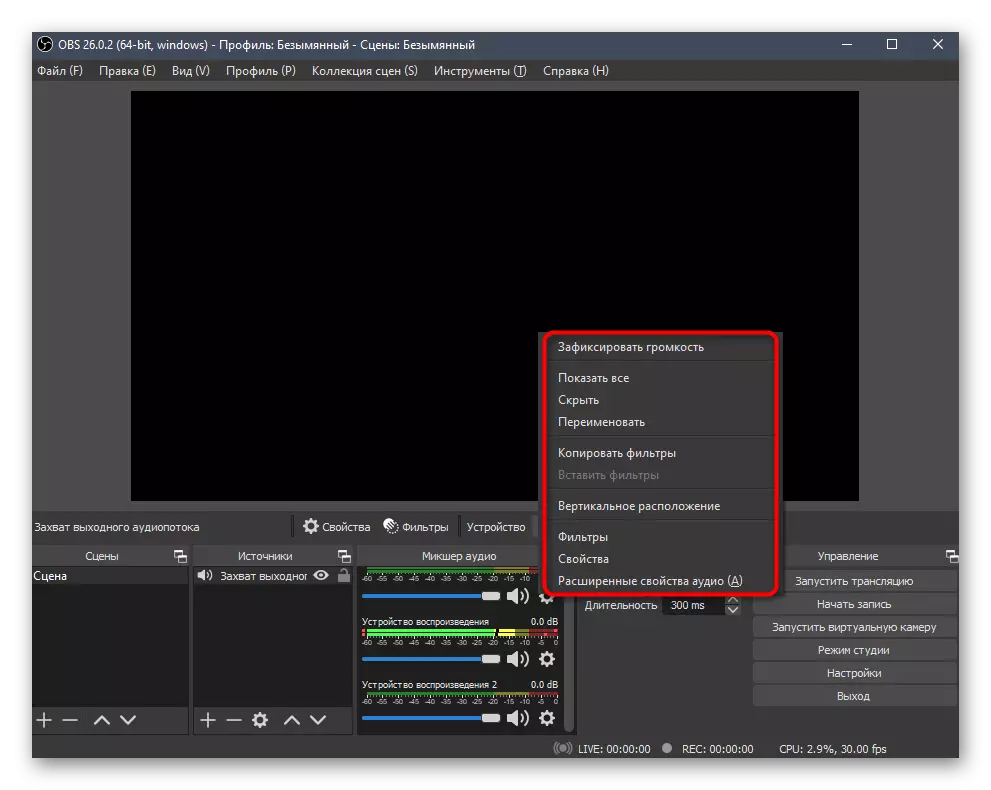
- When you press a button in the form of a gear, a list with additional features opens. So you can set the volume lock, rename the device, change its location or hide.
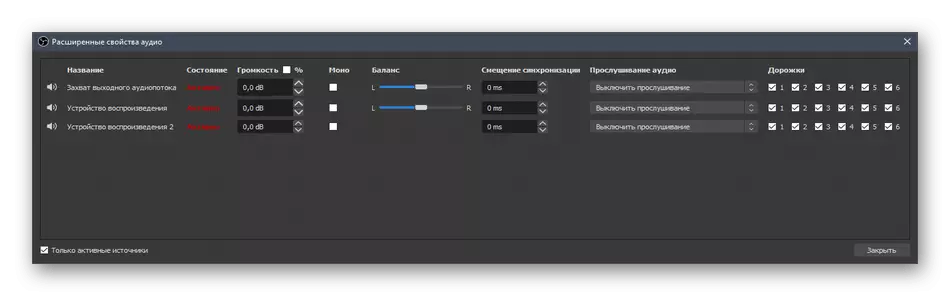
- If you open the "Advanced Audio Properties" window, you can quickly manage all the basic functions of each device, including its synchronization, listening and active tracks for recording.
Use all these features before starting the main record, in parallel checking the changes. During direct broadcast, do not forget that any source can turn off or adjust its volume as it will be necessary.
Step 4: Applying Filters
The work with filters is described in more detail in the article about configuring the microphone, the reference to which we have already left above. To playback devices, such functions are rarely used and most often precisely third-party VST-plugins are added, so we will only briefly analyze the filter management menu.
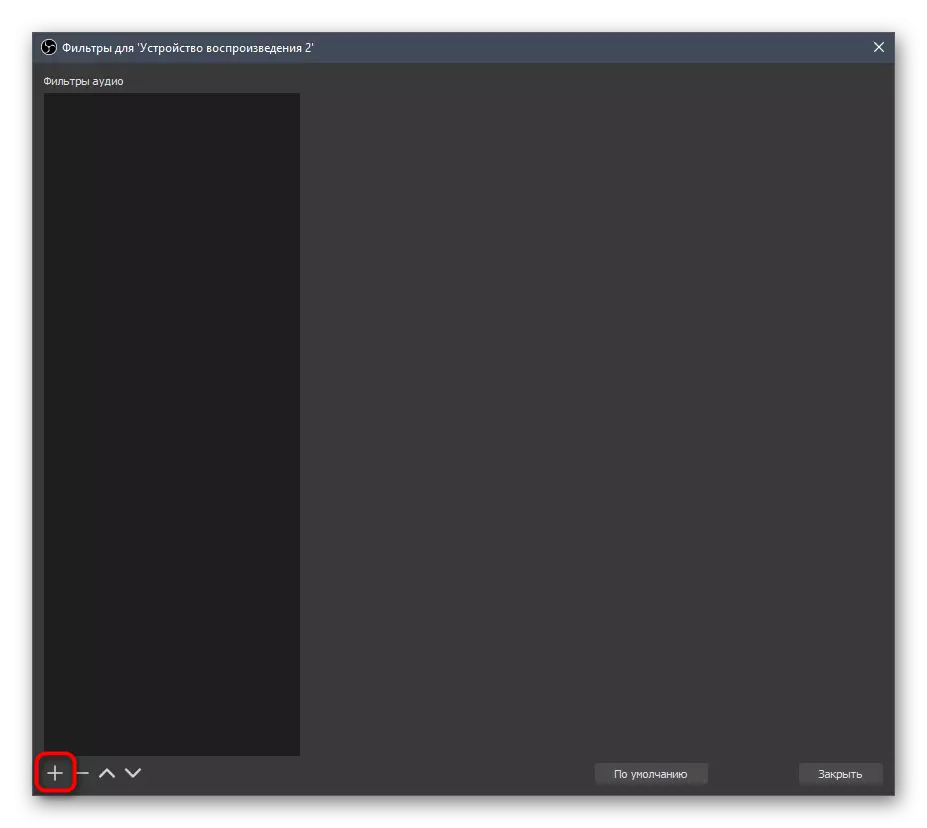
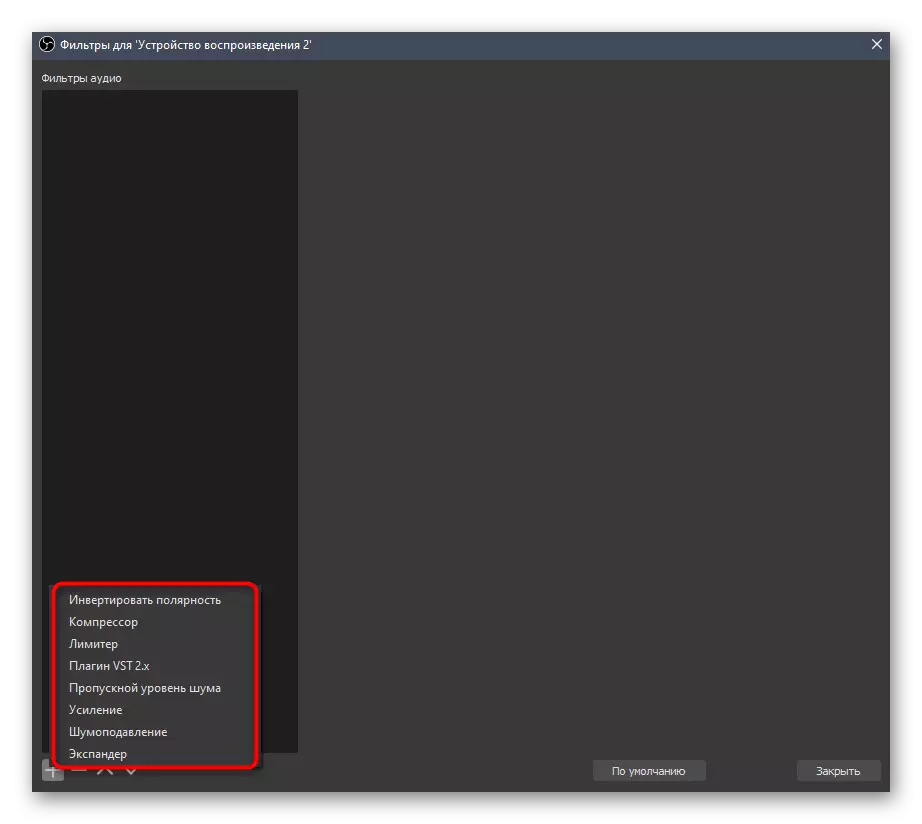
- To go to the window with the parameters, press the same button in the "Mixer Audio" and select "Filters".
- Click on the plus to appear a list of available filters.
- Already by their name, it can be understood that almost all of them belong to the equipment to capture sound, but sometimes can be useful and when playing.
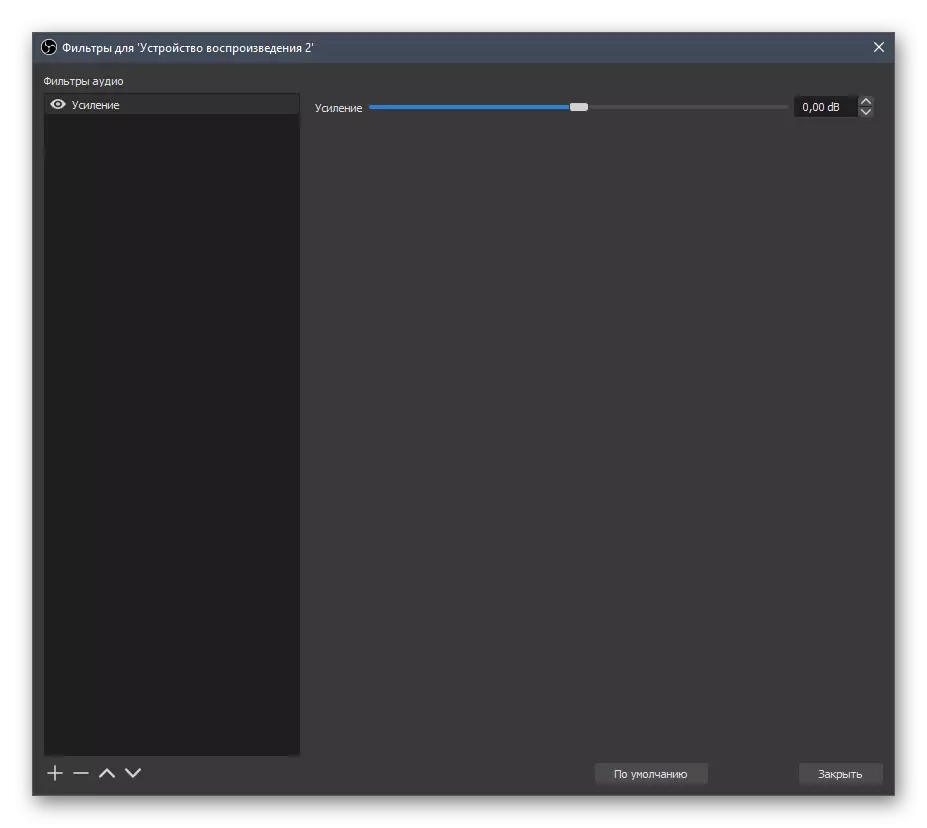
- VST-plugins will be connected separately according to the instructions on the site, from where you downloaded them, and the remaining filters are controlled by moving the sliders that appear after adding the filter itself.

Step 5: Advanced Audio Settings
In complete, consider a few more parameters present in OBS, which can be useful when setting up the sound. They are in different menus with parameters, so simply grouped them into one instruction, and you can only edit those that you consider it necessary.
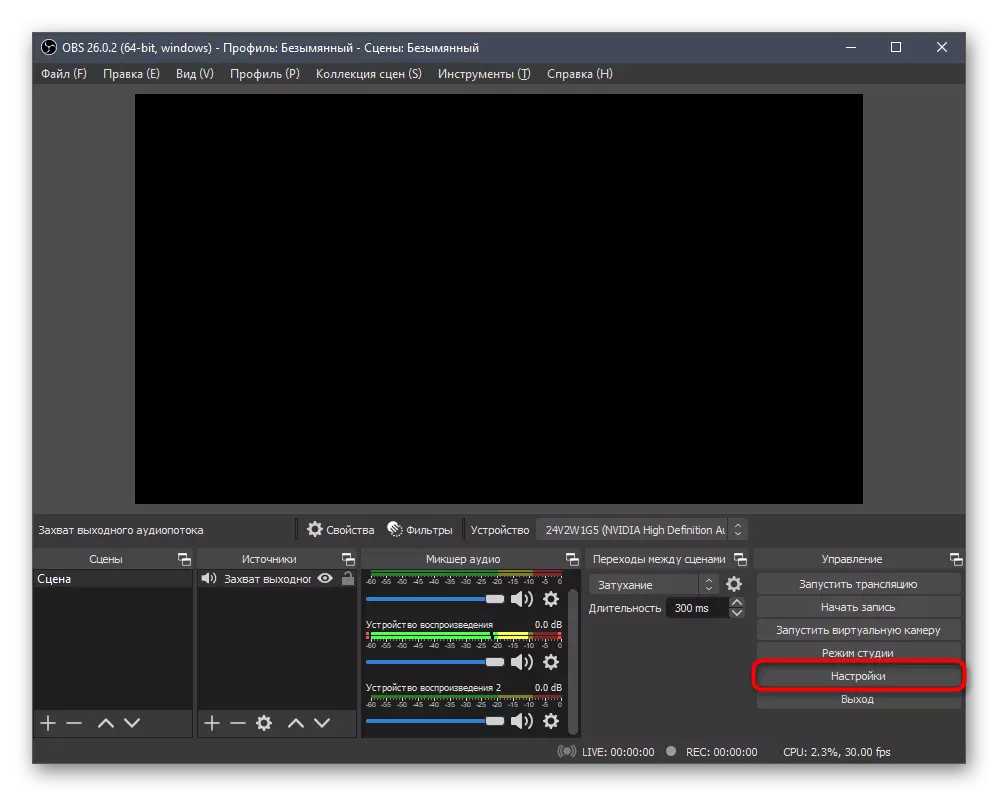
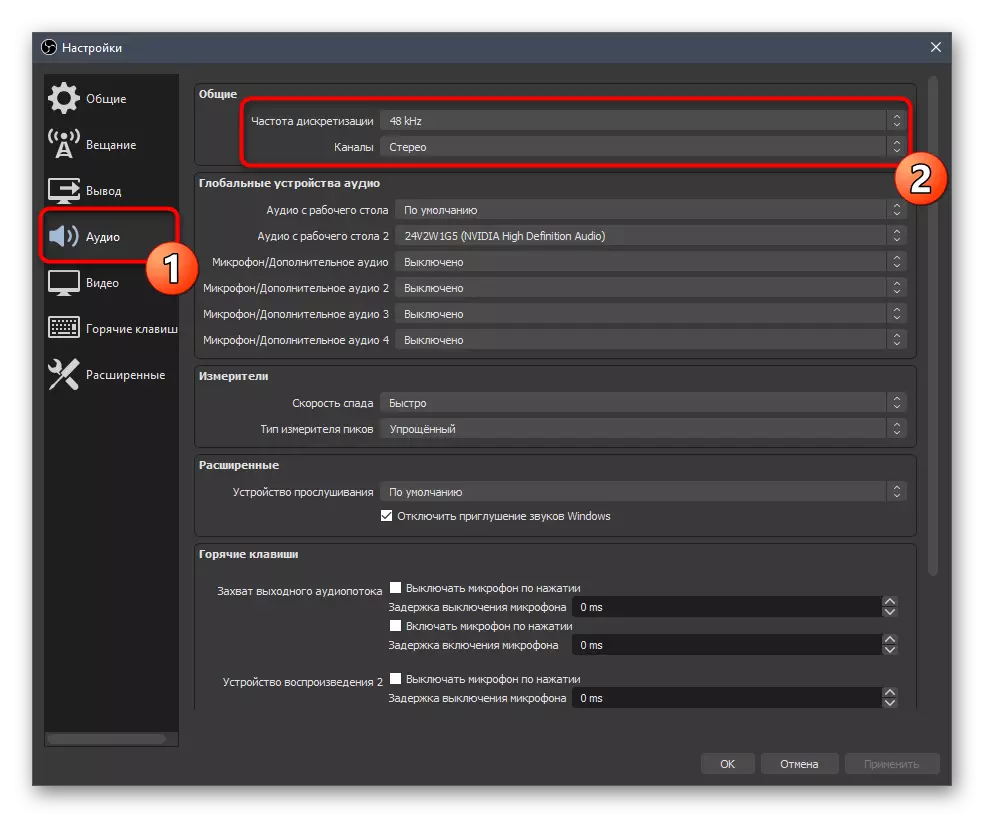
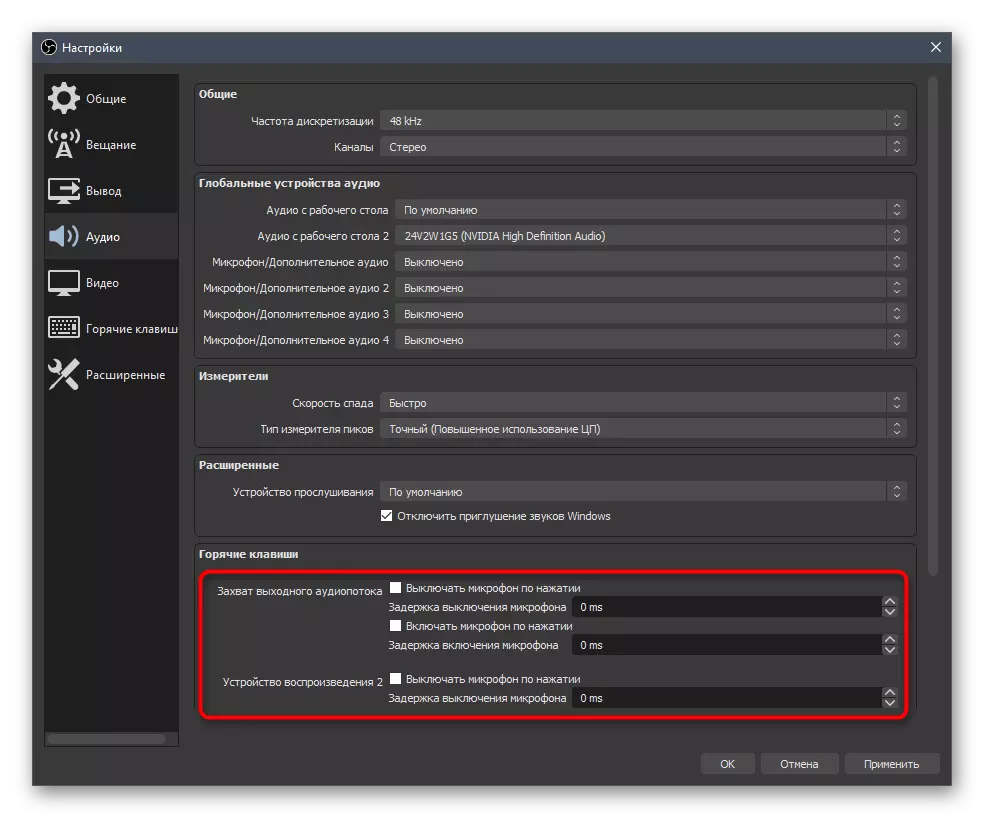
- In the main menu, press "Settings".
- Pay attention to the general parameters in the "Audio" section. This includes the sampling frequency and the channels used. Each of these items is edited at its own discretion.
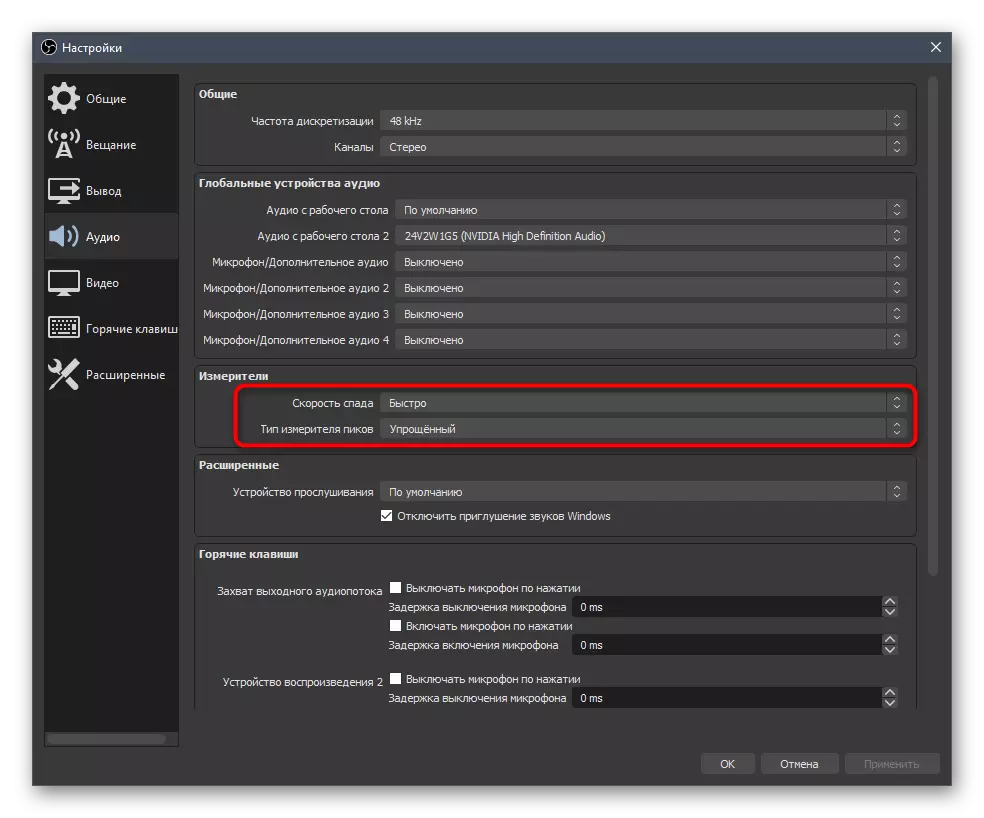
- Below are visual functions to change the meter indicators by selecting the speed of the decline and the type of appearance of the peaks.
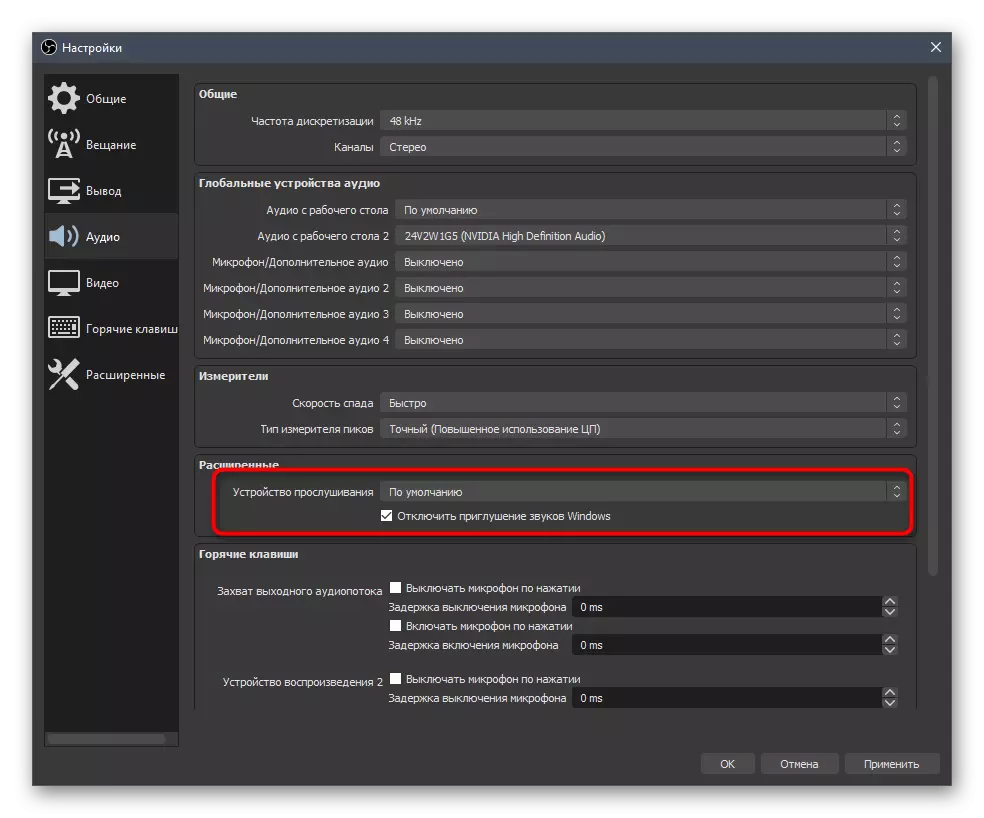
- Under this block is "extended", where you choose the listening device when monitoring sound and decide whether to disable the mute windows.
- Hot keys for the most part belong only to the microphone, allowing you to turn it off when pressed.
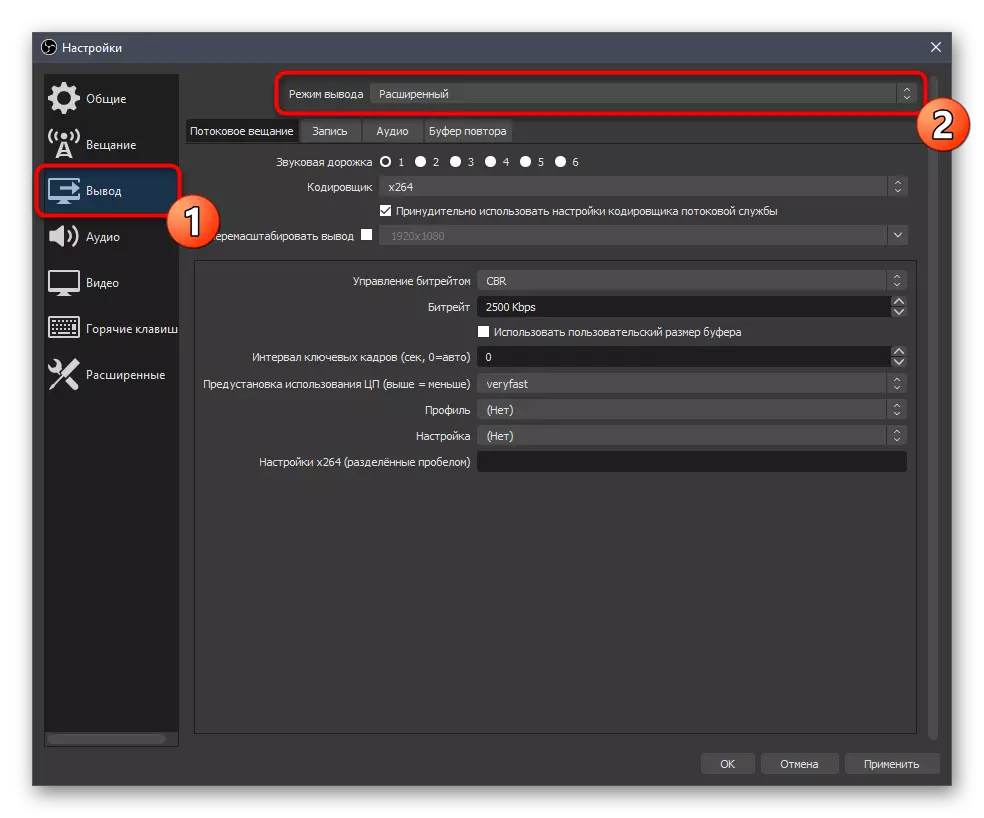
- Next, go to the "Output" section where you immediately switch to "Advanced" mode.
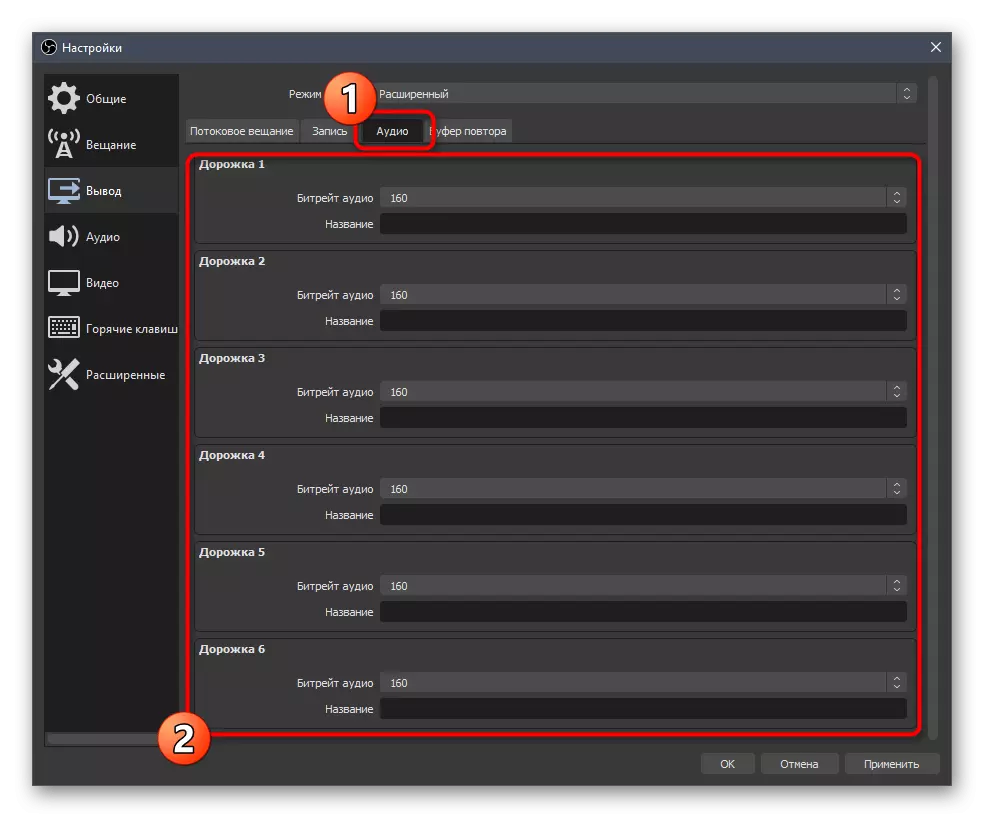
- In it, open the "Audio" tab and decide how many tracks and in which bitrate you are going to record. Each of them can be assigned their name to not get confused.
- Move to the "Record" tab and tick the tracks that should be active.