Method 1: Figure
The most simple and at the same time as sufficient for most users a Word method of creating figures is the use of the tool of the same name included in the "illustration" group.
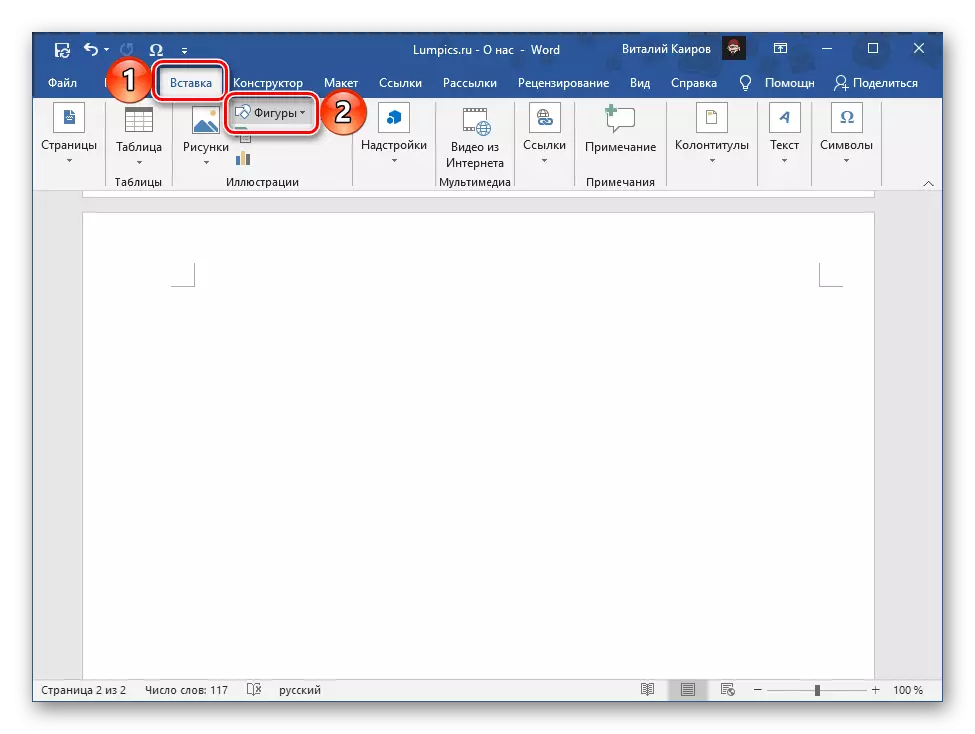
- Go to the "Insert" tab and expand the "Figures" button.
- Select the appropriate object from the list available.

Note: If in the menu shown above, select the last item - "New web", the ability to create an empty area, inside which can then draw several figures at once, and add other objects. The visual example is shown below.
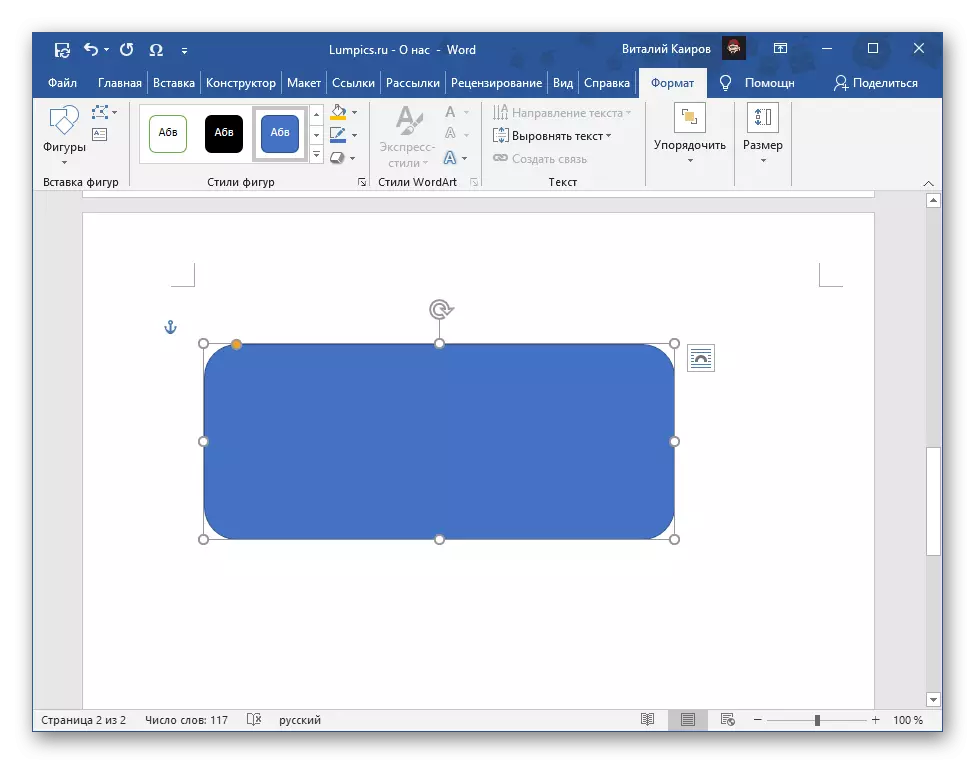
- Draw it by holding the left mouse button (LKM) at the starting point and releasing it at the end.
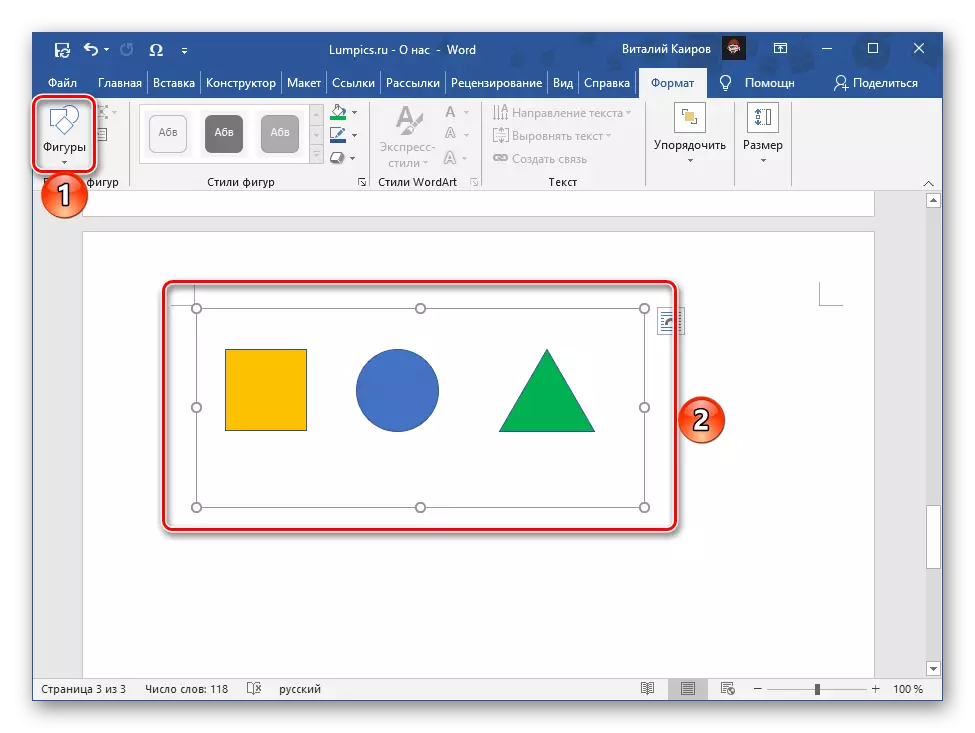
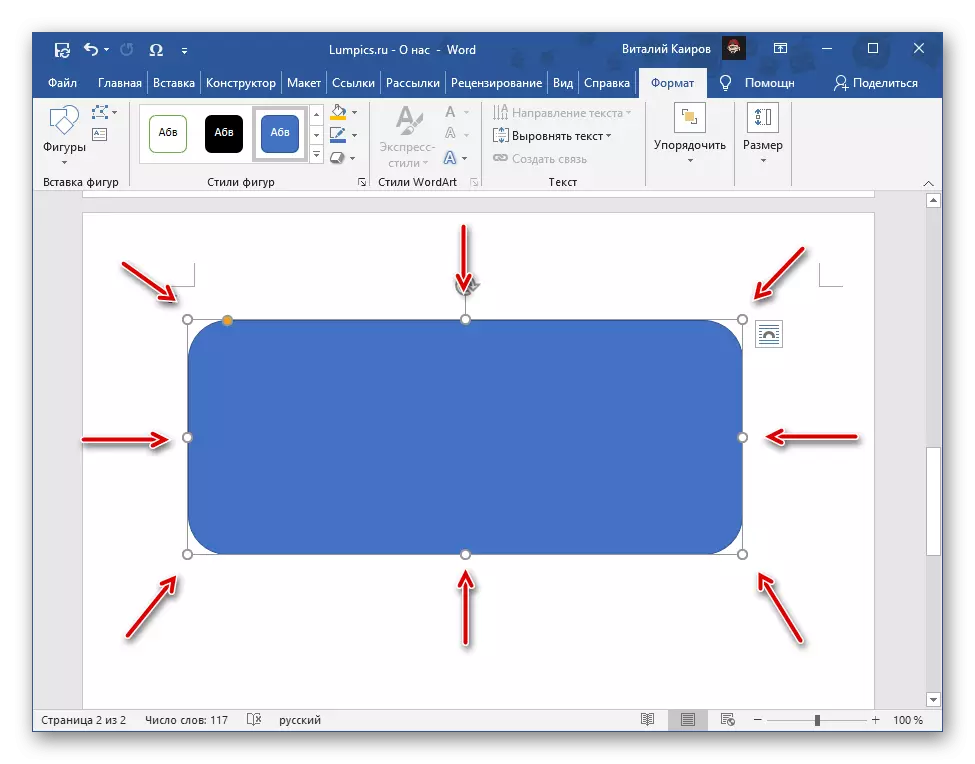
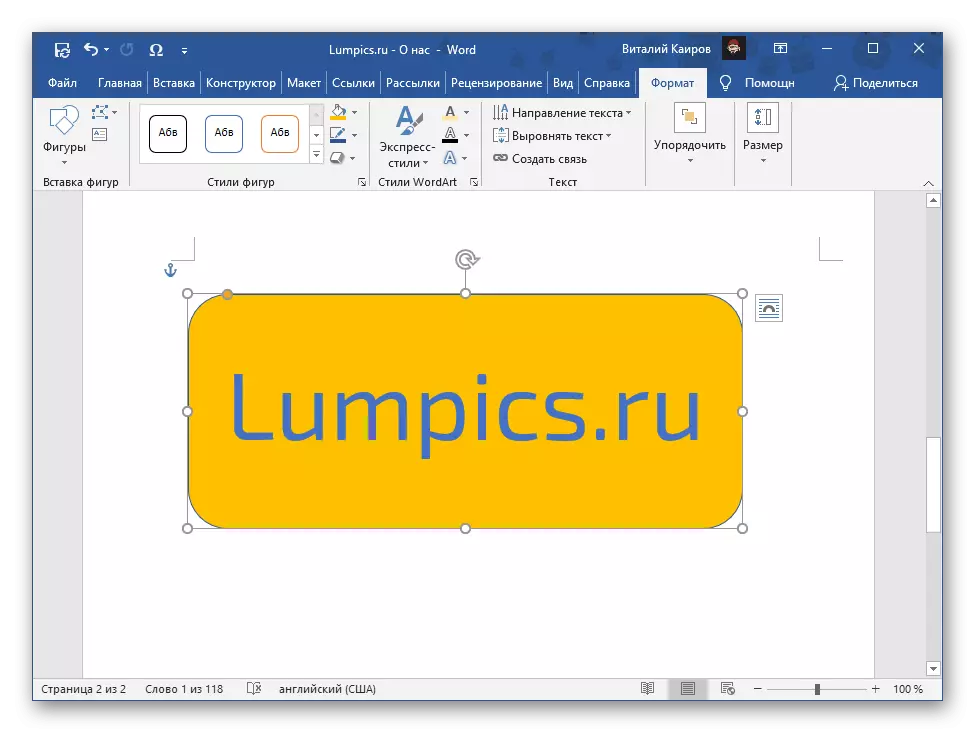
After the figure is added, edit it in accordance with your own wishes, if there is such a need.
Note! You can change the shape only when it is highlighted, and most of the tools for interacting with it are in the "Format" tab.
- Change the location, size and proportion by moving the object itself or on the corners and the boundaries point-markers, respectively.
If the original form of the figure does not comply with your requirements, and the size and proportions also does not allow you to achieve the desired result, in the "Format" tab, expand the "Change Figure" item menu and click there "Start Change Figure".
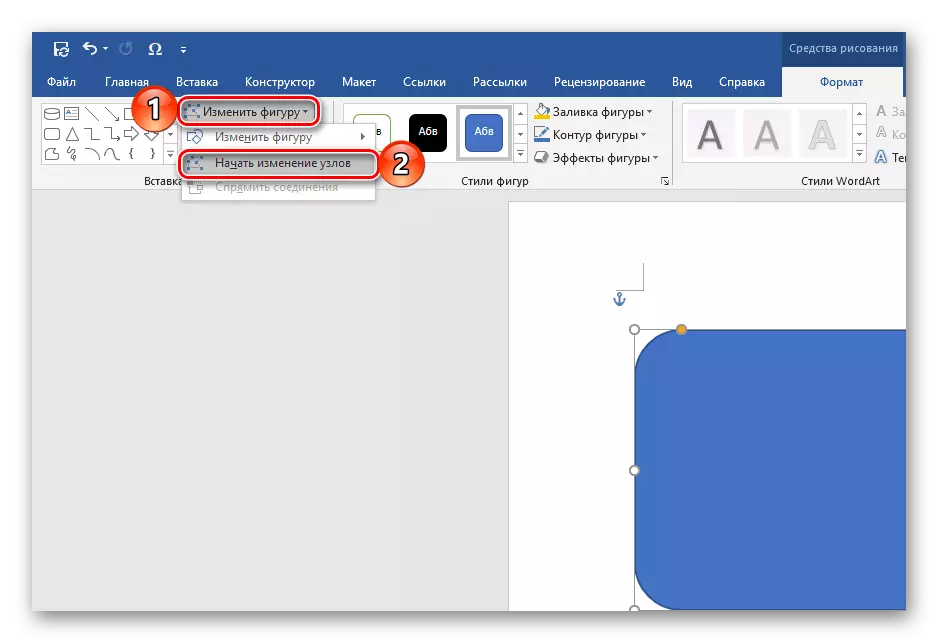
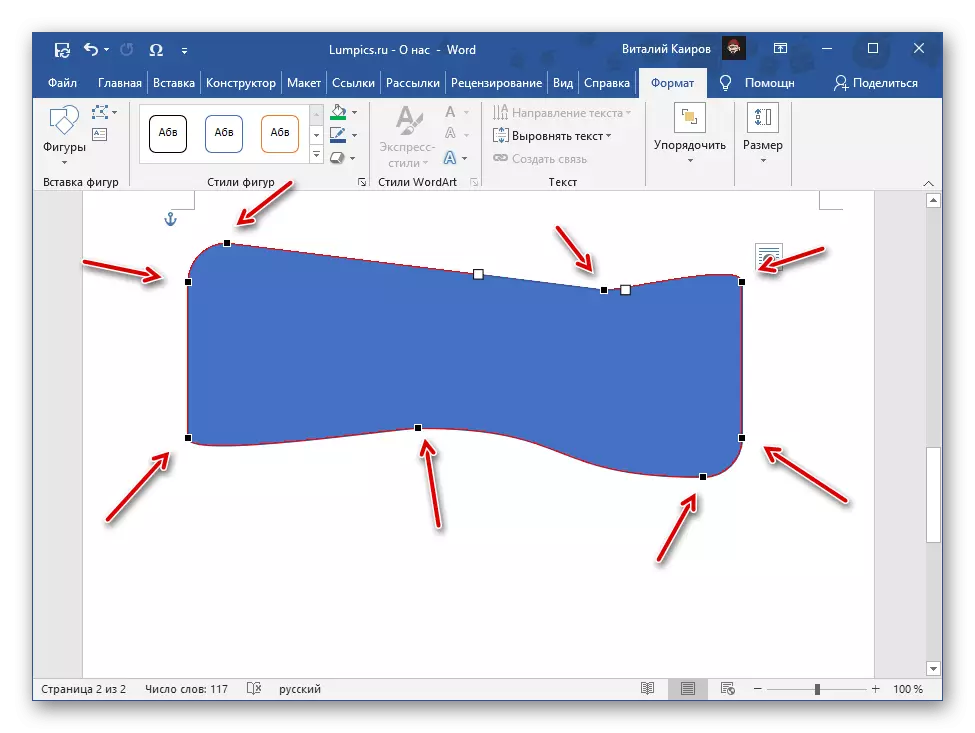
At the boundaries of the object will appear additional points, with the help of which you can more finely correct it.
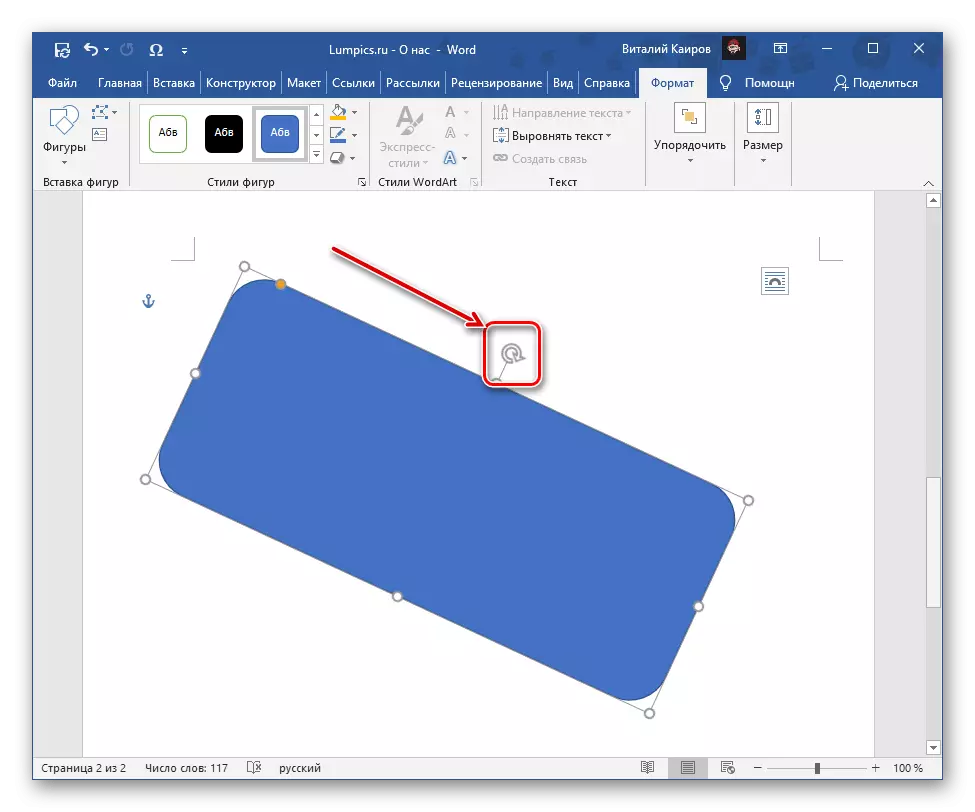
- Run the object using the circular arrow below the center.
- In the toolbar "Styles of Figures" tools, determine the appearance by selecting one of the default color solutions

Or independently performing the fill, painting the contour and applying effects.

See also: How to make fill figures and other objects in Word
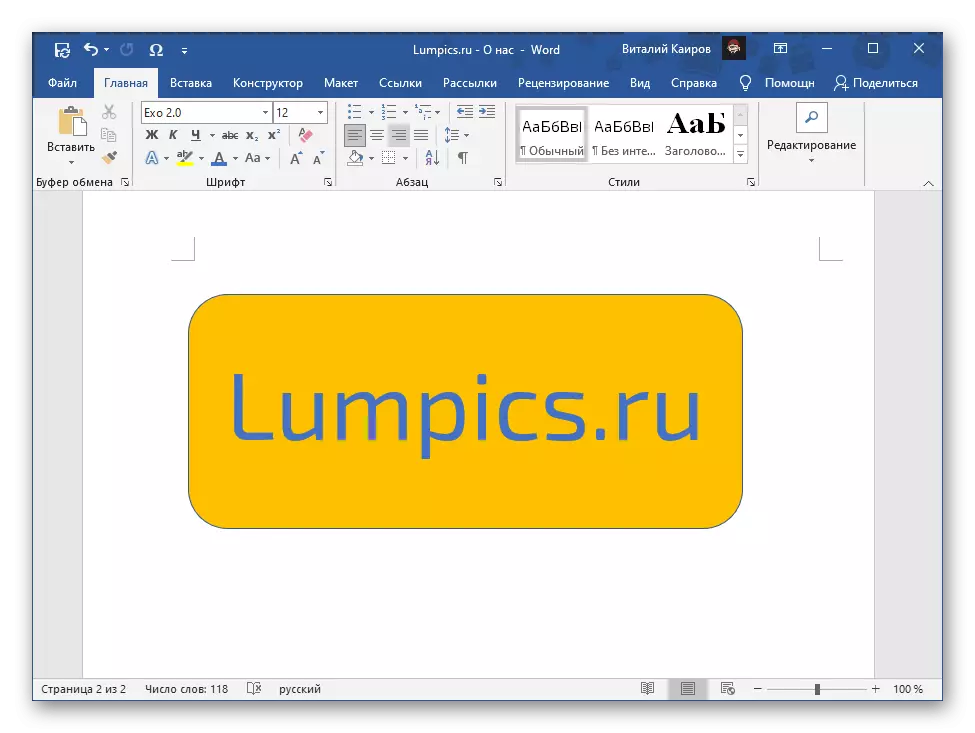
- Optionally add text.
Read more: How to insert the text in the figure in the Word
Having finished with editing the figure, simply click the LKM in the free field of the document. At any stage of interaction with the object, you can replace it on any other if it is necessary.
Read also How to make a transparent figure in Word
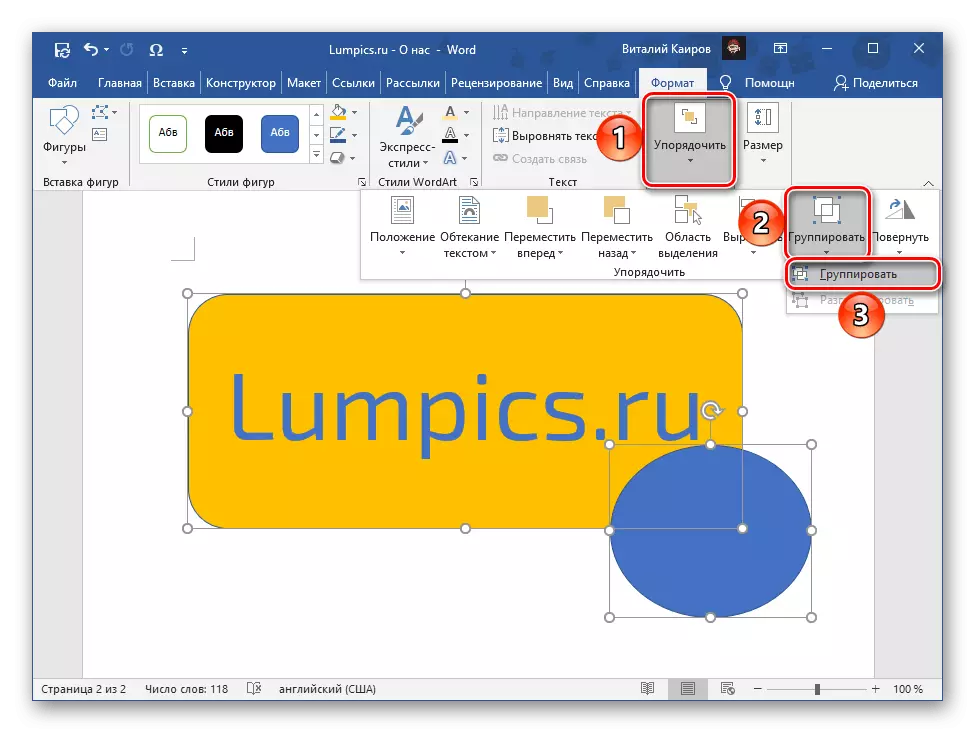
The number of figures created by such a way, as well as their appearance, are not limited to anything. In addition, they can be grouped, creating quite new, not similar to template objects.
Read more: How to group shapes in the Word
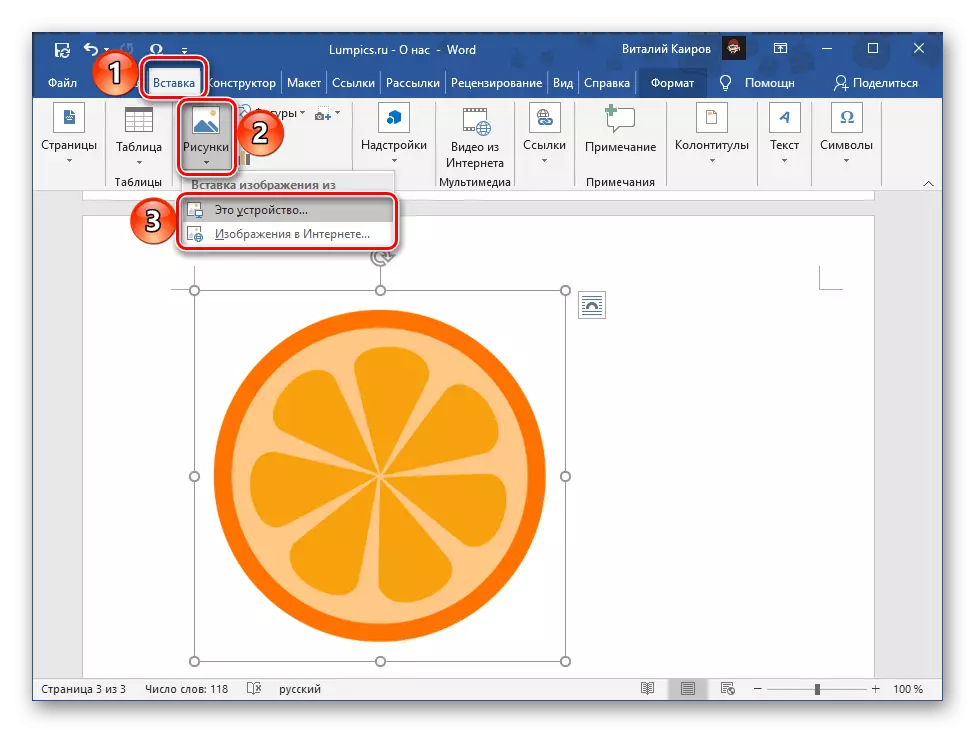
Method 2: Image
If you have a ready image of the figure you want to add to Word, you should use the same inserts as in the previous method, but another tool is "drawing". In addition to the local pictures stored on the PC disk, the Microsoft text editor provides the ability to quickly search them on the Internet. This procedure, as well as in most cases, editing the graphic element is previously seen in individual articles, references to which are given below.
Read more:
How to insert a drawing in Word
How to change the drawing in Word
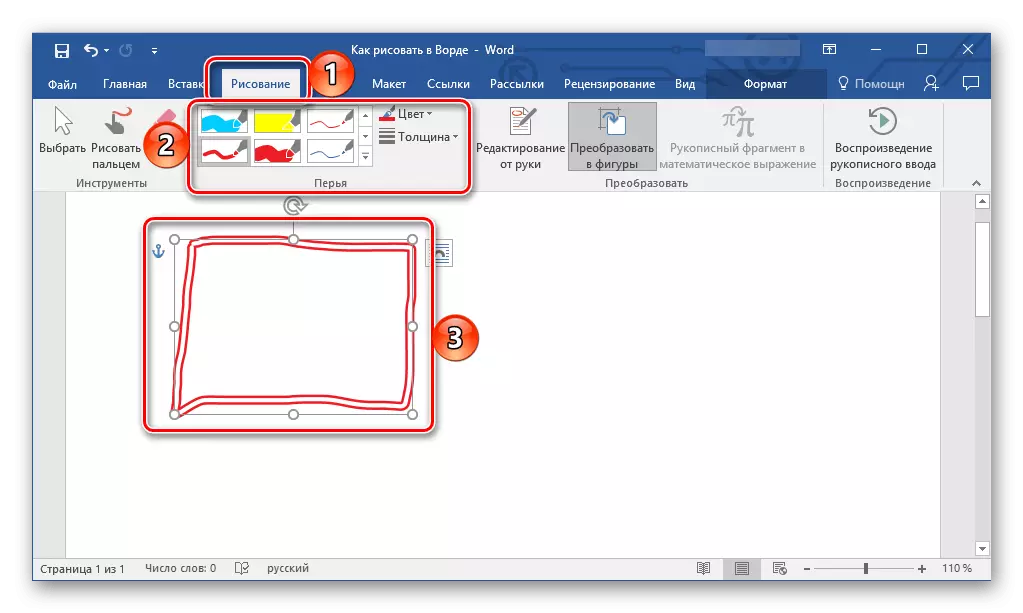
Method 3: Independent Drawing
In addition to adding template figures and finished images, the Word also contains a rather impressive set of drawing tools. Of course, it is far from a full-featured graphic editor, but it will be enough to solve the basic tasks. Using these tools, you can create your own figure both along the lines and completely manually (pen), worrying it to the smallest details. More information about how to activate this program's ability and use it, you can learn from the following instructions below.
Read more:
How to draw in Word
How to draw a line in Word
How to draw an arrow in Word
How to draw a circle in word