
Checking font to Microsoft quality standard
Before reading the following methods, make sure that you have downloaded a font from a reliable source and there are no negative comments on the site when installing it. This must be done in order to make sure the file as this file. Additionally, check whether the font is reliable, will help the Font Validator program, which we will look at.
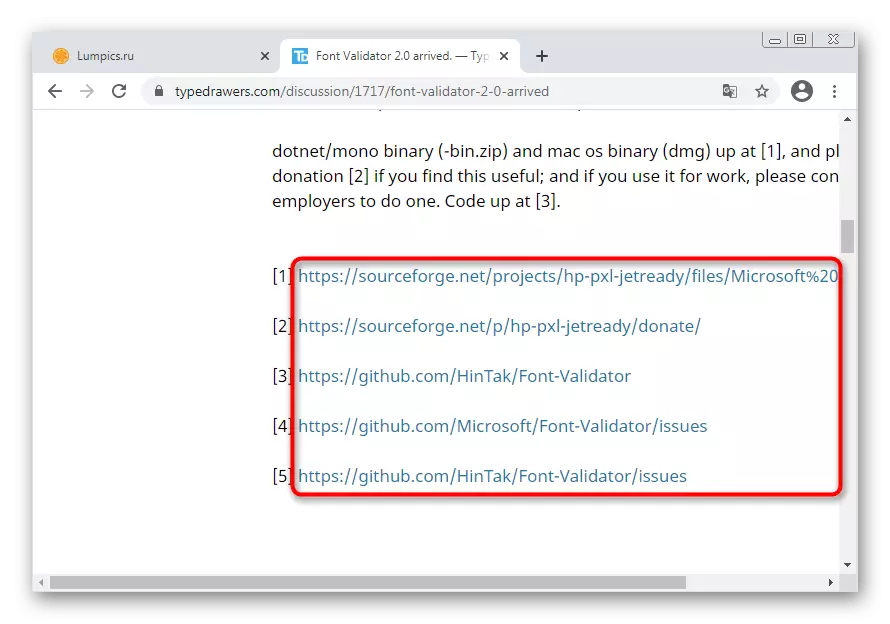
Go to download Font Validator from the official site
- Click on the link above to go to the official website of the program and select one of the appropriate download sources.
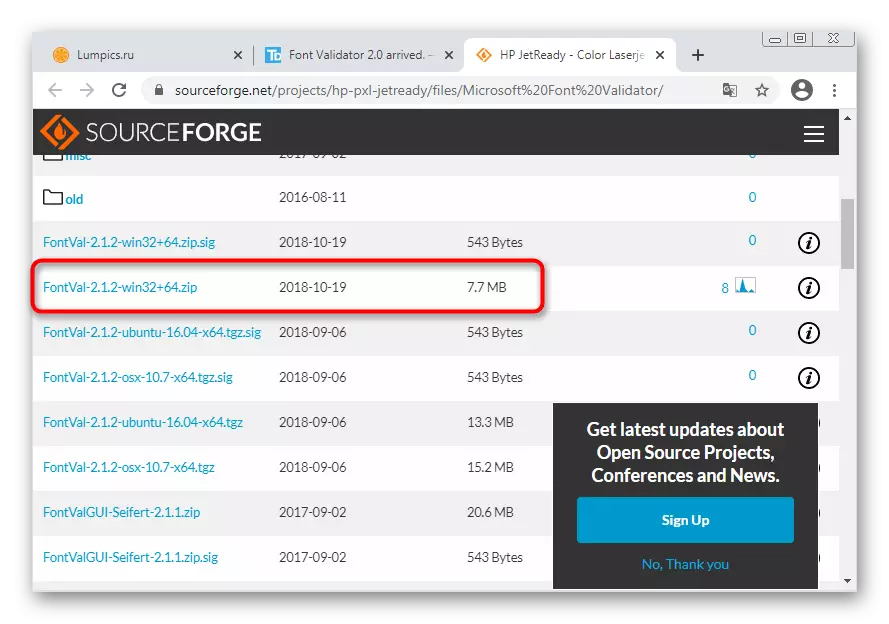
- When downloading from SourceForge, consider that you need a version for Windows in the zip-archive format.
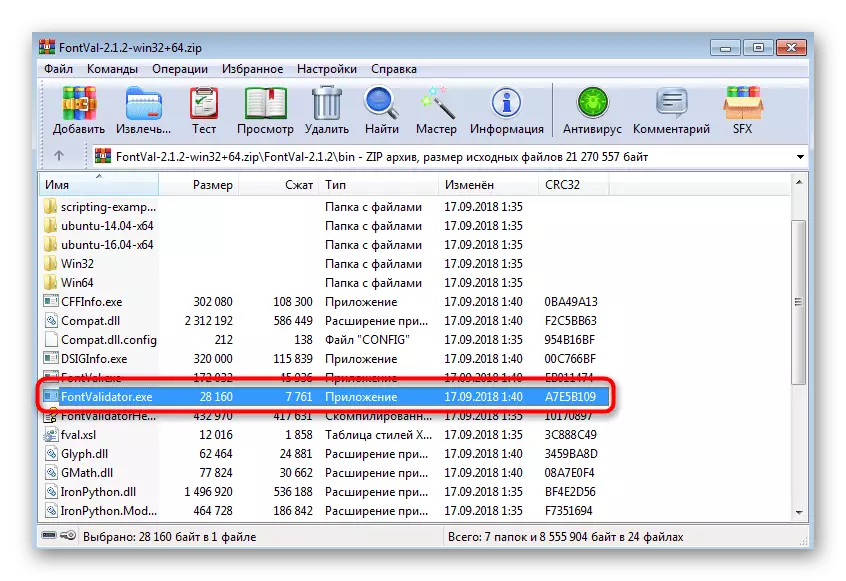
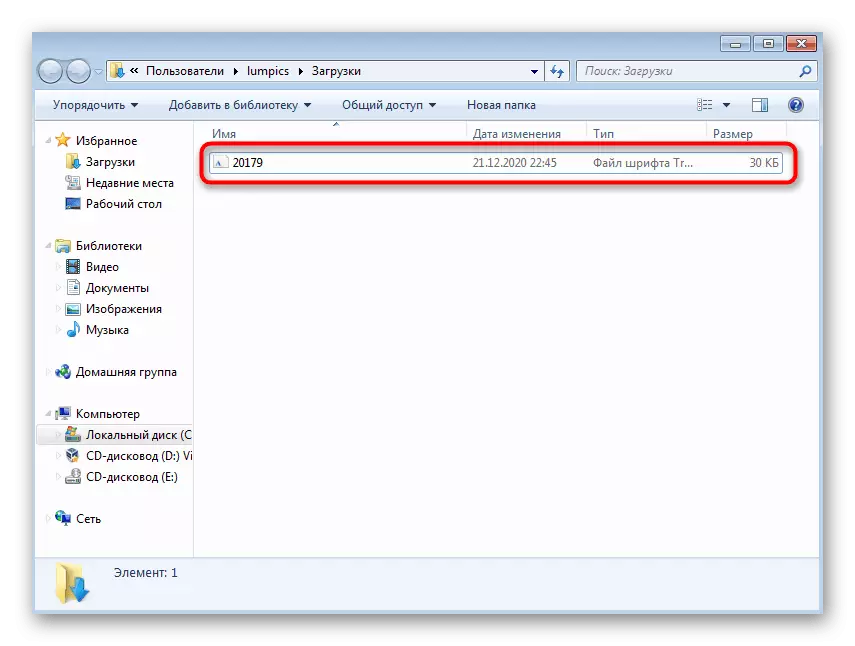
- After saving the archive with the files, find the executable file of the software and run it by double clicking the left mouse button.
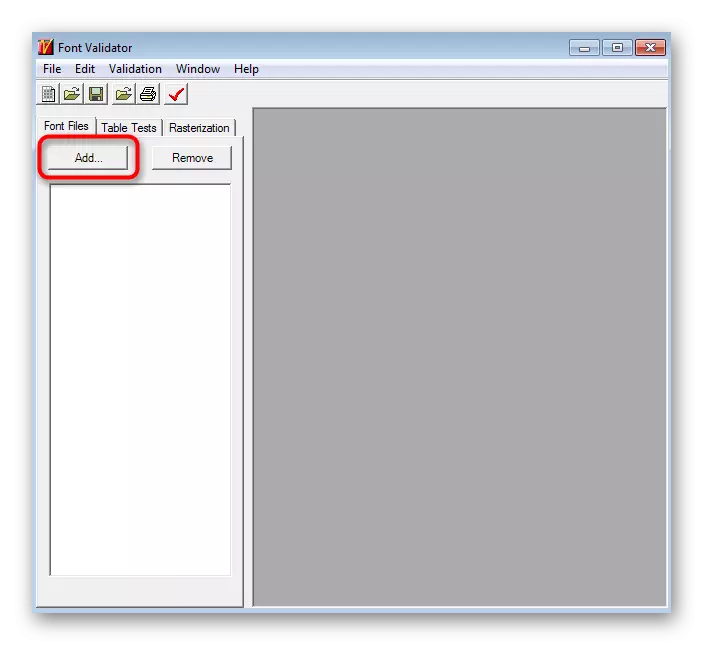
- To check, you will need to add a file by clicking on "add".
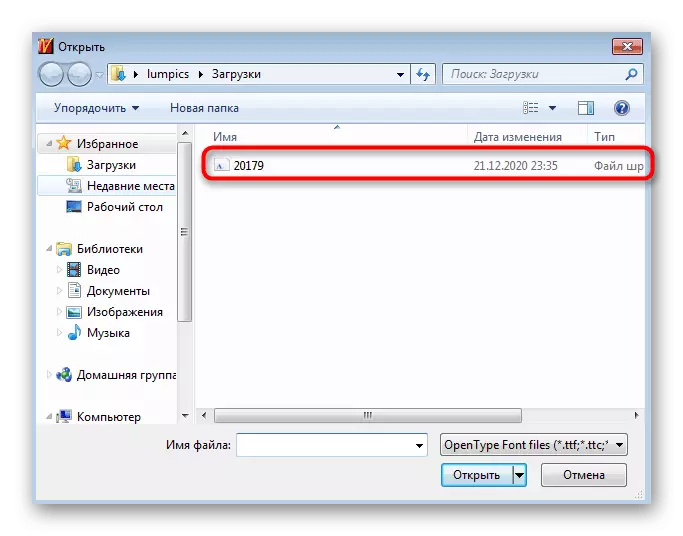
- In the "Explorer" window, find the file, with the installation of which arise problems, and open it in font validator.
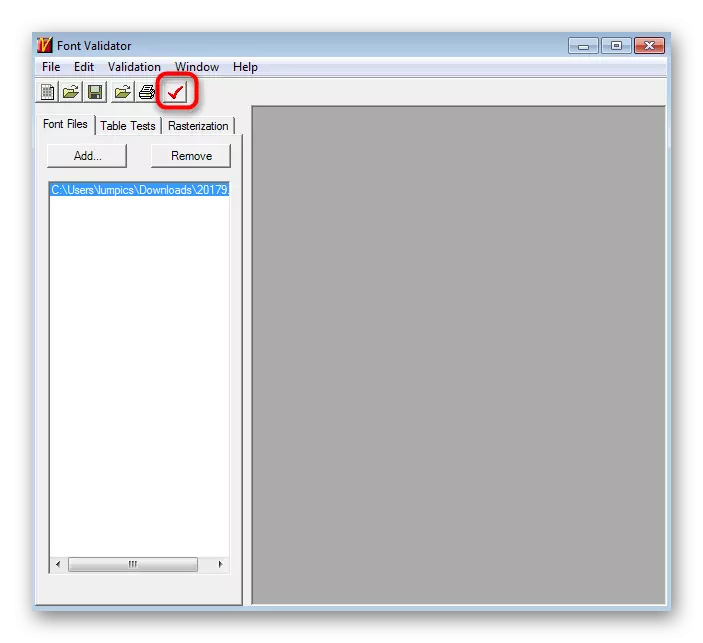
- Press the button as a red tick to start checking.
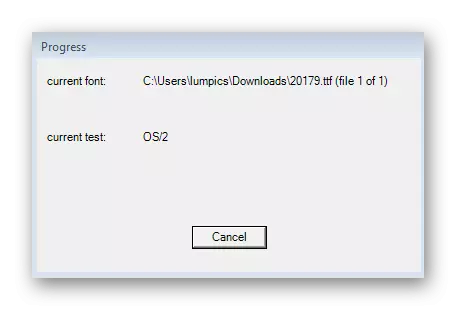
- It consists of several stages, so it will take a certain time. Upon completion, information appears on whether the font corresponds to the requirements.
If it turned out that the file itself has errors or other inconsistencies are detected, try to download it from an alternative web resource or find a similar style. In the absence of any problems with the fiction of the font, alternate the following methods to eliminate the error "is not the right font".
Method 1: Providing administrator rights to the current user
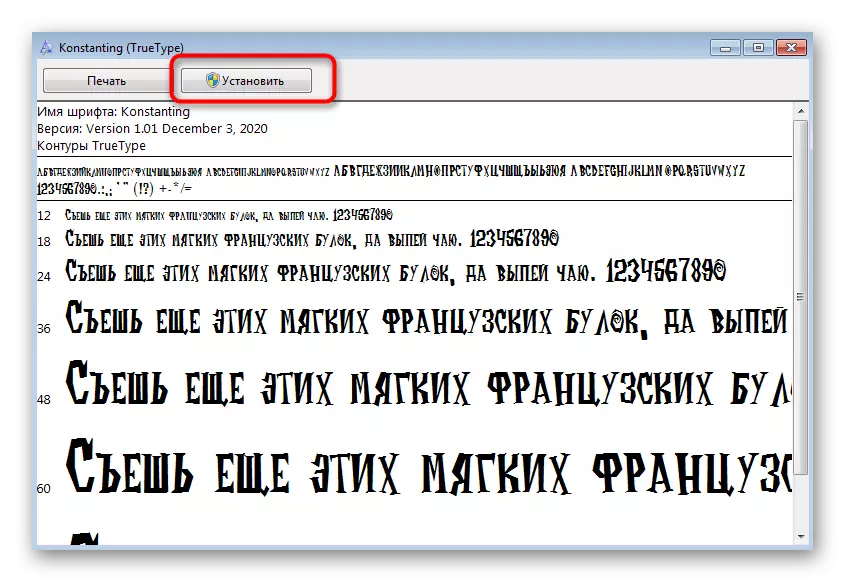
If you enter the window to install the fonts, you will see the shield icon inside the button indicating that this operation is made on behalf of the administrator. Accordingly, the current user must have privileges to perform similar actions. If they are missing, it is quite possible to appear the error under consideration. Make sure the user has the right rights, and if necessary, provide him as it is shown in the following link.
Read more: How to get admin rights in Windows 7
Method 2: File Unlock
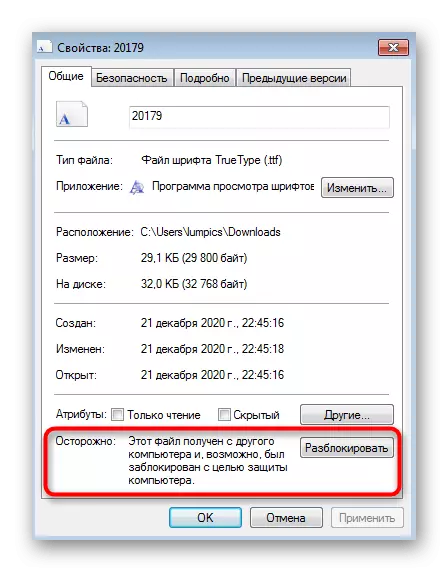
Almost always a file with a font for installation downloads from an open source on the Internet, and Windows recognizes it as unreliable. It usually does not cause problems when installing, but exceptions arise. To check the lock and its removal, you will need to perform a couple of steps.
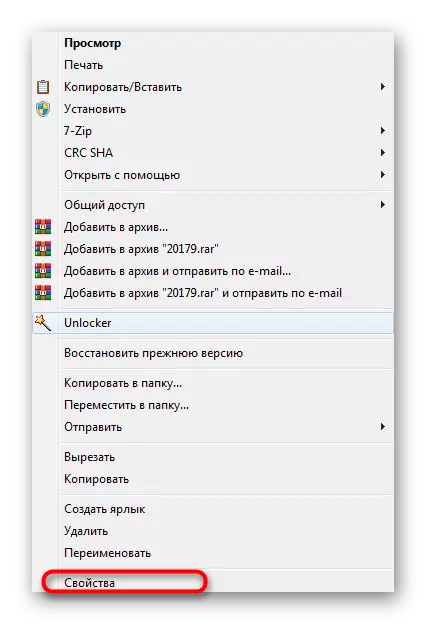
- Find the file and make it right with the right mouse button.
- Through the context menu that appears to go to "Properties".
- To the right of the inscription "Caution" there is a "Unlock" button, which press.
Then come back to the directory with the font and try installing it again. If the inscription "carefully" is missing, simply go to the next method.
Method 3: Disable Account Control
This is another way tied to user privileges and administration of the operating system. By default, the administrator receives notifications about all changes, and some of them may even be blocked if the highest security parameter is set for the account control component. It changes it manually by editing only one setting.
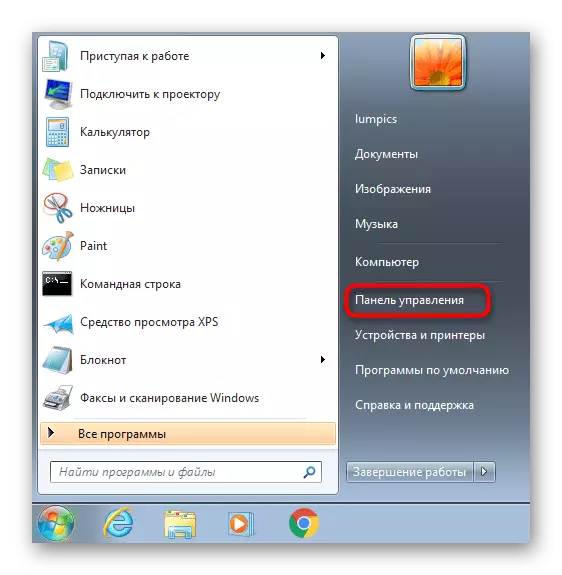
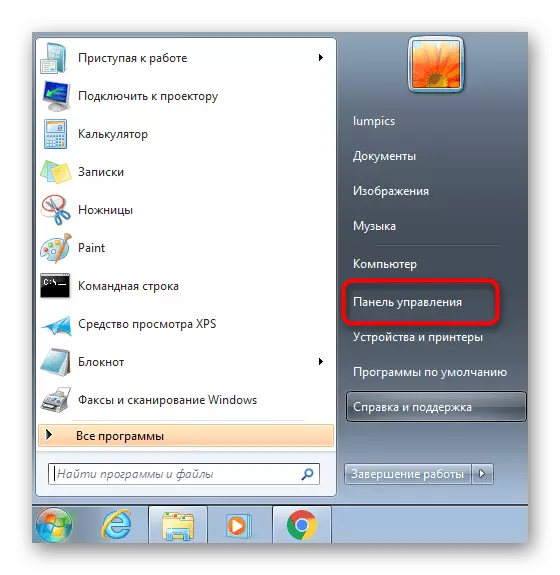
- Open the Start menu and go to the control panel.
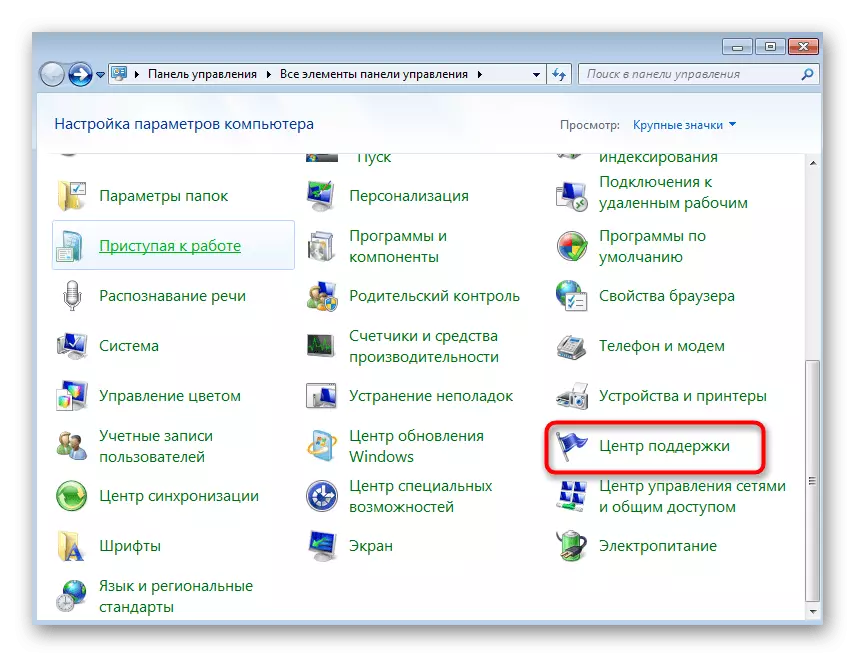
- Call the "Support Center".
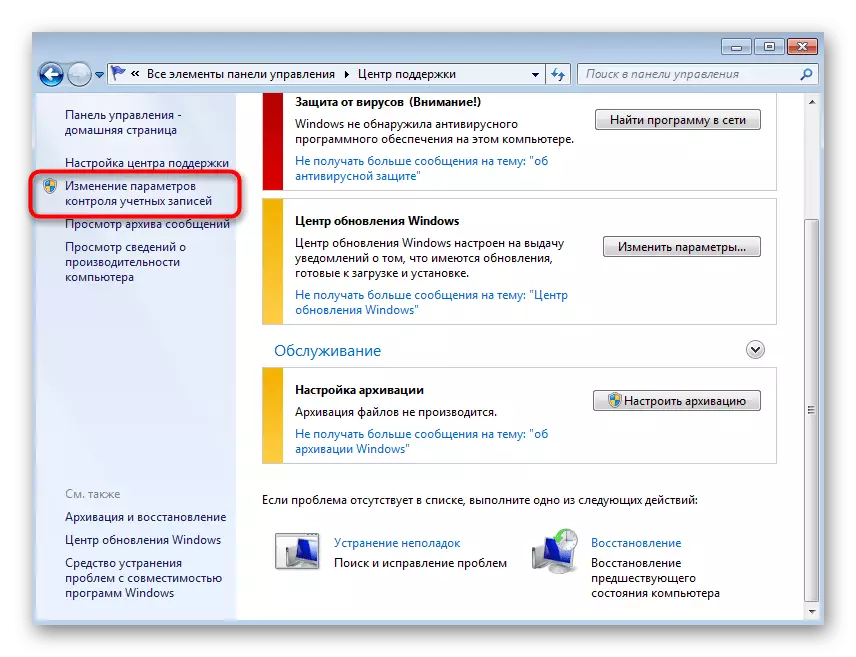
- Through the panel on the left, go to "Changing Account Control Settings".
- Move the slider to the bottom so that it is in the "never notify" state.
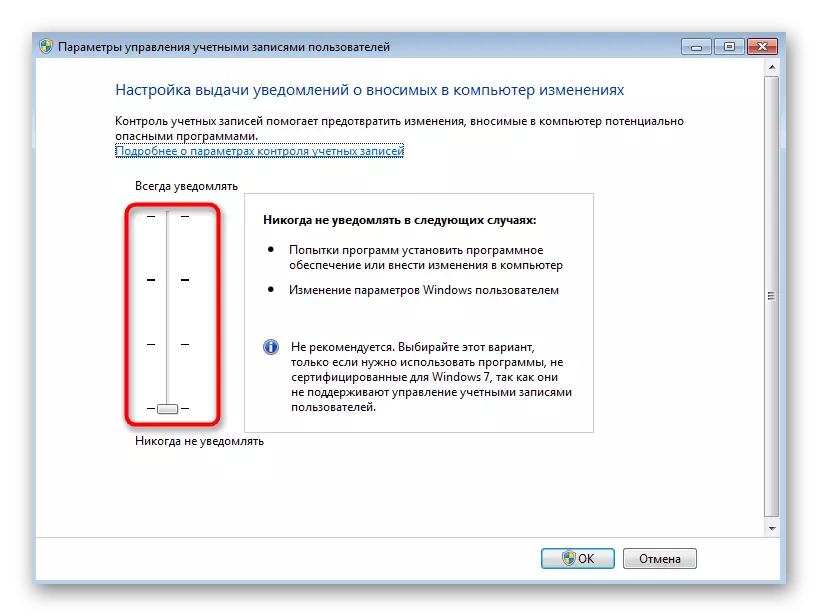
Accordingly, the administrator rights are needed to activate this setting, the receipt of which we have already spoken in the method 1.
Method 4: Rename Font
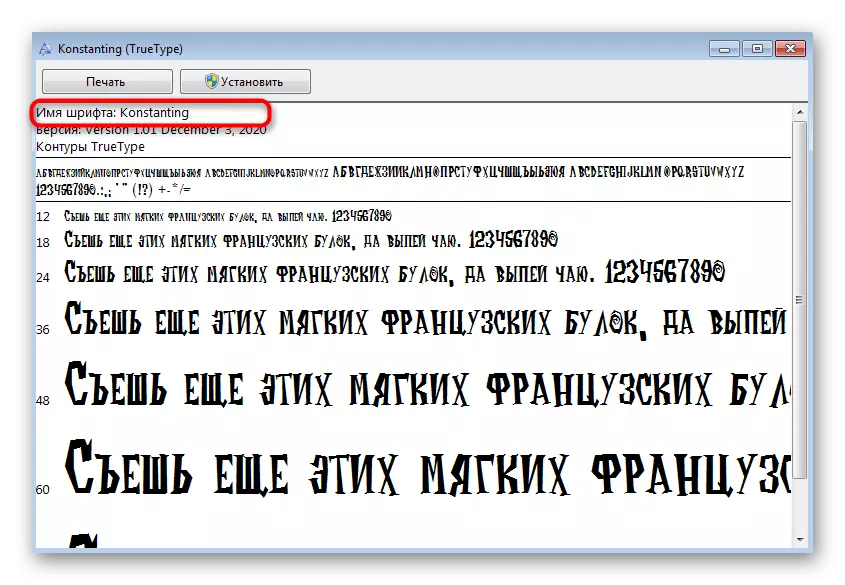
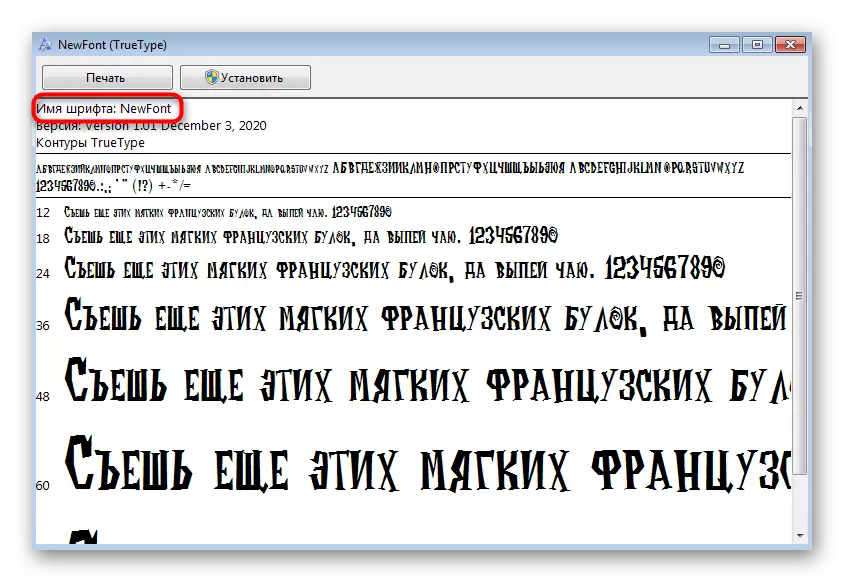
Rename the font is required only if the initial name is more than 32 characters or specific signs that may cause the error appearance "is not the right font" during installation. You need to check the name and need to change it: click on the file twice by opening it to preview and pay attention to the "font name" line. If it seems that the name is too long or has non-standard latice characters, rename it for further instructions.
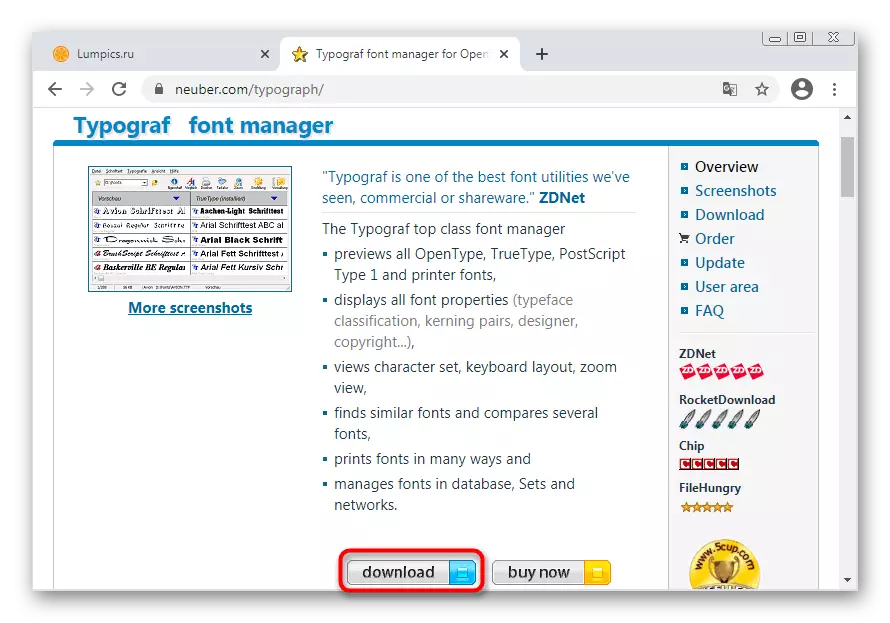
Go to download Typograf from the official website
- By reference above, download the TYPOGRAF program, which is designed to control fonts in Windows.
- Run the received executable file and follow the installer's recommendations.
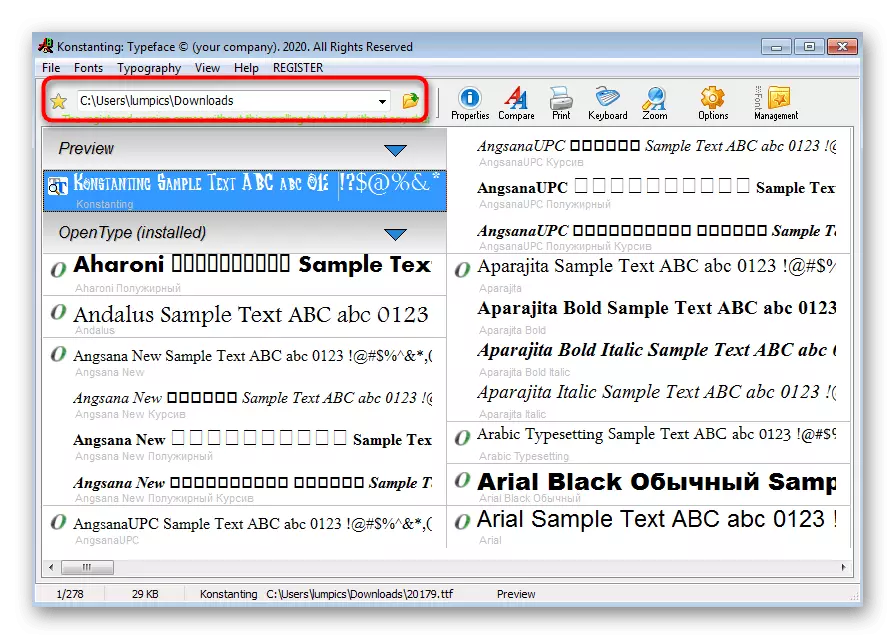
- After starting the application, proceed to add a problem file through the "Explorer".
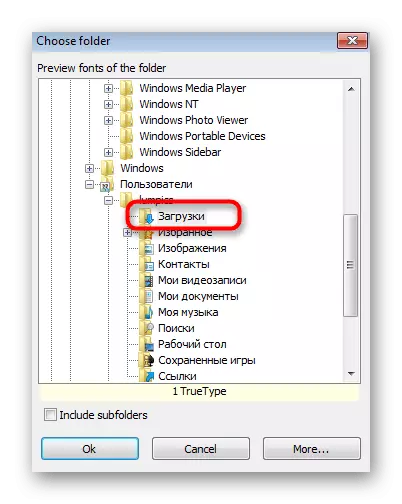
- In the "Choose Folder" window, select the directory where the font itself is located.
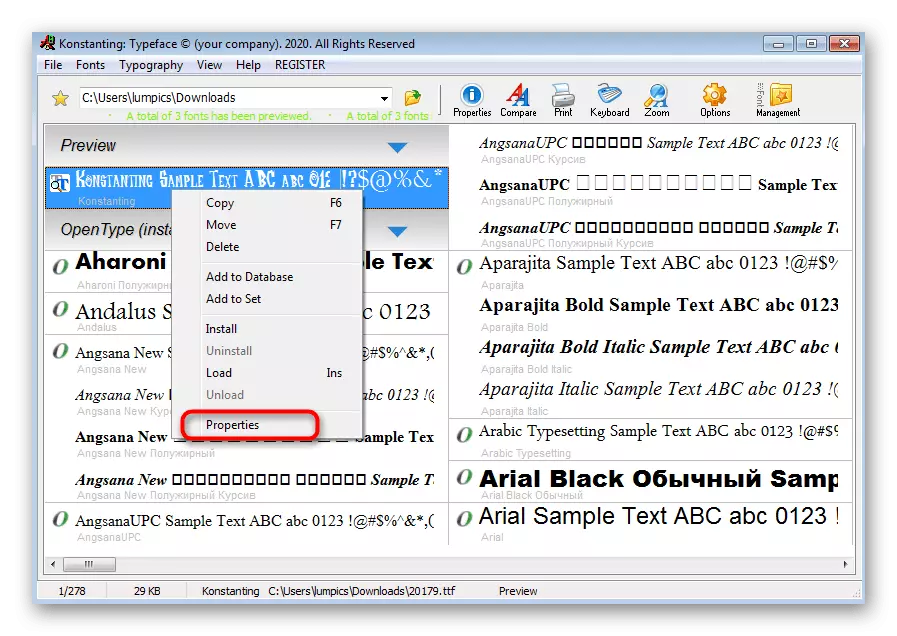
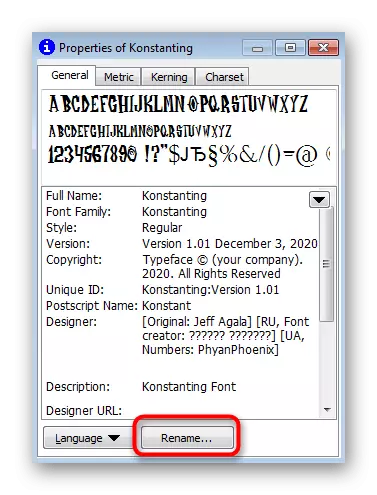
- Now it will be displayed in the main menu. Right-click on it and find "Properties" in the list.
- Click "Rename" to rename.
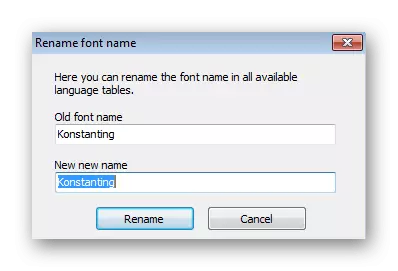
- Set a simpler name for a font consisting of Latin characters, and save the changes.
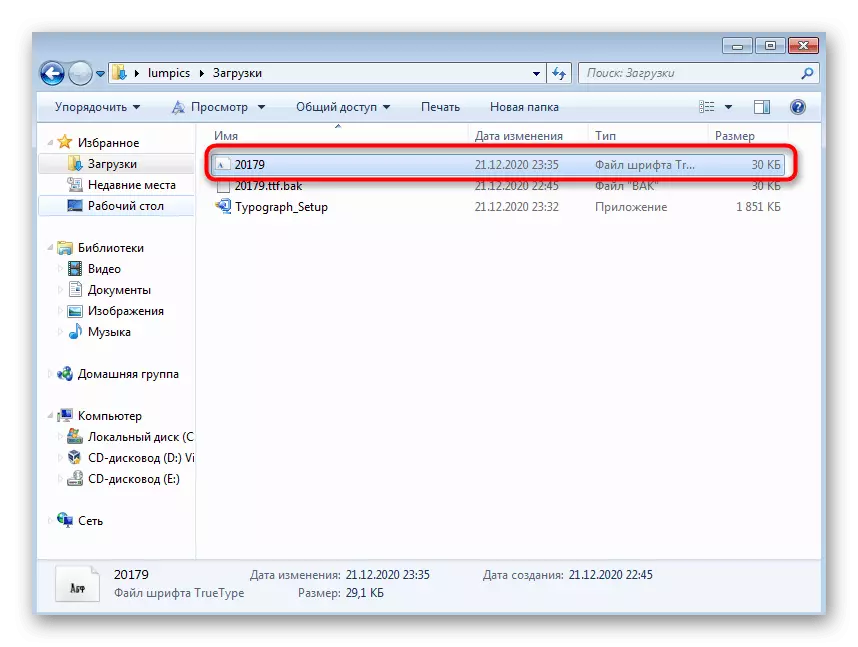
- Replace the file while saving or select another name for it.
- Open it for viewing in the same way as always.
- Make sure the name is changed and start the installation.


File names and font names displayed in the preview window do not always coincide, so you cannot change the font name, simply renaming its file through the context menu of the "Explorer". This uses special programs like TYPOGRAF, which you learned above.
Method 5: Disable Windows Firewall
Sometimes some laptop manufacturers in the basic configuration of the operating system embed the firewall parameter, which does not allow you to change the internal settings, which come from including fonts. It also applies to corporate computers. If the firewall is disabled, this restriction must also be removed, but it should be borne in mind that appropriate user privileges are needed to deactivate the firewall.
Read more: Disable firewall in Windows 7
Method 6: Choosing an alternative font installation method
This method, though light, but does not always turn out to be worked, because it assumes only a little change the font setting algorithm. However, sometimes it allows you to get rid of the appearance of an error, and the installation is successful.
- Open "Start" and go to "Control Panel".
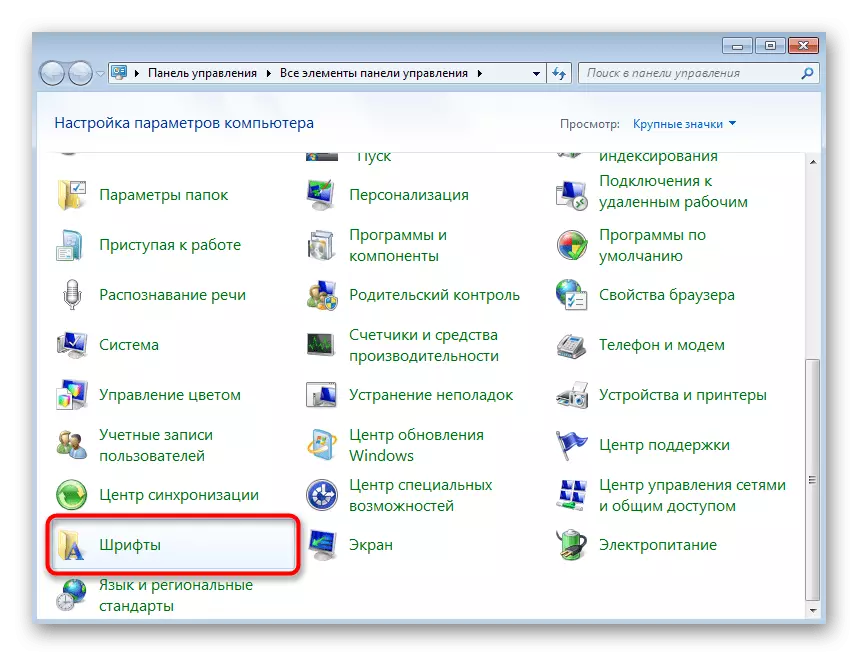
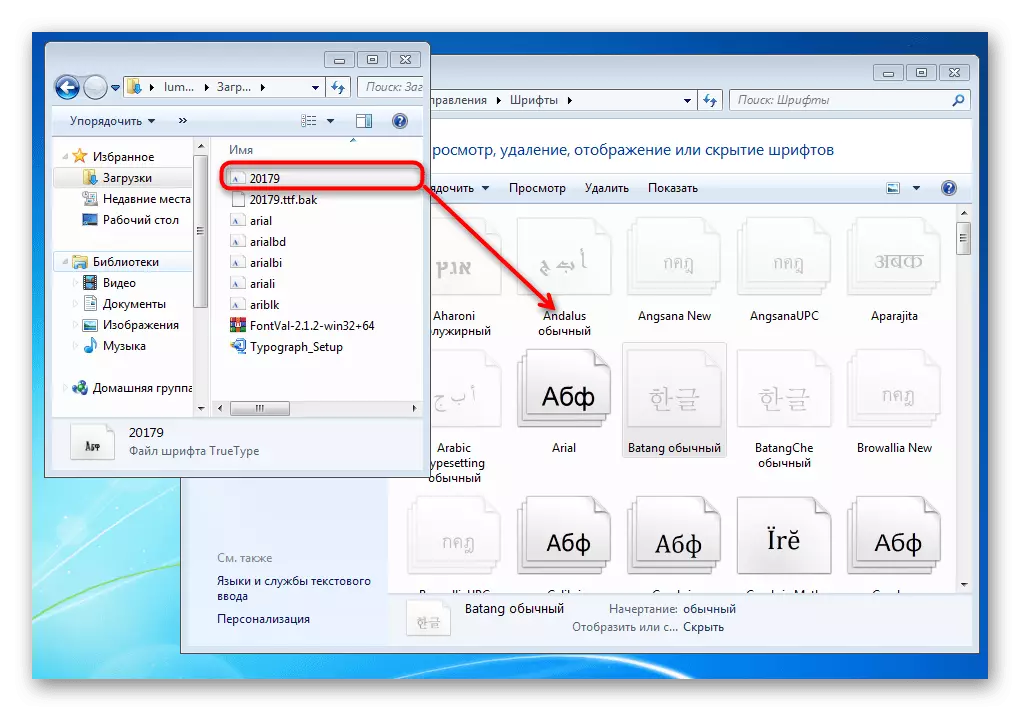
- There find the "Fonts" parameter.
- In parallel, open the folder with the font file, and then drag it to the rest, confirming the installation.
Method 7: Scanning the integrity of system files
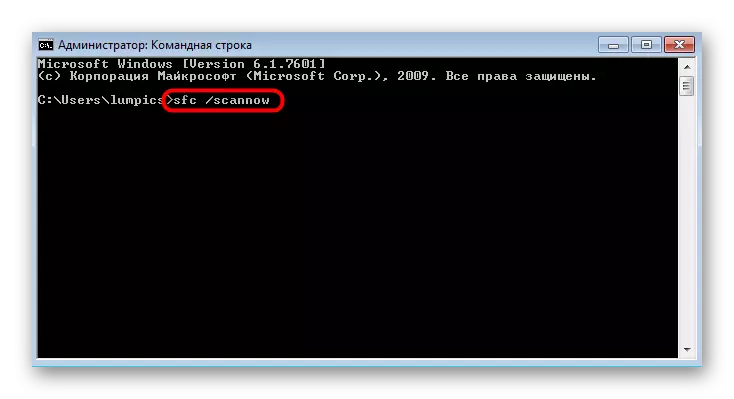
The final recommendation implies checking the integrity of system files using the utilities built into the OS. This allows you to identify general violations in Windows, which may affect fonts. Run the scan and check if the utilities will be detected any problems.
Read more: Check the integrity of system files in Windows 7
If nothing of this helped, most likely the problem is incorrectly selected font. Try to find it in another format or install another font. Owners of some laptops, in particular Microsoft Surface, will not be able to add third-party fonts due to restrictions installed by developers. If you are the owner of a similar laptop, which has already been installed Windows after purchased, contact directly to the manufacturer and specify this question.