

Option 1: PC program
Priority Options for managing your own servers in Discord - use of software for computers software. This allows without any difficulty to quickly find all the necessary tools to configure channels and management of participants. Consider how administrator rights are transmitted when working with a Windows program.Step 1: Create and configure the administrator role
If you are the creator of the server in the discord, you have absolutely all the possibilities, including even deleting a server or transfer it to other hands, what it will be a little later. Now we will understand only with the issuance of the powers of the administrator, which is carried out by creating a special role with almost unlimited access.
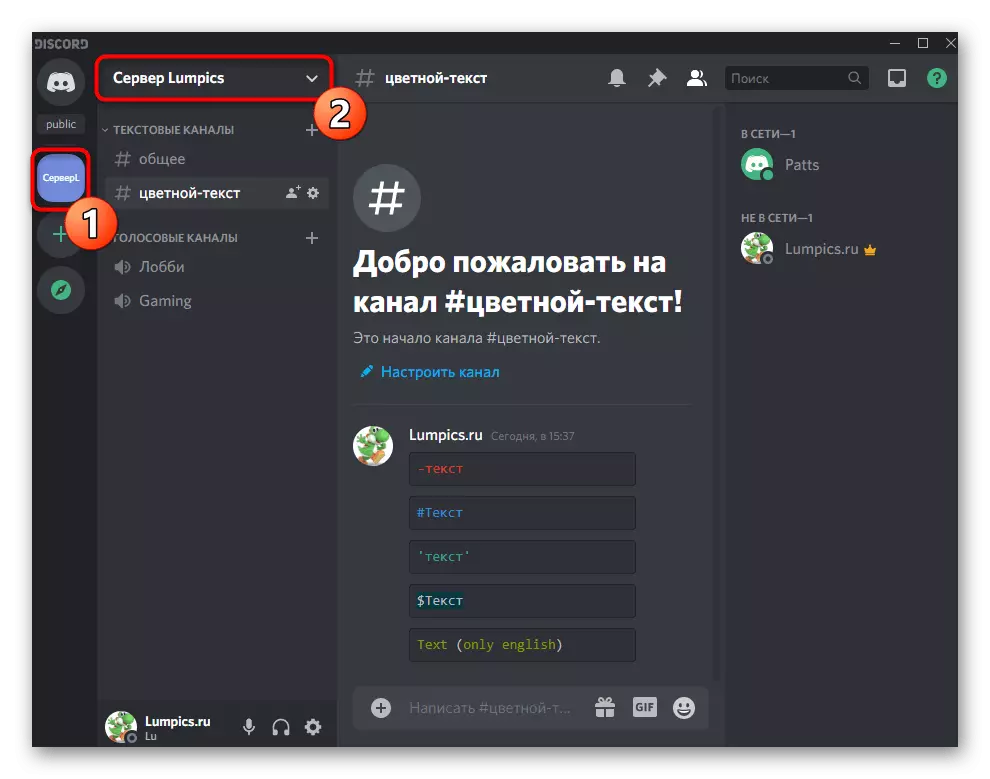
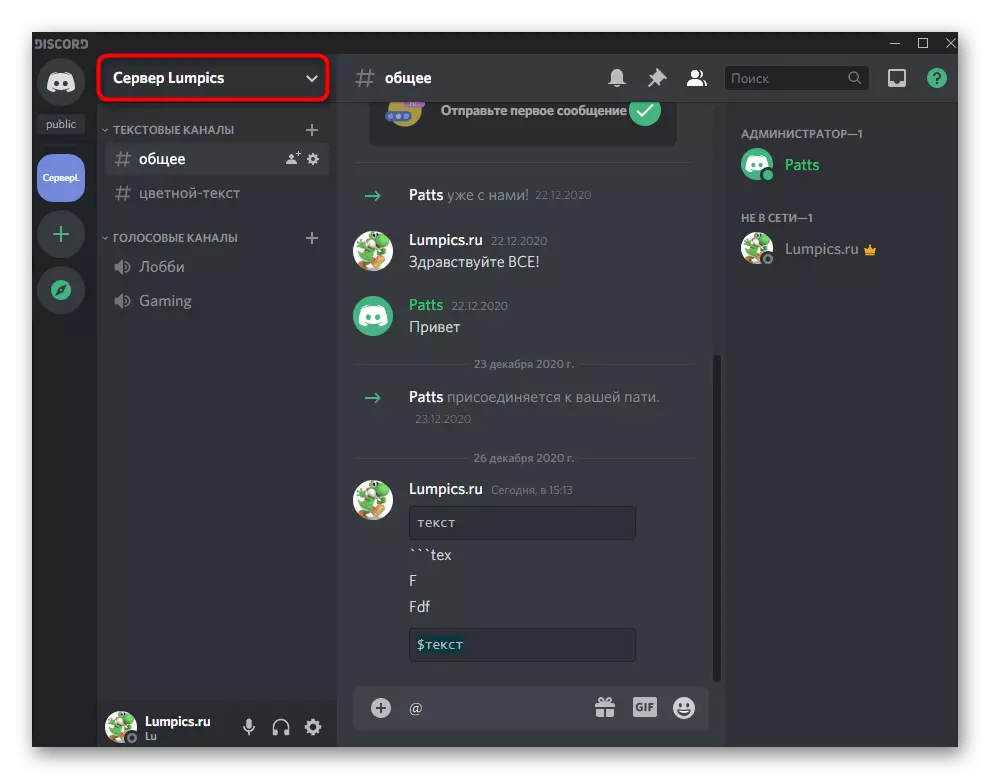
- Through the panel on the left, go to your own server and click on its name to the control menu opens.
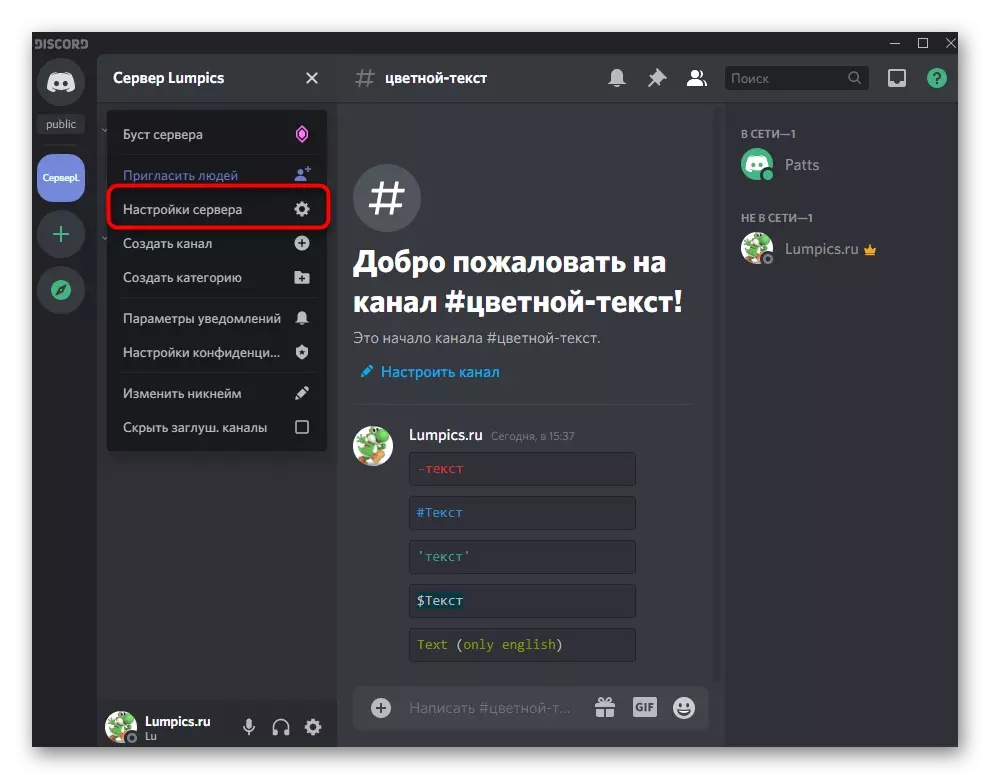
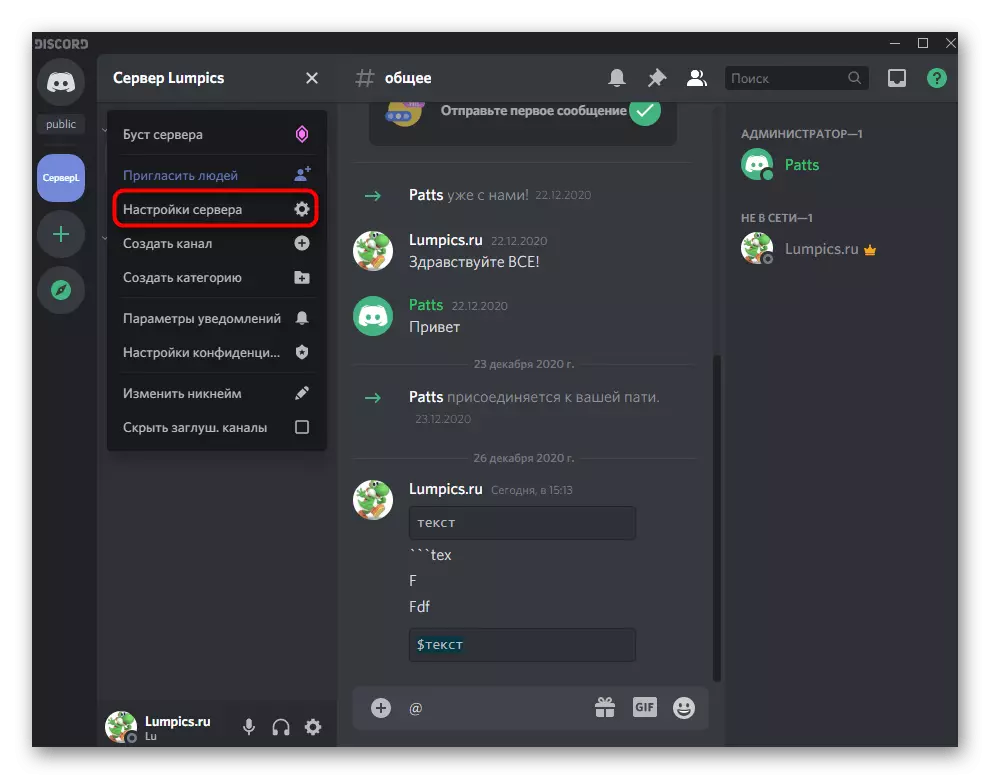
- Here you will need to find the "Server Settings" item.
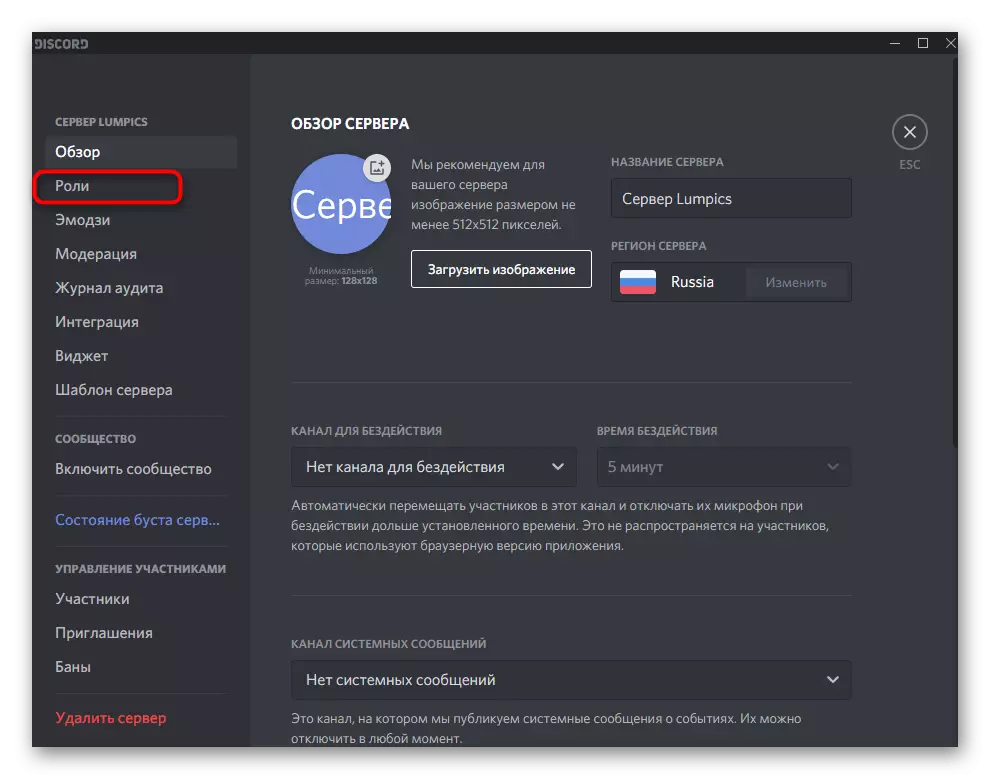
- After opening a new window with parameters, select "Roles".
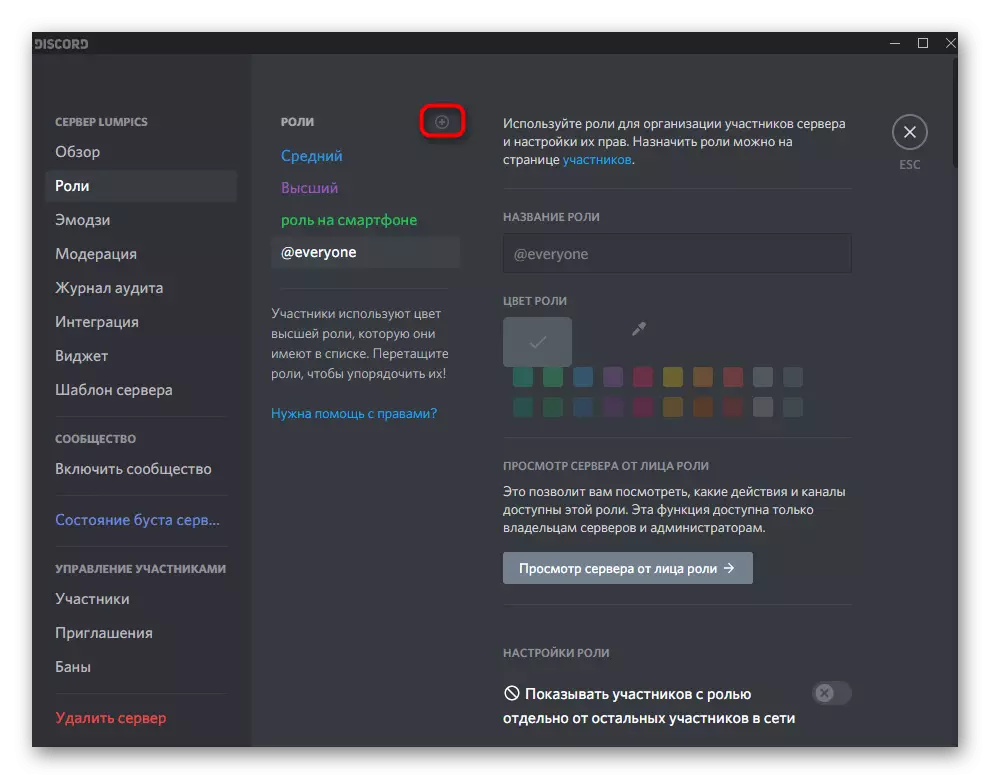
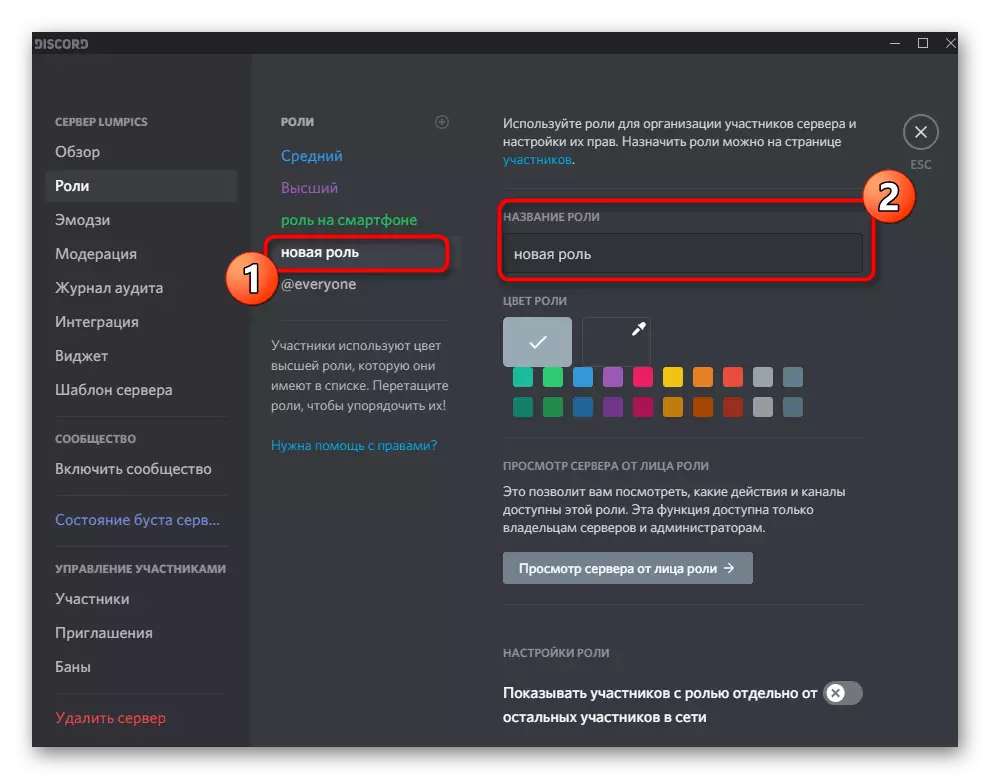
- Click on the icon in the form of a plus opposite the "role" to start creating a new one. If the role is ready, immediately go to the configuration by selecting it from the list.
- Specify the name for it if required. Most often, administrators interact with conventional participants and it would be nice to designate them with the corresponding name and color of Nick.
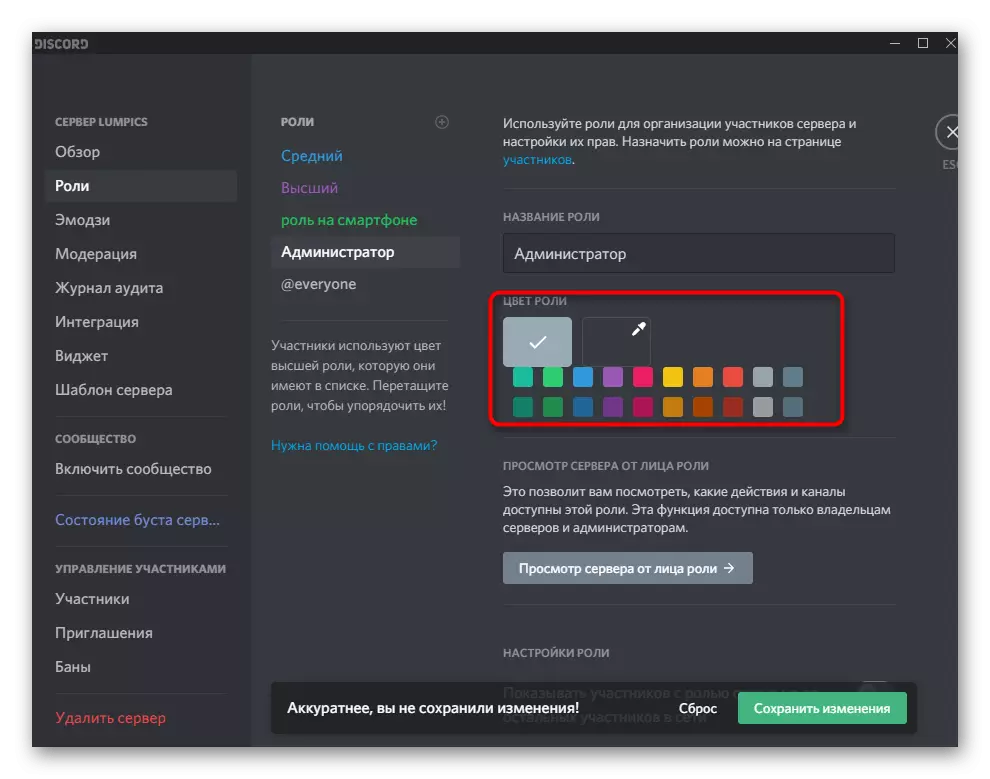
- Actually, then the color of Nick and is selected. In this regard, there are no restrictions and you can choose absolutely any standard color or custom shade.
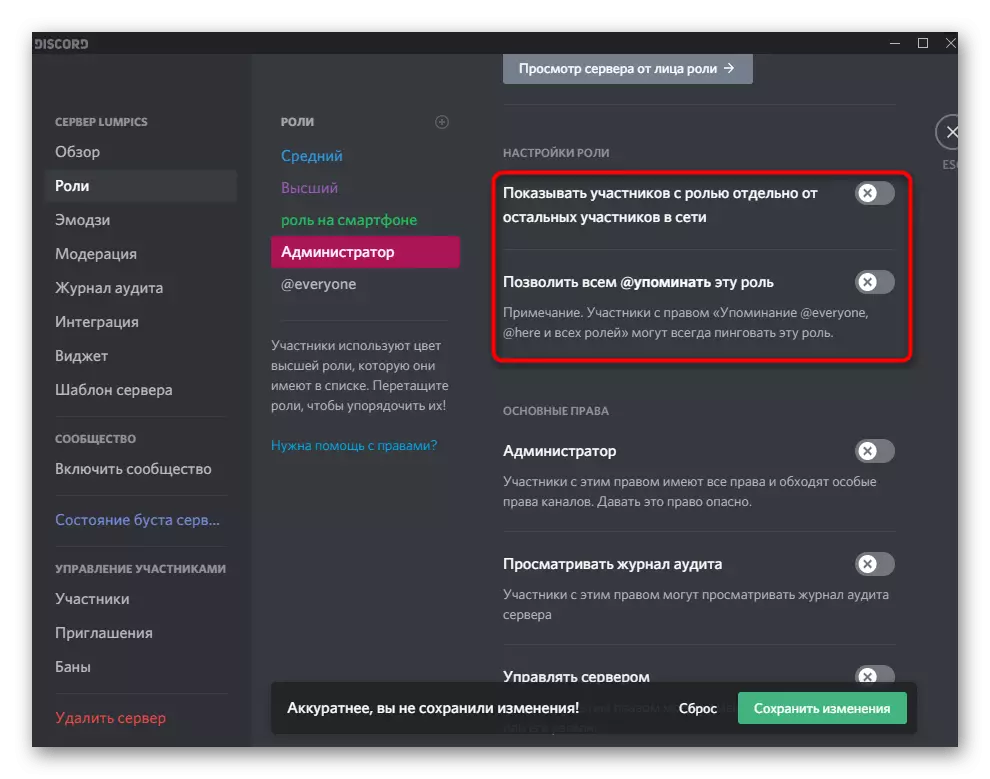
- One of the most basic parameters is "role settings". You can show administrators in a separate list and allow all participants to mention them. This will avoid difficulties when the user needs help, but he can neither find an admin name or mention it to call. If administrators do other duties, for example, support the operation of the server and do not contact with the participants, disable their visibility and prohibit the mention.
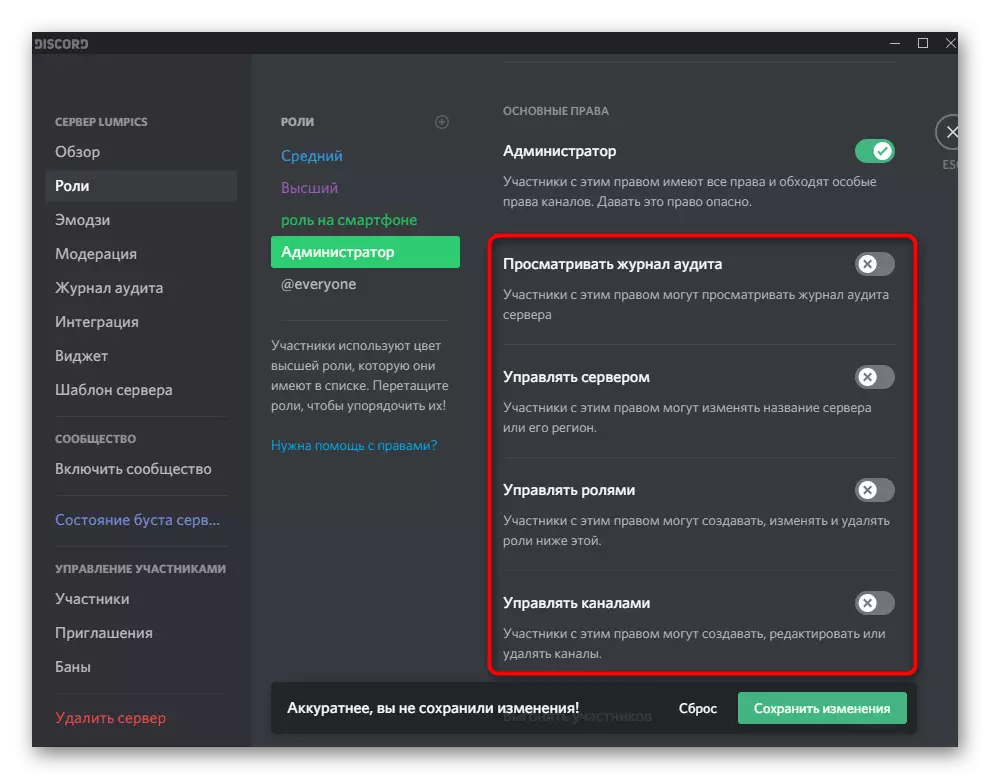
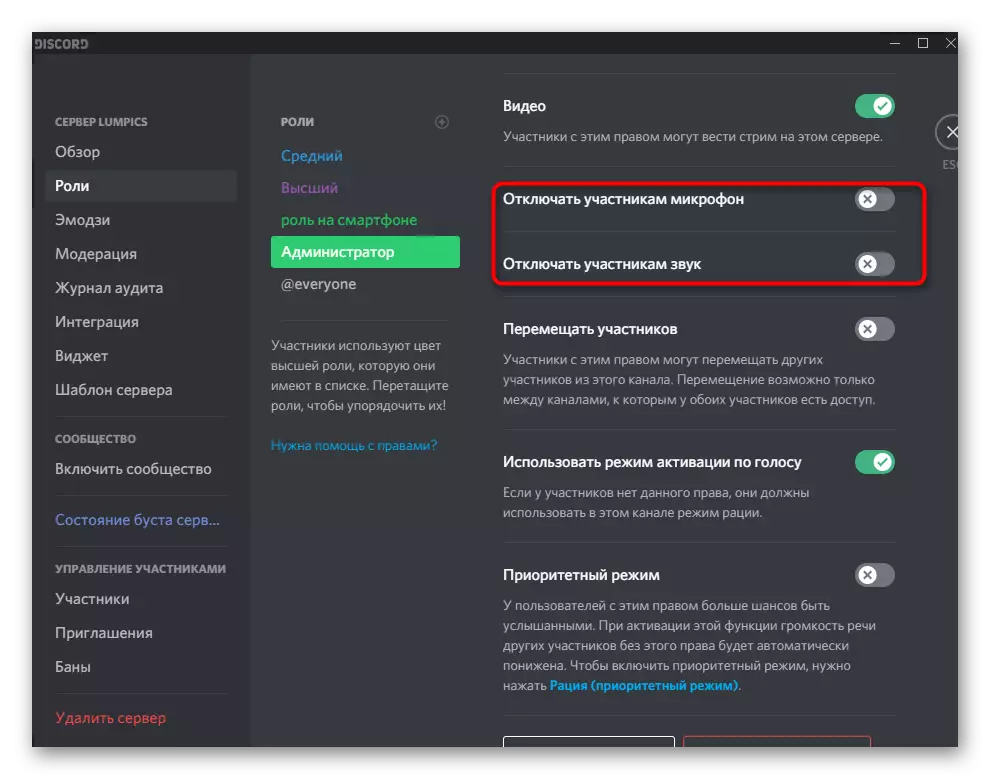
- Include the administrator's powers for this role, moving the slider in the "Basic Rights" block. Consider that this right has special permits and bypass most of any restrictions, so assign the administrator status only to proven personalities.
- Even if all of the following rights are now disabled, the previous one is responsible for their work, so they can not be activated once again.
- However, if a problem occurs with something in the future, go back to this window and provide the necessary permissions.
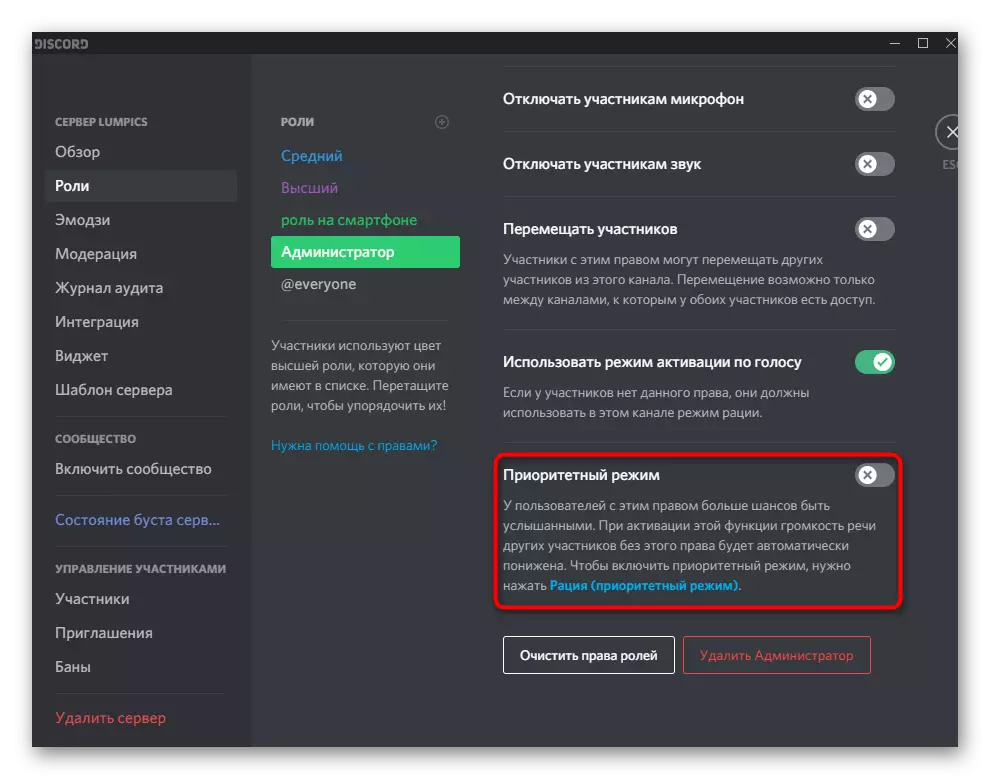
- The final parameter is "Priority Mode". It works on voice channels and allows you to highlight administrators among other users, increasing the volume of the microphone. If you want to use this right in the radio, activate it before going out of this menu and do not forget to apply changes.

This is not all information about creating roles that can be provided within the framework of the instruction, but most of it and does not apply to administrators. If you wish to learn more about the role setting process, read the other article on our website by clicking on the link below.
Read more: Creating and distributing roles on the server in Discord
Step 2: Selection of participants to provide administrator status
Administrator status has just been created, but it has not yet belongs to any of the server participants, which has to be corrected further by distributing a new role. Do not forget that we should carefully treat such powers, even though you can pick them up in the future, some of the changes made not to those people, it will not be possible to return.
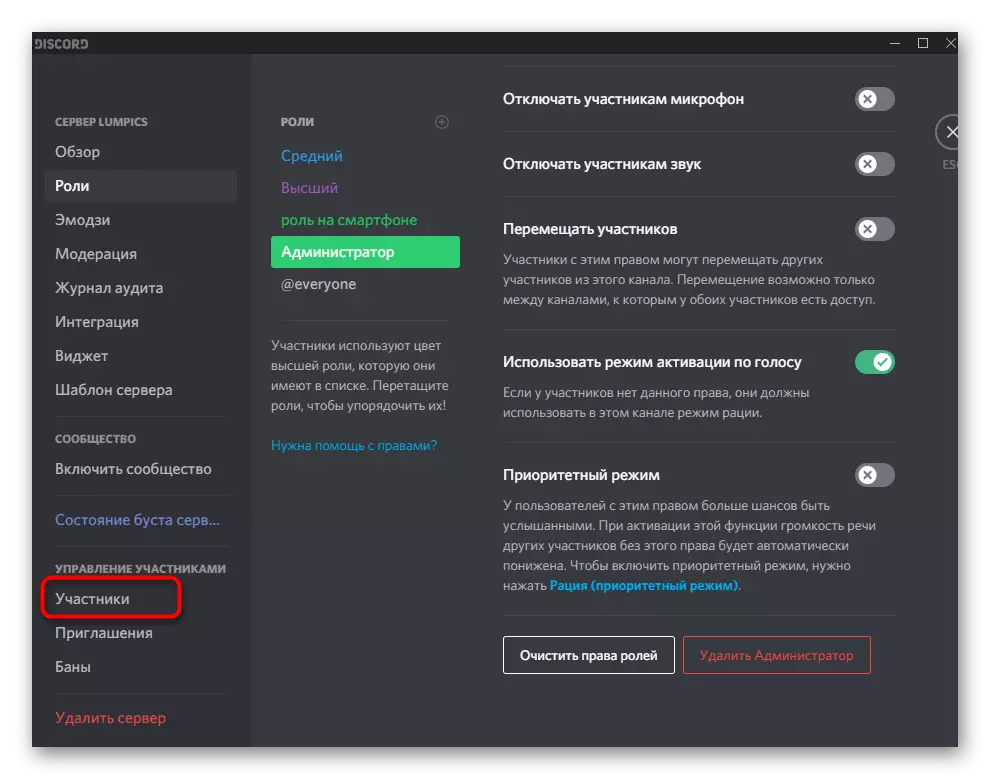
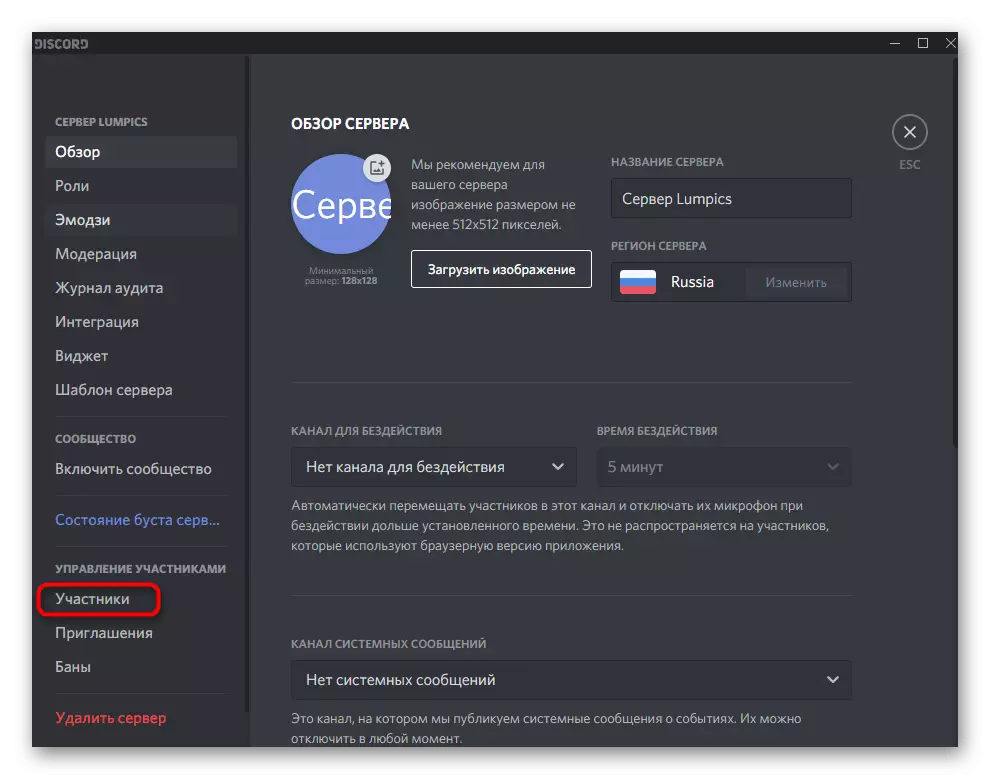
- For convenience in the same menu with the settings, open the "Participants" section.
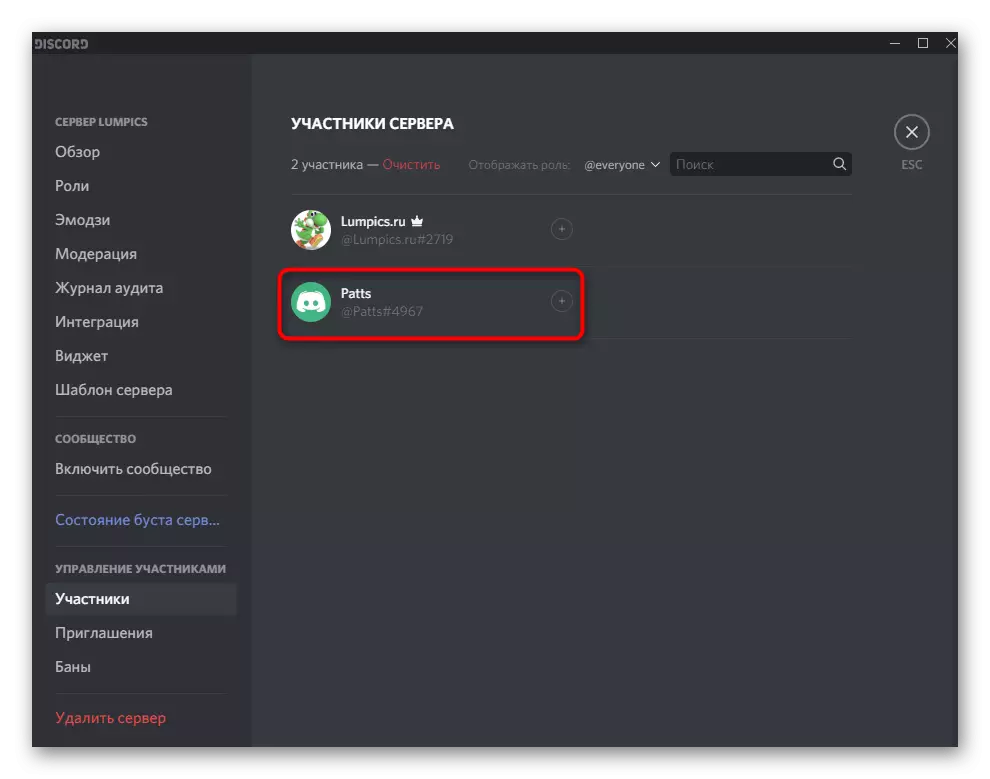
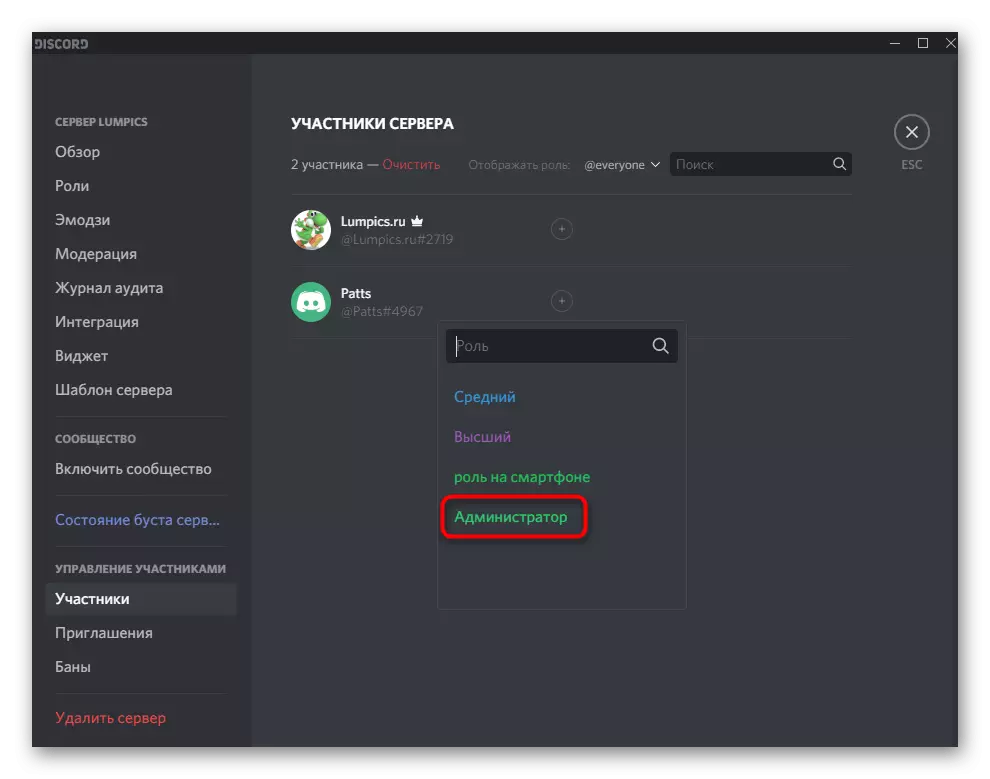
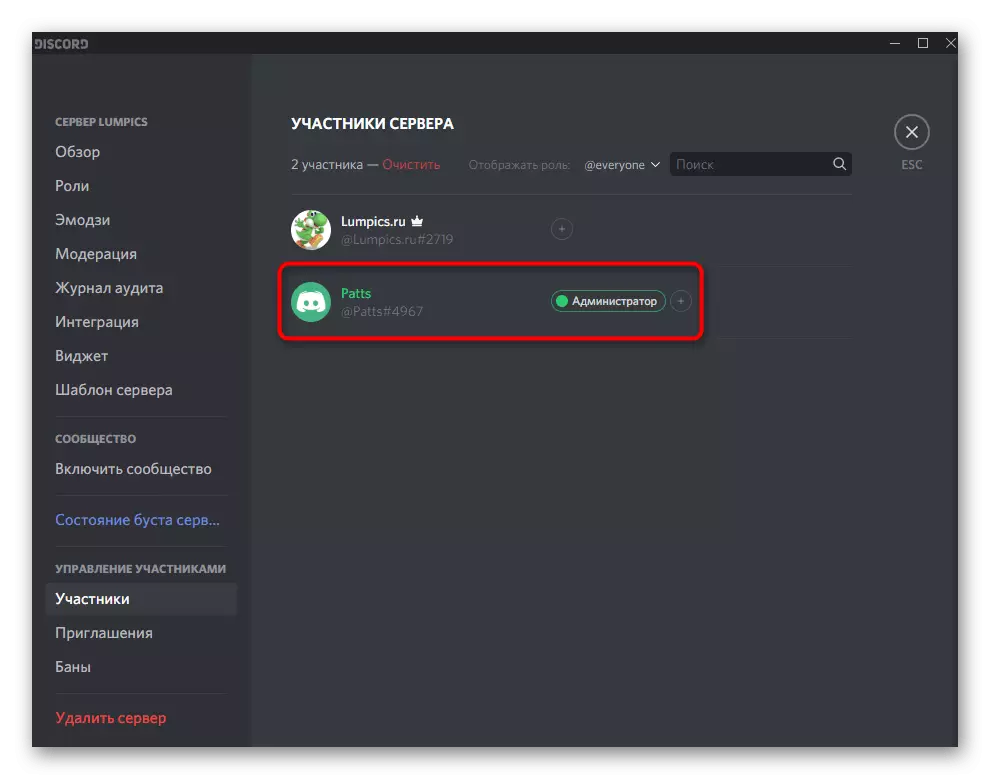
- Check out the list and easily use the built-in search. Select the appropriate account and click on the plus to the right of it.
- A list of available roles will appear, among which are the administrator possessing the rights and assign it to the current participant.
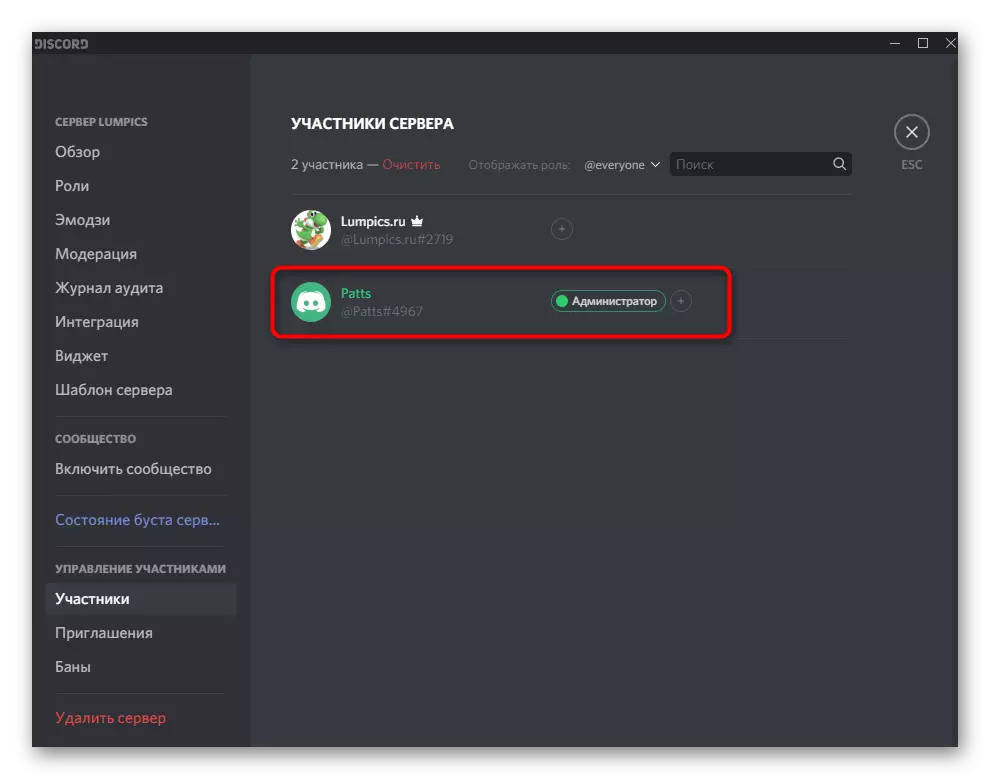
- Now the new role will be displayed opposite its nickname and will change the color to the corresponding one.
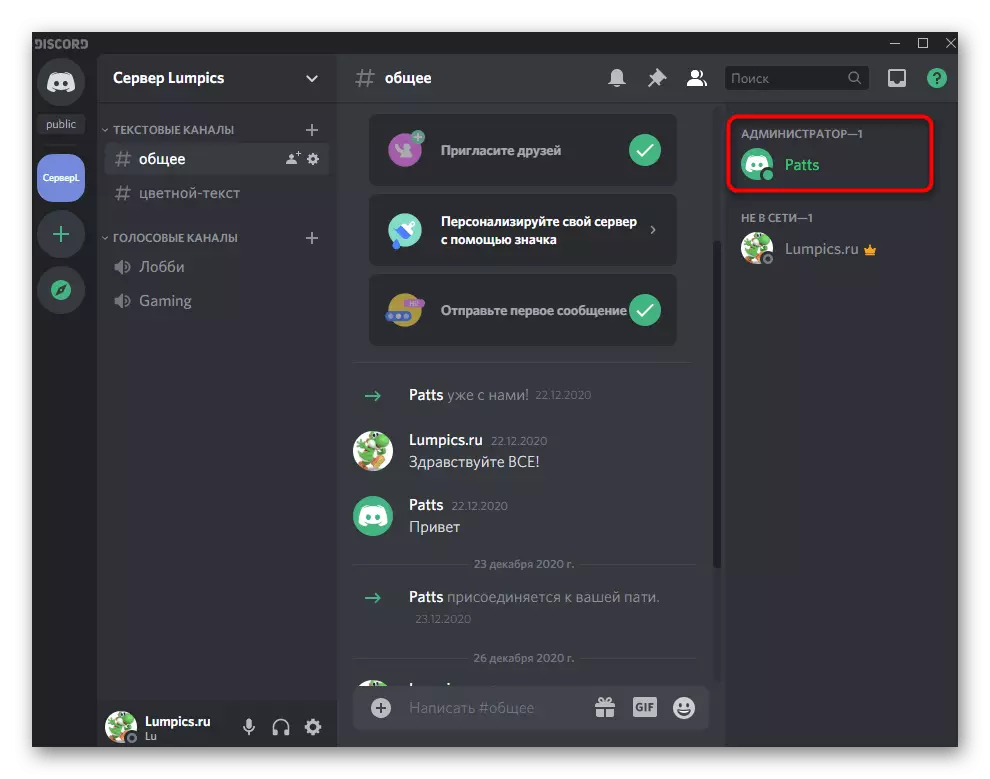
- Return to your server and browse the list of community members. Make sure that administrators are displayed there now if you displayed a separate category for them.
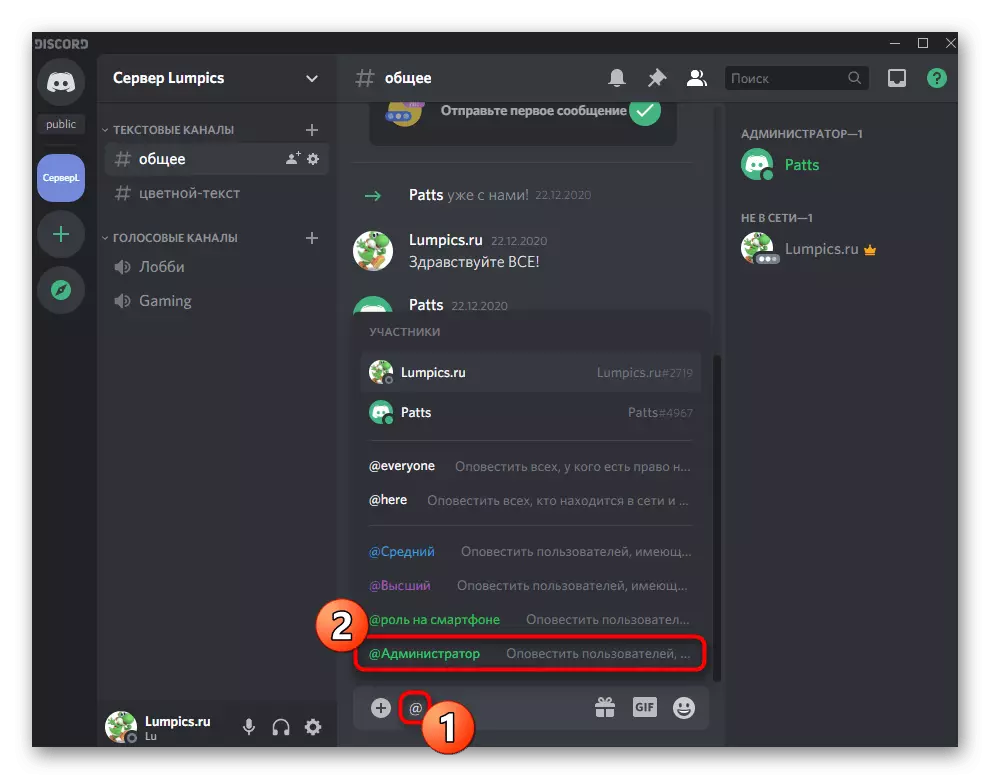
- Do the same with the help of the mention in the chat.
Do not forget to instruct administrators if their roles were created to perform specific tasks on the server. This applies to all large servers where there is a huge number of active participants, there are bots, tournaments for games, streaming, music broadcast and other types of activity are held.
Transfer full rights to the server
Separately consider the situation that is rare, but takes place. When it occurs, some users simply do not know that the transfer of authority to control the server to another person does not occur by appointing it by the administrator, but through a special function. It is suitable in cases where you are no longer engaged in the server and convey it to another person.
- Click on the community name, thus opening its menu.
- In the list, select "Server Settings".
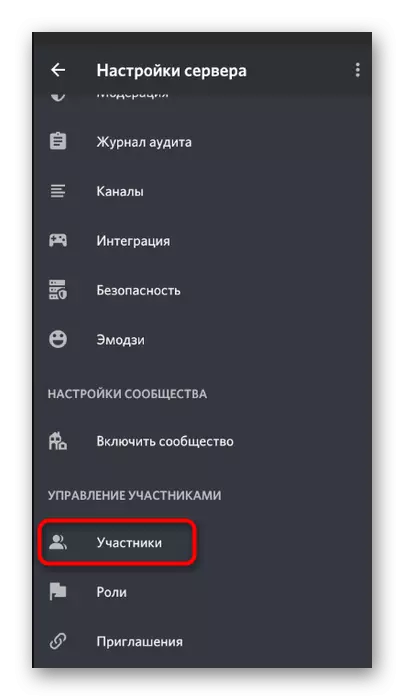
- Find the section "Management of Participants" and click on the "Participants" row.
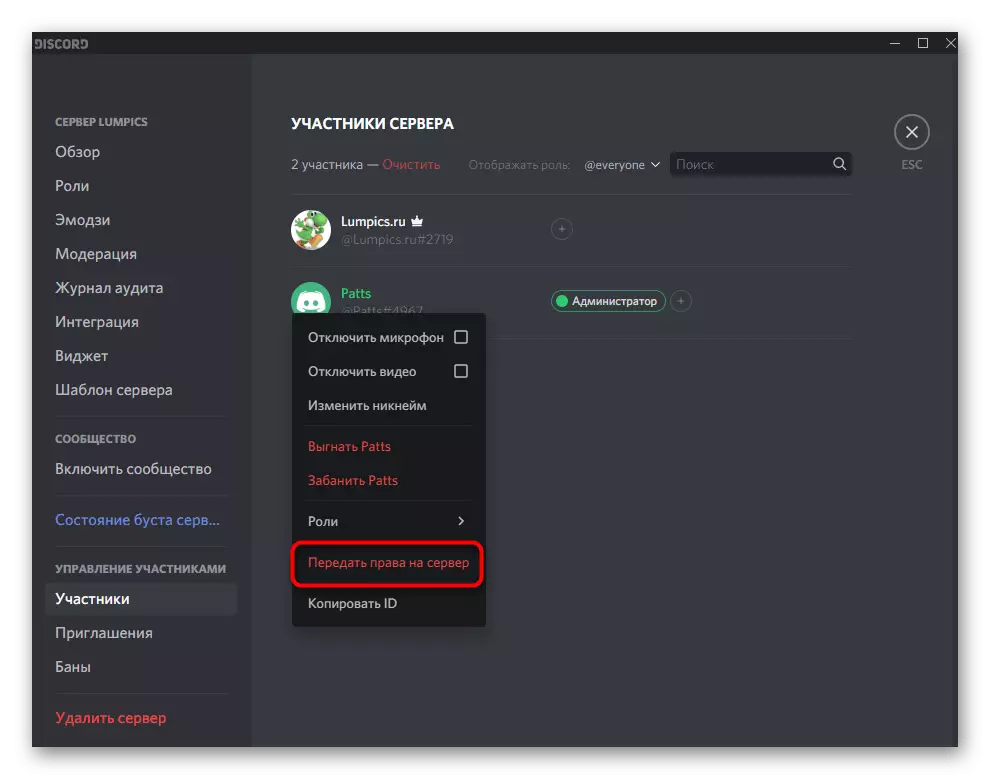
- Watch out that user who you want to transfer the rights to management, and click on its avatar right mouse button.
- In the list that appears, select "Transmit Rights to Server".
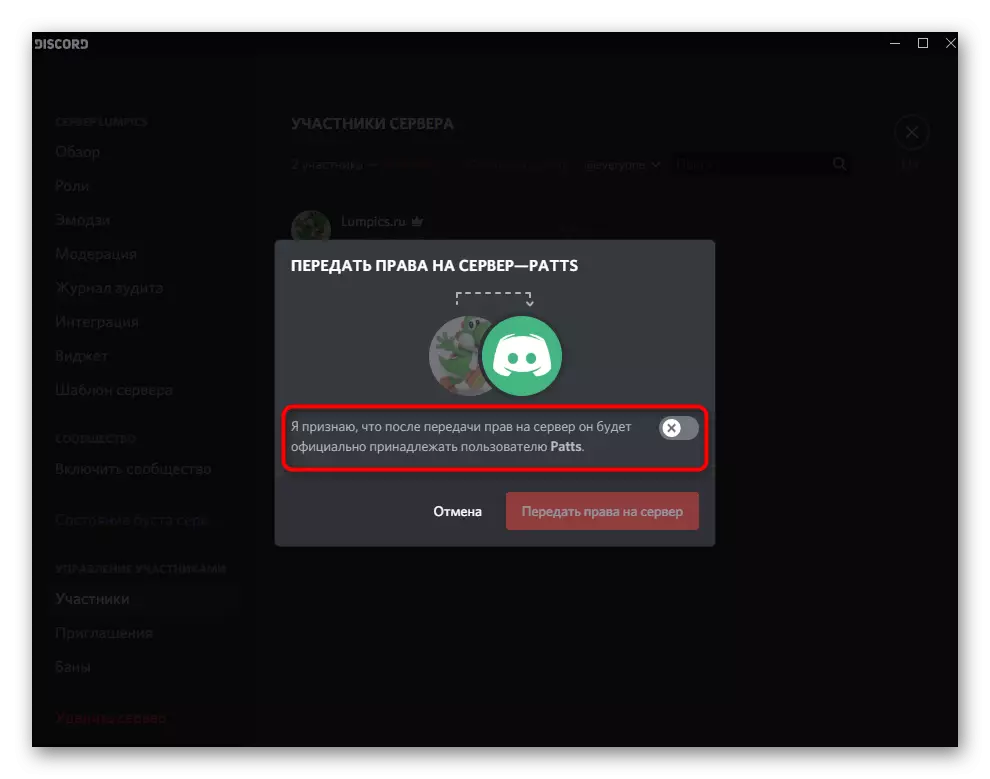
- Confirm the warning from the developers, after reading it, and then apply the action.
Option 2: Mobile application
The server management in the Discord via the mobile application on iOS or Android occurs less frequently, however, the situations occur when you have to get a smartphone or tablet to distribute the roles on the server and issue the administrator privileges. Let's look at this process in two steps to make you coped with it as quickly as possible.Step 1: Create and configure the administrator role
You need to start everything with the same administrator role, since it must be assigned the appropriate authority to manage the server. In the mobile application, the principle of configuring the privileged status occurs about the same way as it was in the video version for computers.
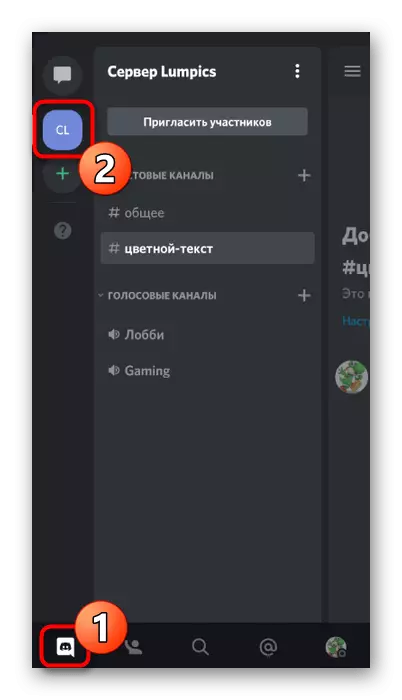
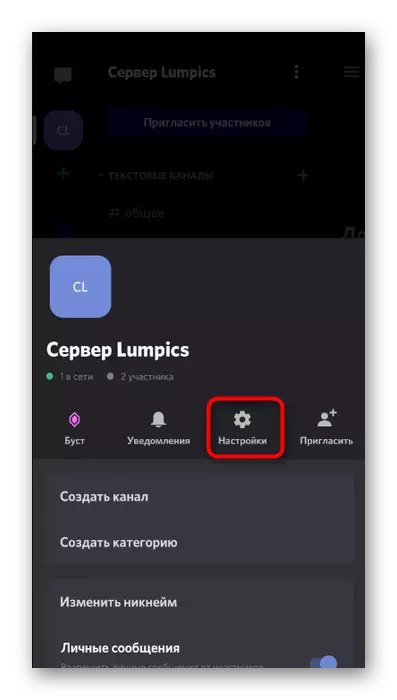
- Open the list of chats by pressing the first button on the bottom, and then go to your server.
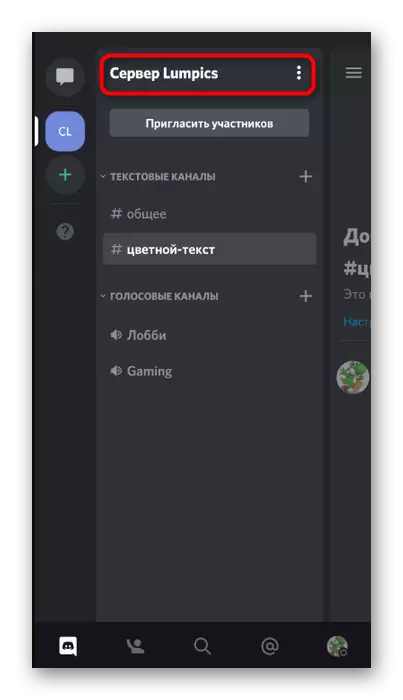
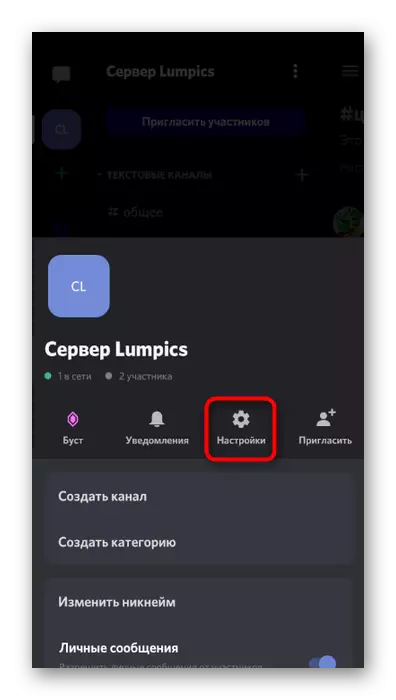
- Click on its name to display the list of available tools.
- Take a tap on the button in the form of a gear to open the settings window.
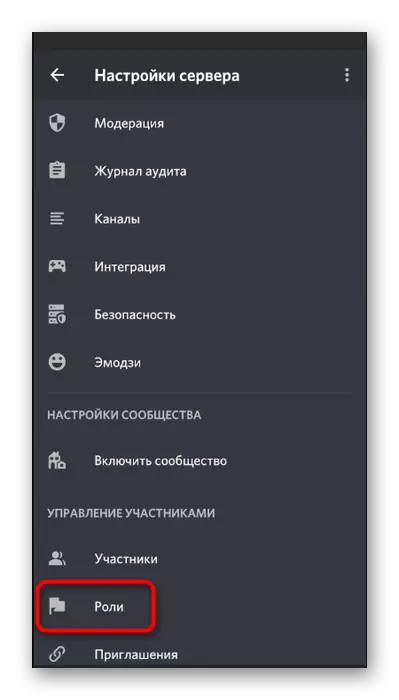
- Source to the "Management of Participants" and select Roles.
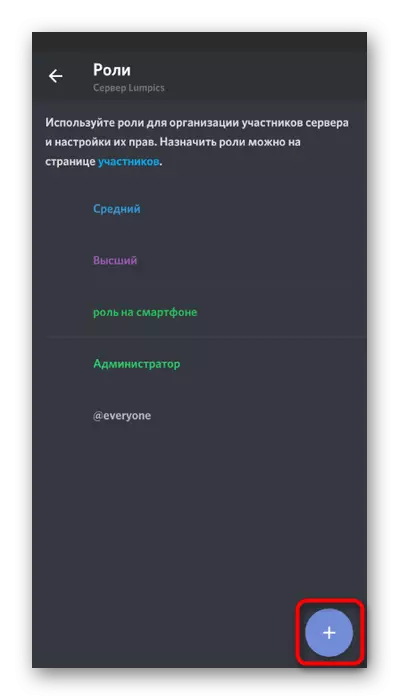
- You can edit an already existing role (without forgetting that unnecessary users will need to be removed from it), so create a new one, tapping on the button with a plus.
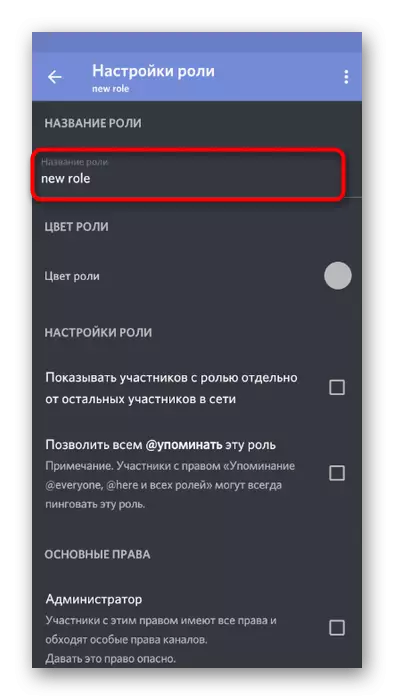
- Enter the name of the name you will see not only you, but all other server members.
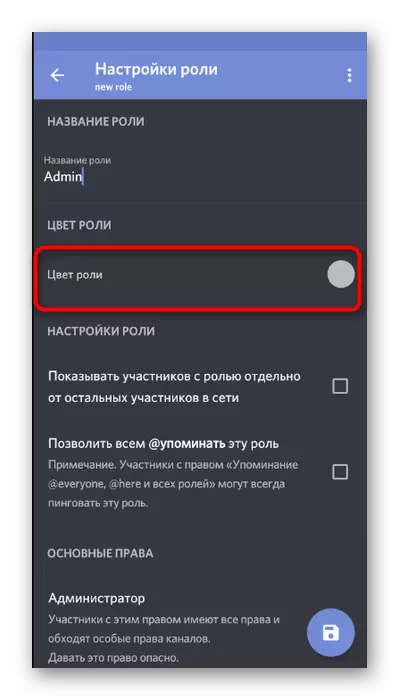
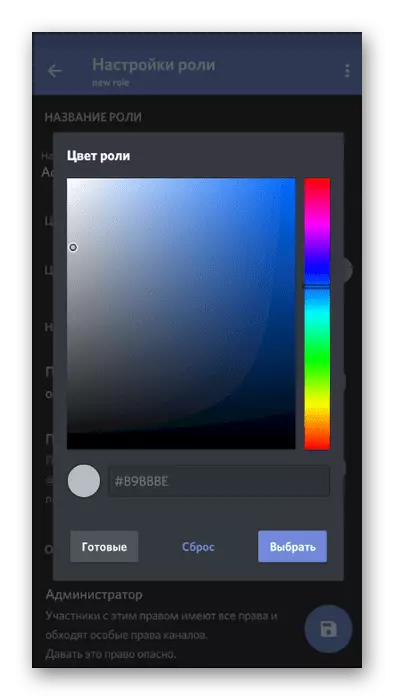
- Change the color for the nicks of users with this role.
- By the way, you can choose any custom shade, which is very convenient in situations when on the server and so much roles are already too many and the standard colors are completed.
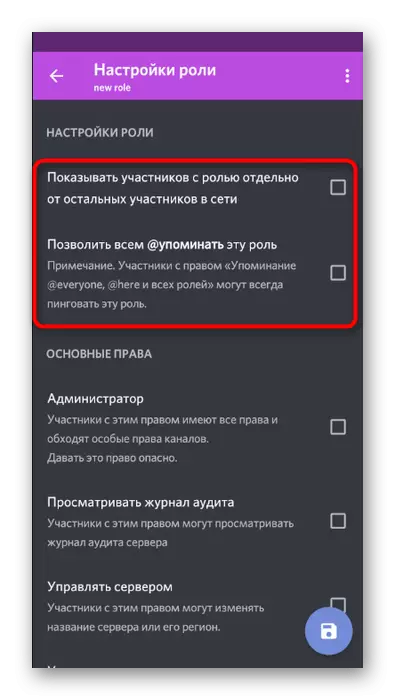
- Above, we have already talked about the purpose of two parameters to display the list of participants with this role and permission to mention. You can familiarize yourself with the description from the developers and decide whether to activate these items.
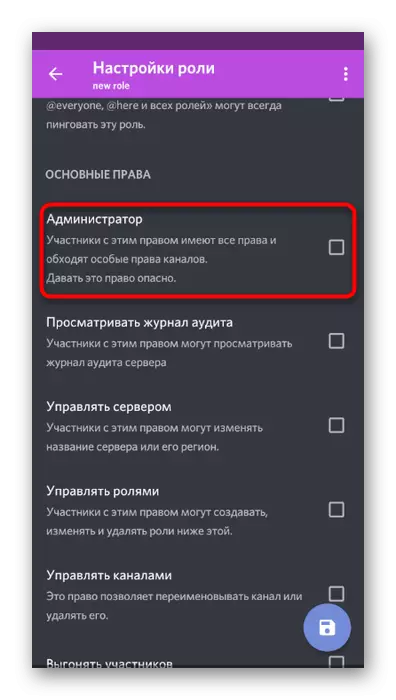
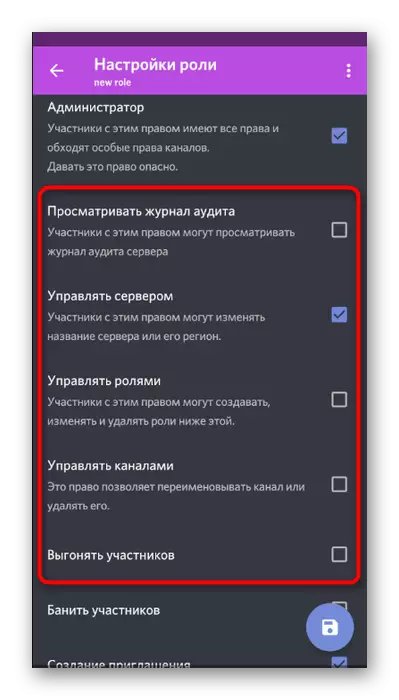
- In the "Basic Rights" block, be sure to check the "Administrator" checkmark, thereby providing all the required permits.
- All other parameters are configured to your discretion, but in most cases almost all of them are already active and do not require additional editing. Even if it takes it, you can always return to this menu and make the necessary changes.
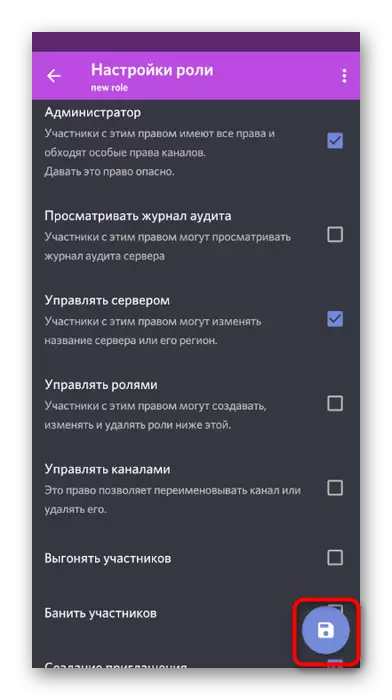
- Before entering, make sure that all parameters are configured correctly, click the button to save and close the current menu.
The role was successfully created and configured to assign administrator rights to certain server members. Get back to the next step to distribute it between users.
Step 2: Selection of participants to provide administrator status
Adding a new role to the server participant - the task is simple and executed literally in a couple of presses. However, do not forget to do everything carefully and check the nicknames of users if there are a large number on the server. The erroneous assignment of the administrator's powers is not to that yuzer sometimes lead to deposits.
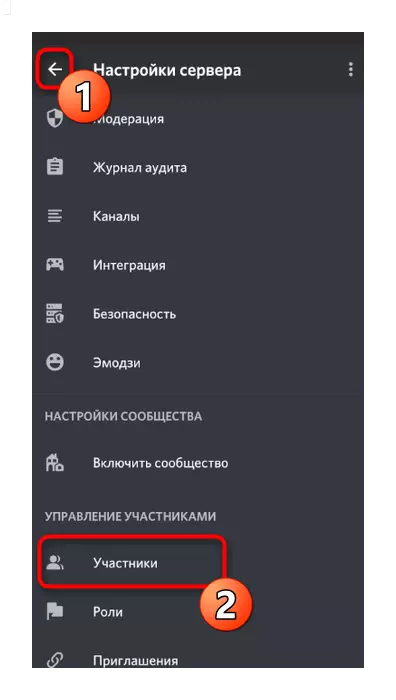
- Use the arrow button to return to the main server settings, from where to go to the "Participants".
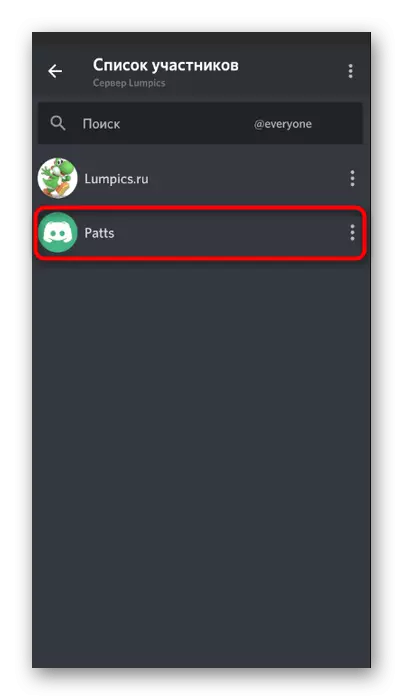
- Use the search or independently find the required account in the list.
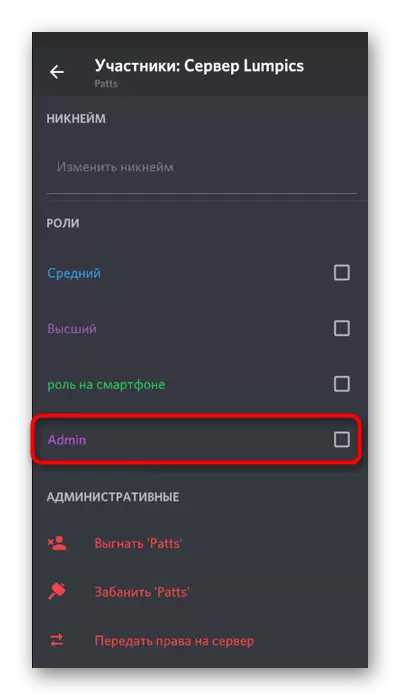
- After clicking by the name, a list of interaction points will be discovered, where to check the role of the administrator and boldly leave this menu.
- You will immediately see that the role was assigned to the user and now it can make the required changes on the server.
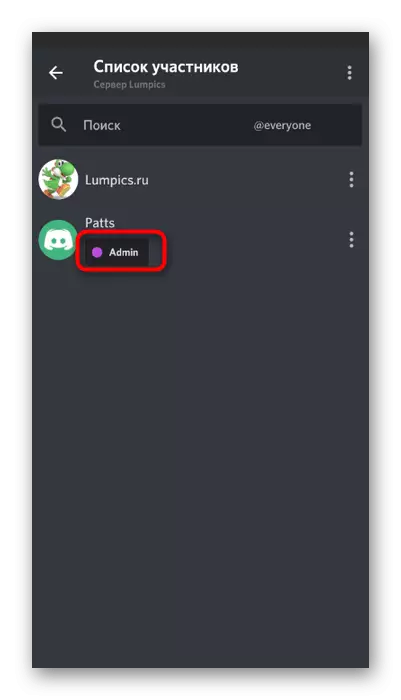
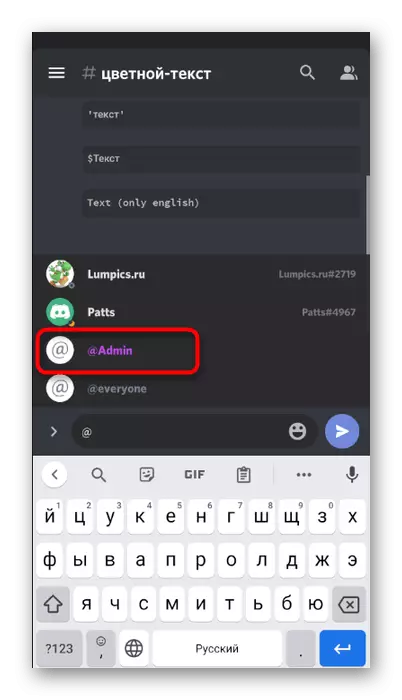
- Navigate to any text channel, check the function of mentioning administrators and display them in the list of participants.
Transfer full rights to the server
In completion, consider the same procedure for transferring full rights to the server to another user, if suddenly it took it, and on hand there is only a Discord mobile application. Then the process itself practically does not change (in comparison with PC version) and quite implement using the built-in functionality of the messenger.
- Click the name of your server and go to "Settings".
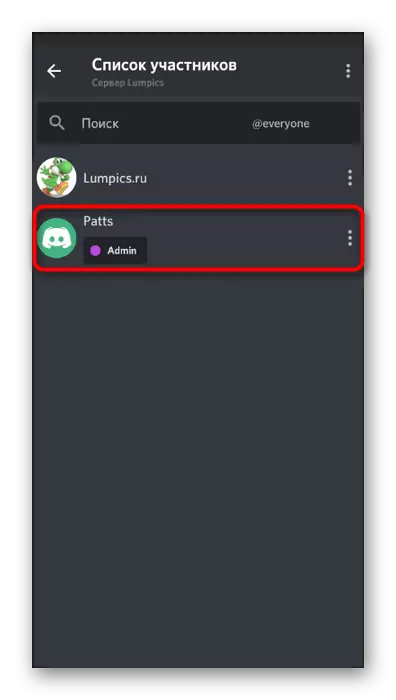
- Open the participant's list to search for the required.
- Click on the name of the account of the person who you want to pass the right to the server.
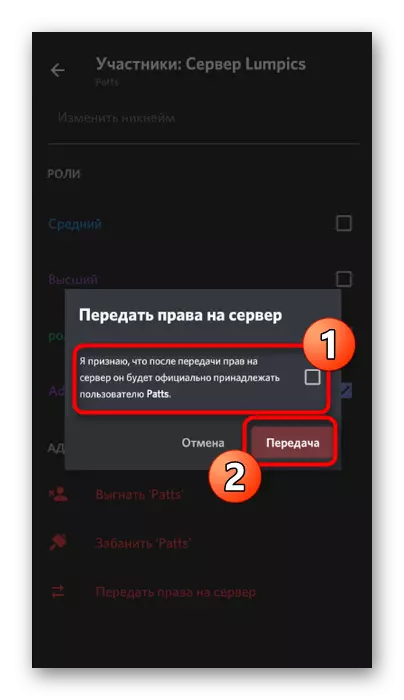
- In the interaction menu, select the last item - "Convey the right to the server".
- Confirm the warning from developers and click Transfer.

Consider that after confirming the transfer of complete rights, you will no longer be able to configure the server in every way or engage in control if only the new owner will not give you relevant access.