Method 1: Add music bot
Let us consider the method with the addition of music in Discord bot to broadcast songs in the first place, because it is the easiest and most effective. Music is transmitted without loss of quality, not captured by the system user sounds and does not require any manipulation of the operating system. The only condition - you must have administrator rights or be the creator of the server where you want to play all the tracks. Please see the link below on an example where three different bots demonstrates the principle of adding them.
Read more: Adding a musical bot to the server in Discord

The next step - setting up and starting playback, it also did not take long. All actions are performed using the built-in bot teams. Most often broadcast tracks via YouTube, as so they are easier to find, but some bots and other support methods. Learn detailed information about how the interaction with similar server tools, you can in the material on.
More: Play music via a bot in Discord
Method 2: Using the stereo mixer
Stereo mixer - standard virtual device that is added along with a sound card driver in the operating system. Typically used with programs where when you create a video or audio track captured as a system, and from the sounds of the microphone. Performing certain settings, this equipment can be assigned to capture tracks in Discordia, which will include them on any voice channel. Introducing help us implement this method. Alternately performed every stage, to establish the correct play.Step 1: Turning on the stereo mixer
If Windows is not a stereo mixer or for some reason now it is disabled, you will need to add it, or activate, execute because without it, this method simply does not work. To test the stereo mixer, use the following instructions:
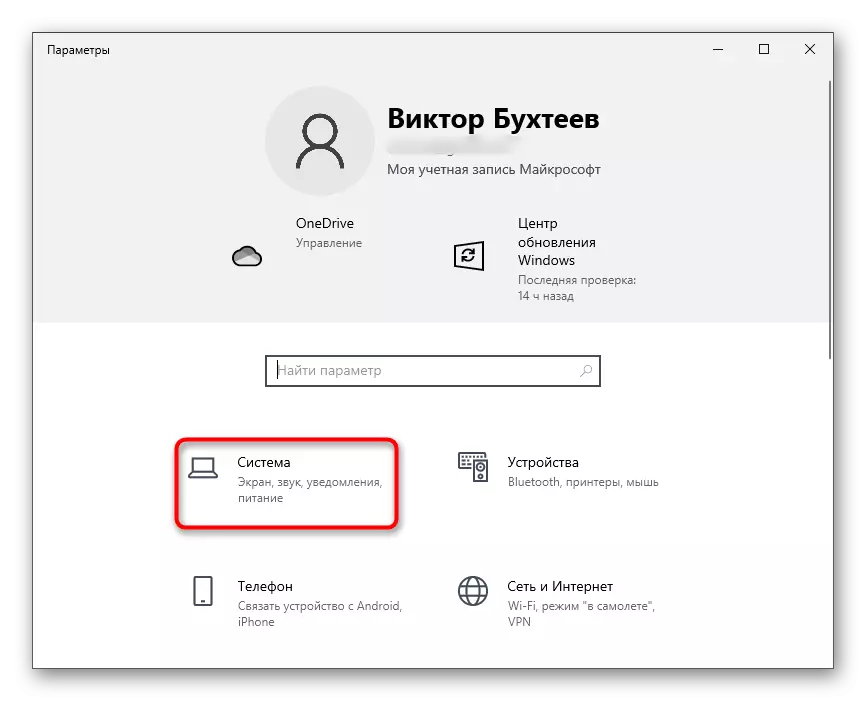
- Open "Start" and go to "Parameters".
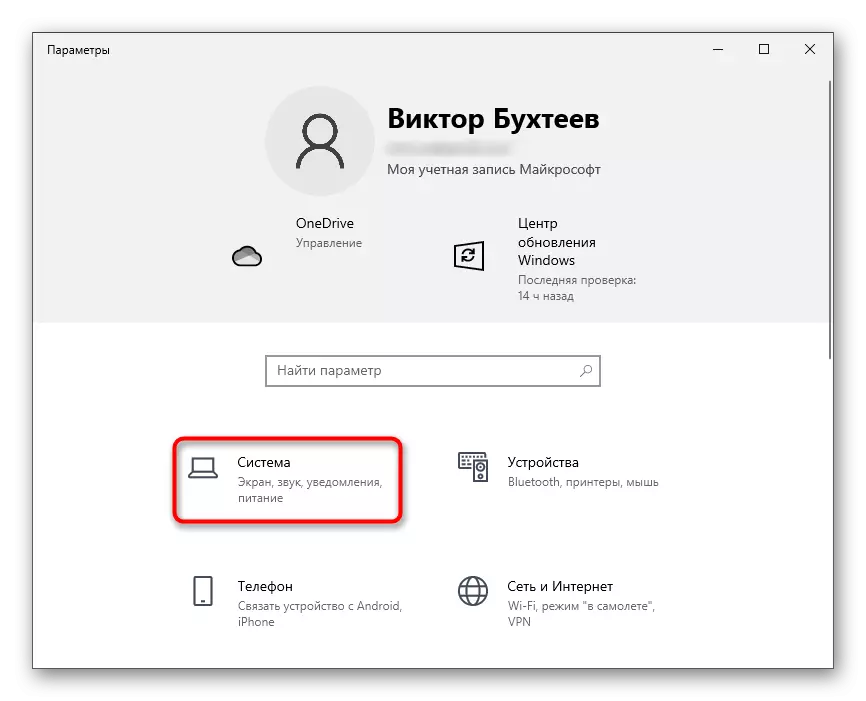
- Click on the first tile with the name of "System".
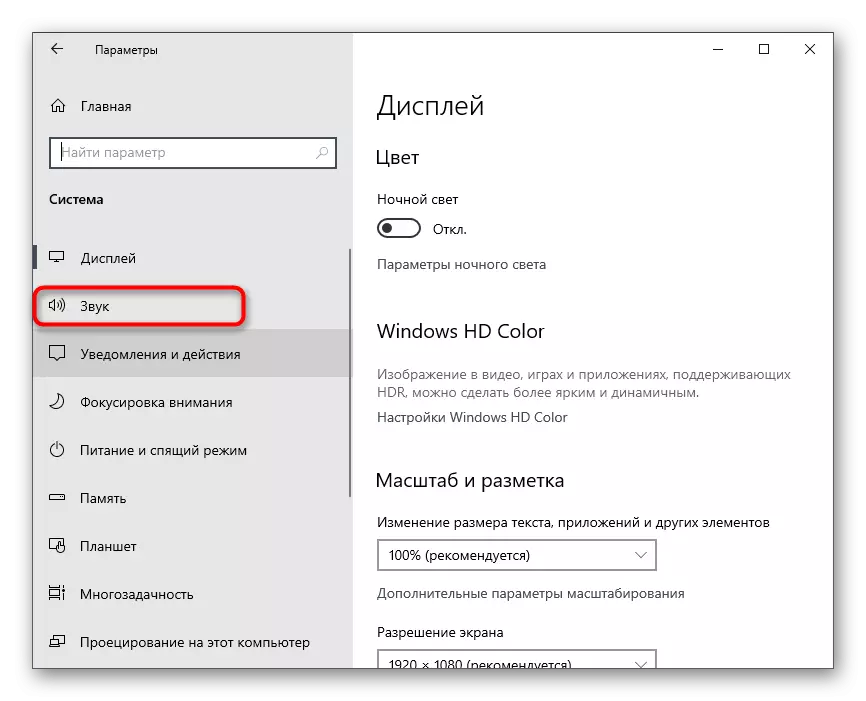
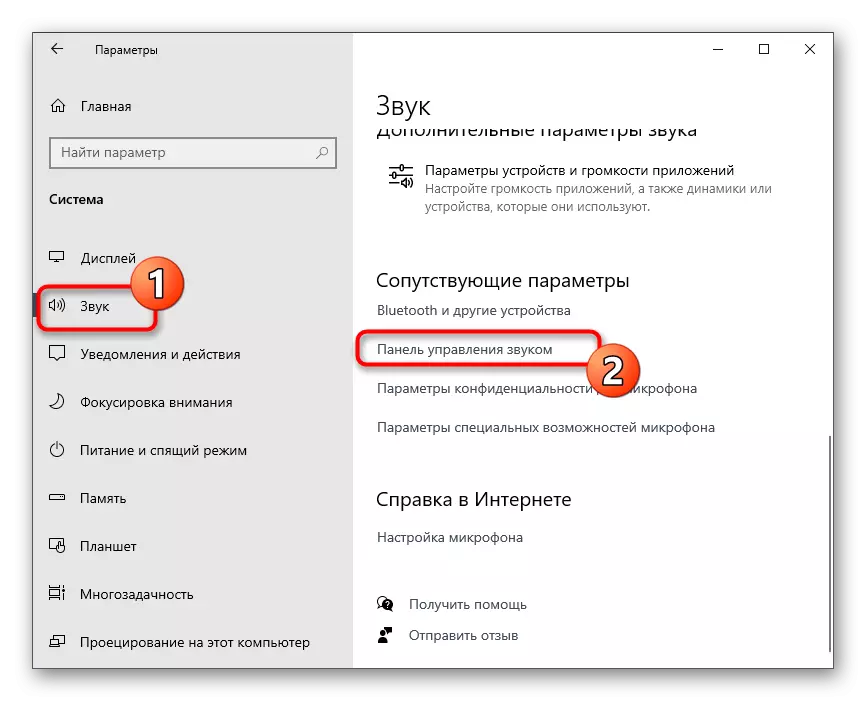
- Through the panel on the left, go to the "Sound" section.
- Drop down to the block "Related Options" and click on the line "Sound Control Panel."
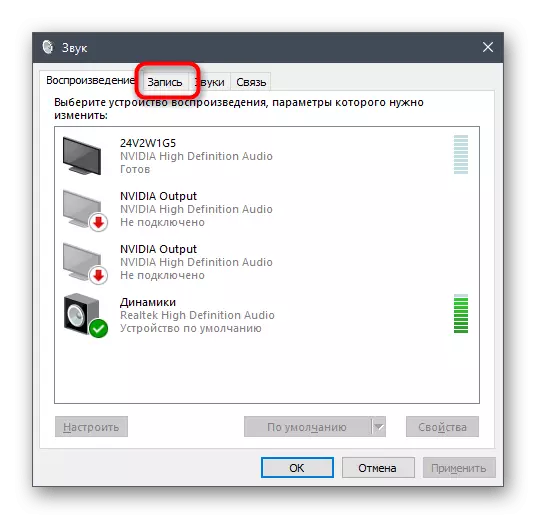
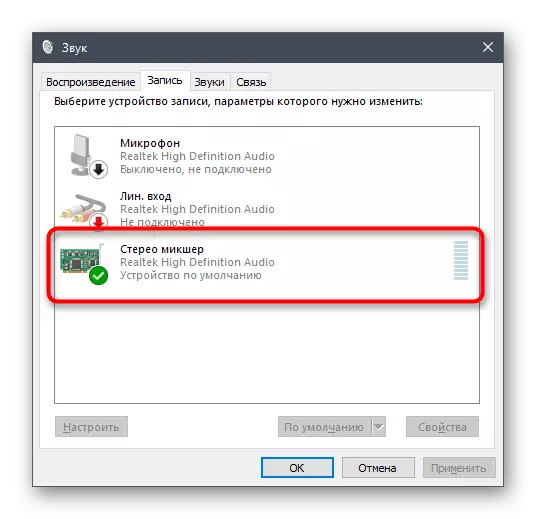
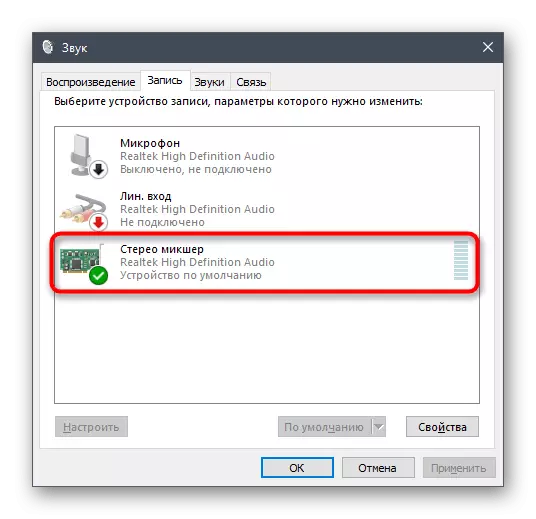
- In a new window, you need to move to the "Record" tab, where the capture devices are located, that is, microphones.
- Find there "Stereo Mixer" and make sure that it is turned on. If this is not like this, make the click right-click on it and from the context menu, select "Enable".
- Just in case, turn off the previously used microphone so that when the sound recognition, the discard did not have any problems with the conflict of two devices.
- Assign the "stereo mixer" the main one, if this happens automatically. The activation of the parameter is made from the same context menu. Then double click on this device to open its properties.
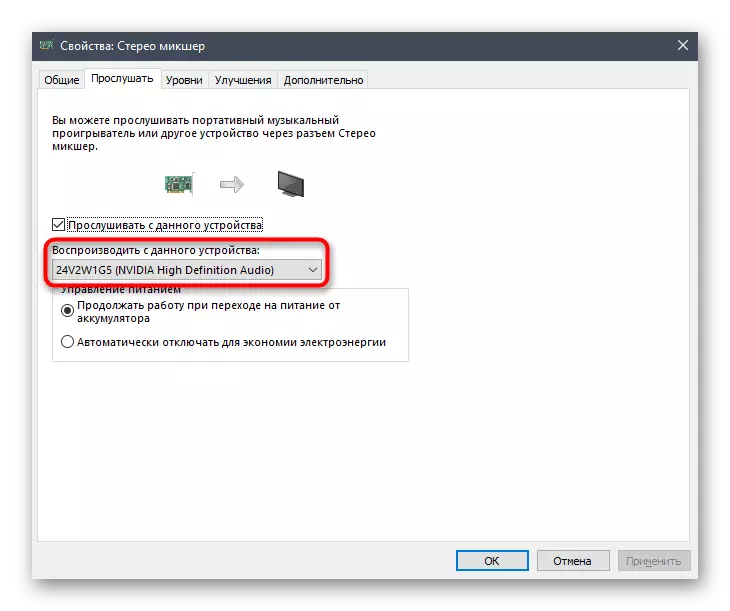
- Switch to the "Listen" tab and activate the "Listen to this device" option.
- In this case, change the output in the drop-down list "Play from this device" by selecting any speaker that is now disabled. Make it need to prevent duplication of music to your headphones or speakers during playback.


If it turned out that the stereo mixer is missing, first of all, the sound card driver is updated, since they add this virtual device in the OS. In more detail about this and other ways to solve the difficulty, our author in the article is below.
Read more: Enabling stereo mixer in Windows
Step 2: Select Play Tool
Briefly affect the topic of selecting music playback tool in Discord. The stereo mixer captures all the sounds broadcast on the speaker used, it means that you can choose absolutely any music player. If you have not downloaded it or have not decided on the choice, pay attention to the next review.
Read more: Programs for listening to music on a computer

In additional changes, the player does not need, so while you can simply leave it or pre-prepare the playlist tracks for further playback. You can do without the use of the player at all, turning on the composition directly in the browser, for example via VKontakte or YouTube. The principle remains the same - no settings and preliminary manipulations.

Step 3: Configure Discord and Play Music
The final stage before starting the playback of the tracks in voice chats. For an account to the discord, you need to change only a few parameters, specifying which input device must be captured. This will ensure the correct transmission of sound to other voice channel participants.
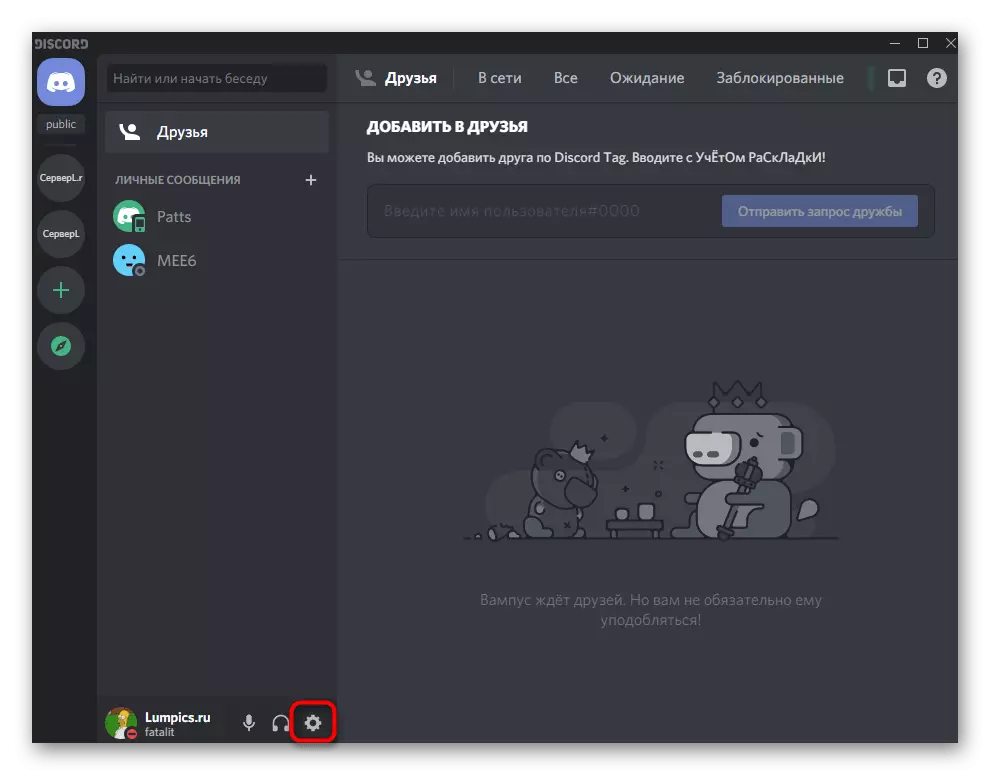
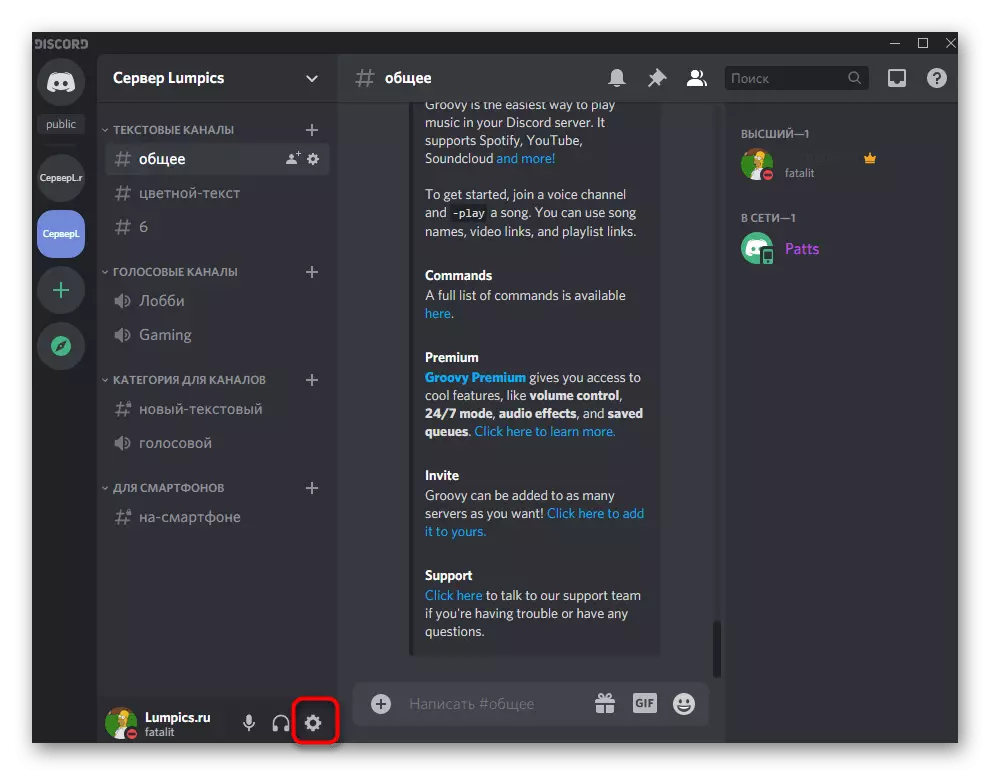
- Open the program and go to the account settings.
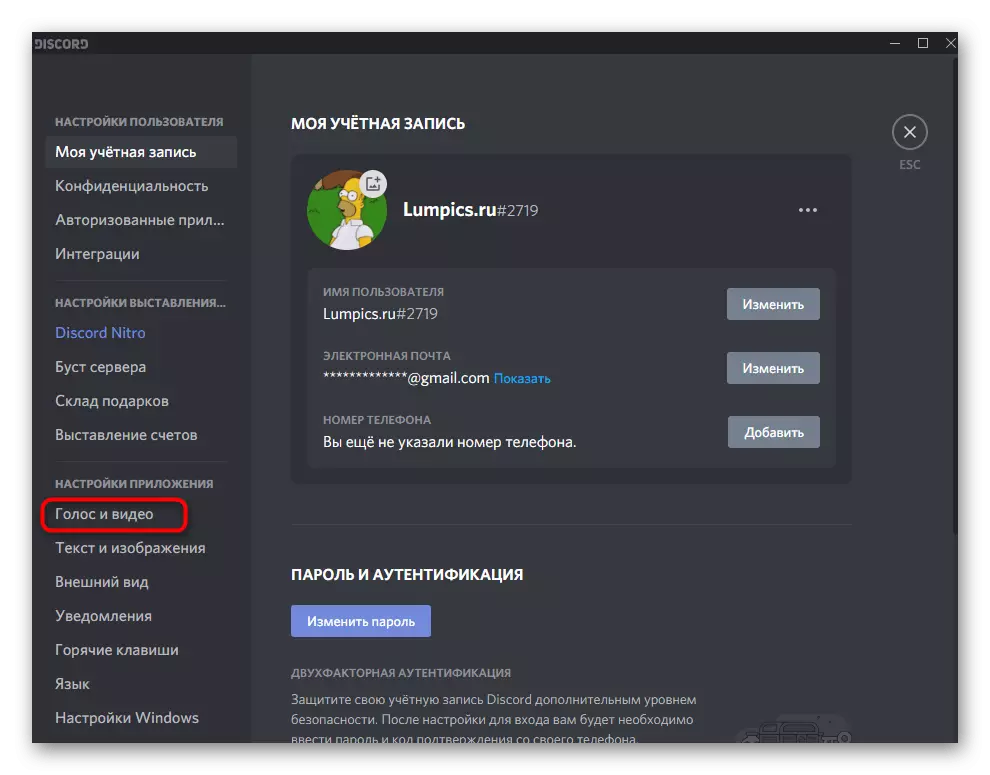
- In the "Application Settings" block, select the "Voice and Video" section.
- Expand the "Input Device" list and find there the "Stereo Mixer" item.
- You can adjust the volume in advance, twisting it on the full, because it is usually lacking.
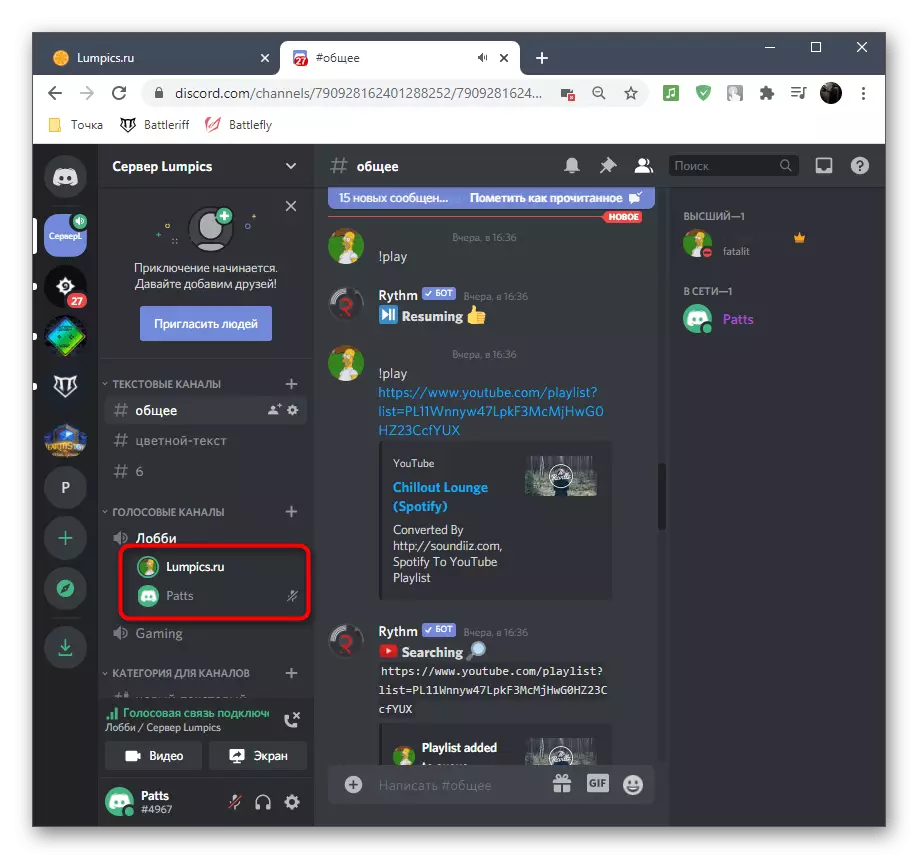
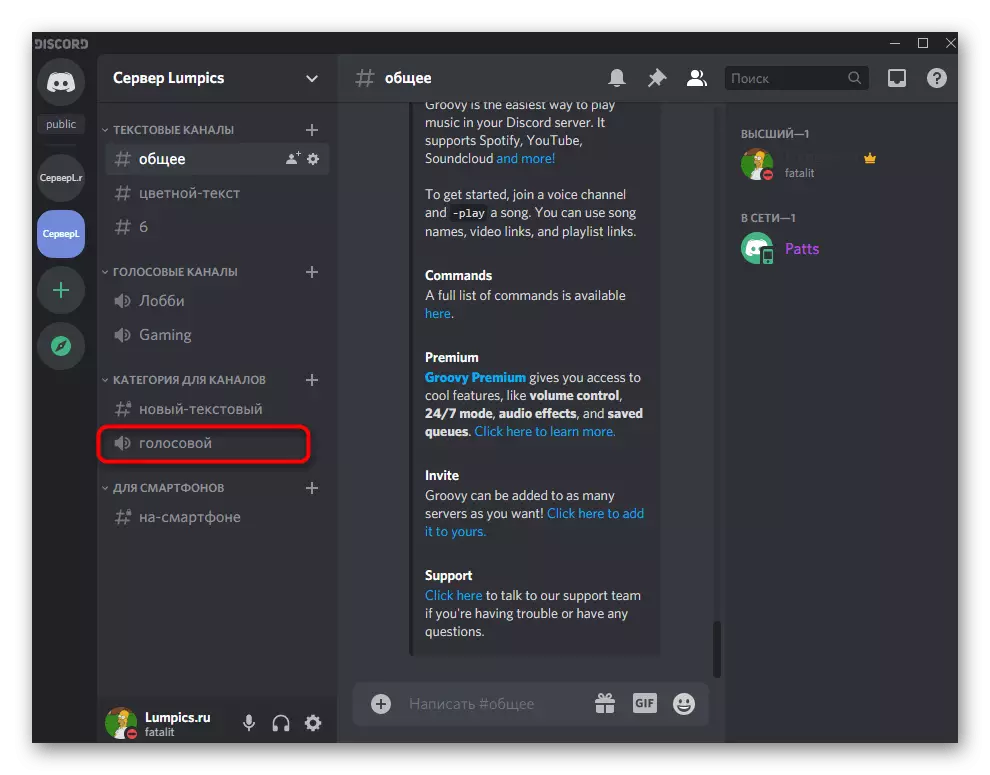
- Navigate to the server and connect to the required voice channel.
- Immediately you can run playback of any track and check if the stroke appears around the avatar, indicating the capture of sound.
- Optionally, open the same section with the settings and start checking the microphone. The oscillations must match the rhythm of music, which will help make sure of its normal capture.


Step 4: Volume Adjustment
Insufficient volume level or problems with sound grip - Frequent difficulties arising from the first attempt to play tracks on voice channels in Discord. In such cases, you will have to check several volume parameters by following the following steps:
- Call "Parameters" and section "System", select "Sound" and go to "Sound Control Panel".
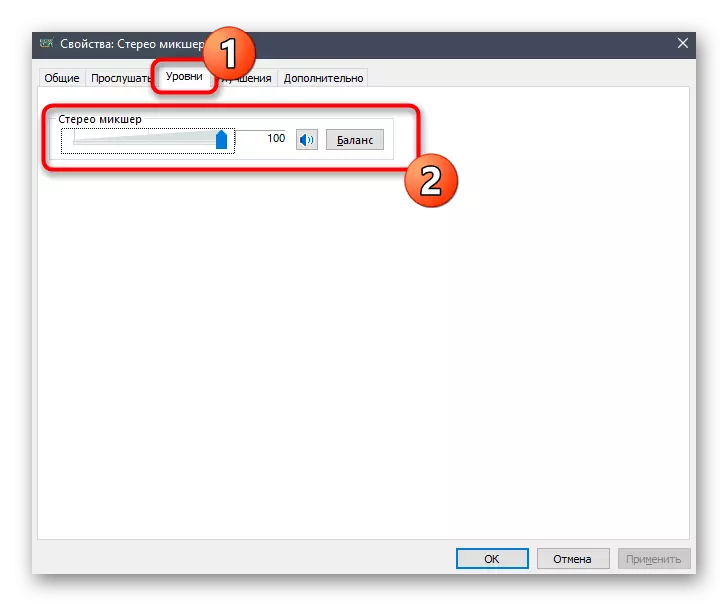
- Move to the "REC" tab and double-click the "Stereo mixer".
- On the Levels tab, there is a slider that is responsible for the volume of the device, respectively, it can be turned off stronger or reduce it.
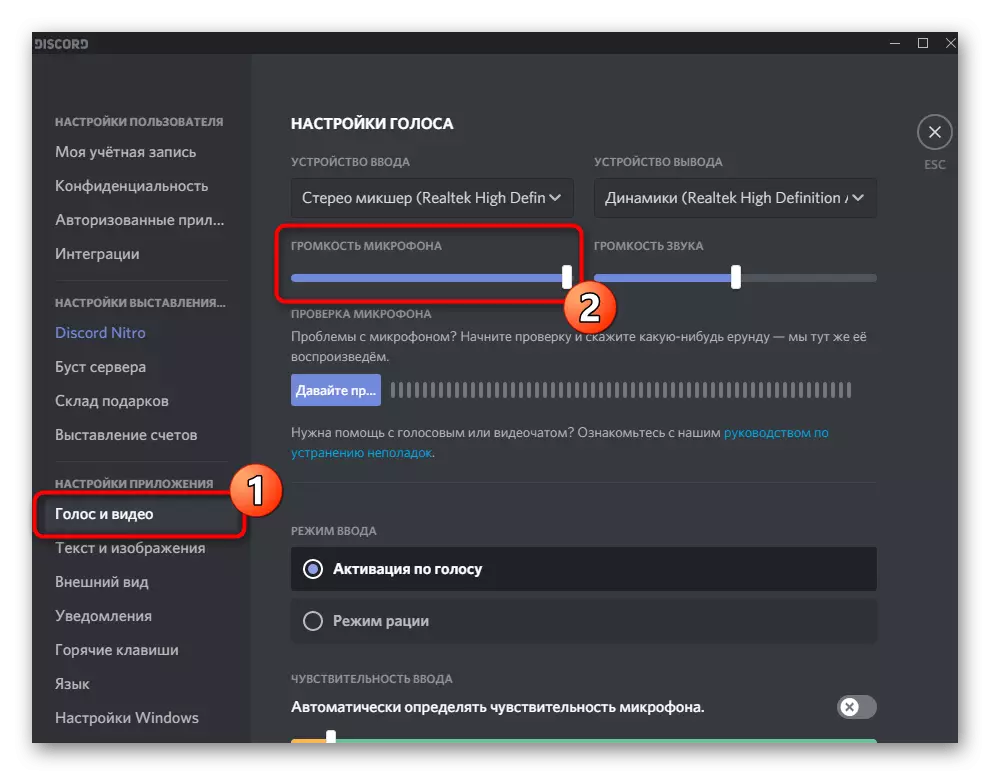
- Open the "Voice and Video" section in the discord settings and use the microphone volume slider to adjust the volume.
- If the sound is captured intermittently or not played at all, make sure that the "Activation voice" option is selected as the input mode.
- Below is the function "Automatically define the sensitivity of the microphone", which you want to disable.
- Move the sensitivity slider to the playback level of music, which can be determined by a dynamic strip appearing during the transmission of the track.


No more parameters need to be changed, you can start broadcasting any tracks on the voice channel. If the need for checking performed actions, read the final step of this method.
Step 5: Play Check
Unfortunately, when using this method, you cannot independently check the playback quality on this account, so you have to ask a friend or enter another account, for example, through the browser version of the discord. Connect to the same voice channel where you are broadcasting tracks and check the required quality and volume parameters.
Consider that when connecting another account, the music will be duplicated, because it is already running in your headphones or speakers, and the ECHO effect will be created, and this means its normal playback.
Method 3: Using Virtual Audio Cable
The Virtual Audio Cable program adds virtual input and output devices to the operating system to use them for different purposes, including to enable music in Discord. The main difference of this method from the previous one is the ability to not hear what is now broadcast to the voice channel, but then in any case you have to use the player, choosing a virtual playback source there.Step 1: Download and install VAC
First you need to download and install the program under consideration on your computer, after which it makes the minimum number of settings, thereby preparing virtual devices for work.
Go to the official website of Virtual Audio Cable
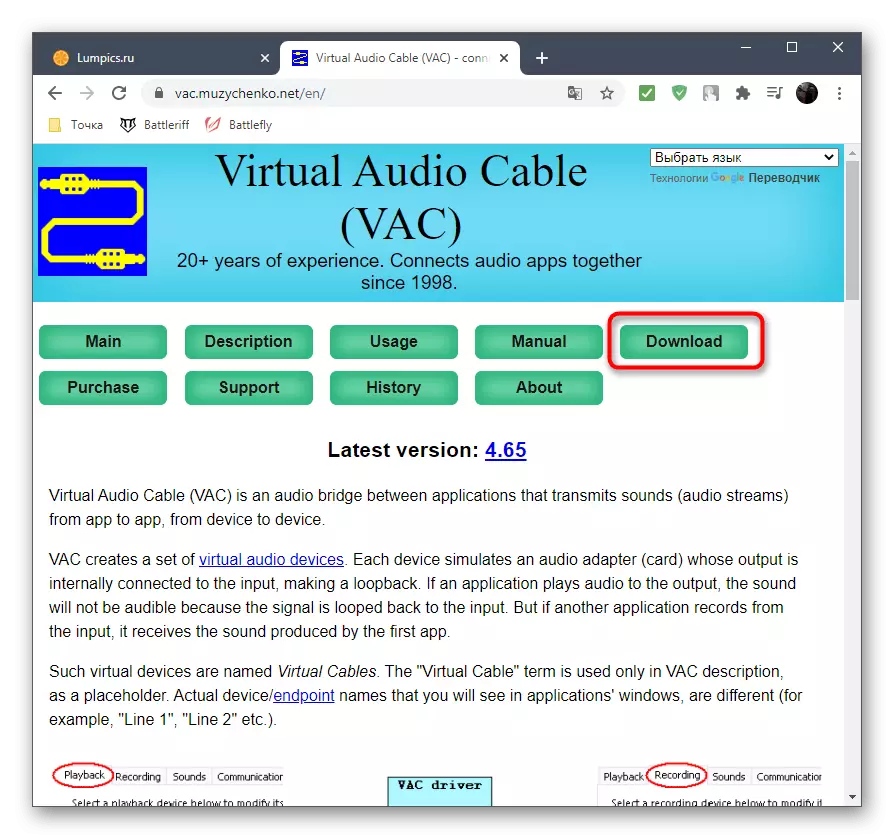
- Use the link above to go to the official website of the program where you click the "Download" button.
- If downloading has not begun, try an alternative boot method using the buttons located slightly below. Upon completion of download, run the received executable file.
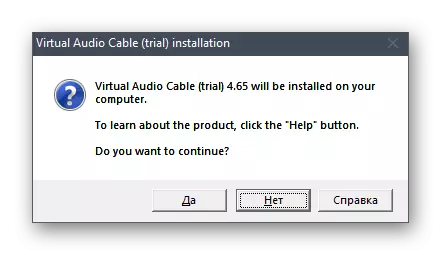
- Confirm the start of installing Virtual Audio Cable in Windows.
- To go to the next step, accept the terms of the license agreement.
- Select a place on your computer for the location of the software files and start the installation.


After a few seconds, messages will appear about the successful addition of components. You can close the current window and move to the next step of the instruction.
Step 2: Configure VAC Virtual Devices
Now all virtual equipment has been added to the operating system. The use of the VAC graphic menu is not required because one microphone and dynamics are sufficient to implement the task. It is only necessary to check them in the "sound control panel", which is happening like this:
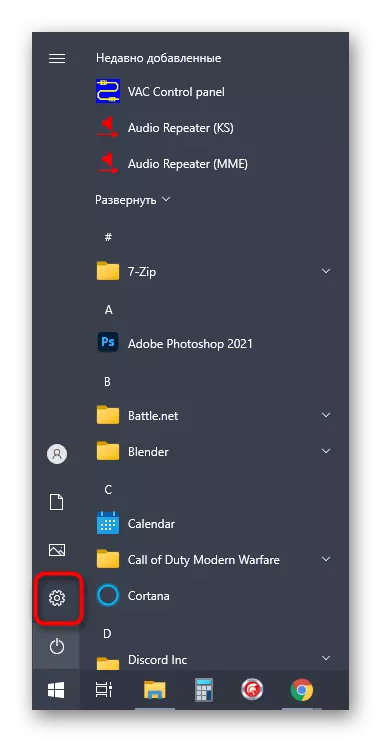
- Call "Start" and go to "Parameters".
- Select the System section.
- Switch to "Sound" and find the "Sound Control Panel" row.
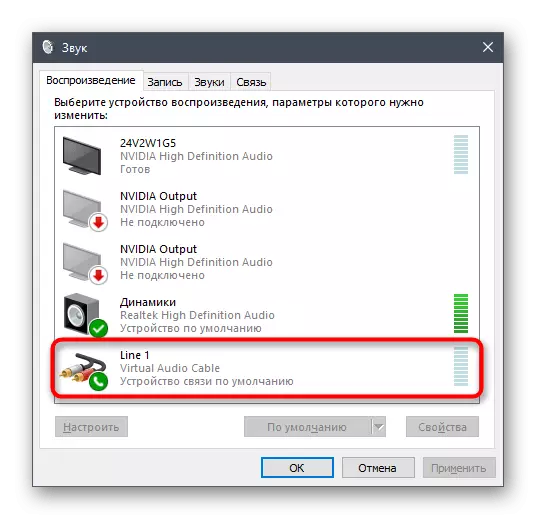
- Immediately the necessary tab will immediately - "Play", where locate the "line 1" virtual device, make sure that it is enabled and used by default.
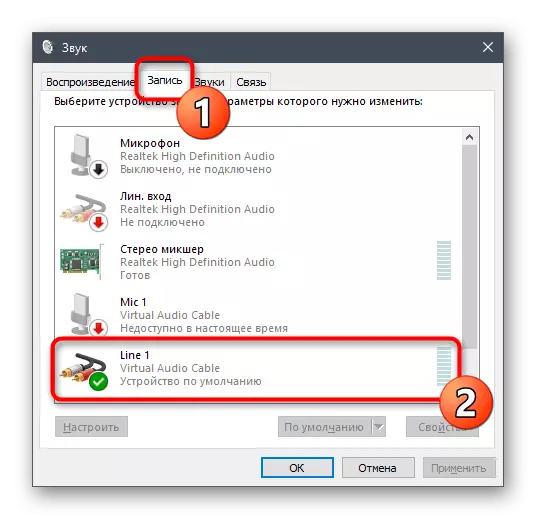
- Do the same with the microphone on the "Record" tab.
- If you need, open the context menu by pressing the PCM on the required string, where you can select the on and use of the device as default.


Step 3: Change the parameters of Discord
Discord of the function also can not be avoided because there is need to make some important changes to the sound of the new source was captured correctly.
- In the main window, go to the account settings.
- Open the "Voice and Video", which is located in the block "Application Settings".
- As an input device, select the «Line 1».
- First, remove the volume on to full - then it will be possible to return to this menu to adjust it.
- As an entry mode, be sure to use "Activation of the voice."
- Turn off automatic detection sensitivity and move the slider almost to the minimum level, ensuring the capture of all the audio tracks of frequencies.
- Immediately, you can choose one of the voice channels for connection.
- Display your profile in the voice channel indicates a successful connection.


It remains only to turn the track and ensure it is normal playback. As you already know, the browser is not suitable for this, as for the virtual microphone was not chosen by the audio capture device that provides music playback without simultaneously listening. To complete the setting, go to the next step.
Step 4: Setting up the player
You will need to use music player that supports playback device selection setting, that is, allowing the speaker to change the music broadcast. As an example, we took the AIMP, but you can install any other modern player.
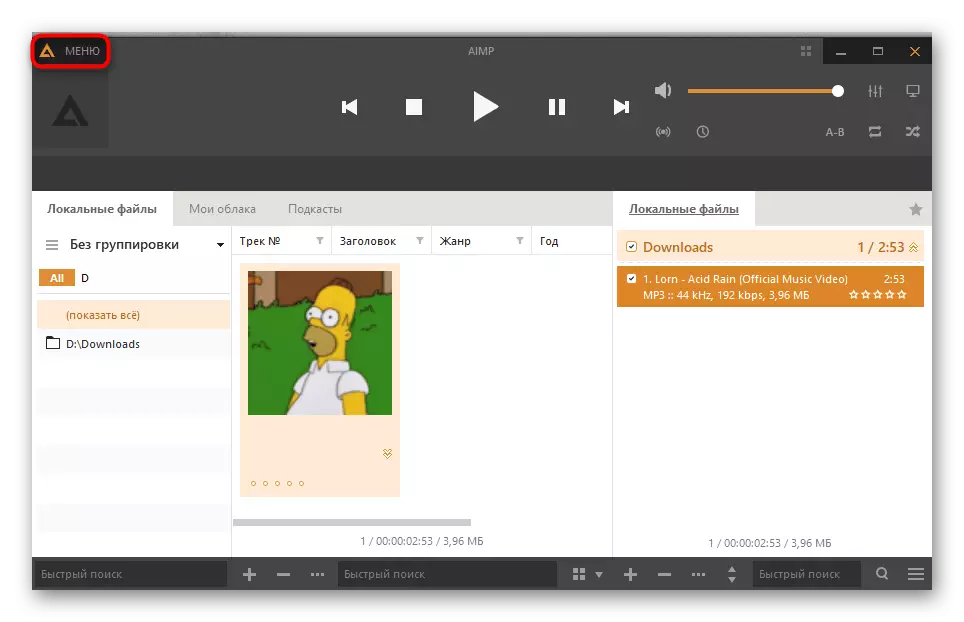
- Start the selected software and open the menu.
- Through it, go to the general settings. Usually is responsible for this standard is also a hotkey Ctrl + P.
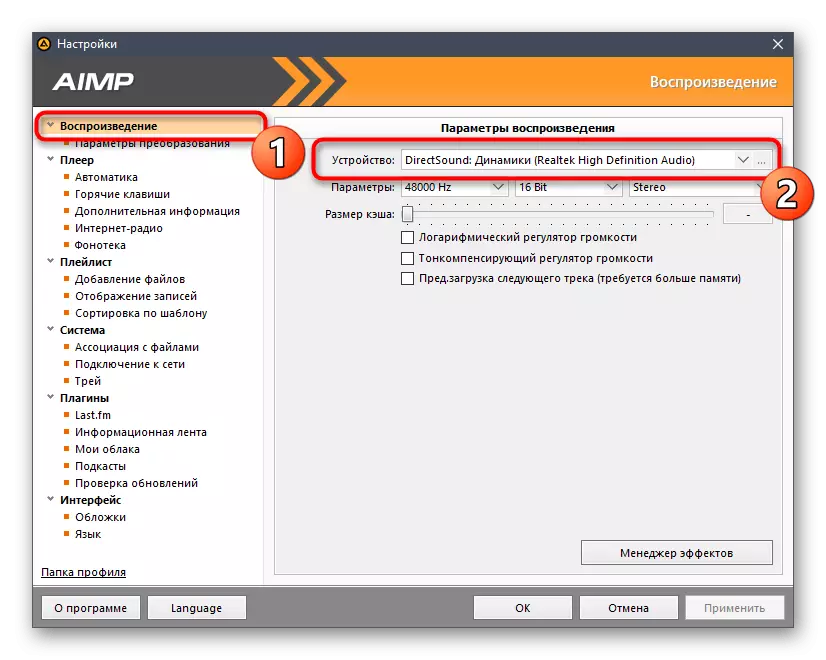
- Find the "Play" or "Play Settings" section where to expand the list with available devices.
- Lay there the added speaker "Line 1" and install it the main one.
- Start playing the selected composition.
- Return to Discord and make sure the microphone captures the translated track.
- If necessary, the volume can be changed directly in the player or the discord settings.


Return to the final step 2 to obtain detailed information about self-checking the track play via Virtual Audio Cable. By the way, in this case the situation changes slightly, because initially you do not hear the transition of the track, because it is transmitted to the virtual device. Then you can log in with another account in the Discord through the browser, connect to the voice channel and hear the track.
Setting the right to use voice activation mode
When reading the previous methods, you could notice that during the Discord configuration, it is mandatory to activate the activation mode via voice and the sensitivity is edited. For each role, you can configure the right, resolving or prohibiting using this mode on server voice channels. This approach allows you to limit the playback of music to some users or allow only specific. We will analyze both the general settings for roles and the rights of individual voice channels.Editing permissions for role
If the use of the voice activation mode is configured for a specific role, the participants relating to it immediately fall under the permission or prohibition, and this applies to all channels of the current server.
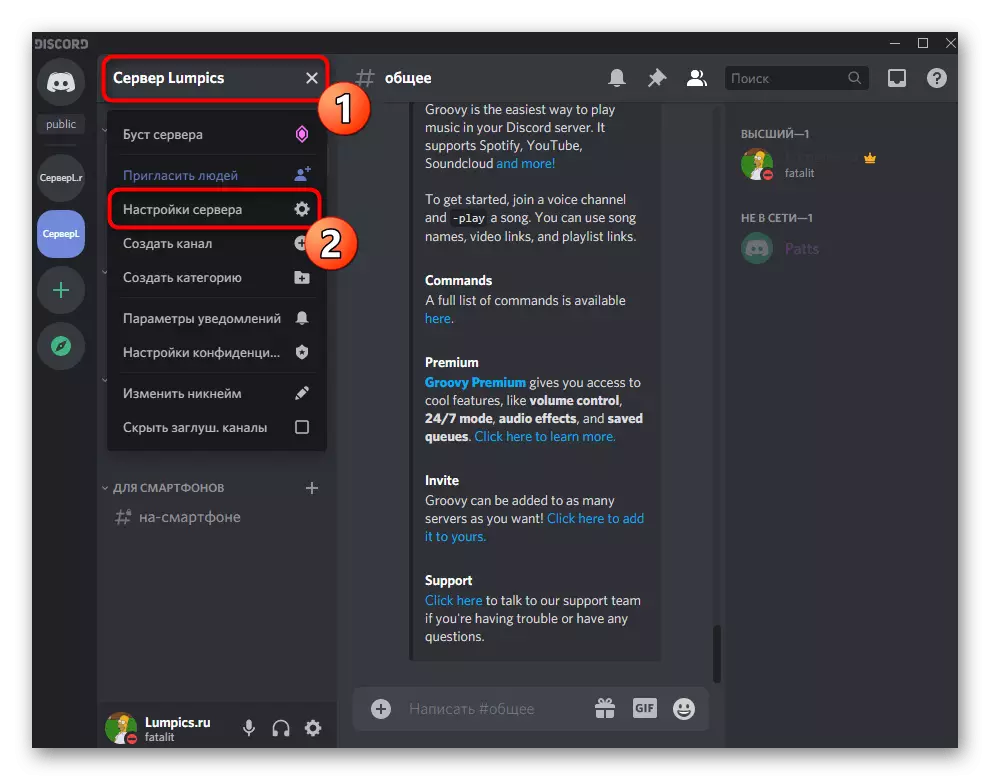
- Click on the server name and through the drop-down menu, go to the settings.
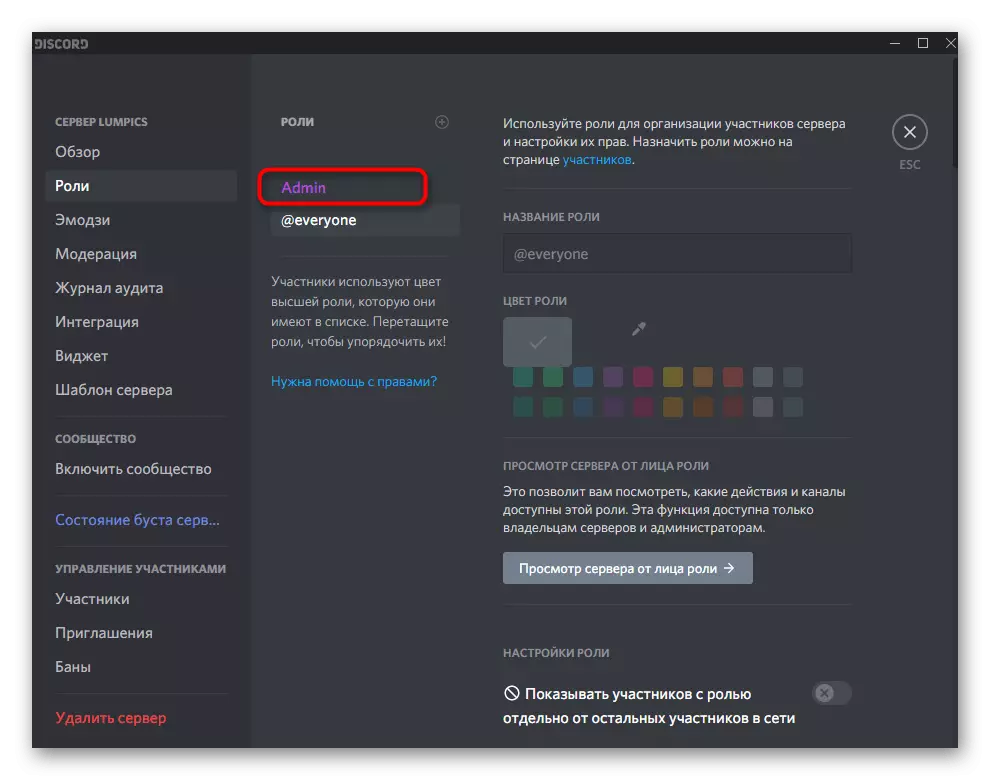
- Open the "Roles" section.
- Select a role to edit or create a new one.
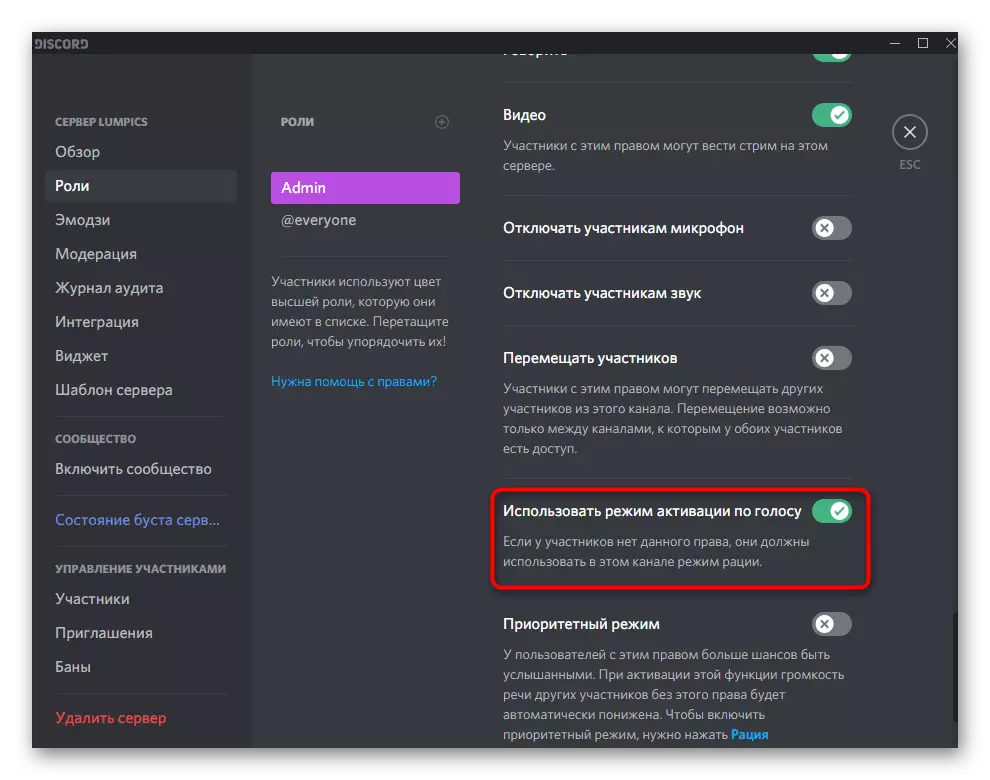
- Drop down to the block with the rights to voice channels and find the "Use voice activation mode." Now you can disable or enable it, depending on personal needs.
- Go back to the previous menu, but this time, open the section "Participants". Enter the user to assign a customized role.
- Find it in the list, given to the participants and do the same with the other users, who have to get under the new rule server.


If you are the creator or administrator of the server and there is an urgent need to set up right, but you have only your smartphone or tablet, you can use the mobile application for editing Discord roles parameters.
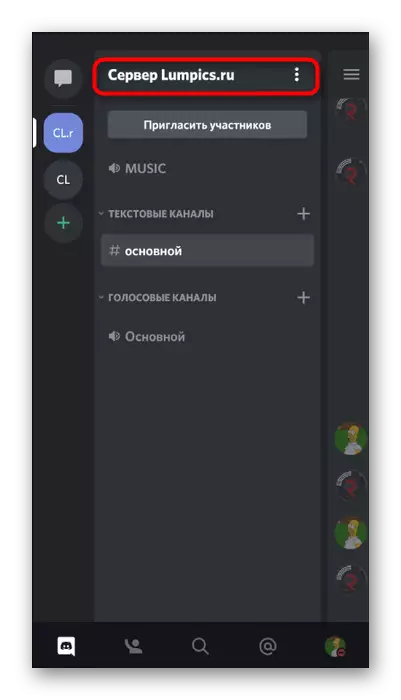
- Open your server, and click on its name to display the menu.
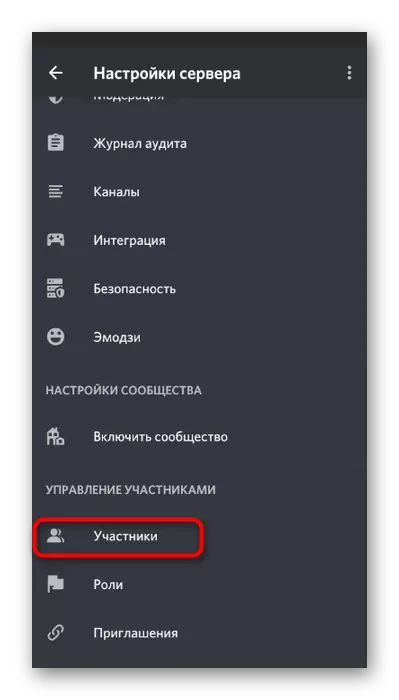
- Go to "Settings".
- Find the "Roles" section there is in the block "Manage members. '
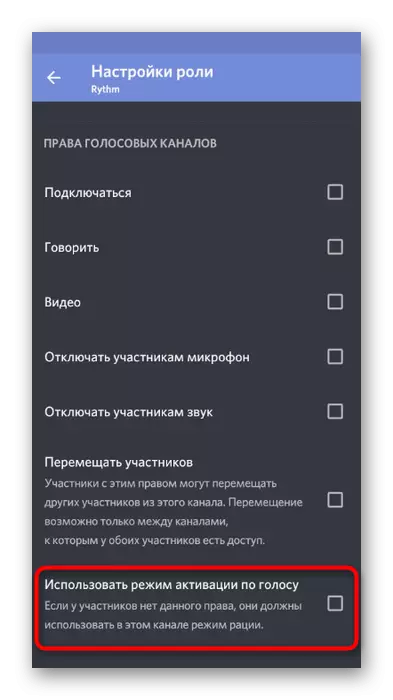
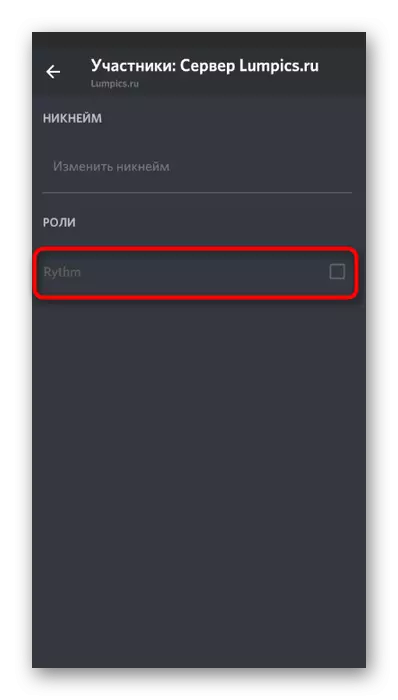
- Select a role to edit the rights to use the activation mode on a voice.
- Look at the list of available rights and find necessary. Remove or activate the check box to make the appropriate changes.
- Return to the main list from the server settings and select the "Participants".
- Locate the user to assign him a new role.
- Mark marker new status, edit, which was carried out previously.


If any aspects in setting up the roles are incomprehensible to you or you wish to get even more information on this topic, read the references in the links below, which speaks about the general role settings and assigning the status of the server administrator.
Read more:
Adding and distributing roles on the server in Discord
Issuing administrator rights on the server in Discord
Editing Rights in Voice Channel
Previous instructions are suitable only when permission or ban on using voice activation mode must be distributed to all channels for certain users. However, other situations arise, for example, when creating special channels with strict rules or, on the contrary, with Flood. Then the optimal option is to set the rights on the channel itself.
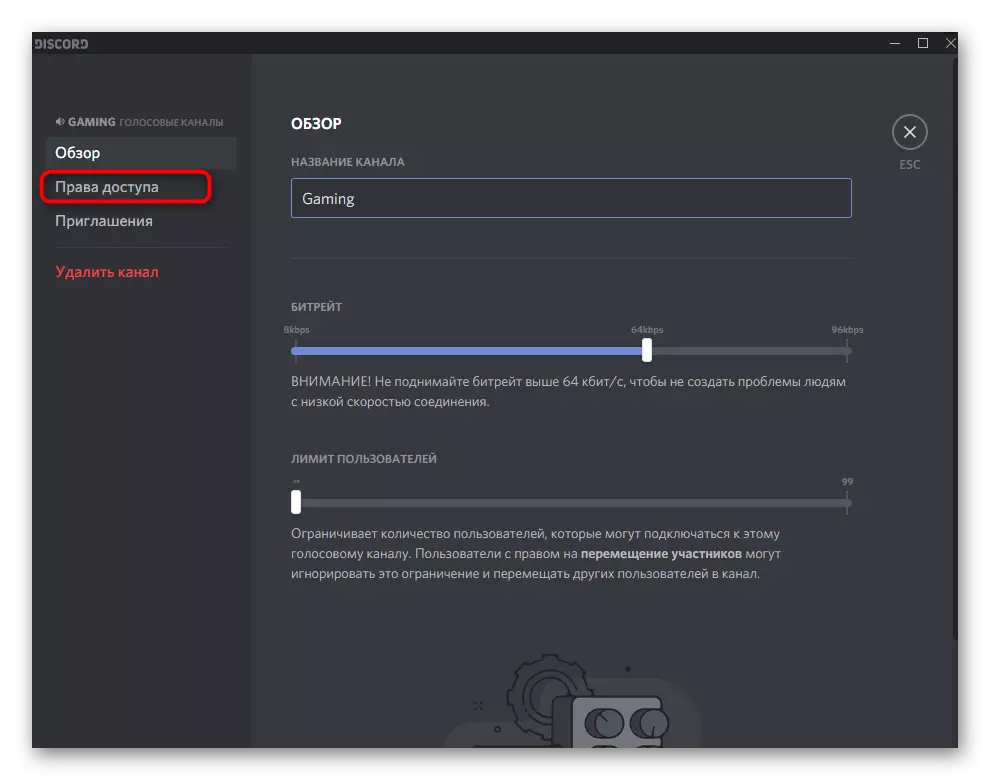
- Move the cursor to the voice channel and click on the gear icon that appears.
- In the Settings window, go to the "Access Rights" section.
- Add a participant or the role to which special rights of the current channel will relate.
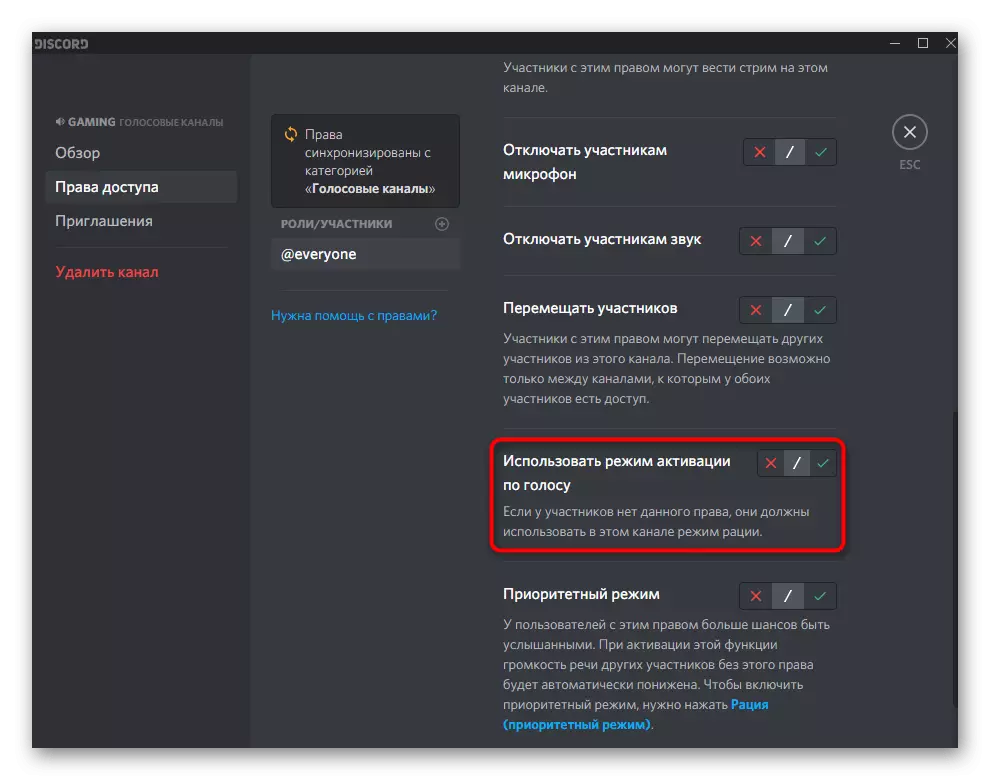
- In the Permissions list, find "Use Activation Mode by Voice". If you put a tick, it will be available. The devil means synchronization with the role parameters.


As before, consider the principle of control of permissions for channels in the mobile application Discord if there is no access to the computer or you prefer to use a smartphone to work with your server.
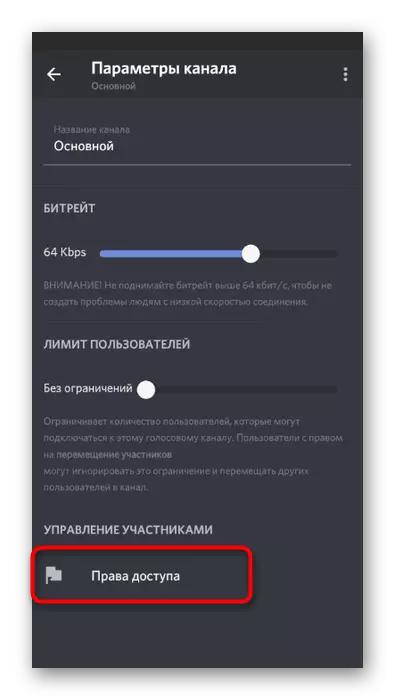
- Make a long tap on the voice channel you want to configure.
- The "Channel Parameters" window appears, in which go to "Access Rights".
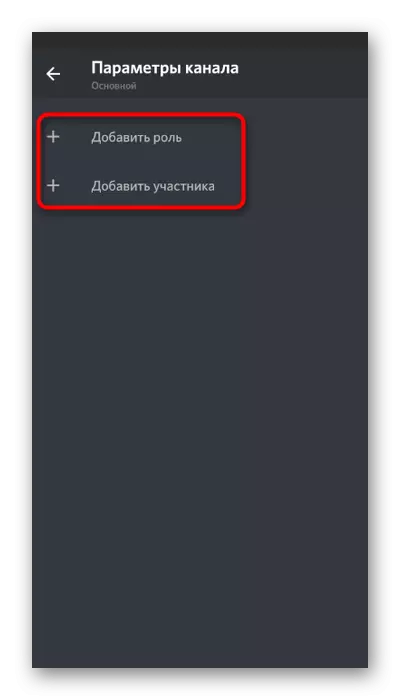
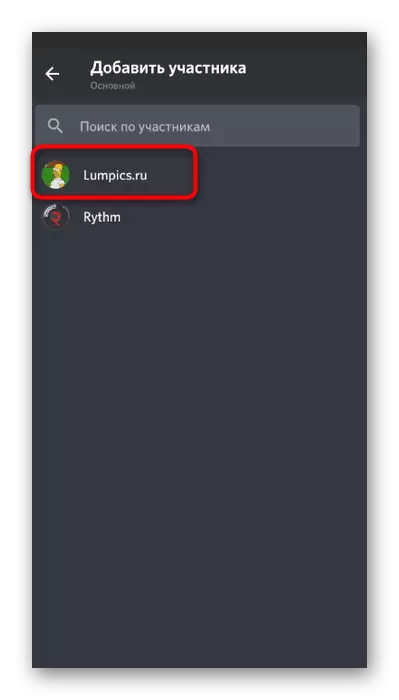
- Add a role or a specific participant to configure.
- In the displayed list, you select or use the quick search feature.
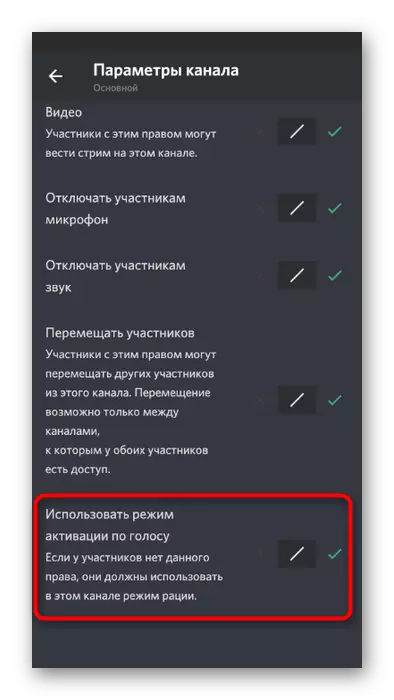
- Find the right to "use voice activation mode" and decide whether you want to disable it or actively.