Step 1: Program Setup
Before proceeding directly to video recording from a computer screen or a laptop in OBS Studio, you must conduct some settings. These include changing the output permissions, recording format, encoder profile and file saving paths.
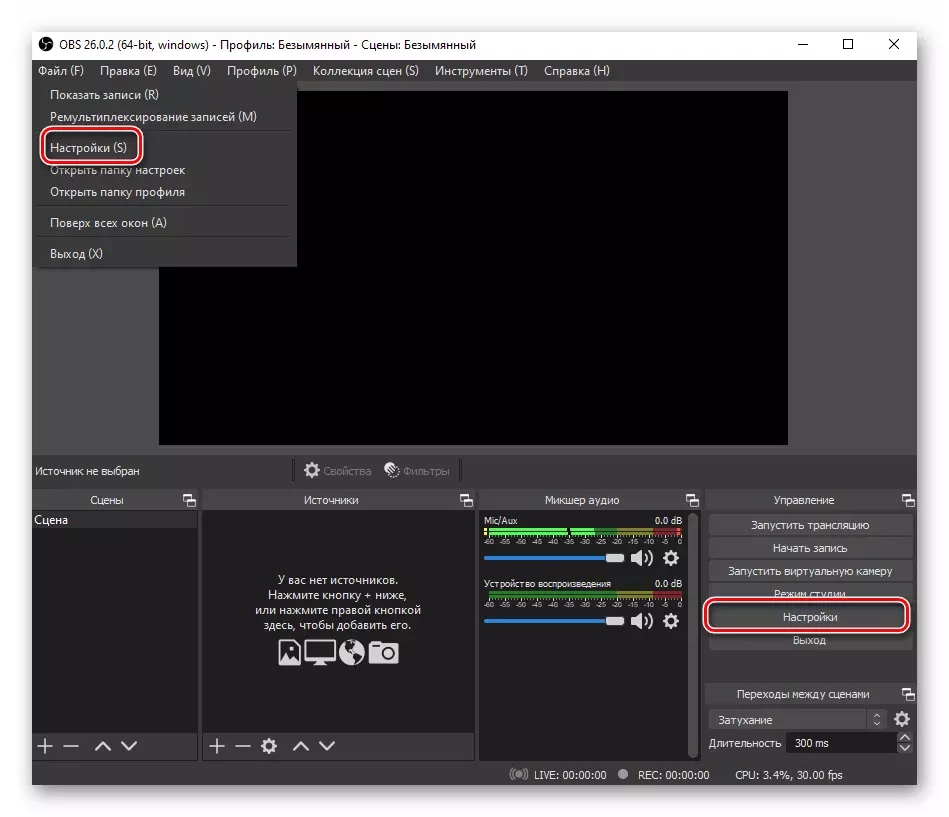
- Running the program, click the "Settings" button located in the Management Block. Alternatively, you can use a similar button in the "File" drop-down menu.
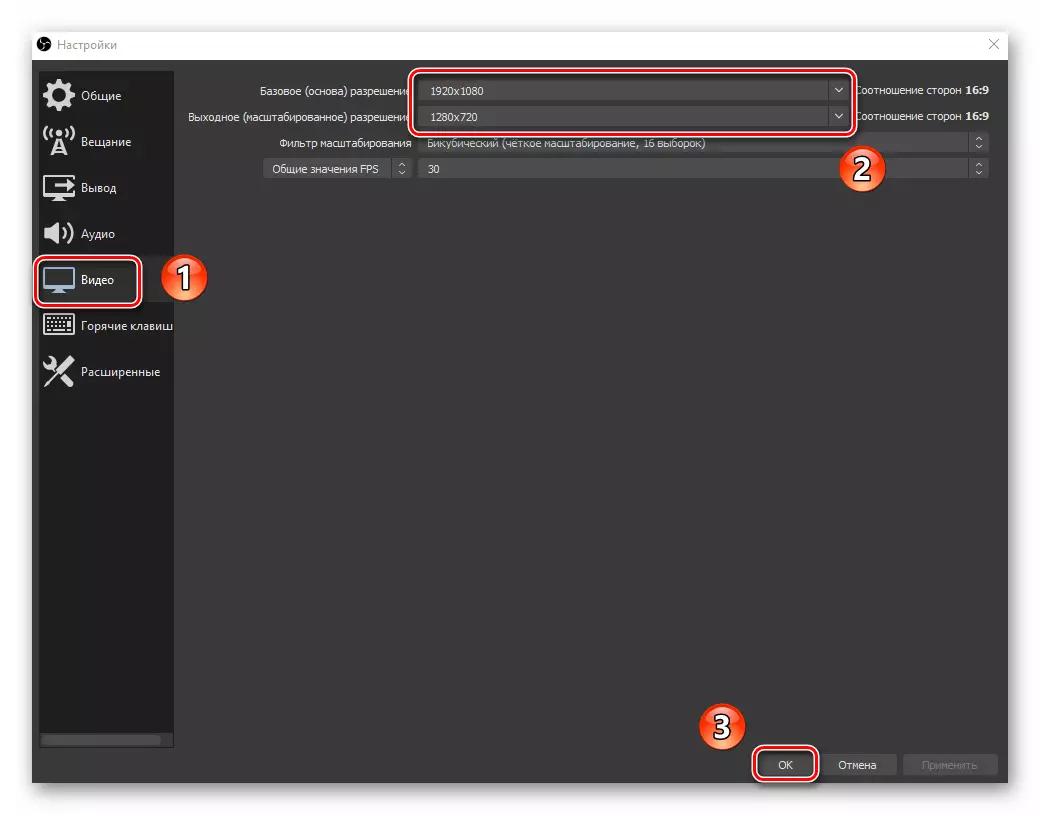
- In the window that opens, go to the "Video" tab. It requires a change in the "output resolution" field. By default, it is less basic. This creates an additional load on the iron, since the program has to scale the video recordable. We recommend installing the same value for both the input and output resolution.
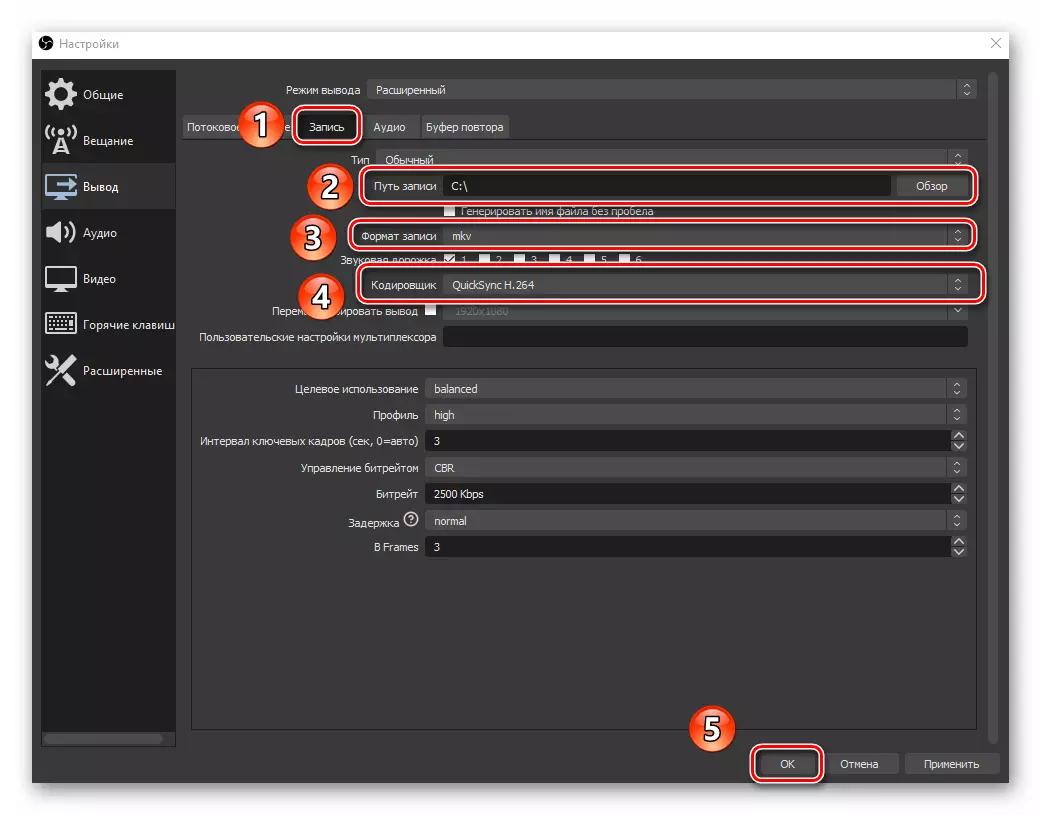
- Next, in the Settings window, open the "Output" tab. At the very top, switch the output mode with "simple" to "advanced".
- Then open the entry "Record". Here you can find all the settings associated with video recording. If necessary, change the file saving path, video format, bitrate, encoder, or any other parameter. When the procedure is completed, press the OK button to save all the earlier changes. If you additionally need to configure the sound capture settings, read our separate manual.
Read more: Sound setting in OBS

Step 2: Adding a source and filters
After performing the initial OBS Studio setting, you need to add a new grip source. To do this, follow the following:
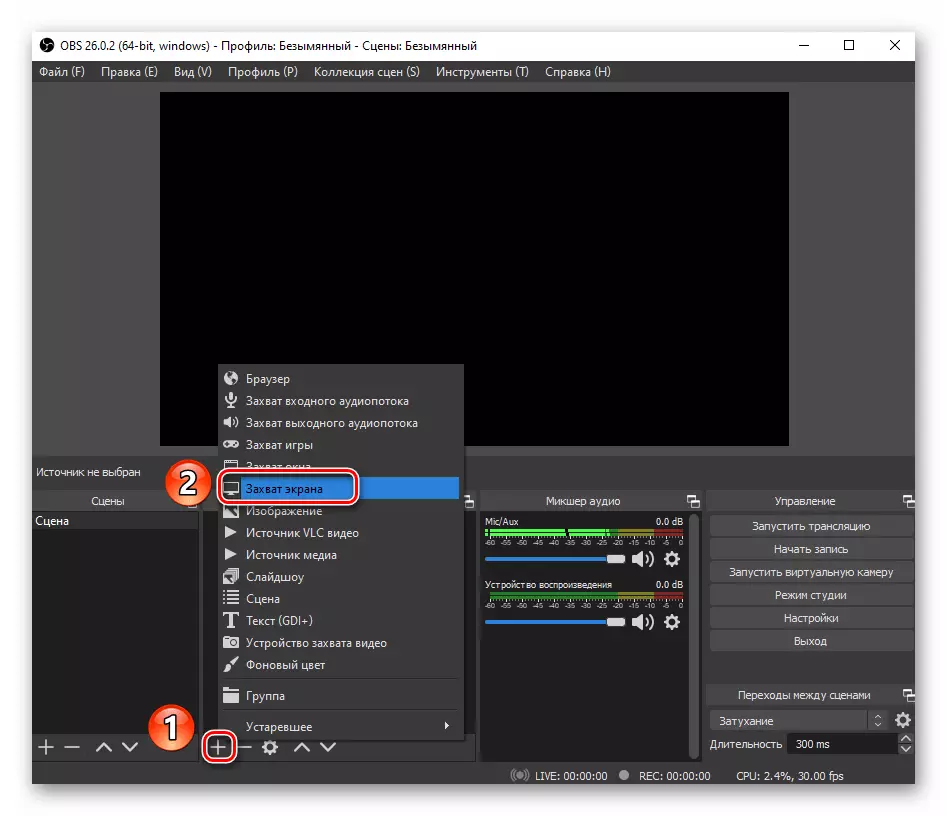
- Click the button with the image of the plus under the source block. In the context menu that opens, click the left mouse button on the screen capture item.
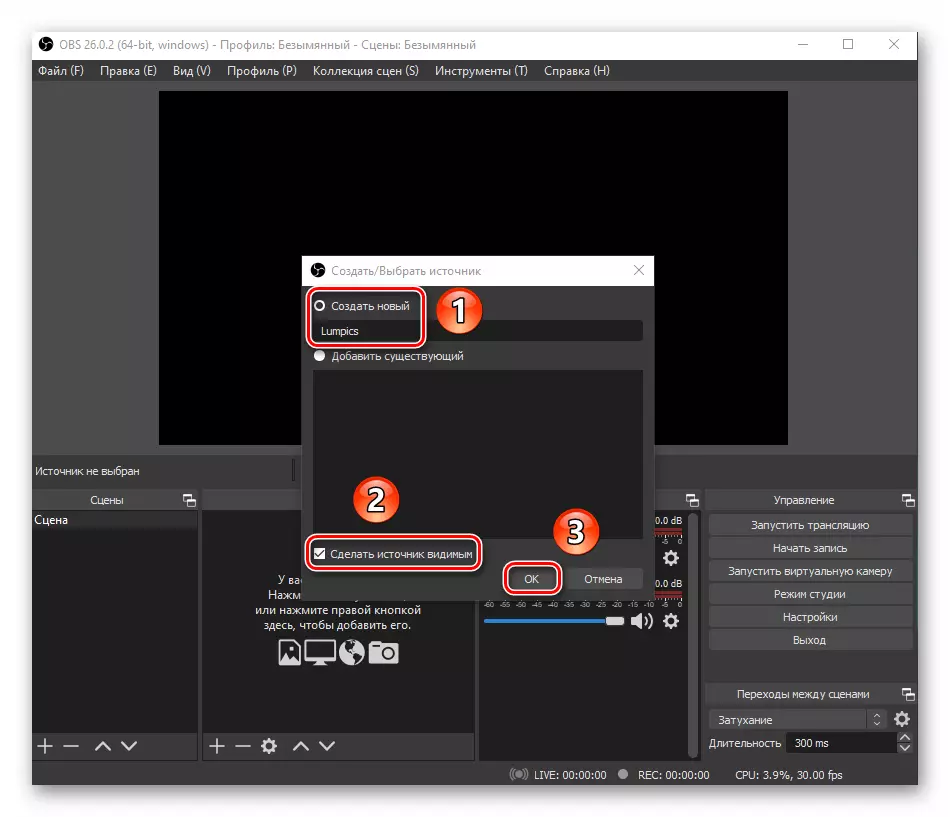
- In the window that appears, set the desired name for the source and set the mark near the "Make Source Visible" line. Finally, click the OK button.
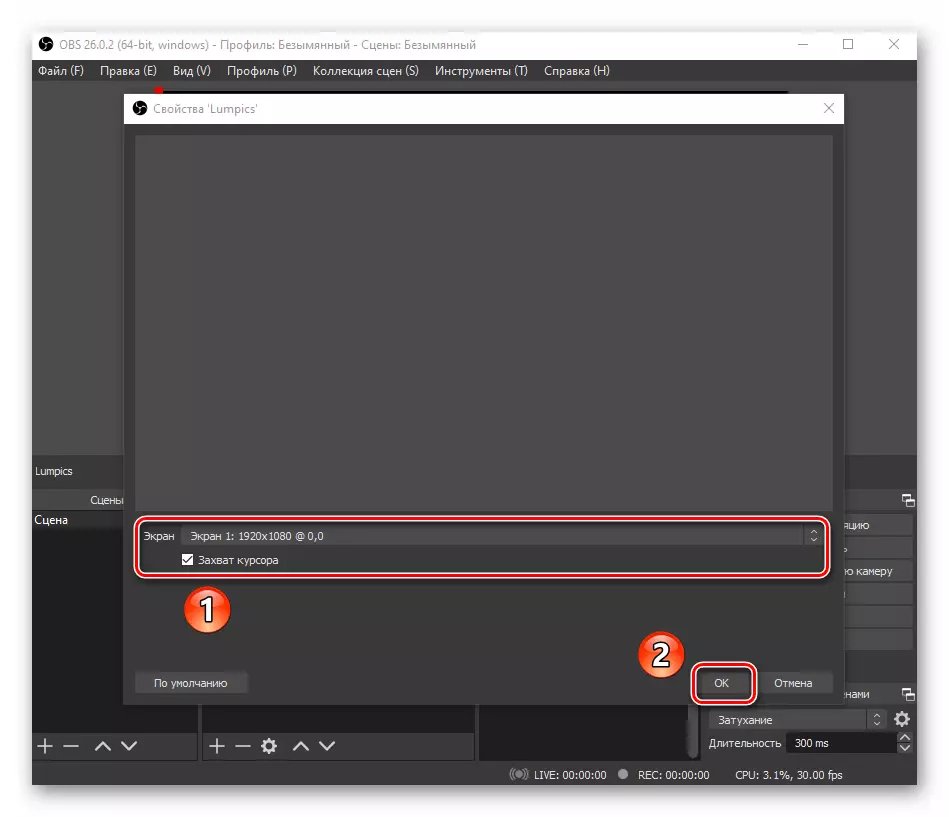
- Next, in the dialog box, select the monitor from which capture will be performed. If you have only one, there will be no other items in the list. Select your device and, if necessary, set the mark near the Cursor Capture Line. In the future, these settings can be changed, for example, disabling the cursor capture function. After performing all actions, click OK to add a source to the program.
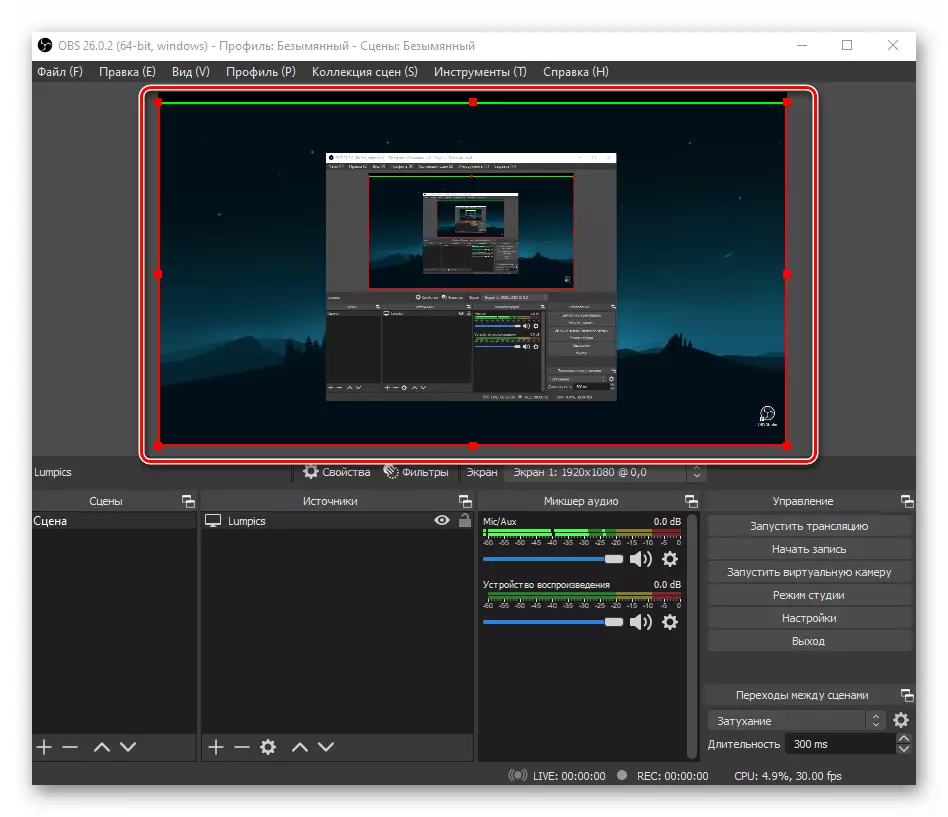
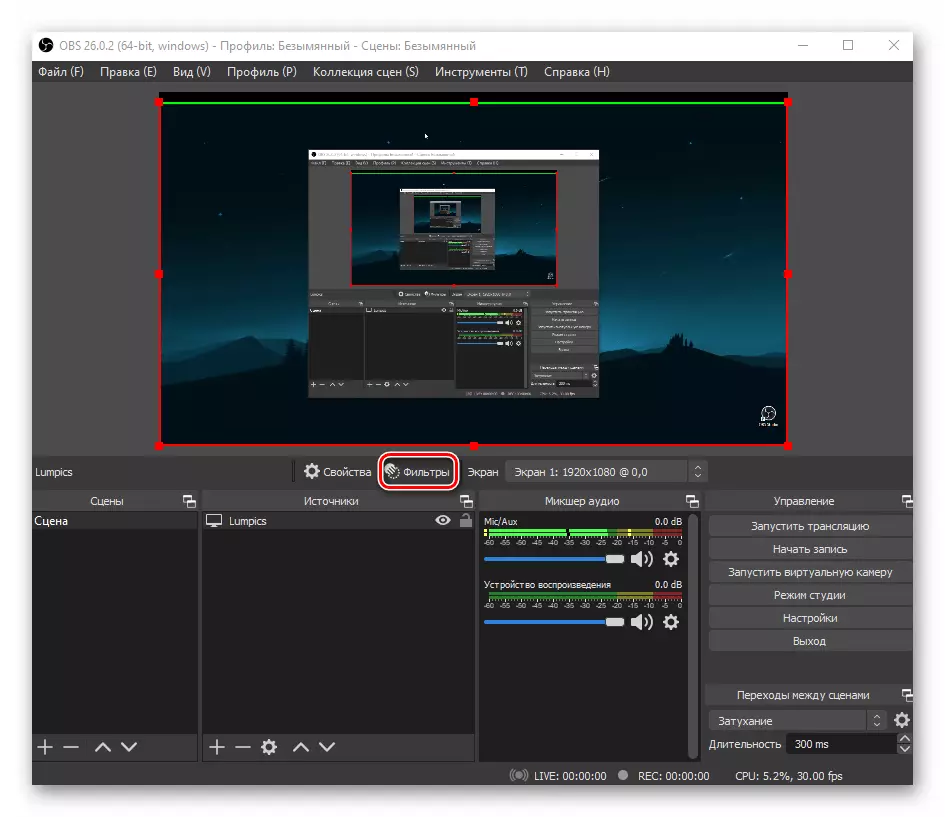
- If everything is performed correctly, in the OBS Studio Preview window you will see your PC screen. A red frame will be displayed around it, pulling the edges of which you can change the capture zone.
- If necessary, you can apply different "filters" to the video recorded. To do this, click on the button of the same name located under the preview window.
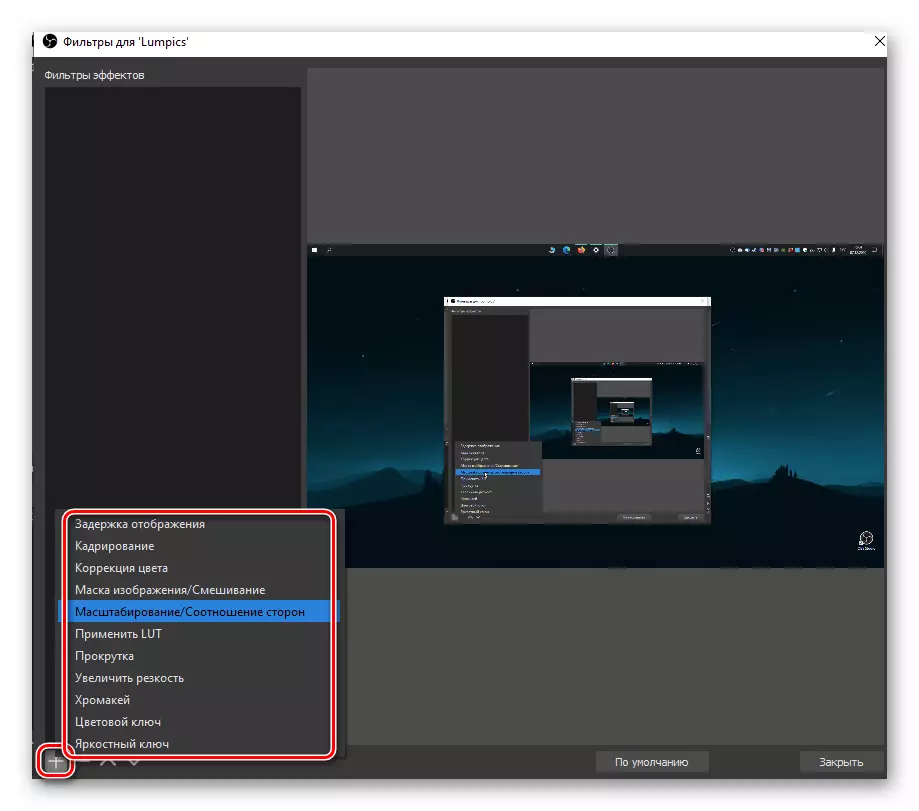
- A window will open, in which you should click the button with the image of the plus. From the context menu, select the desired filter and adjust it.
Step 3: Start recording
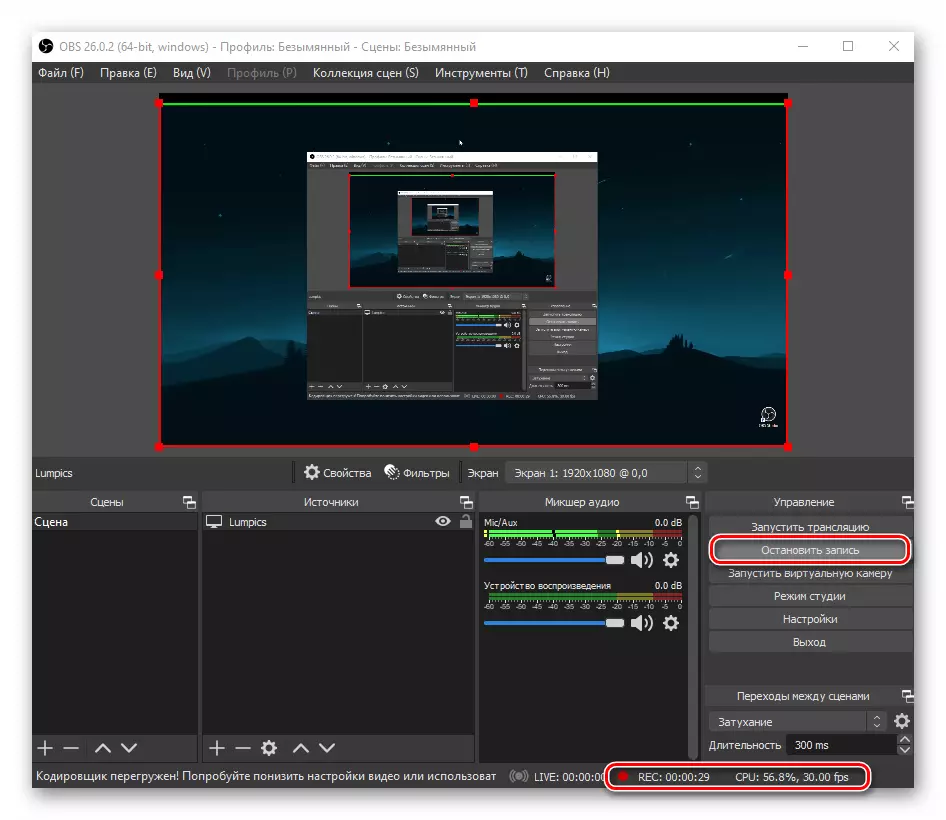
When everything is ready to capture, it remains only to click the "Start Record" button, which is located on the right part of the OBS Studio window.

After performing this action, a red icon will be displayed in the bottom panel of the program window, the recording time and information about the processor workload with FPS will be displayed. On the spot before the "Start Record" button will appear another - "Stop Record". By clicking on it, you can interrupt the process of capturing the desktop and save the result in a file.