Method 1: Physical Headphone Verification
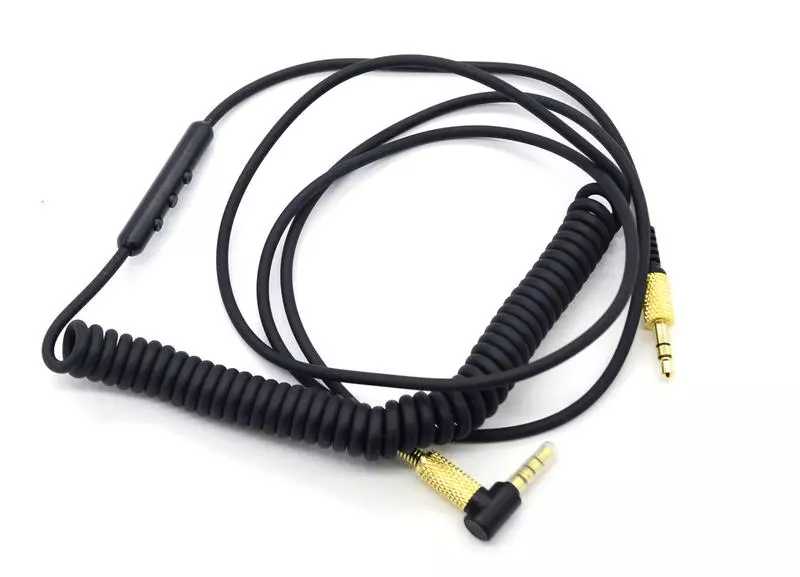
The priority task is to check the wire, plug and headphones themselves. Make sure that the cable, headphones and their speakers do not have physical damage. After that, inspect the connectors on the wire and clean them from any saroke and dust if they are present. Do the same with the port where the equipment is connected. Even a small clogging can lead to noise and interference due to improper contacting of contacts.
If, after visual checking and cleaning the noise connectors, they still do not go anywhere, proceed to perform the next check method, which will avoid the need and edit system parameters.
Method 2: Headphone Connection Port Change
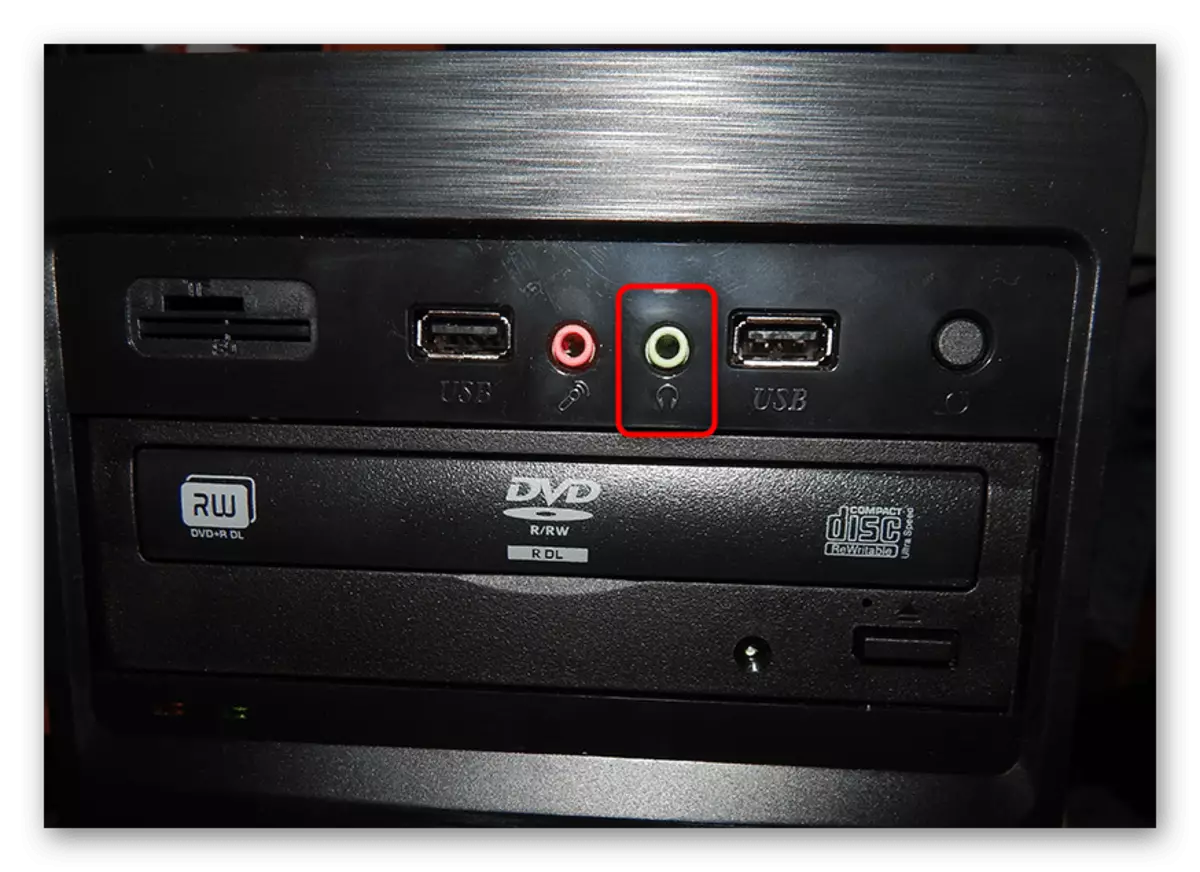
This check method applies only to computer owners, since only one connector for connecting headphones is present on laptops. If you have connected a playback device through the port on the front of the housing, try to stick it directly to the motherboard, and vice versa. This action will help to understand whether the appearance of noise is the problem of exclusively connector.
Method 3: Running troubleshooting tools
Sometimes problems with the operation of the playback device are associated with the appearance of malfunctions in the operating system. It may be no update for the driver or the functioning of virtual equipment, which was added manually by the user. It is difficult to search for the reason for the occurrence of noise in headphones, so it is advised to start troubleshooting.
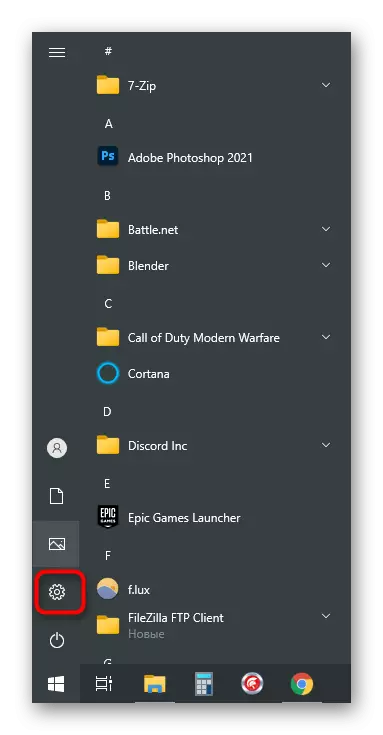
- To do this, open the Start menu and go to the "Parameters" application.
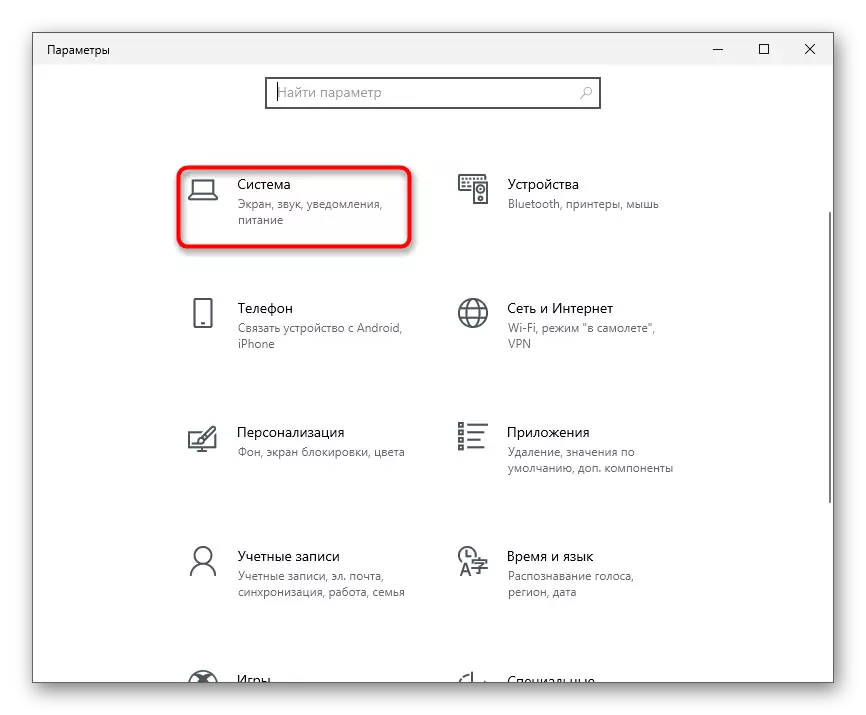
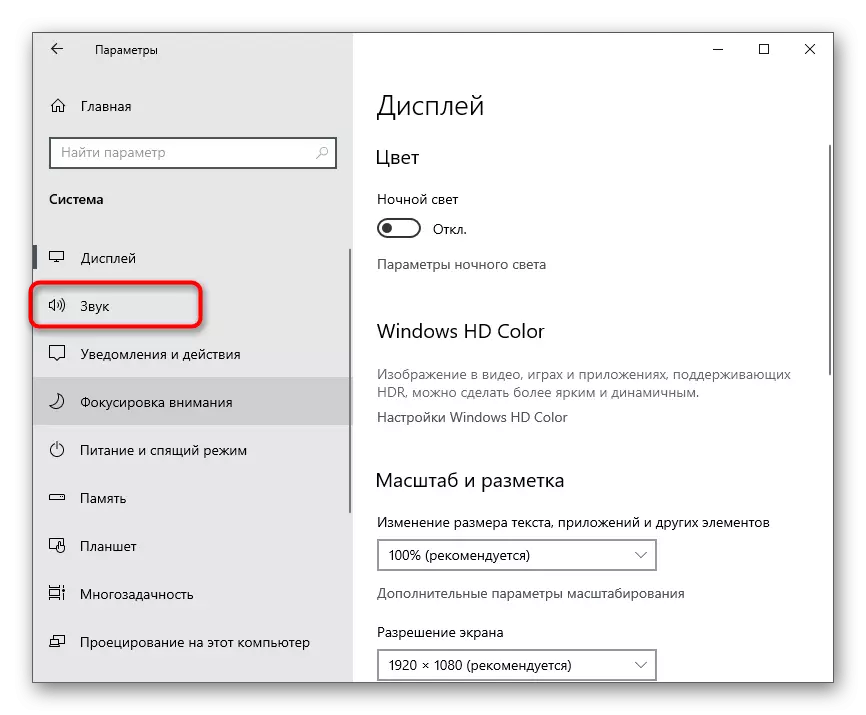
- Click on the tile with the name "System".
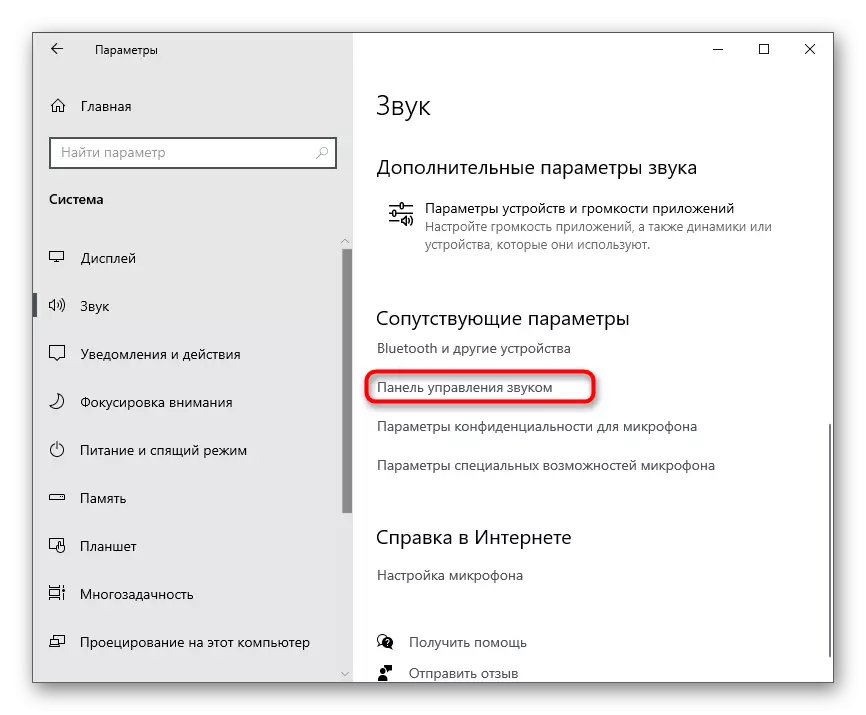
- In a new window, go to the "Sound" section.
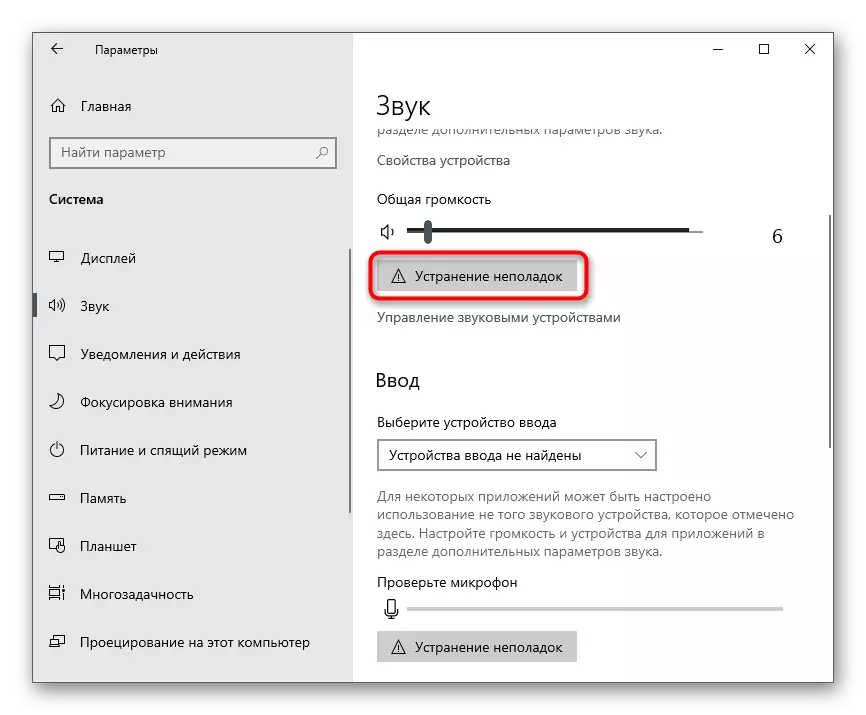
- Under the slider of the speaker volume control there is a troubleshooting button for which you should click to start this process.
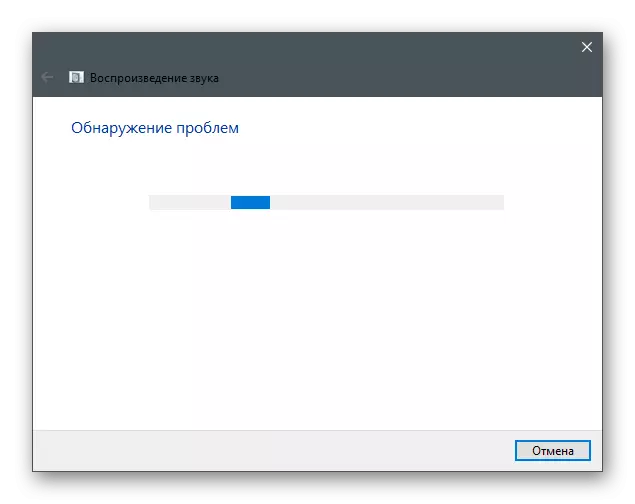
- Expect the scan of all connected devices.
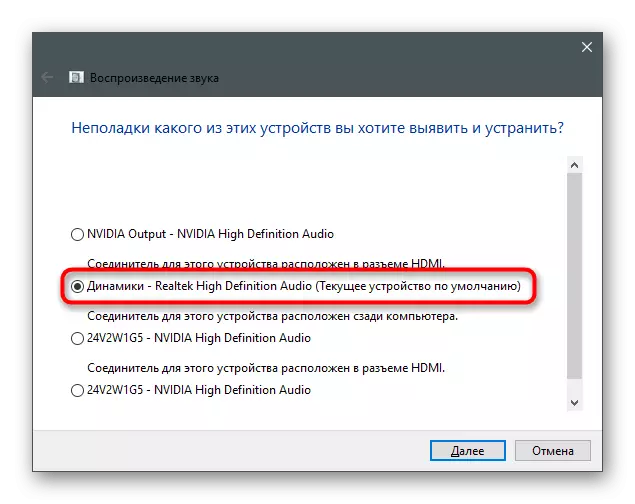
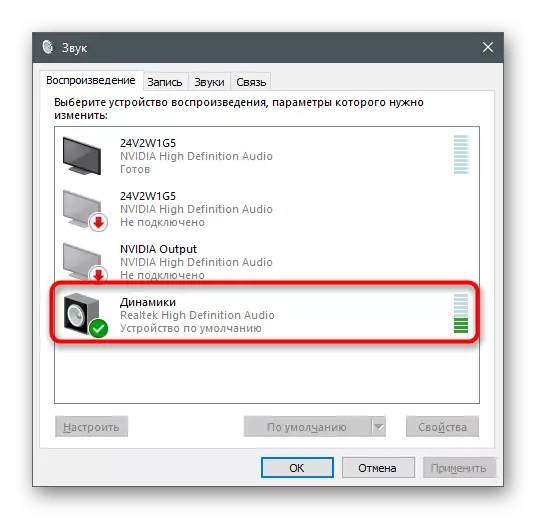
- The next step is to select the speaker, with the work of which caused problems. If the headphones are highlighted as a separate device, mark them with a marker and go further.
- Wait for information about the errors found and follow the recommendations to check whether it will somehow affect the elimination of noise in headphones.
Method 4: Disabling improvements
One of the most common causes of the appearance of noise at the playback device is a huge amount of activated improvements or their incorrect operation. If the improvement was manually configured, it is likely that it was because of it, you began to hear noises.
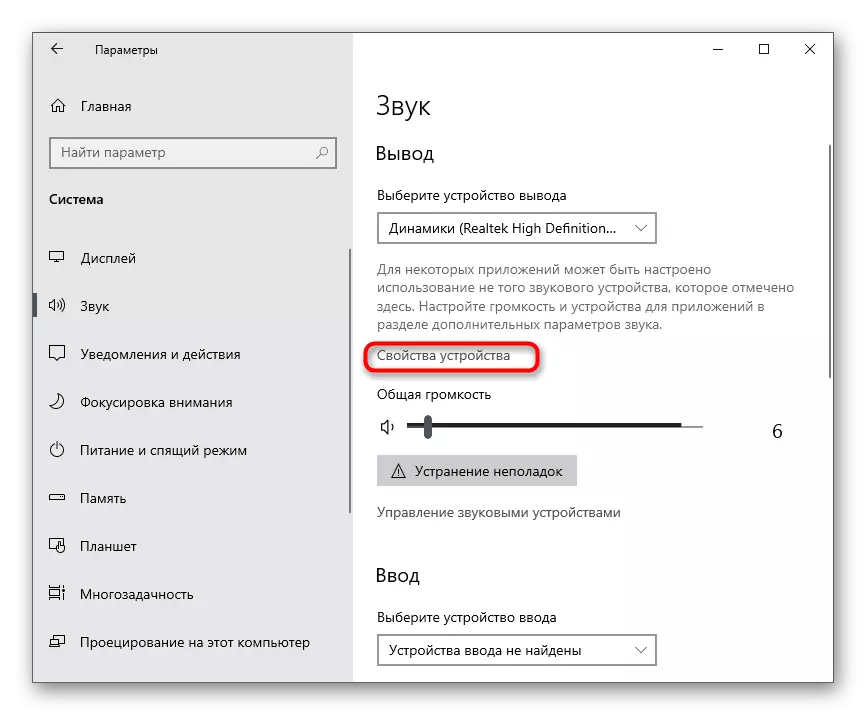
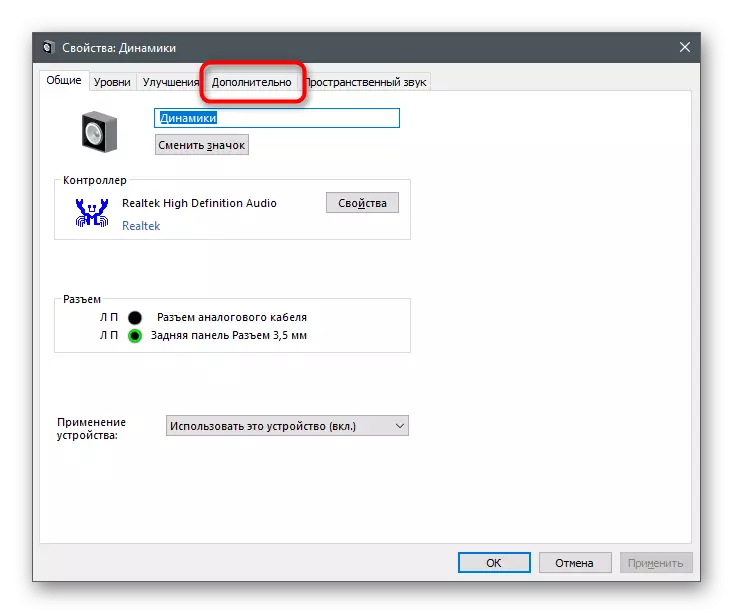
- In the same "Sound" menu, this time, press the "Device Properties" row in the "output" block.
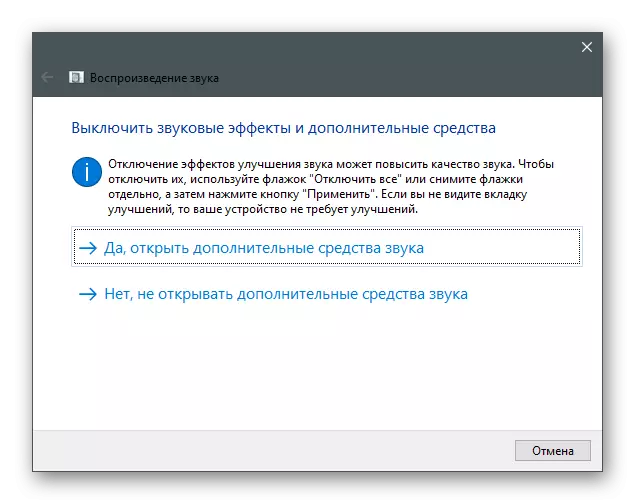
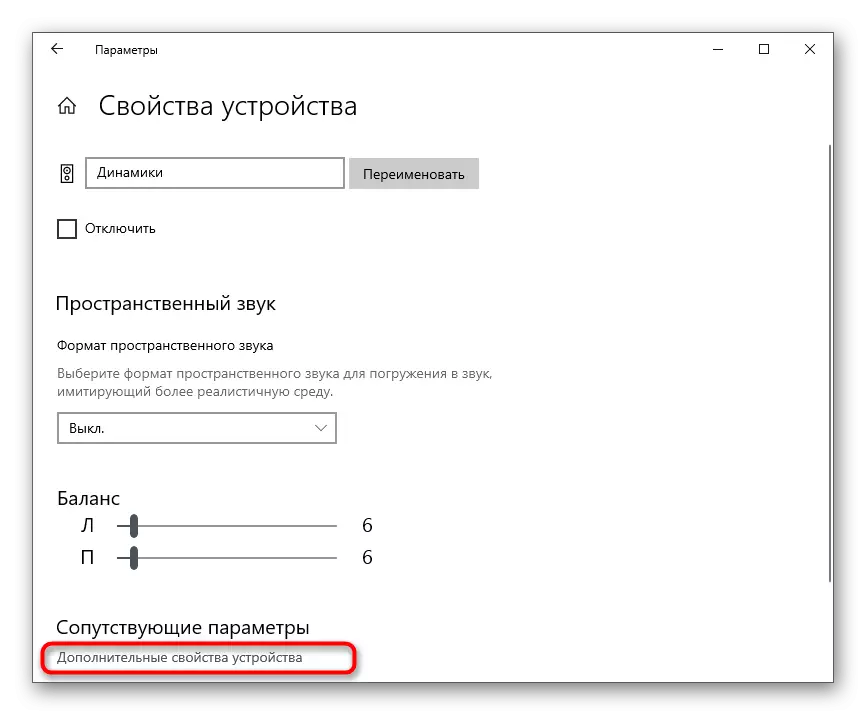
- Find the "Related Settings" block and call the "Advanced Device Properties".
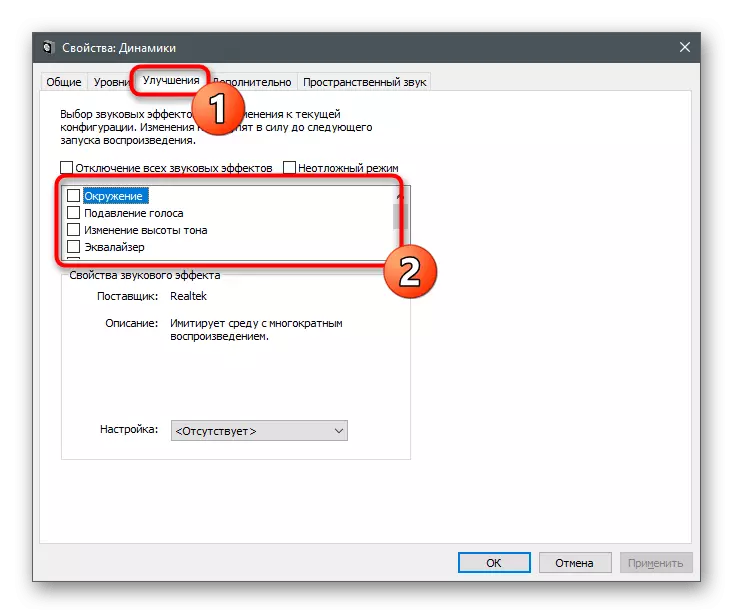
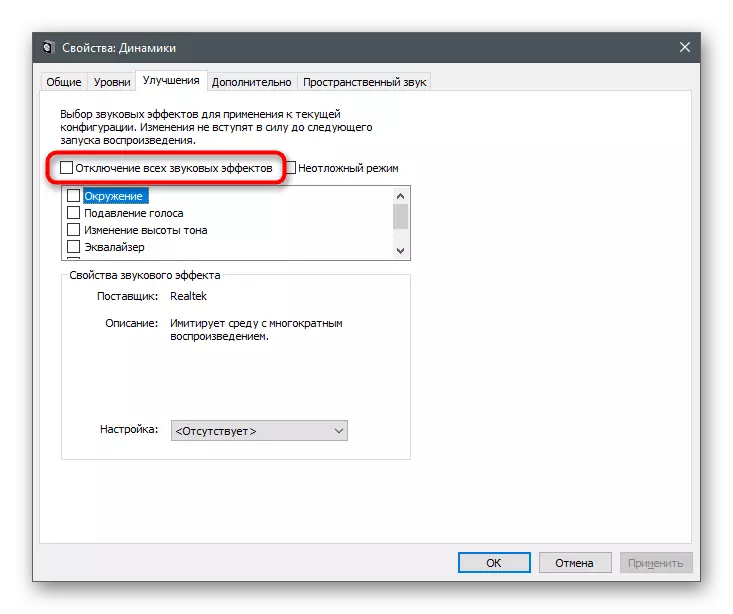
- Go to the "Improvements" tab and check which effects are now included. Disconnect them all, removing the tick on the contrary.
- Instead, you can use the "Disable all sound effects" item.
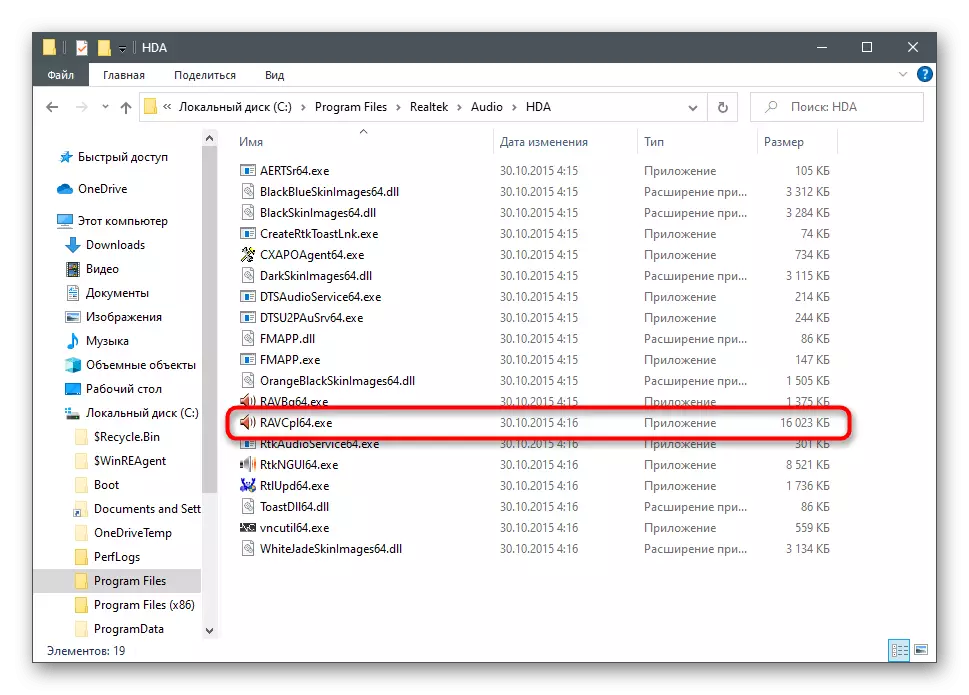
Separately, we will analyze instructions for users who have installed a third-party software to manage headphones or operating peripherals or sound cards on their computer. Take this on the example of the graphic application from Realtek.
- Run the sound control program through the taskbar if it is in the rolled state or via the executable file by finding it in the Start menu or in the "Explorer".
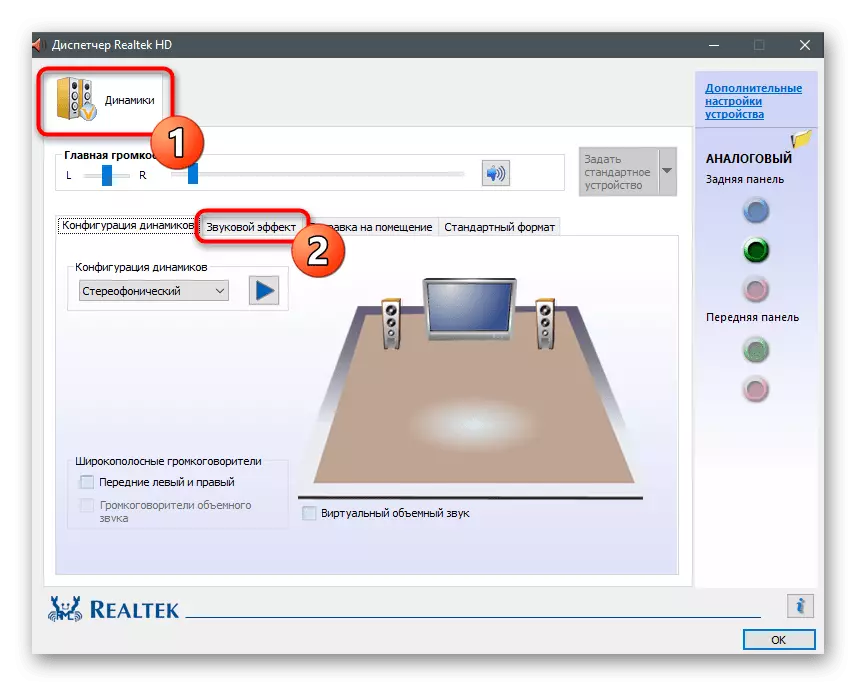
- Select a tab with the speaker used and go to the "Sound Effect".
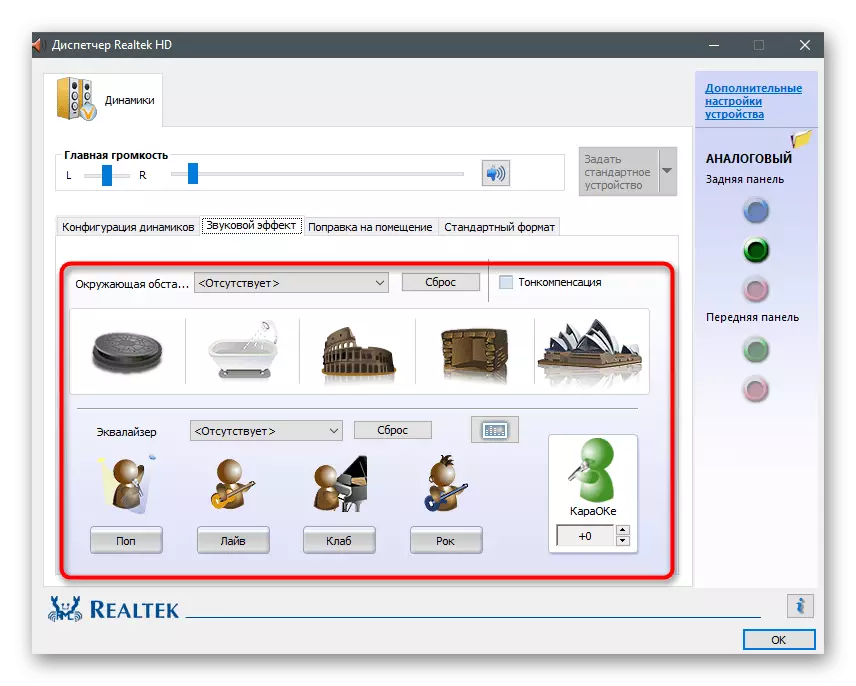
- Make sure there are no equalizer profiles and the surrounding. If the program supports other effects, reset them too, then check the work of headphones.
Method 5: Change sampling frequency
In the Sound Card Driver Settings for the speaker, you can set one of the sampling frequency options. This parameter is responsible for the processing of sound and may not work correctly if you selected an option incompatible with the equipment. You can check this theory only by changing the parameter what happens like this:
- Go to the "Device Properties" menu (how to do this, is shown in the first step of the previous method) and open the "Advanced device properties".
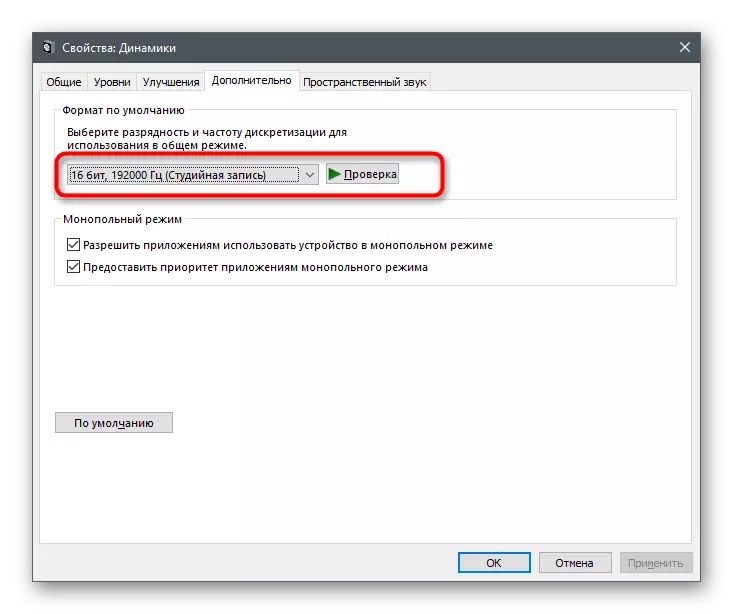
- In the new window, switch to the "Advanced" tab.
- Expand the drop-down list with all the default format options and select the sampling frequency of which is slightly below the current one.

Method 6: Disable unused headset components
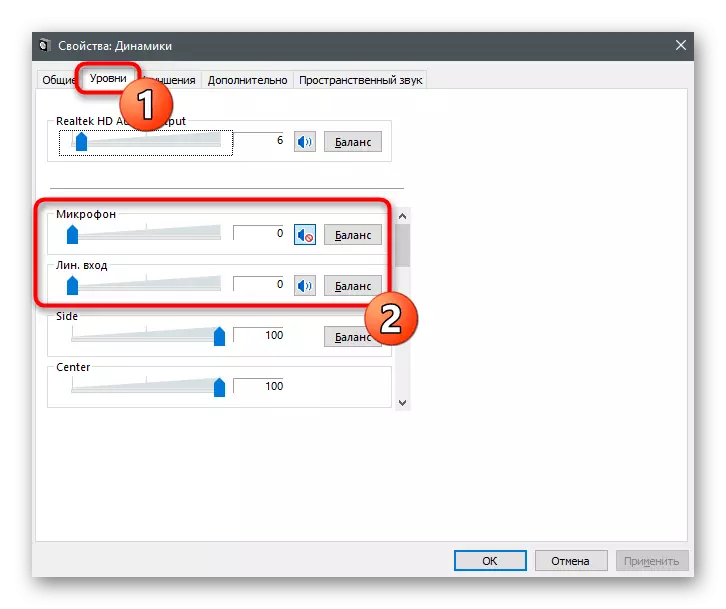
Windows supports connecting completely different columns and headphones, so for the entire periphery provides a huge number of settings for their components, including a microphone, linear input and speakers. Nothing from this in the headphones is not used, so it is better to turn them off everything to avoid the appearance of annoying noise.
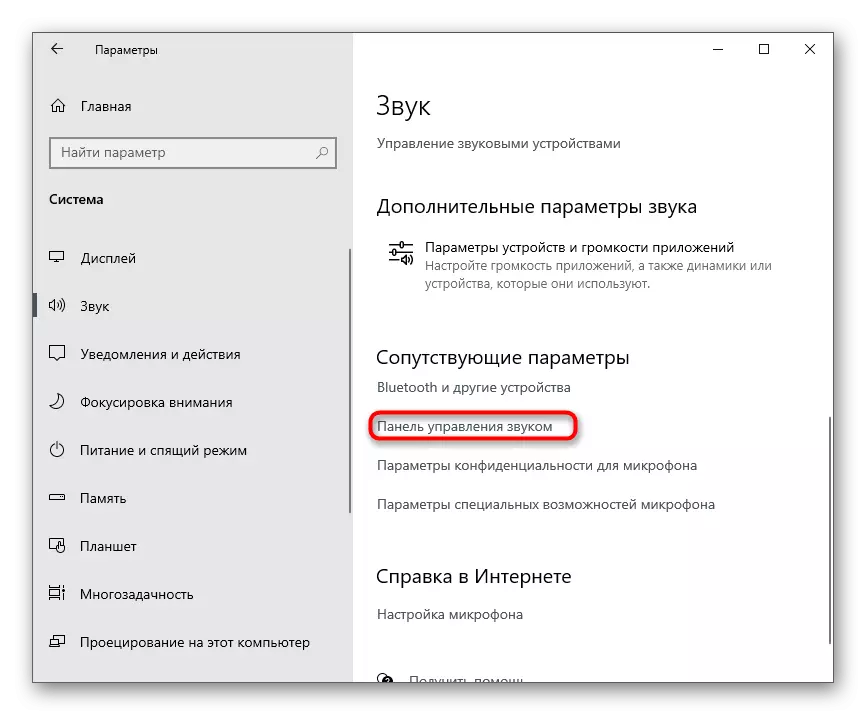
- Through the familiar section "Sound" You can go to the "Sound Control Panel" menu.
- Double-click the default speaker string to open its properties.
- Click the "Levels" tab and disconnect all additional components that are not used in this equipment.
Method 7: Turning off the audition from the microphone
This method is only suitable for those who use the microphone with headphones. The listening function from the device may affect the appearance of noise, since the microphone is in working condition and captures all the sounds. It is necessary to disable it so that the sounds from the microphone are not heard in the headphones.
- To do this, open the "Sound Control Panel".
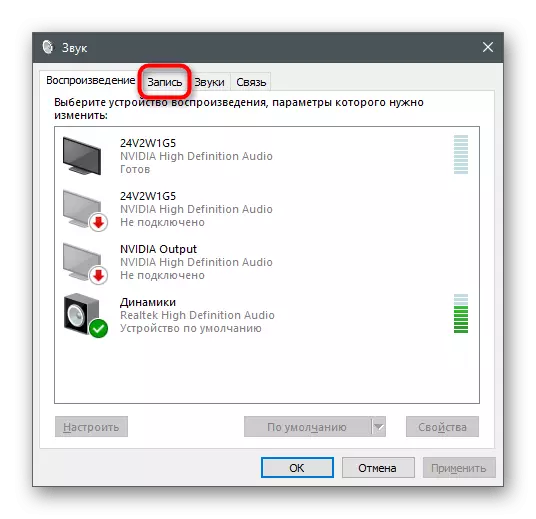
- Switch to the "Record" tab.
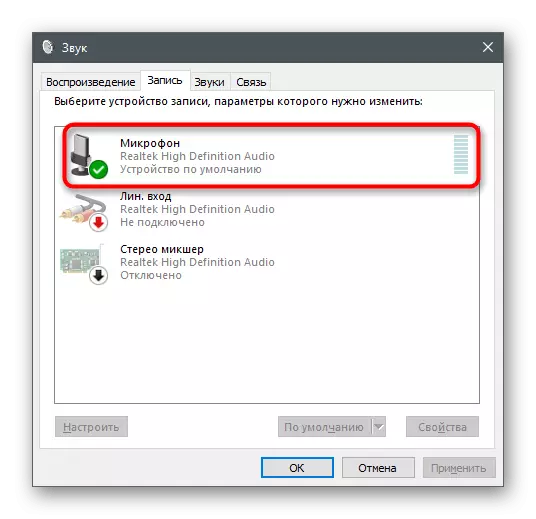
- Double-click on the line with the microphone used.
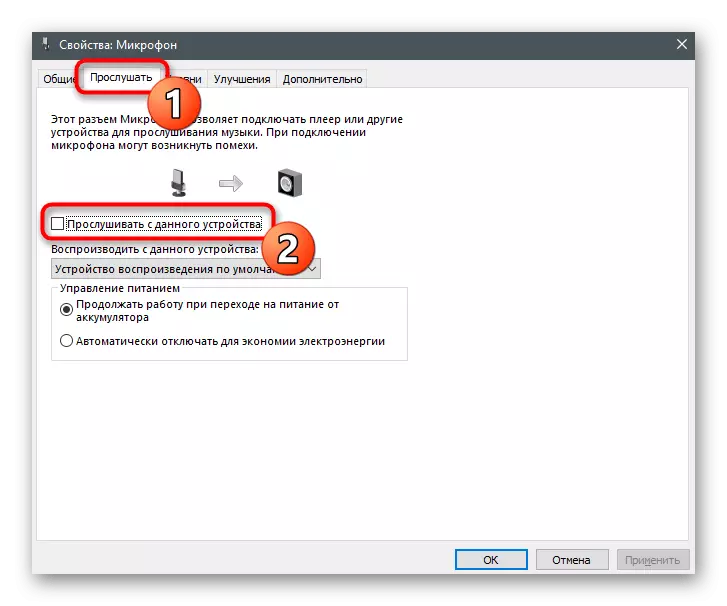
- On the "Listen" tab, find the "Listen from this device" item and remove the checkbox from it.