

As you know, Photoshop is a powerful graphic editor that allows you to process photos of any complexity. Thanks to the enormous potential, this editor was greatly distributed in various fields of human activity.
And one of such areas is the creation of full-fledged business cards. Moreover, their level and quality will depend only on the fantasy and the knowledge of Photoshop.
Download photoshop
In this article, we consider an example of creating a simple business card.
And, as usual, let's start with the installation of the program.
Installing Photoshop.
To do this, download the photoshop installer and launch it.
Please note that a web installer is downloaded from the official site. This means that all the necessary files will be downloaded via the Internet during the installation of the program.
Unlike most programs, Photoshop is different.
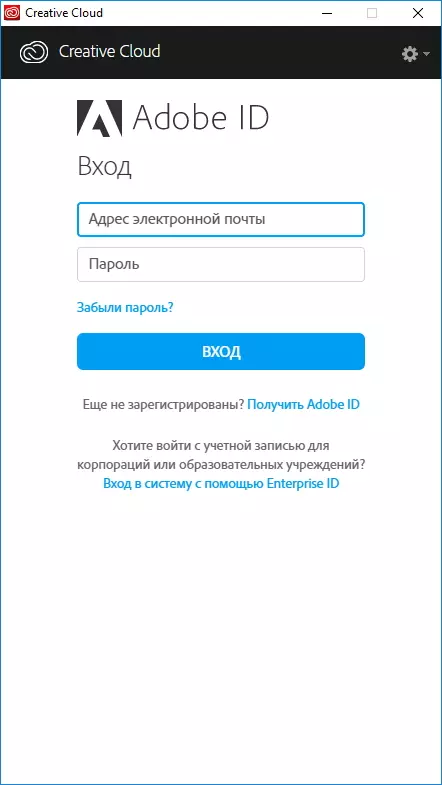
After the web installer downloads the necessary files, you will need to log in to the Adobe Creative Cloud service.
The next step will be a small description of the "creative cloud".
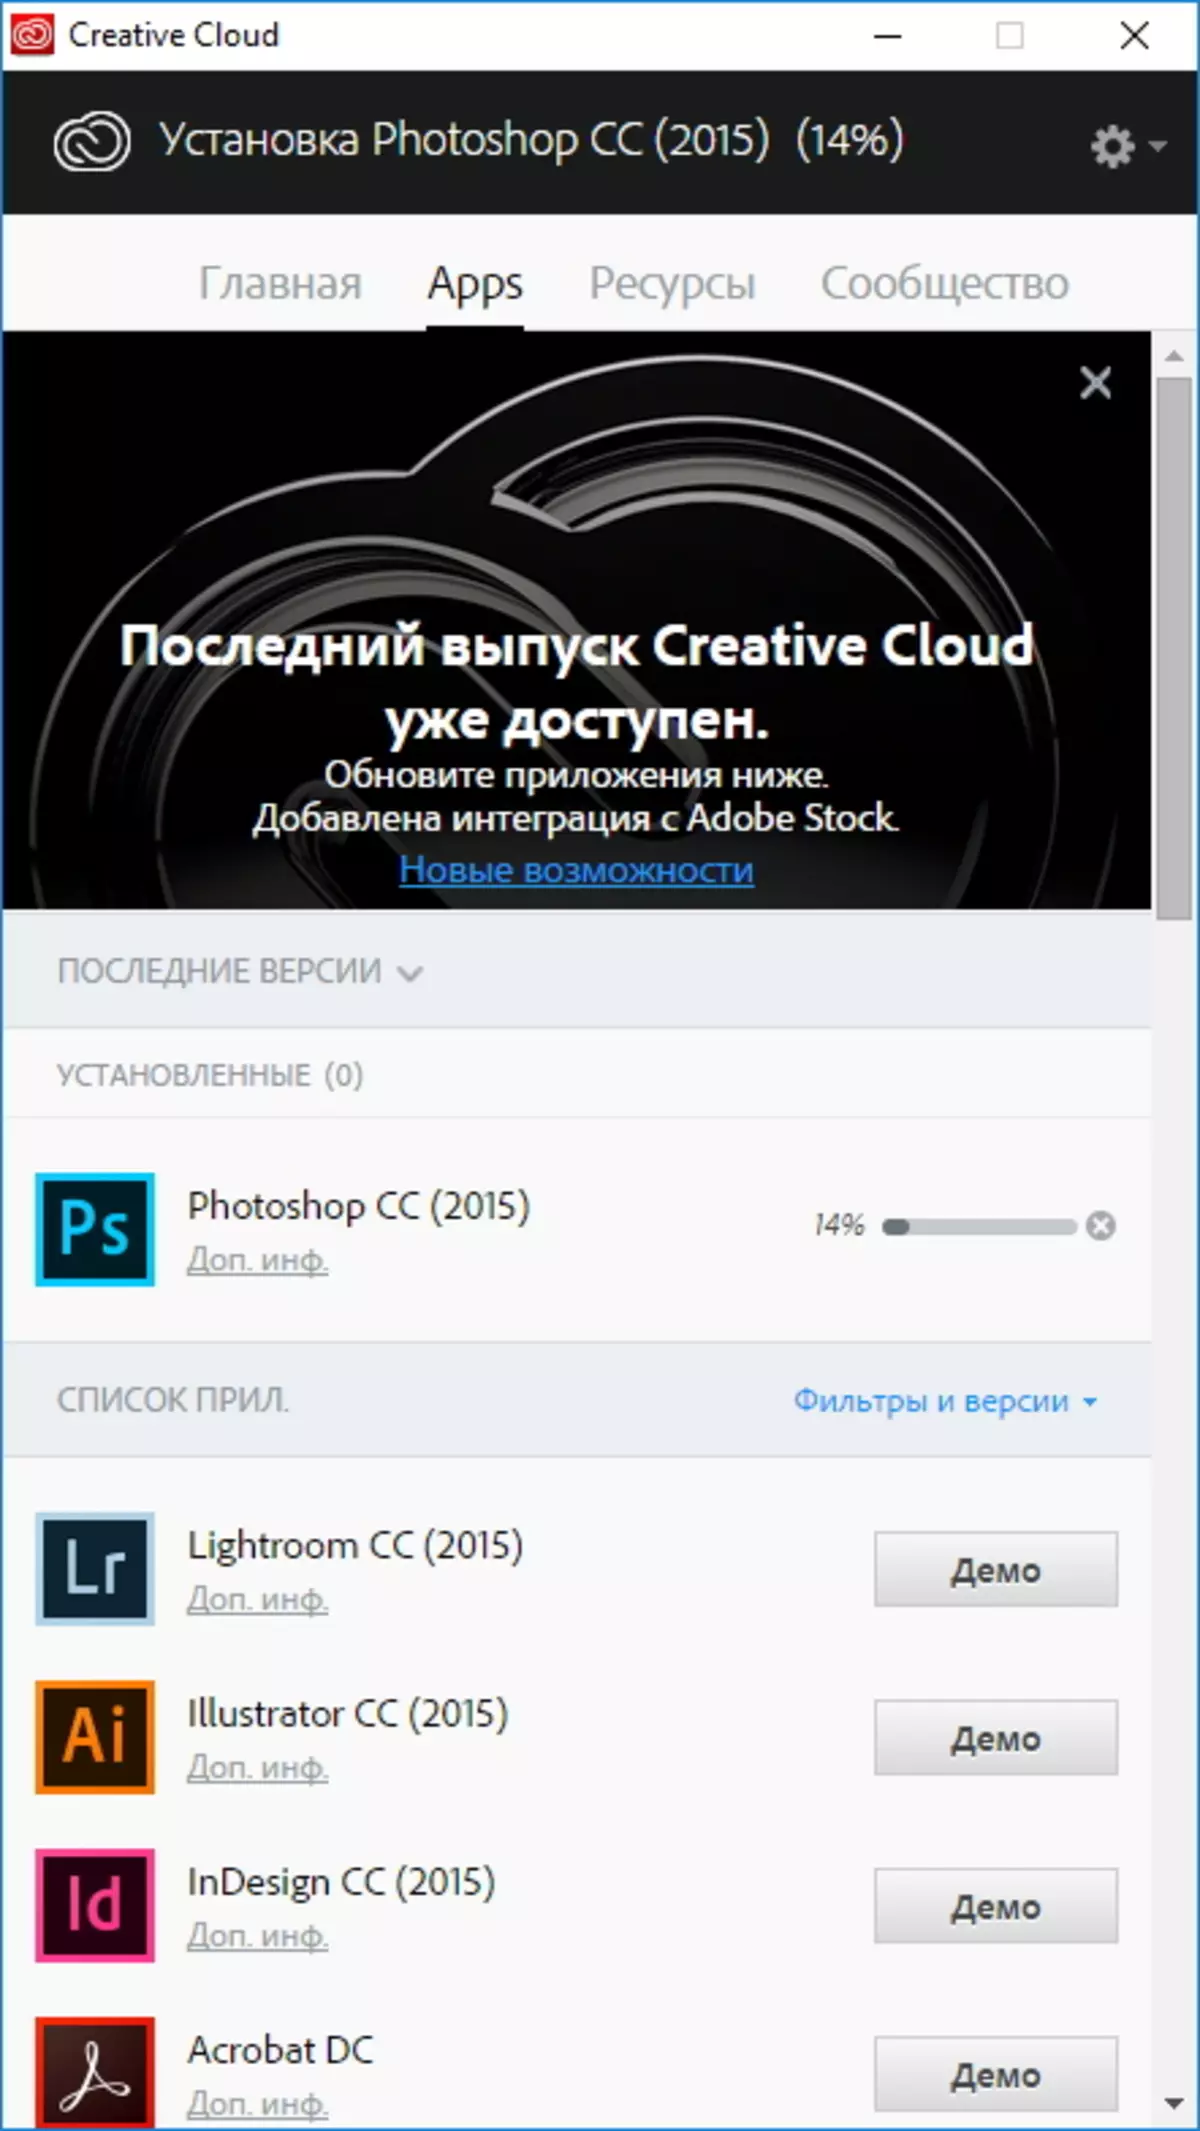
And only after that the installation of photoshop will begin. The duration of this process will depend on the speed of your Internet.
How difficult the editor did not seem initially, to actually create a business card in Photoshop simple enough.
Creating a layout
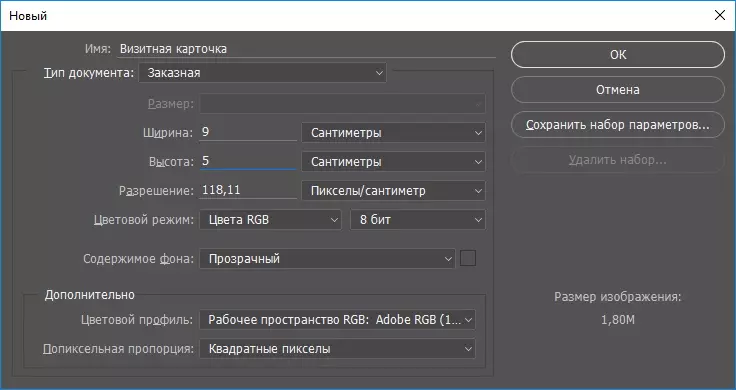
First of all, we need to set the sizes of our business card. To do this, we use the generally accepted standard and when creating a new project, we point out the size of 5 cm for height and 9 cm for the width. We set the background transparent, and the rest will leave the default
Adding background
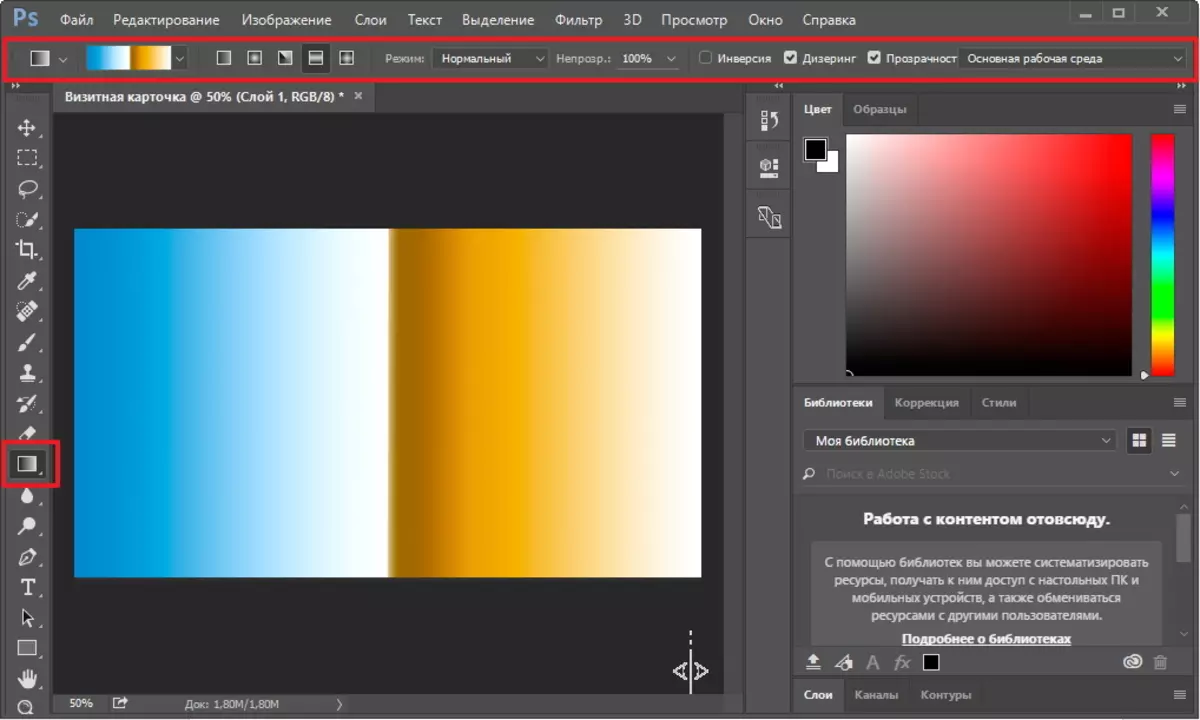
Now we define the background. To do this, you can do as follows. On the left pane, we choose the "Gradient" tool.
A new panel will appear at the top, which will allow us to configure the fill methods, and here you can choose already ready-made gradient variants.
In order to pour the background with the chosen gradient, it is necessary to draw a line on the form of our business card. Moreover, it is not important in which direction to conduct it. Experiment with the fill and select the appropriate option.
Adding graphic elements
As soon as the background is ready, you can proceed to add thematic pictures.
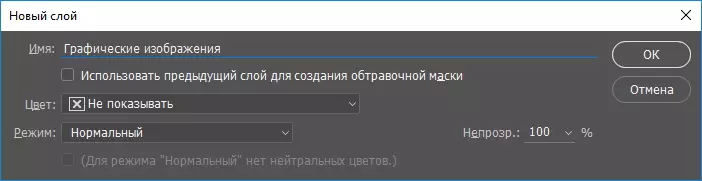
To do this, create a new layer so that in the future it was easier for us to edit a business card. To create a layer, you must execute the following commands in the main menu: the layer is a new - layer, and in the window that appears, we specify the layer name.
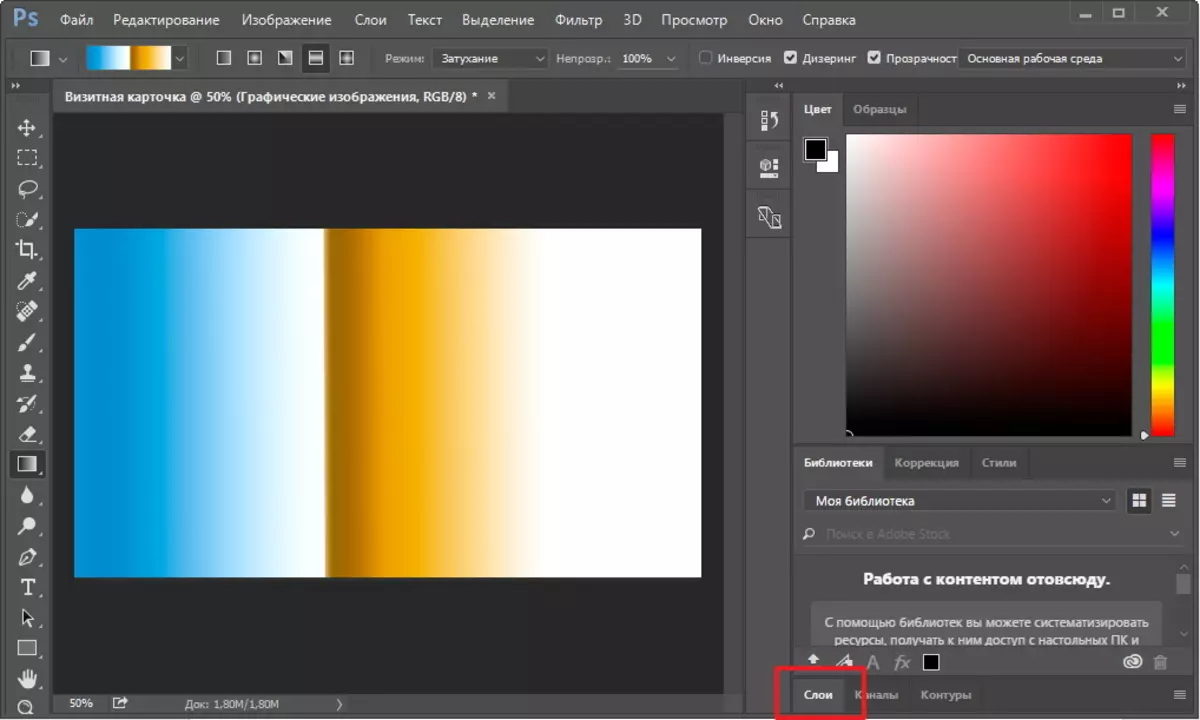
In order to further switch between layers, press the "Layers" button, which is located at the bottom right of the editor window.
To place the picture on the form of a business card, it is enough just to drag the desired file directly to our card. Then, holding the SHIFT key, we change the size of our picture and move it to the right place.

In this way, you can add an arbitrary number of images.
Adding information
Now it remains only to add contact information.
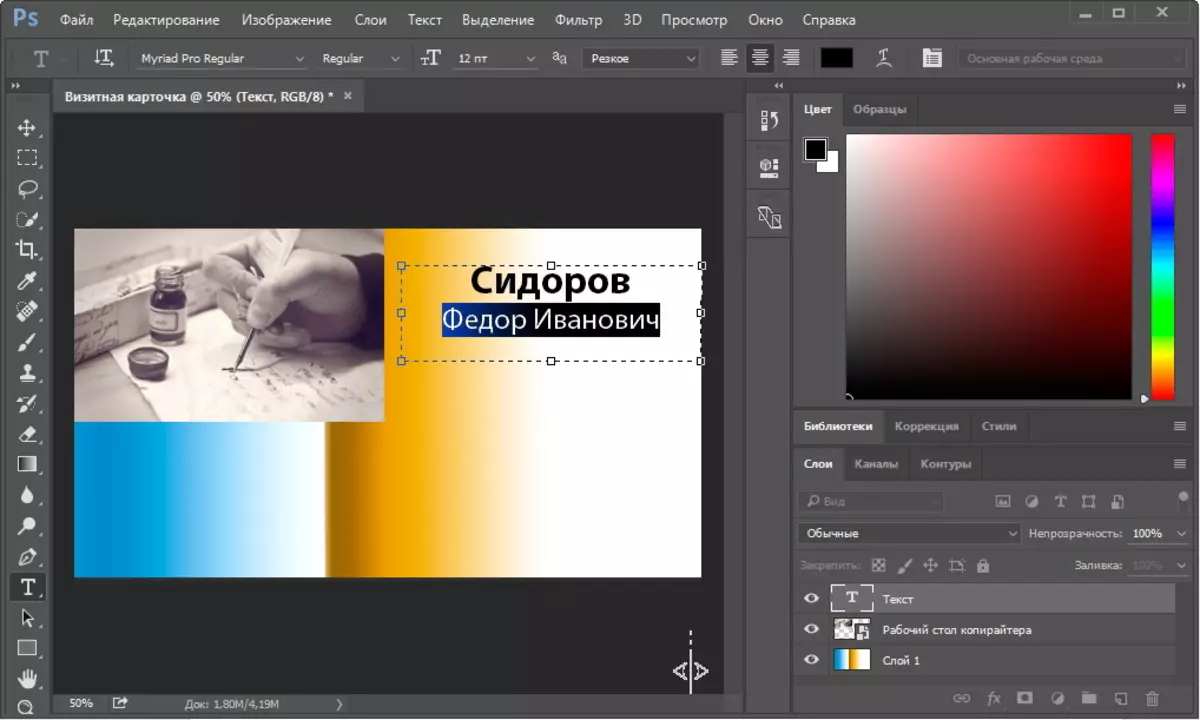
To do this, use the tool entitled "Horizontal Text", which is located on the left pane.
Next, we allocate the area for our text and enter the data. At the same time, here you can format the entered text. We highlight the necessary words and change the font, size, alignment and other parameters.
READ ALSO: Creation programs
Conclusion
Thus, by not difficult actions, we created a simple business card, which you can already print or simply save the individual file. Moreover, you can save both in the usual graphic formats and in the format of the photoshop project for further editing.
Of course, we did not consider all the available features and opportunities, since there are quite a lot of them here. Therefore, do not be afraid to experiment with the effects and settings of objects and then you have a wonderful business card.