

Method 1: Built-in Skype feature
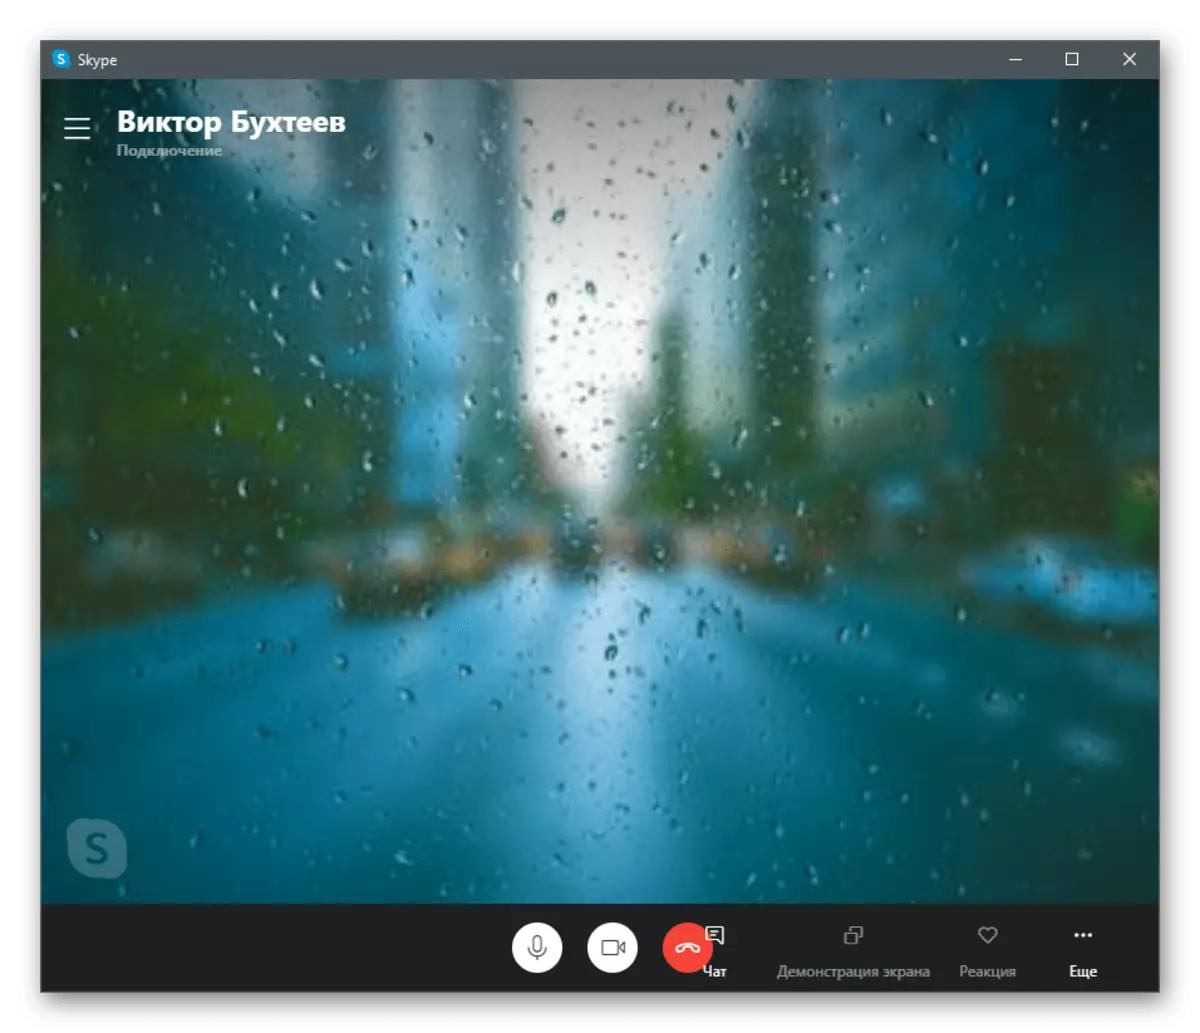
Skype has recently been a useful update that allows you to close the background during communication when using a webcam. At the same time, the background replacement function works almost perfect, even if in the background you do not have a very monochrome picture. This allows you to not upload an additional software that requires a special setting and be sure to add a virtual capture device to the operating system. So far, the background replacement works only in the desktop version of Skype.
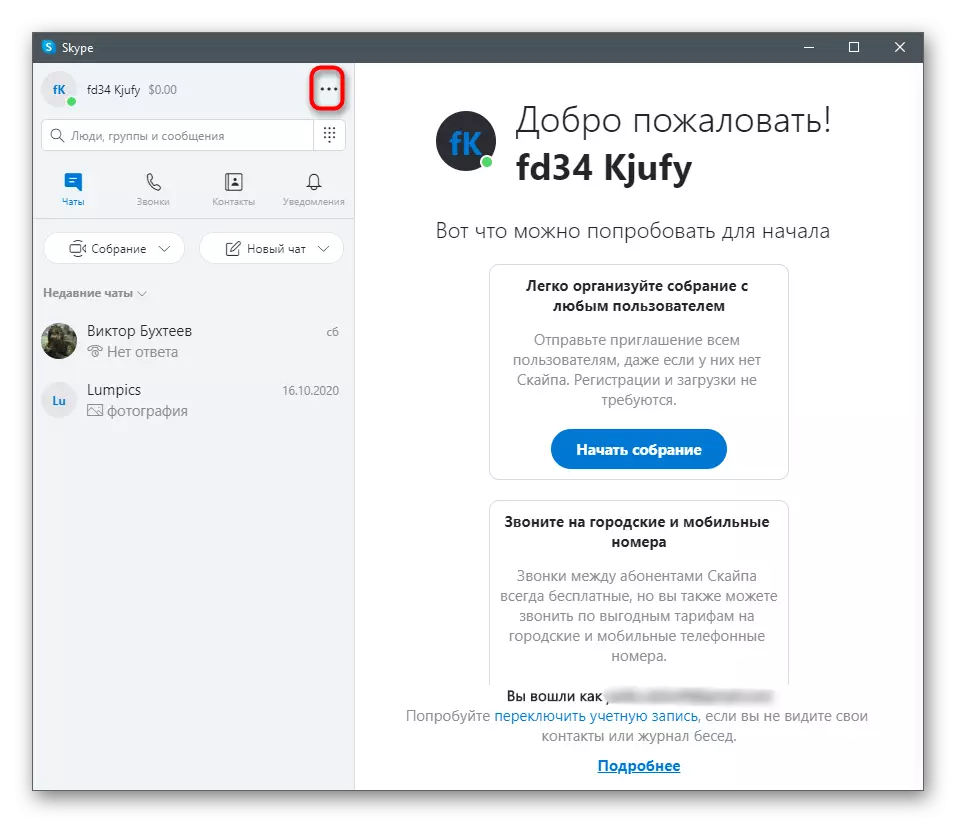
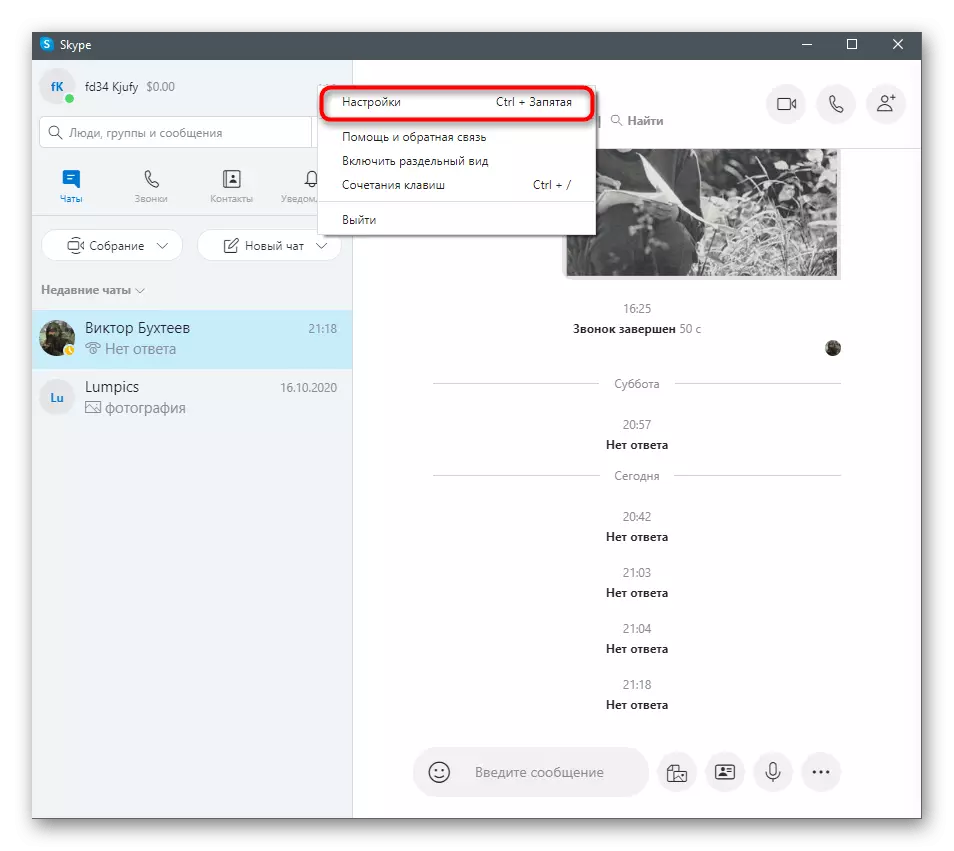
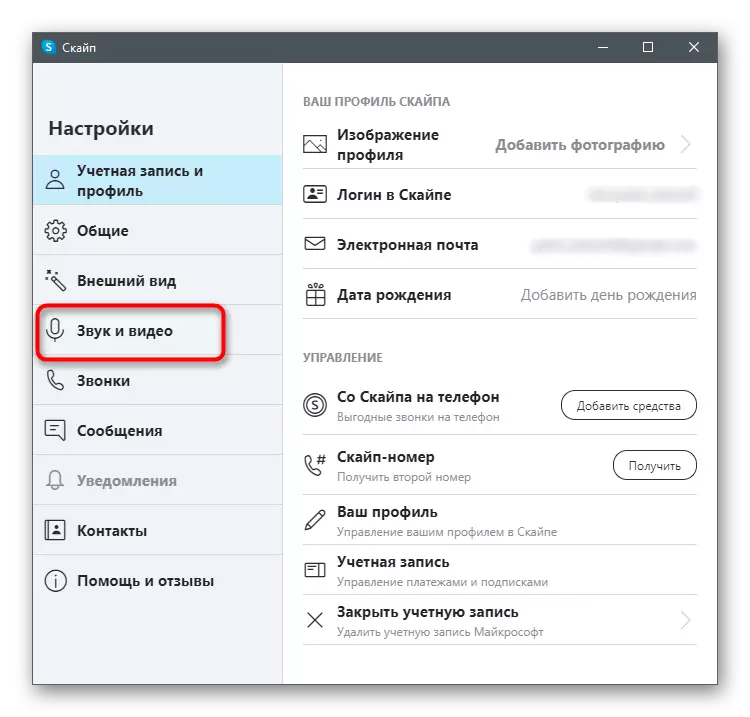
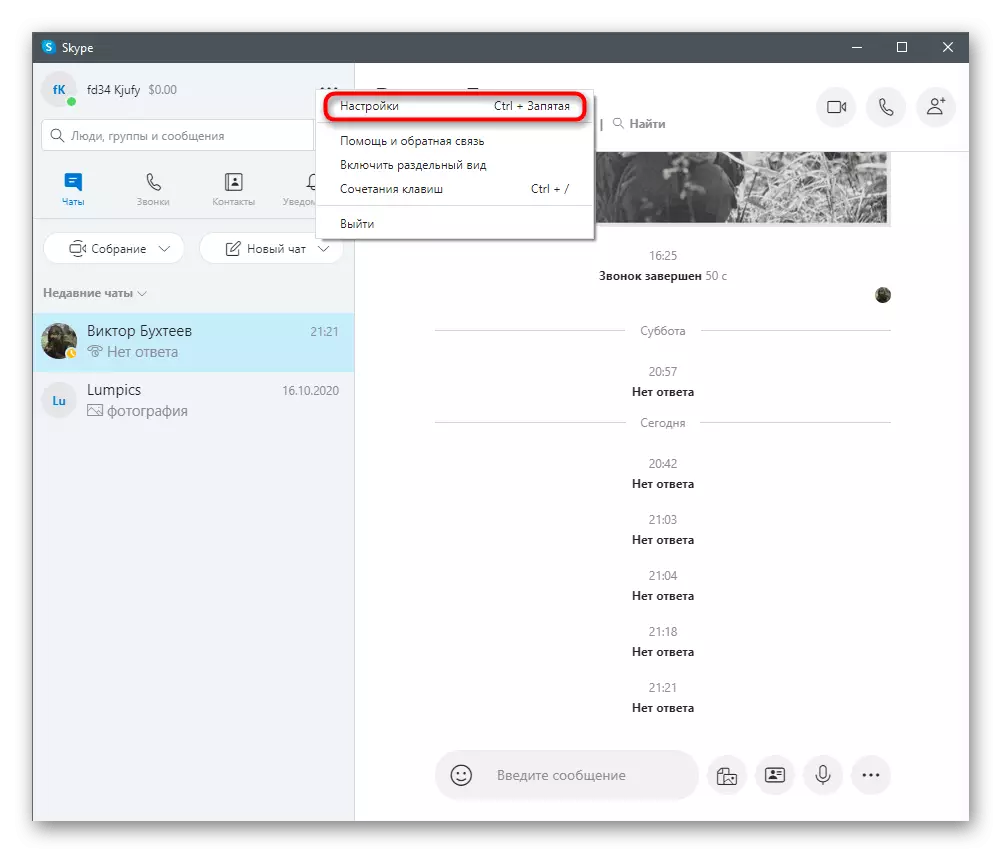
- Run Skype and press the button in the form of three horizontal points, located opposite your nickname. From the context menu that appears, select "Settings".
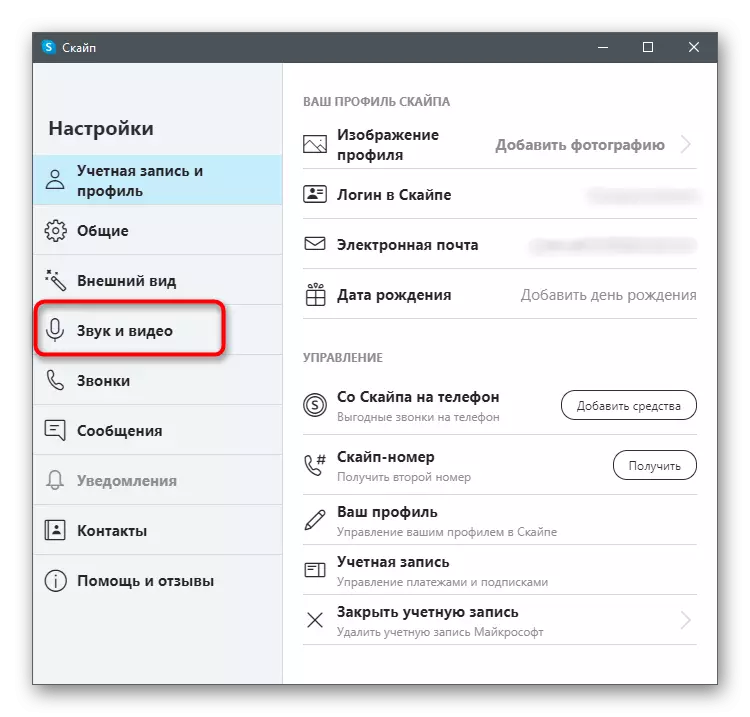
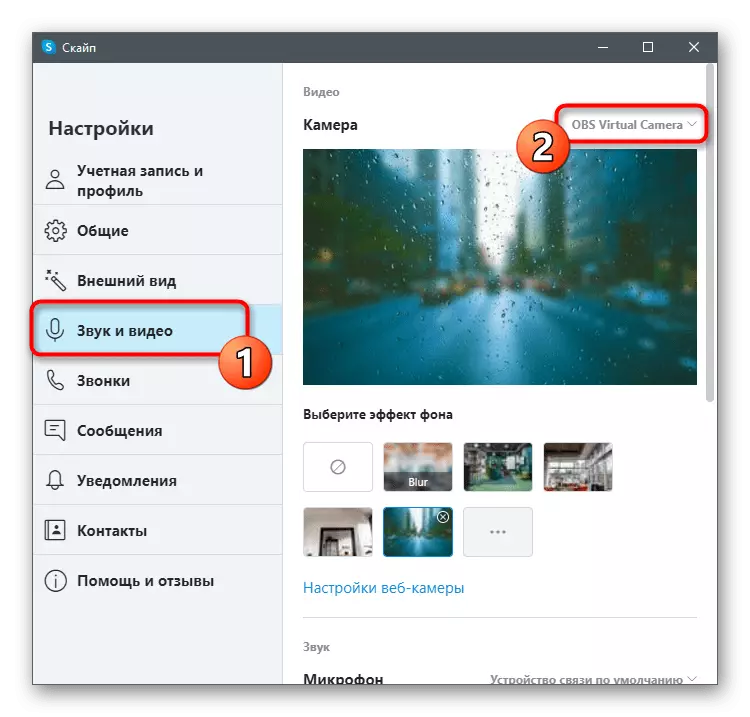
- Go to the "Sound and Video" parameters.
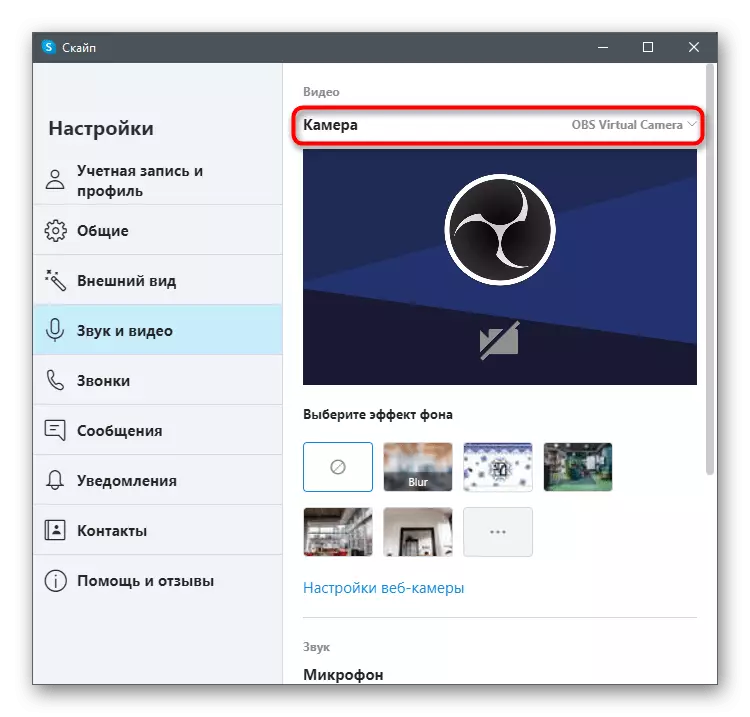
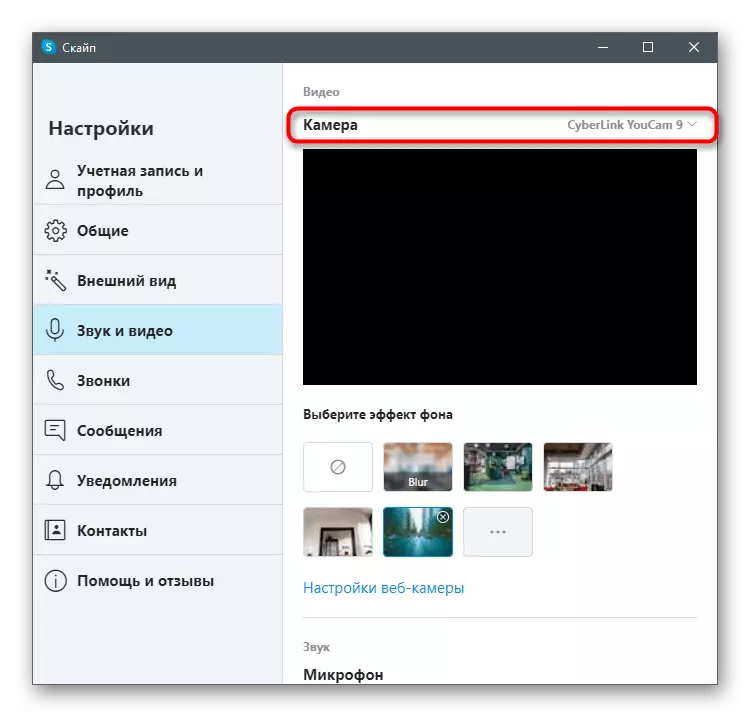
- Make sure that the correct device is specified in the Camera list and you see yourself in the preview window below.
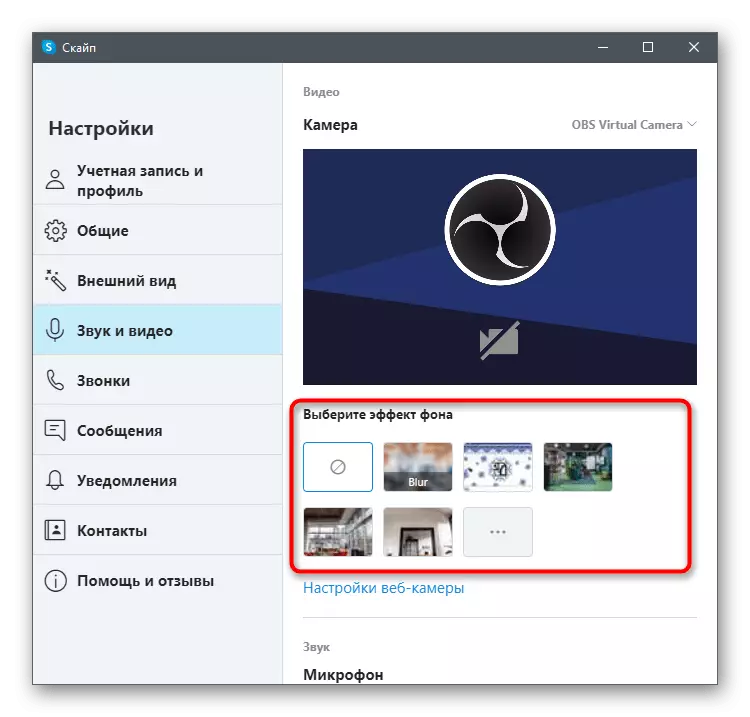
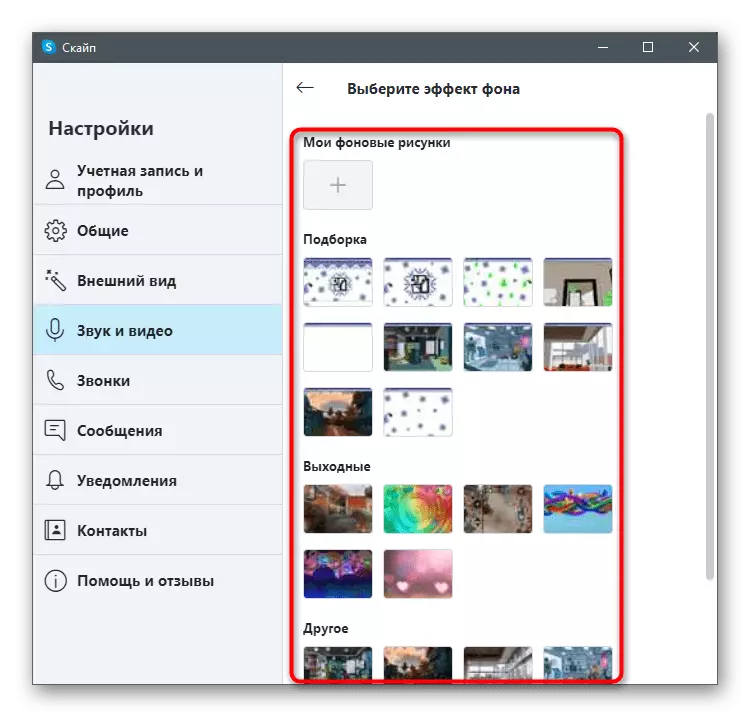
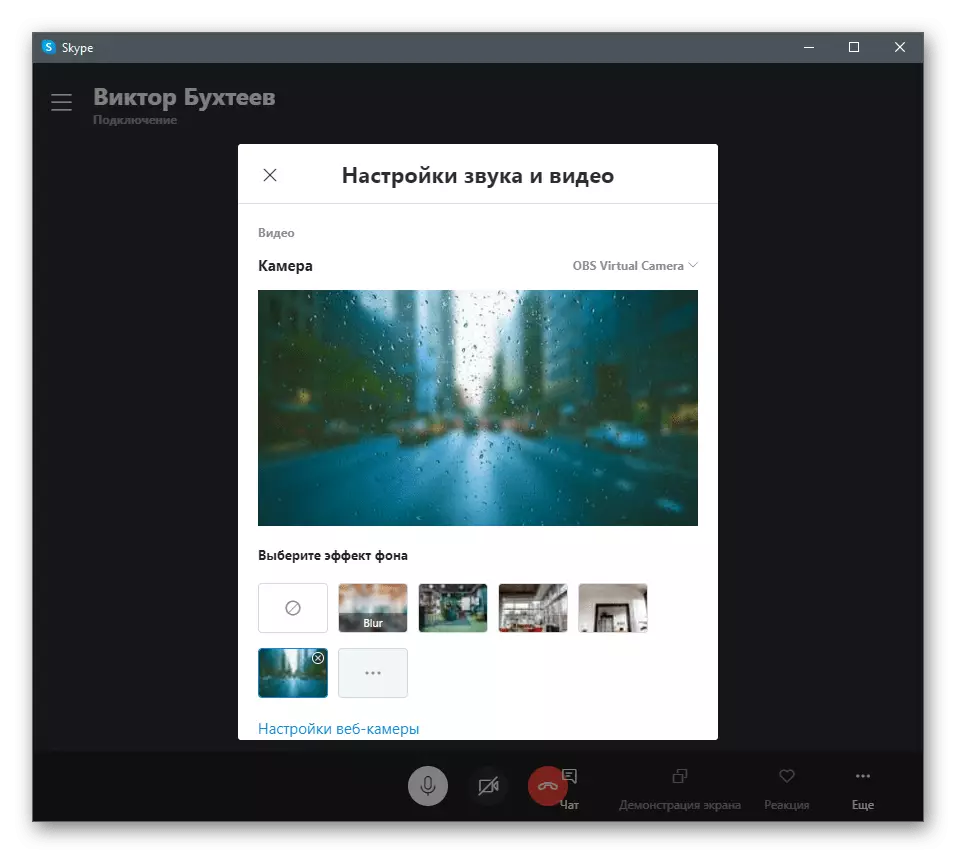
- Next, you need a block "Select the background effect". Apply one of the proposed replacement options or open the full list of images.
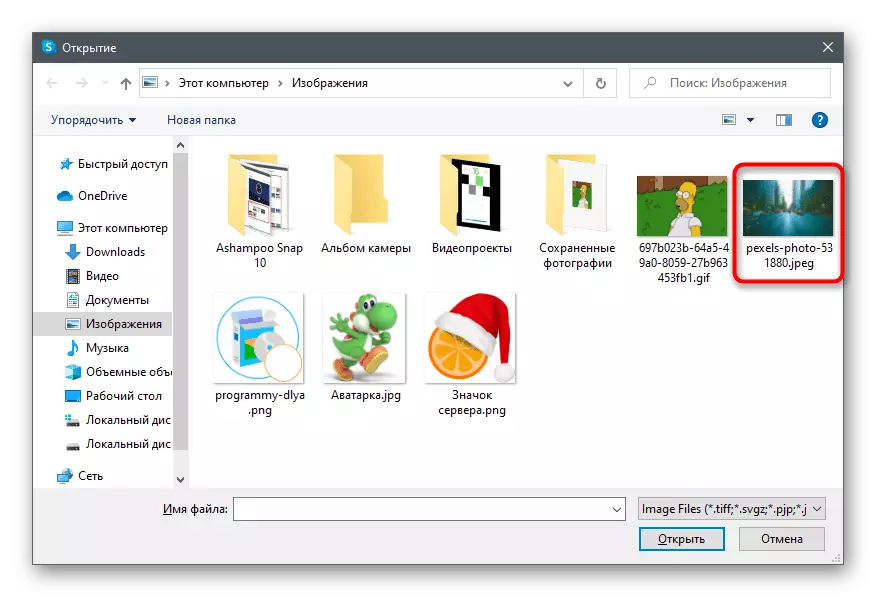
- They are divided by themes, and thumbnails allow you to find a suitable background. The "My Background" button allows you to add your own image for the background.
- When it is pressed, the "Explorer" window will switch to the location of the picture and click on it twice for selection.
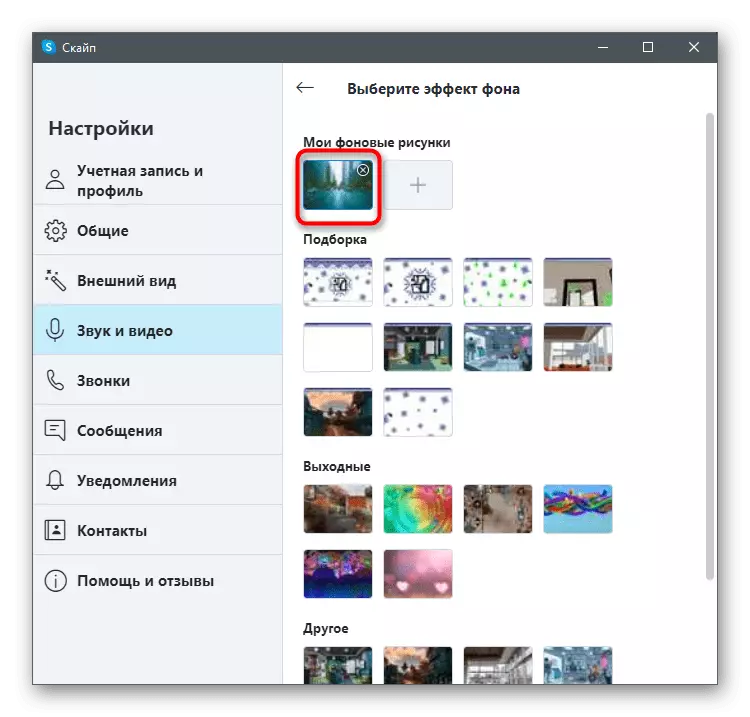
- All added images are saved in the menu and can be used at any time. Click on the button in the form of a cross removes the background from the library.
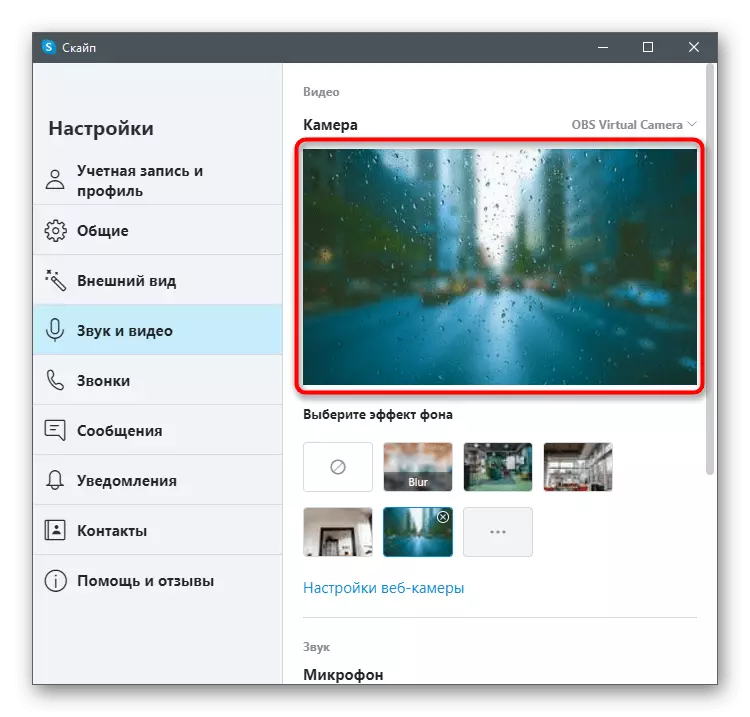
- After selecting the back plan, return to the previous menu and read the overlay in the preview window. If the result suits you, you can safely begin to communicate using this function. Otherwise, try to sit opposite the monochrome wall, pick up a more empty back plan for a webcam or purchase a chromium soak so that the imposition is always perfect.
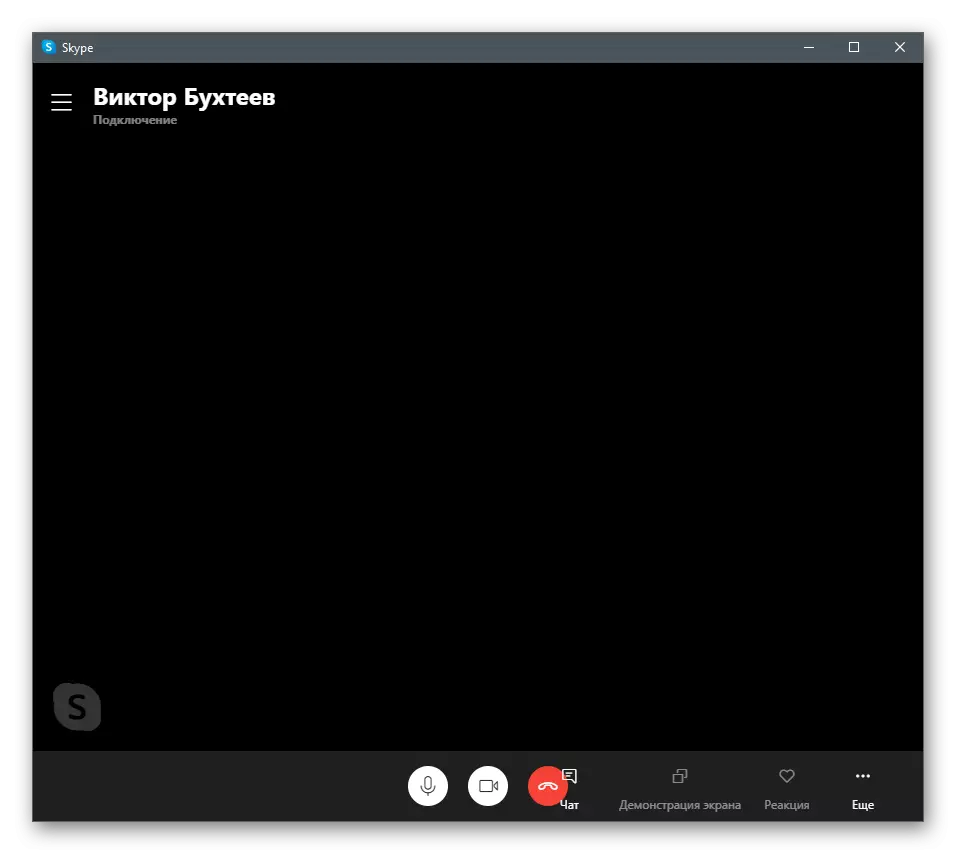
- Call with another user and make sure that the picture is successfully imposed, you see yourself and you can normally communicate.
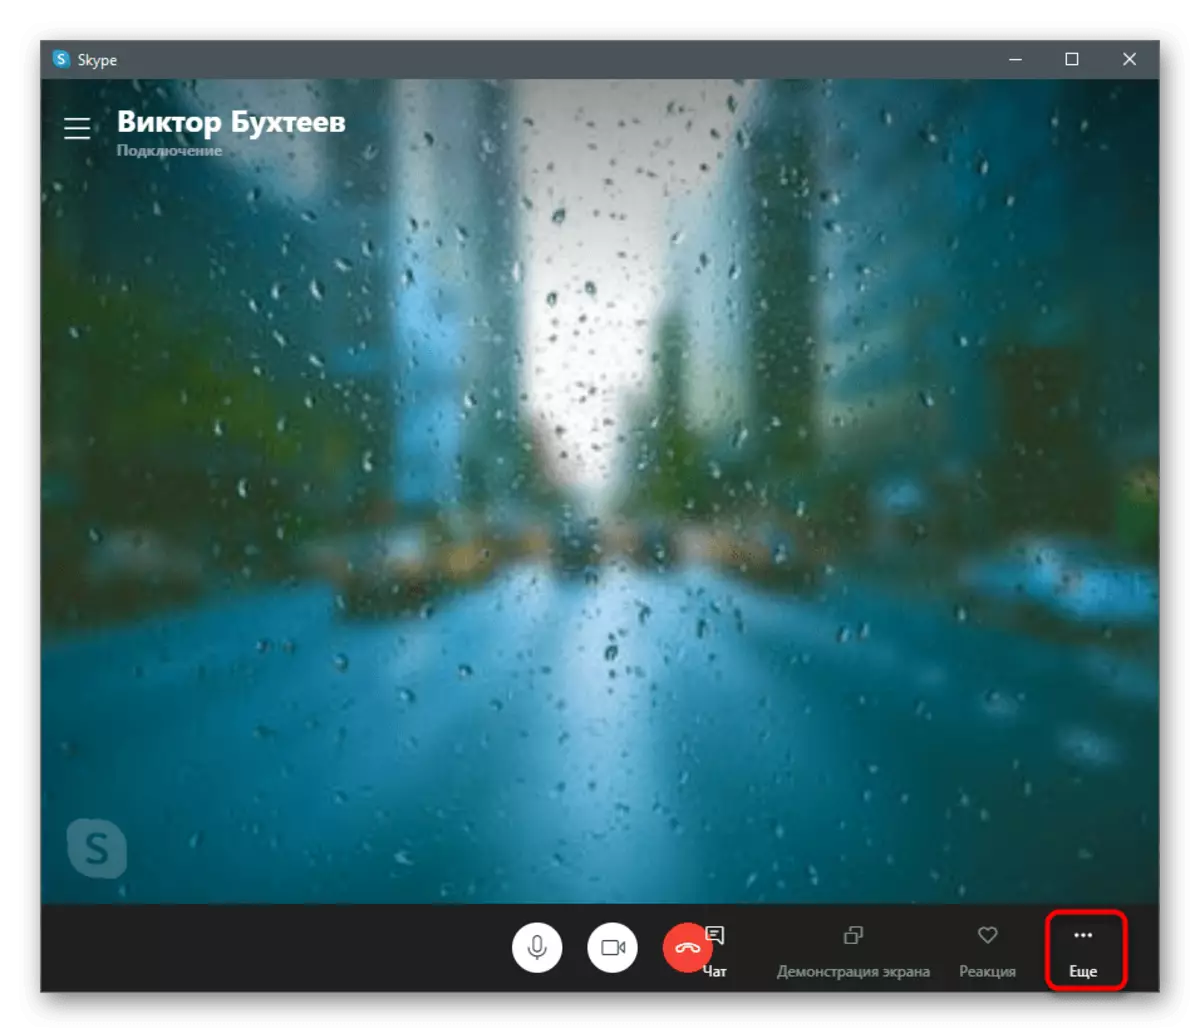
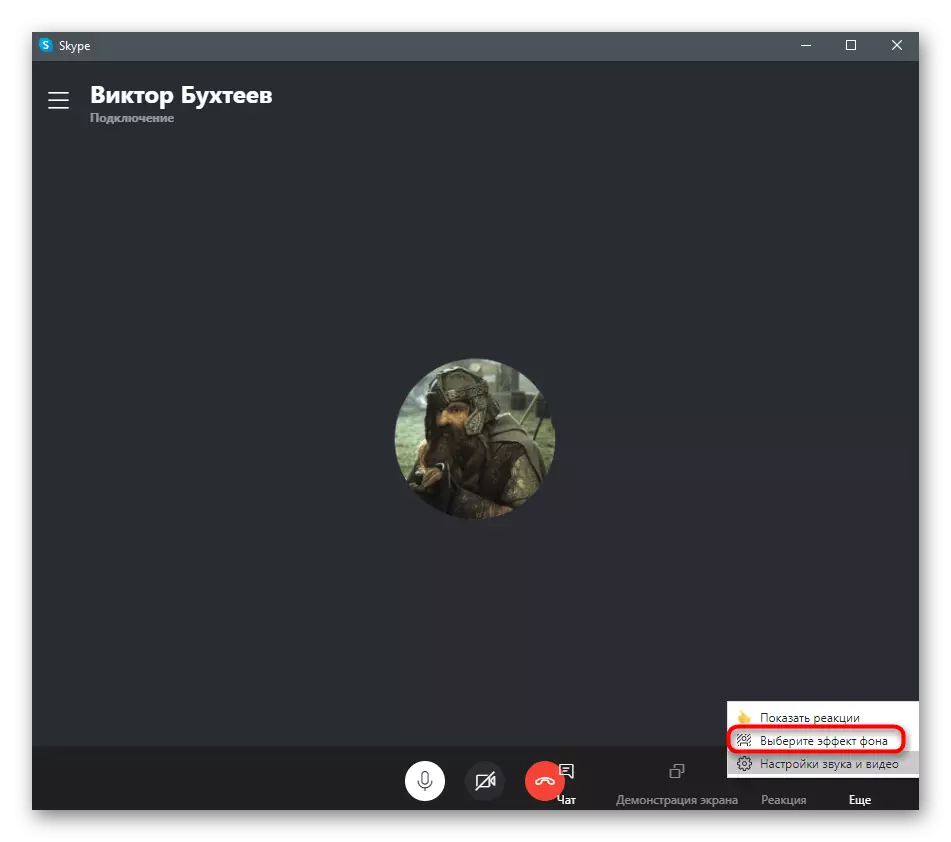
- To change or disable the rear plan right during the conversation, open the "More" menu.
- From the list that appears, specify the item "Select the Background Effect".
- The "Sound and Video Settings" window is displayed, in which the selection of the back plan is carried out in the same way as it was shown earlier.
We remind you that the imposition will not work correctly, if in the background there are many multi-colored items or it changes dynamically, for example, when talking on the street. Therefore, we advise you to activate this technology only in cases where you are confident in its normal functioning.
If, when you try to execute the instruction, it turned out that the menu under consideration is missing and in the webcam settings there is nothing associated with the background, it means that you use the outdated version of Skype and it is time to update it. To do this, download the latest version from the official site and reinstall it or read the instructions from the link below.
Read more: Update Skype
Method 2: YouCam
There is a special software integrable with a webcam and responsible for its setting. Often such programs are specifically made with a focus on what will be used when communicating in Skype. The functionality of some of them includes a background replacement tool, so such a software can be considered a replacement for the possibilities built into Skype, if it does not suit you for some reasons. As the first example, consider one of the most popular programs - YouCam.
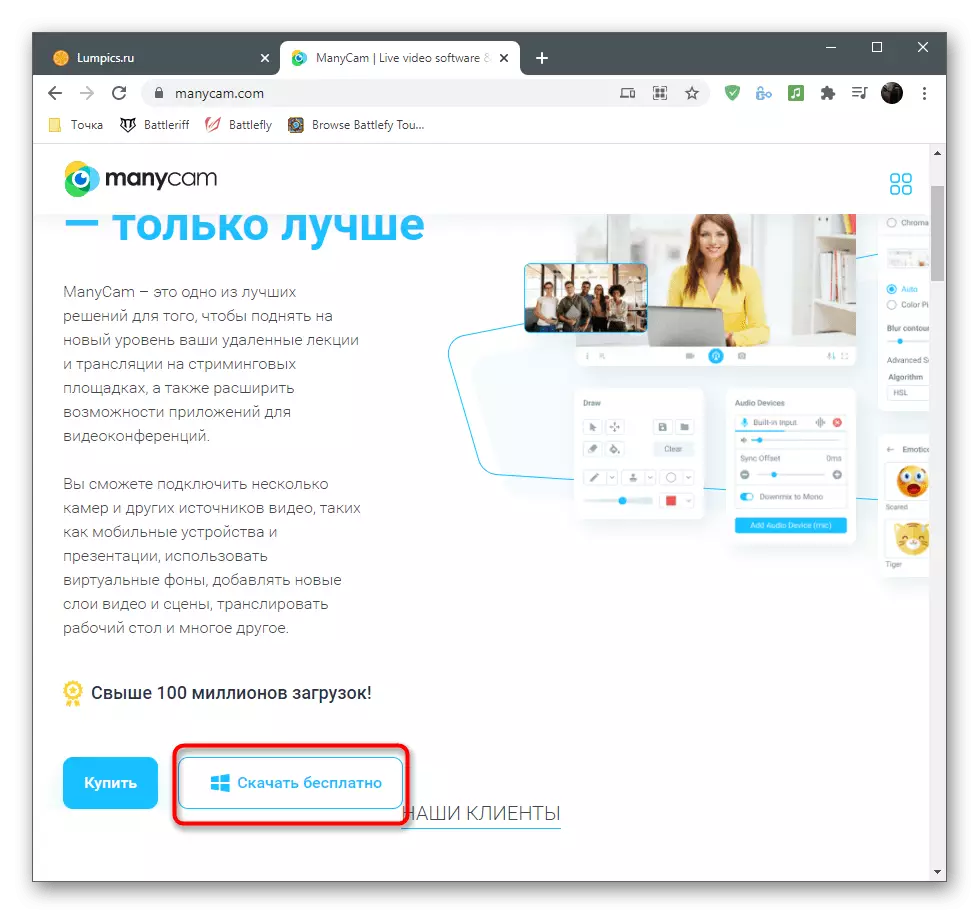
- Click the button above and download the trial version of YouCAM from the official site. It can be used 30 days without restrictions, but then you will have to purchase a license if you want to continue the interaction.
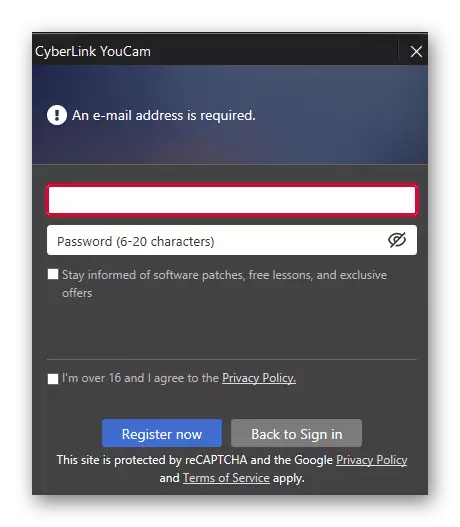
- After installation, be sure to go through the registration procedure, confirm the account and log in.
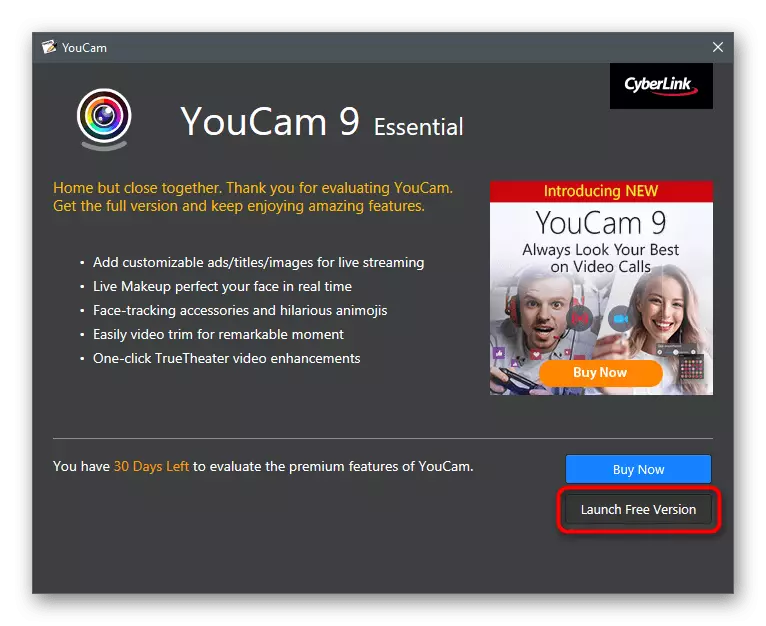
- You will be notified of the work of YouCAM in a trial mode. Take this message with click on "Launch Free Version".
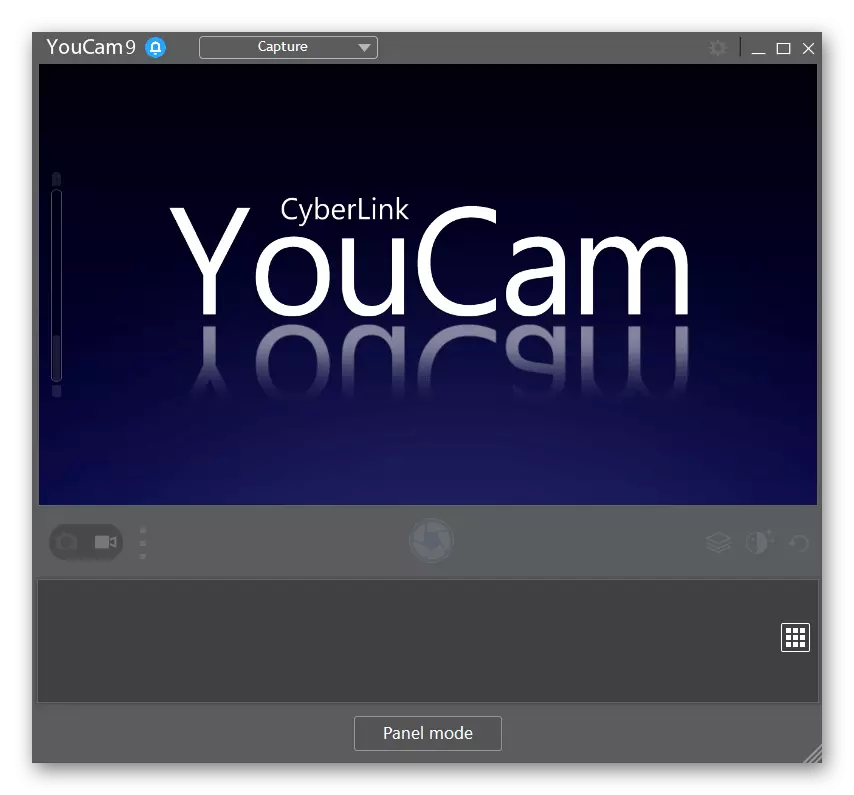
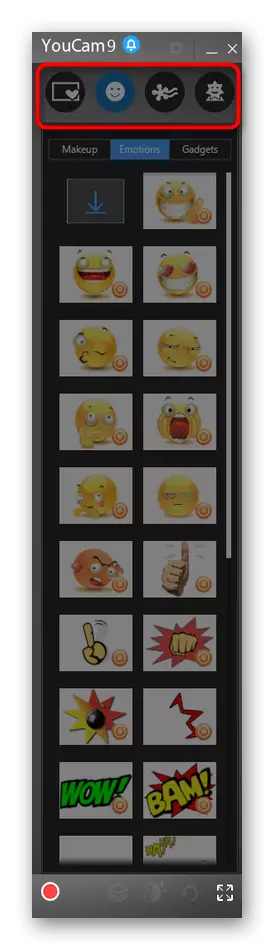
- If after starting it will be able to immediately recognize the web chamber, you will see the available settings for the background substitution and your image in the preview window.
- Now open Skype and go to the Account Settings.
- Select the category "Sound and Video".
- Expand the "Camera" row and from the list, select the created virtual capture device from YouCAM.
- Call any friend to check the program and wait for his panel to the right on the desktop.
- Switch between overlay options to use not only the back plan, but also effects or animations that are superimposed on top of the webcam image.

Method 3: Manycam
Manycam is another popular program for setting up a webcam, which has about the same set of tools as the previous one. It integrates in the same way with the input device and allows real-time to impose different effects.
- This software also extends to a fee, but you can use the trial version to test some functions (the reverse plan is not included in them).
- The installation procedure is not complicated, so it takes only a few minutes.
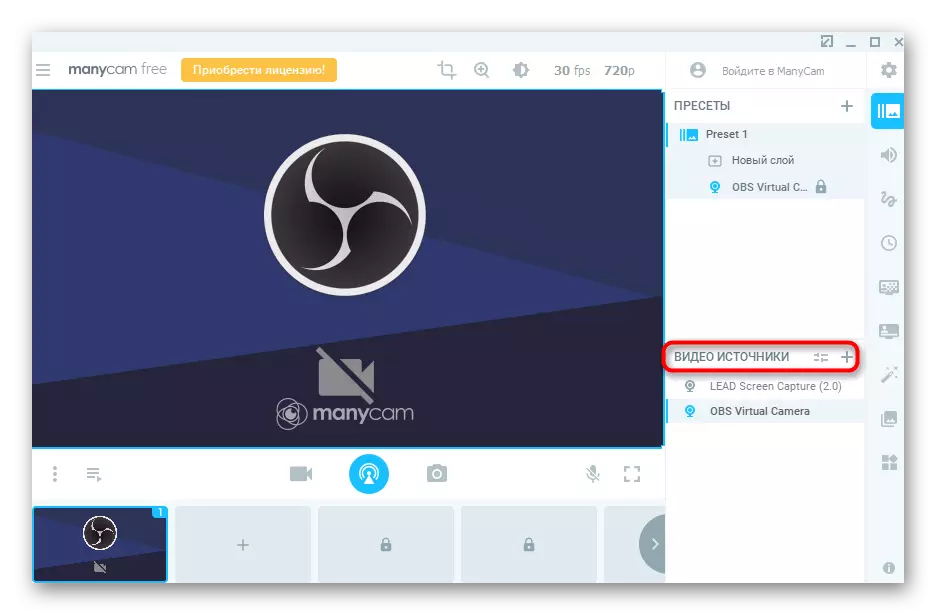
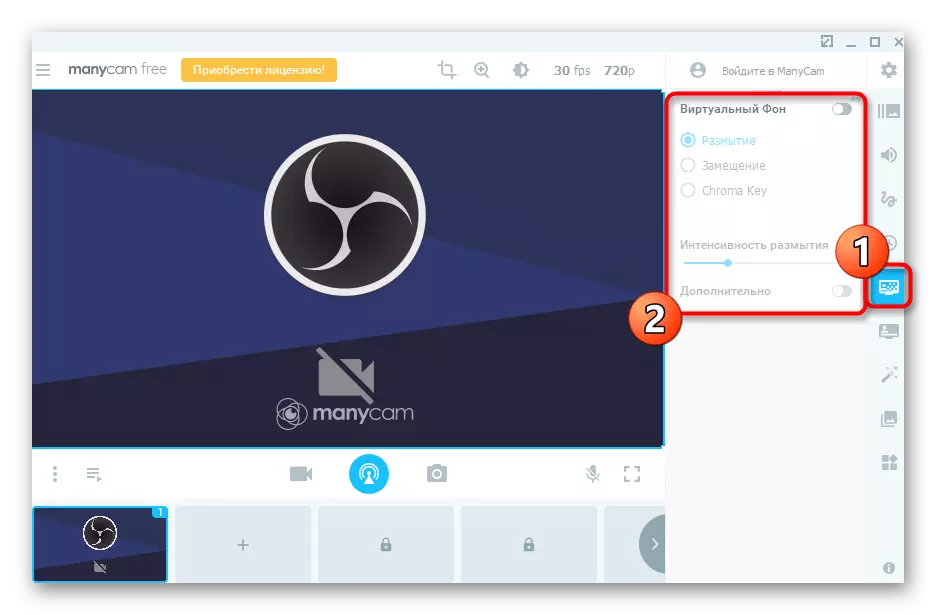
- Upon completion, open the Manycam and make sure that the image is displayed correctly from the webcam. If it was not detected automatically, click the button with a plus near the video source row.
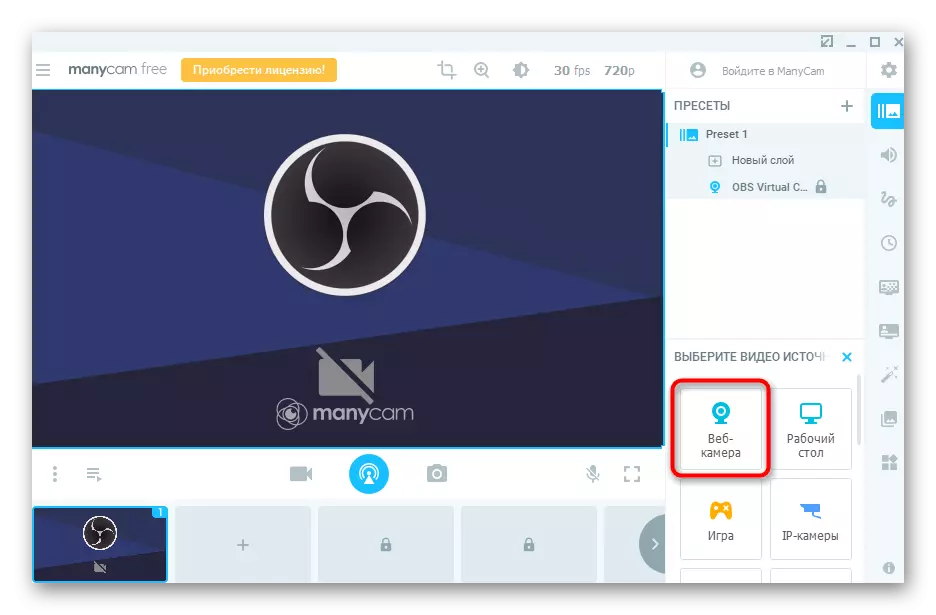
- Select the "Webcam" equipment category.
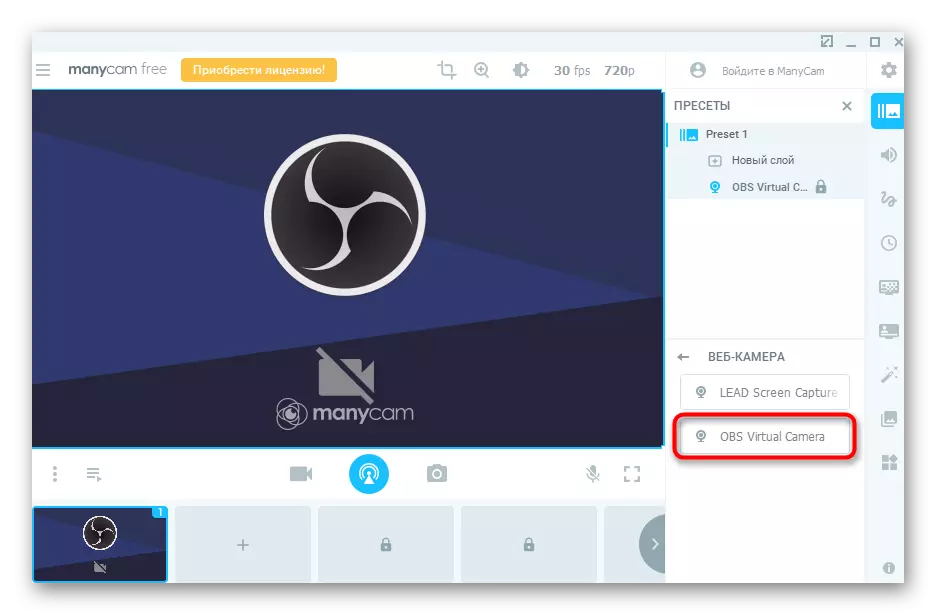
- Find the device used and confirm the selection.
- Turn on the virtual background for it, configure the blur or replacement and apply the additional parameters. Survey the result in the preview window on the left.
- Open Skype and go to the menu with settings.
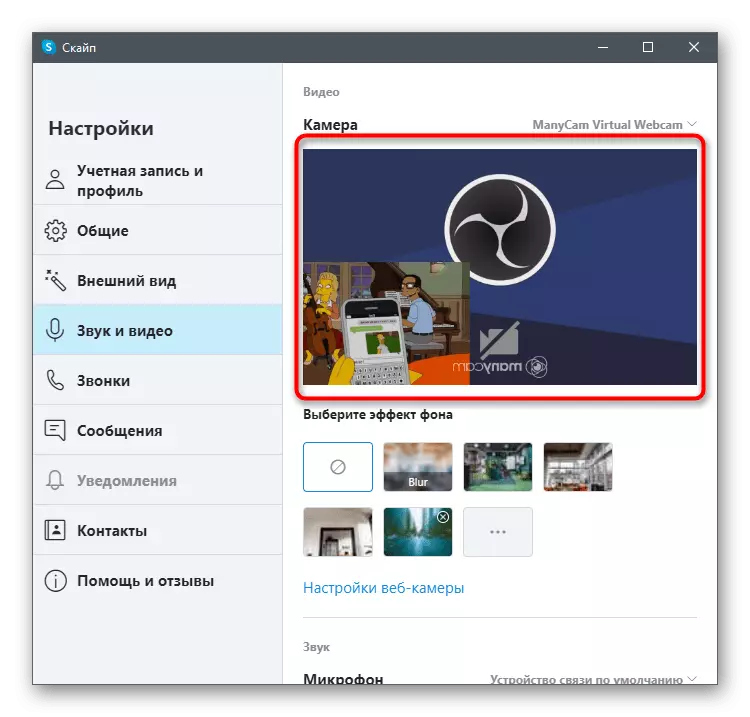
- In the "Sound and Video" section, expand the "Camera" list and specify the added Manycam virtual device with the name of the program itself.
- Make sure the overlay is running and configure another user. The program itself can be collaborated, but it is impossible to turn off, otherwise the imposition will cancel.

There are other programs designed to perform exactly the same task and providing a wider range of webcam management functions. Many work around the same way and even do not differ in appearance, and some of them are endowed with unique opportunities. Therefore, when selecting such software, we advise you to get acquainted with the review on our site to immediately know about the merits and disadvantages. The considered instructions can be considered universal and use them even when working in a different type of similar type.
Read more: Programs for configuring a webcam