
V-Ray is one of the most popular plug-ins to create photorealistic visualizations. His distinctive feature is simplicity in setting up and the possibility of obtaining high quality results. Using the V-Ray used in the 3DS MAX environment, create materials, lighting and chambers, the interaction of which in the scene leads to the rapid creation of a naturalistic image.
In this article, we will study the lighting settings using V-Ray. The right light is very important for correct creation of visualization. It must identify all the best qualities of objects in the scene, create natural shadows and provide protection against noise, crossings and other artifacts. Consider the V-Ray tools to set up the lighting.
How to set up light with V-Ray in 3DS MAX
We advise you to read: how to install 3DS MAX
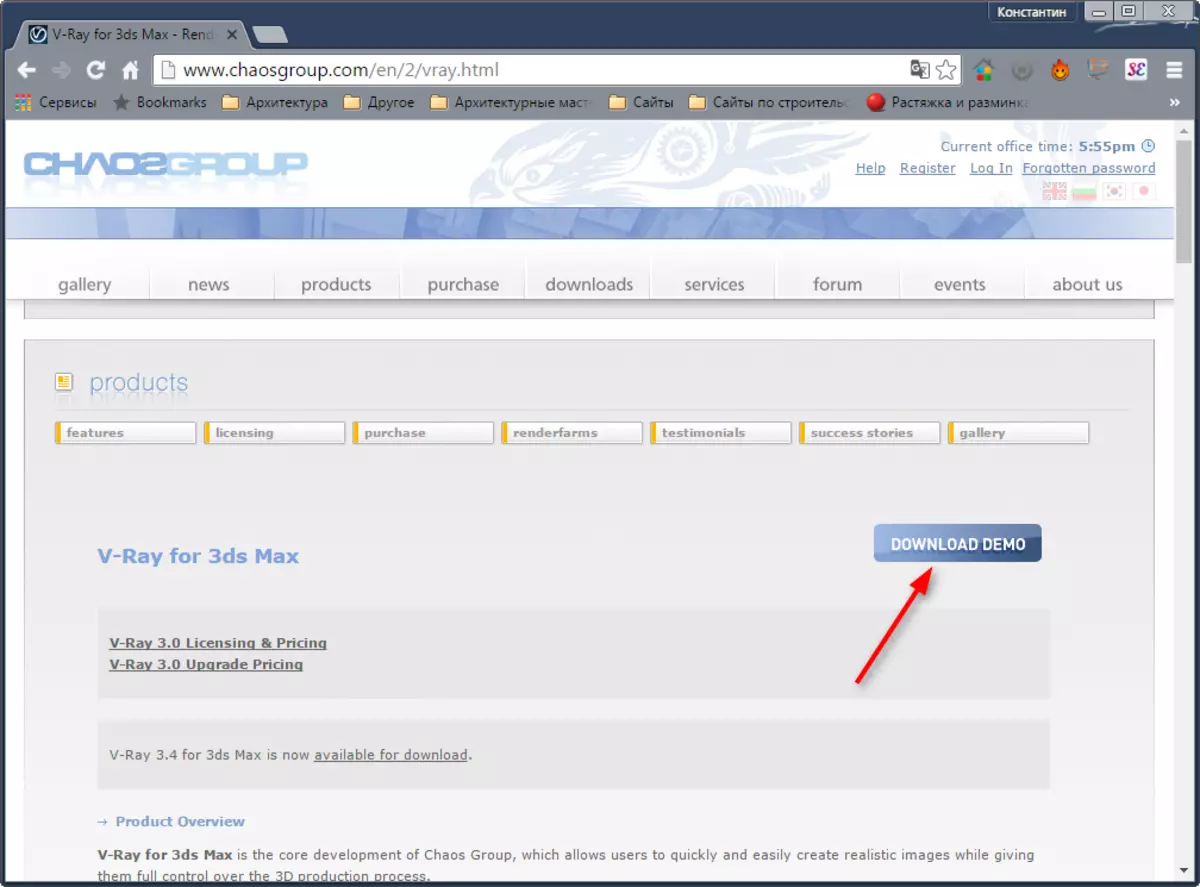
1. First of all, download and install V-Ray. We go to the developer's website and select the V-Ray version intended for 3DS MAX. Download it. In order to download the program, register on the site.
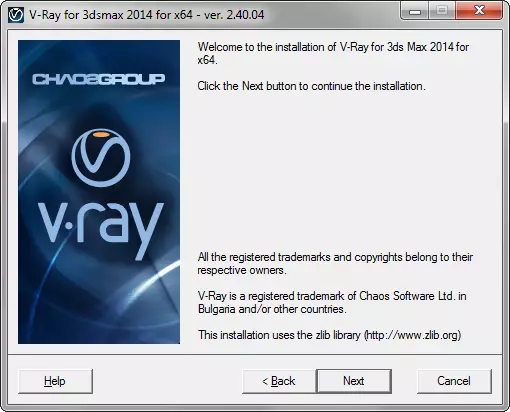
2. Install the program following the tips of the installation wizard.
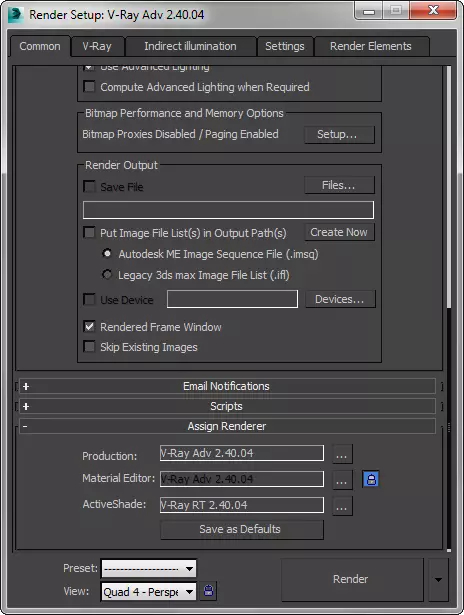
3. Run 3DS MAX, press the F10 key. Before us, the Render Settings panel. On the "Common" tab, we find the "Assign Renderer" scroll and choose V-Ray. Click "Save As Defaults".
Illumination There are different types depending on the features of the scene. Of course, the lighting for substantive visualization will differ from the light settings for the exterior. Consider several basic lighting schemes.
See also: Hot keys in 3DS MAX
Setting light for exterior visualization
1. Open the scene in which the lighting will be configured.
2. Install the light source. We will imitate the sun. On the CREATE tab of the toolbar, select "Lights" and click "V-Ray Sun".
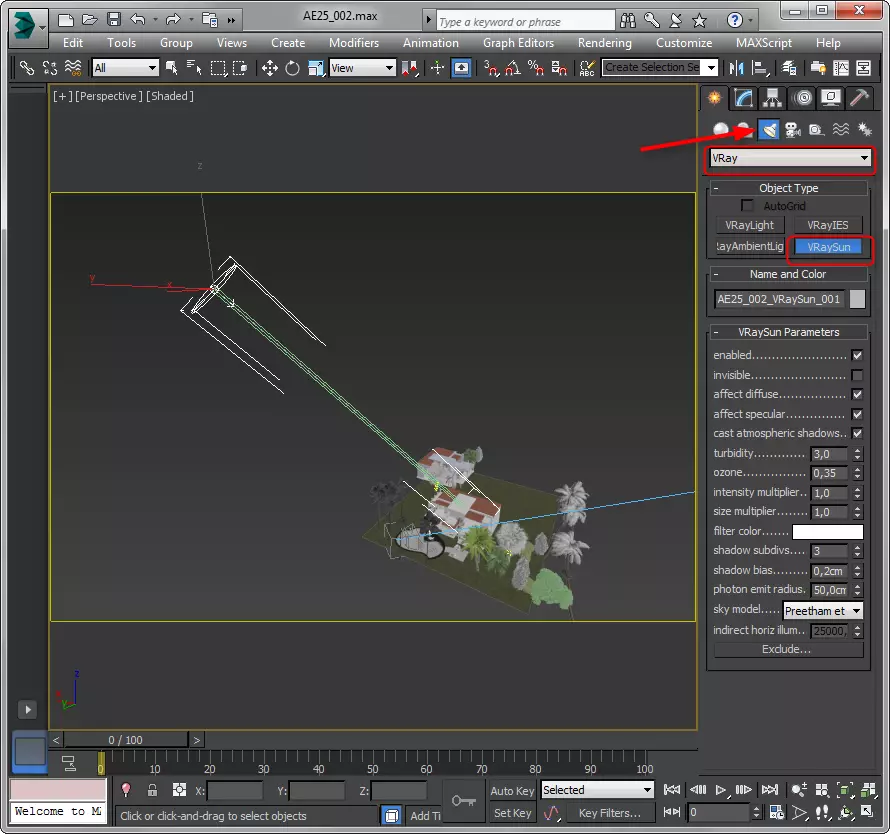
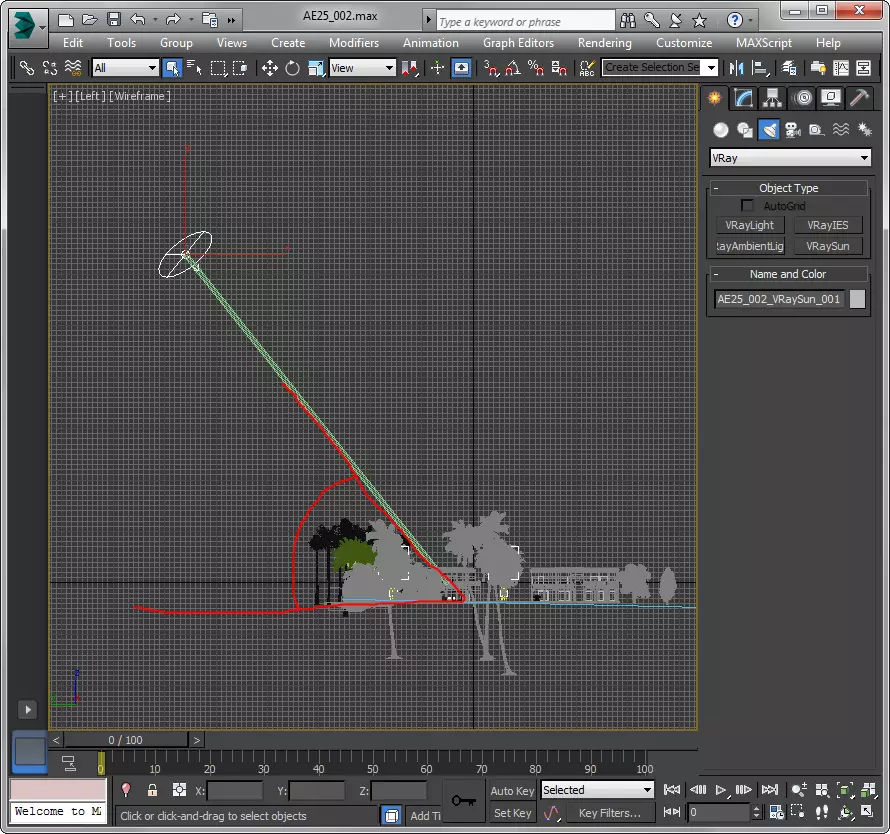
3. Specify the initial and end point of the sun rays. The angle between the beam and the surface of the earth will determine the morning, day or evening type of atmosphere.
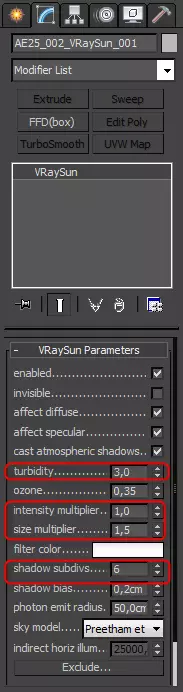
4. Select the Sun and go to the MODIFY tab. We are interested in the following parameters:
- Enabled - turns on and off the sun.
- Turbidity - the higher this value is the greater the dustiness of the atmosphere.
- Intensity Multiplier - Parameter Adjusting Sunlight Brightness.
- Size Multiplier - Size Size. The greater the parameter, the more blurred there will be shadows.
- Shadow subdivs - the higher this number, the better than the shadow.
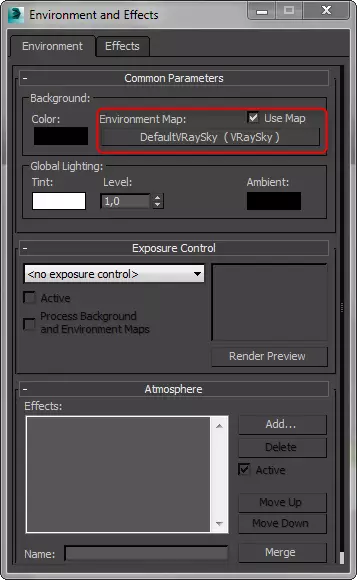
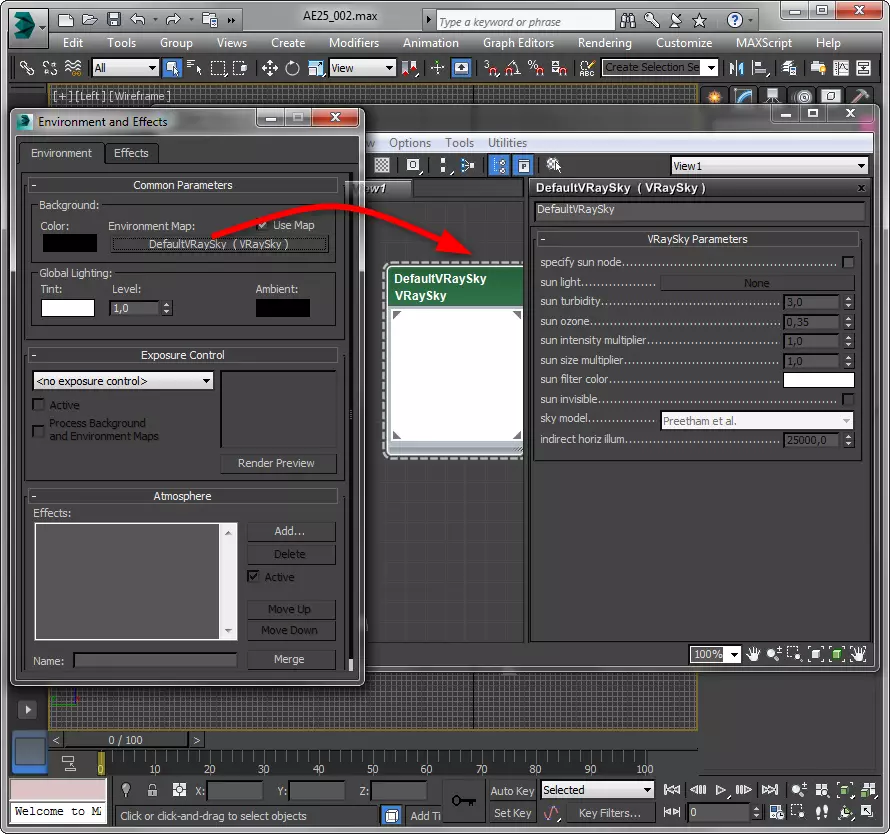
5. At this, the setting of the Sun is complete. Certify the sky to give greater realism. Press the "8" key, the environment panel opens. Select the DefaultVraysky map as an environment as an environment, as shown in the screenshot.
6. Without closing the environment panel, press the "M" key by opening the editor of the materials. Drag the DefaultVraysky map from the slot in the environment pane to the materials editor, holding the left mouse button.
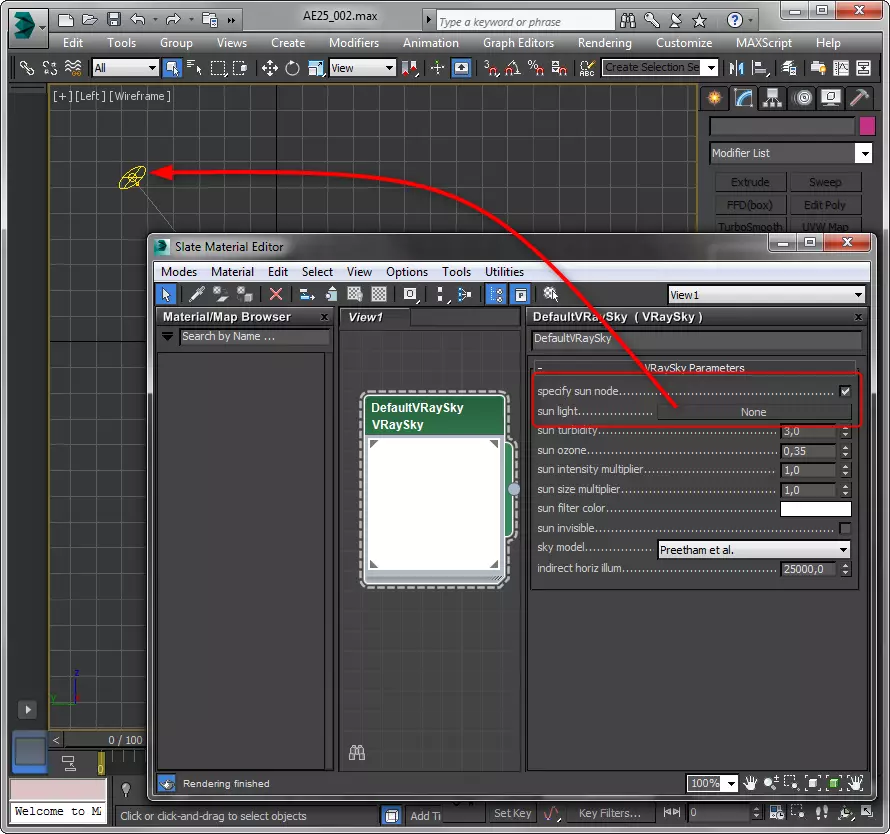
7. Edit the sky map in the browser of materials. Having highlight the card, check the checkbox in the SPECIFY SUN NODE checkbox. Press "NONE" in the "Sun Light" field and click the Sun in the model form. Just we tied the sun and the sky. Now the position of the Sun will determine the brightness of the sky, completely imitating the state of the atmosphere at any time of the day. The remaining settings will leave the default.
8. In general terms, the extra lighting is configured. Run renders and experiment with light to achieve the desired effects.
For example, to create a cloudy day atmosphere, disconnect the sun in its parameters and leave only the sky or HDRI card.
Light setting for subject visualization
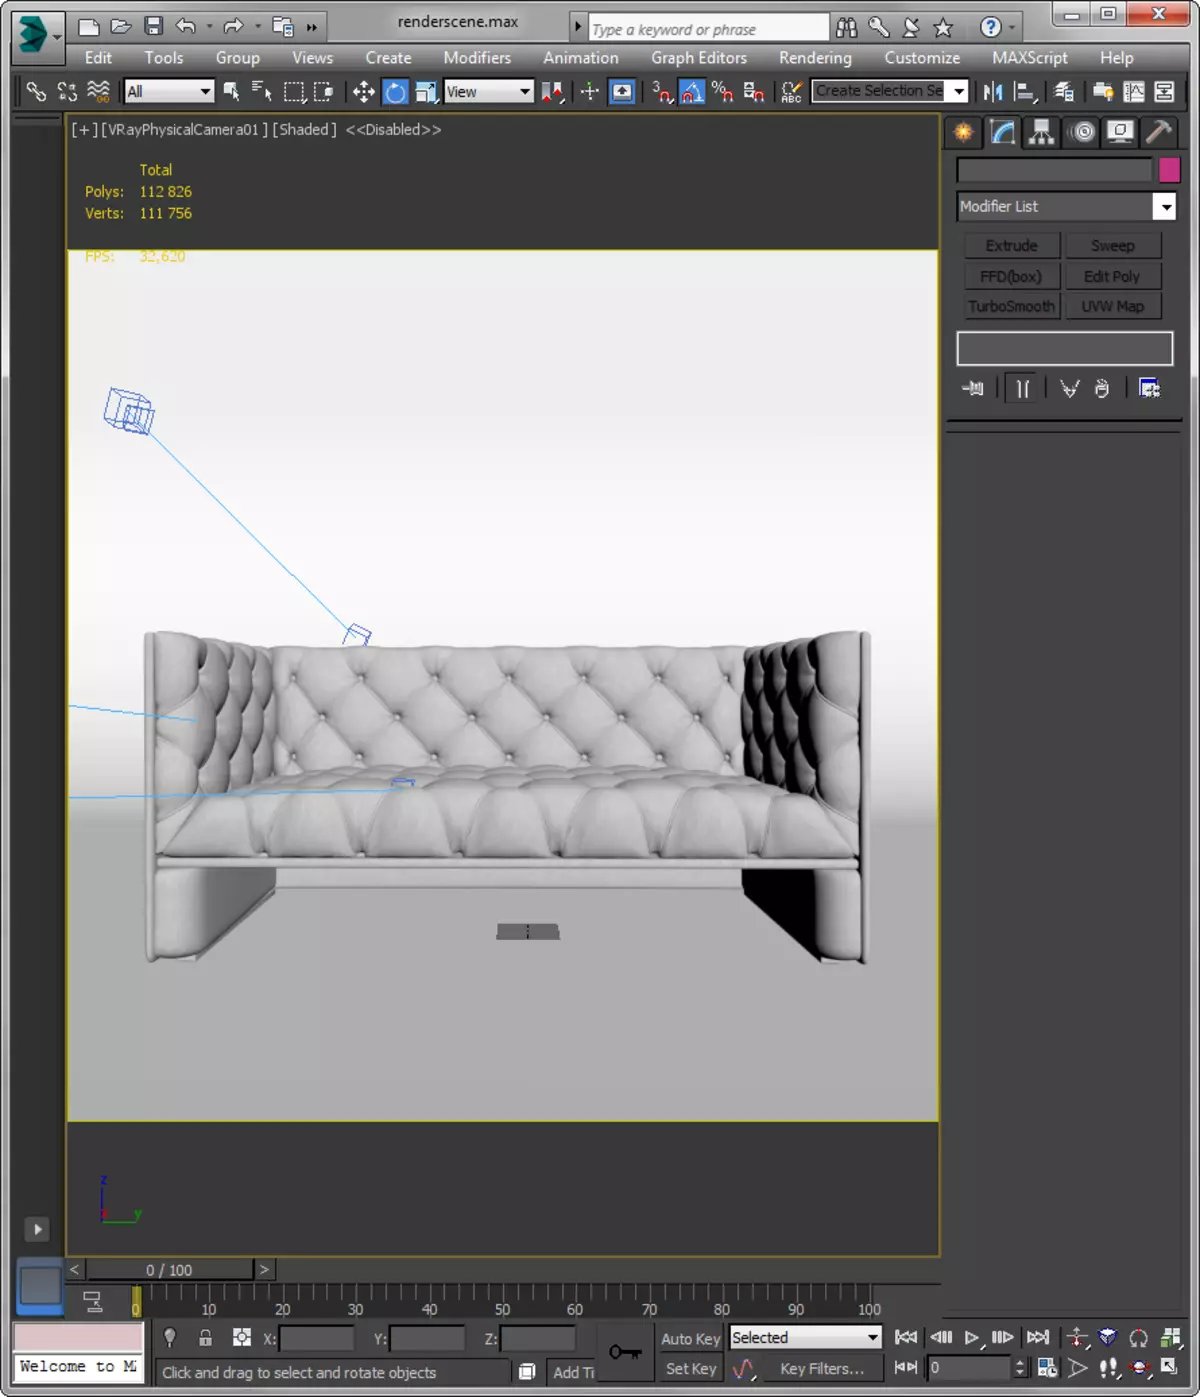
1. Open the scene with the finished composition for visualization.
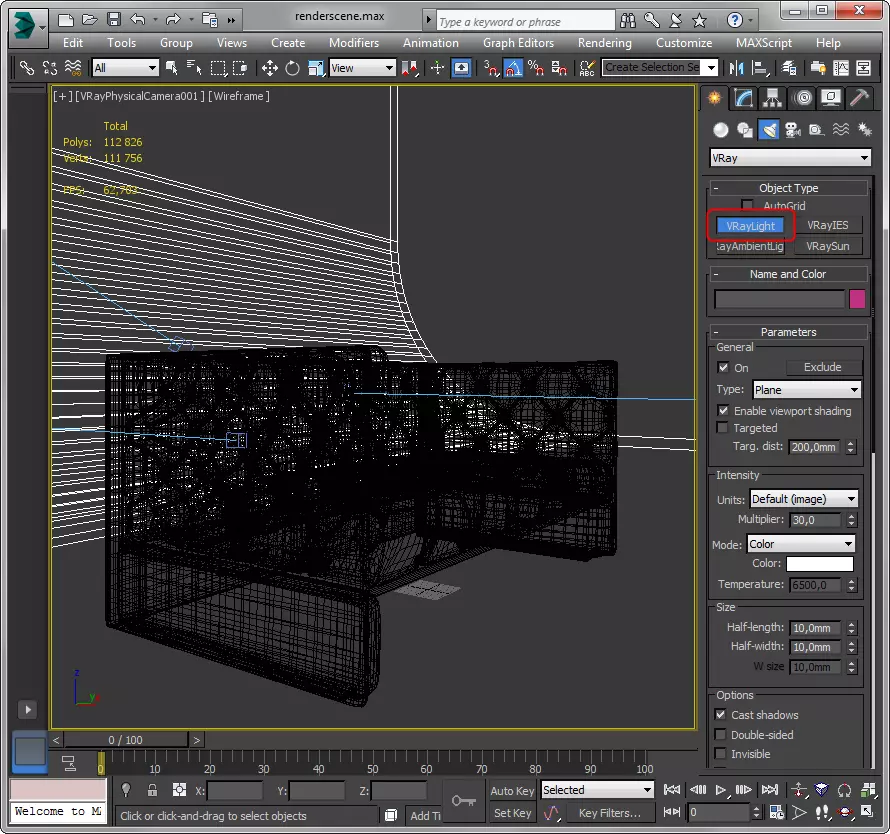
2. On the "Create" tab of the toolbar, select "Lights" and click "V-RAY LIGHT".
3. Click in that projection where you want to establish a light source. In this example, place light in front of the object.
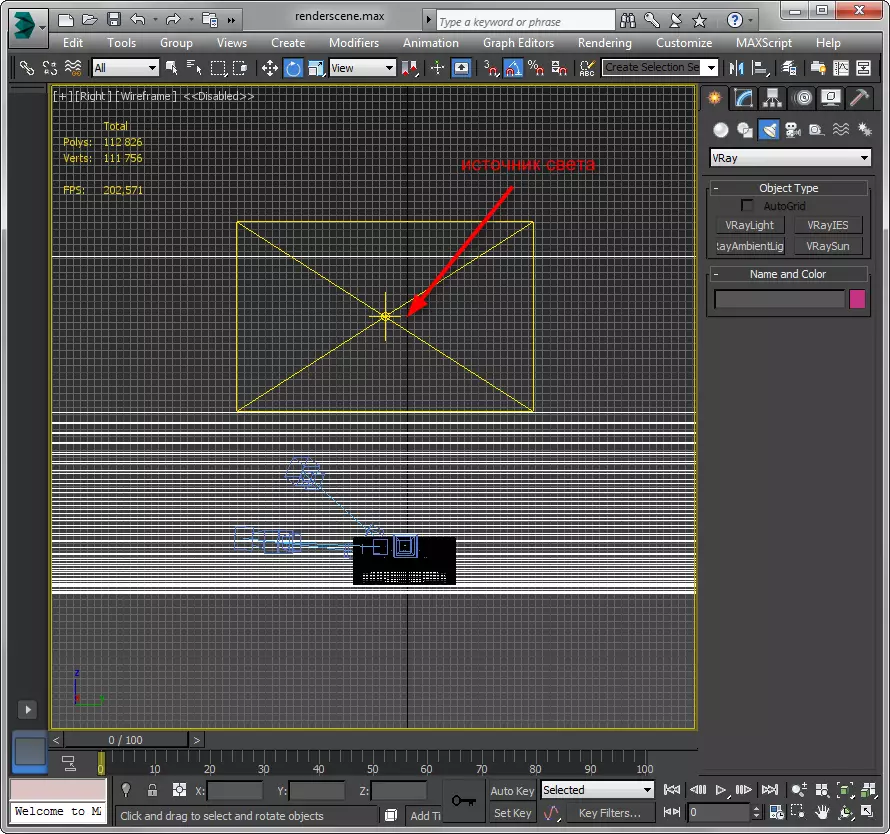
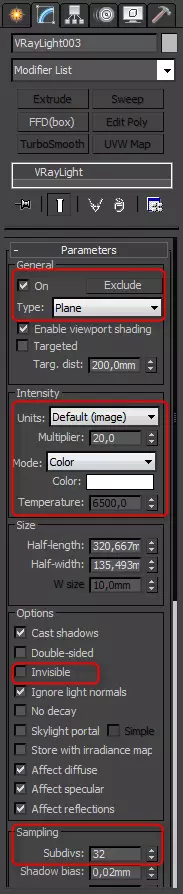
4. Configure the light source parameters.
- Type - This parameter sets the form of the source: flat, spherical, dome. The form is important in cases where the light source is visible in the scene. For our incident, let the default Plane (flat) remain.
- Intensity - allows you to establish color in lumens or relative values. We leave relative - they are easier to regulate. The higher the number in the "Multiplier" line, the brighter the light.
- Color - determines the color of light.
- Invisible - the light source can be made invisible in the scene, but it will continue to shine.
- Sampling - the "Subdivides" parameter adjusts the quality of the miscalculation of light and shadows. The greater the number in the string, the higher the quality.
The remaining parameters are better to leave the default.
5. For subject visualization, it is recommended to set several light sources of different size, lighting force and distances from the object. Place in the scene two more light sources on the sides of the object. You can brighten them relative to the scene and integrate their parameters.
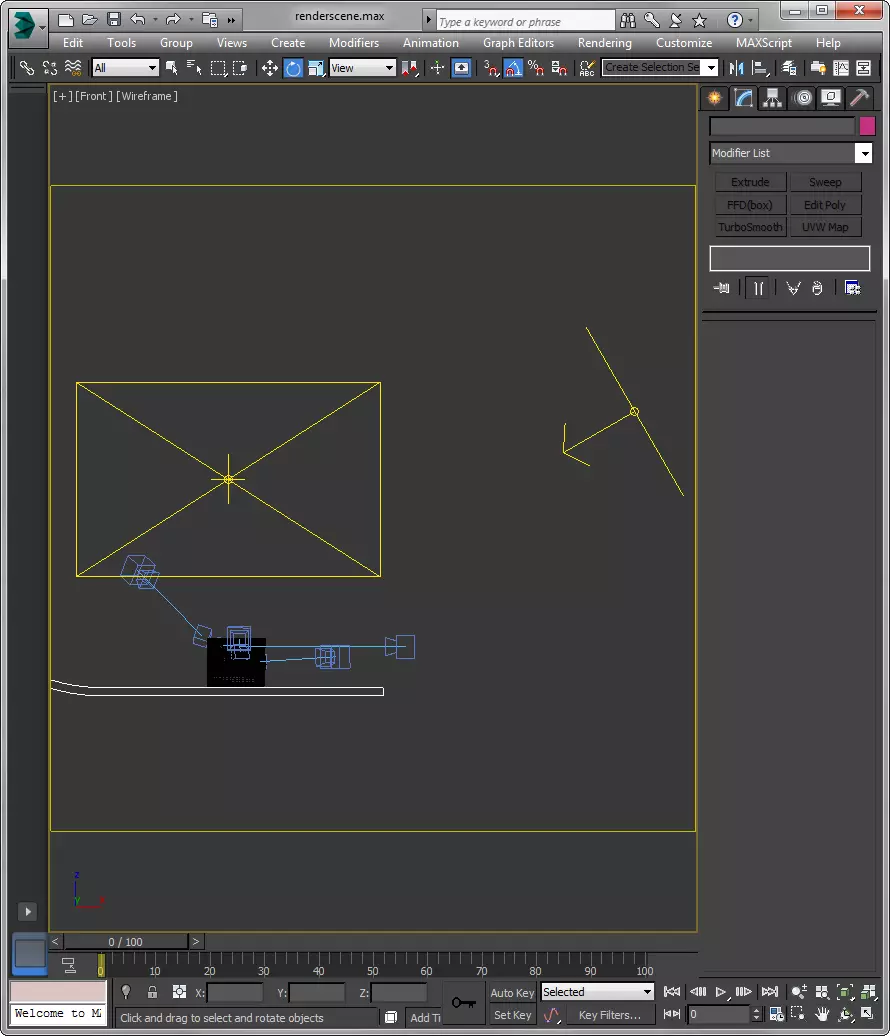
This method is not a "magic tablet" for perfect lighting, however imitates a real photo studio, experimenting in which you will achieve a very qualitative result.
Read also: programs for 3D modeling.
So, we considered the basics of setting light in V-Ray. We hope this information will help you in creating beautiful visualizations!