

If you at least sometimes use the MS Word text editor, you probably know that in this program you can not only recruit text, but also perform a number of other tasks. We have already written about many possibilities of this office product, if necessary, you can familiarize yourself with this material. In the same article, we will tell about how to draw a line or strip in the Word.
Lessons:
How to create a chart in Word
How to make a table
How to create a schema
How to add font
Create a conventional line
1. Open the document in which you want to draw a line, or create a new file and open it.
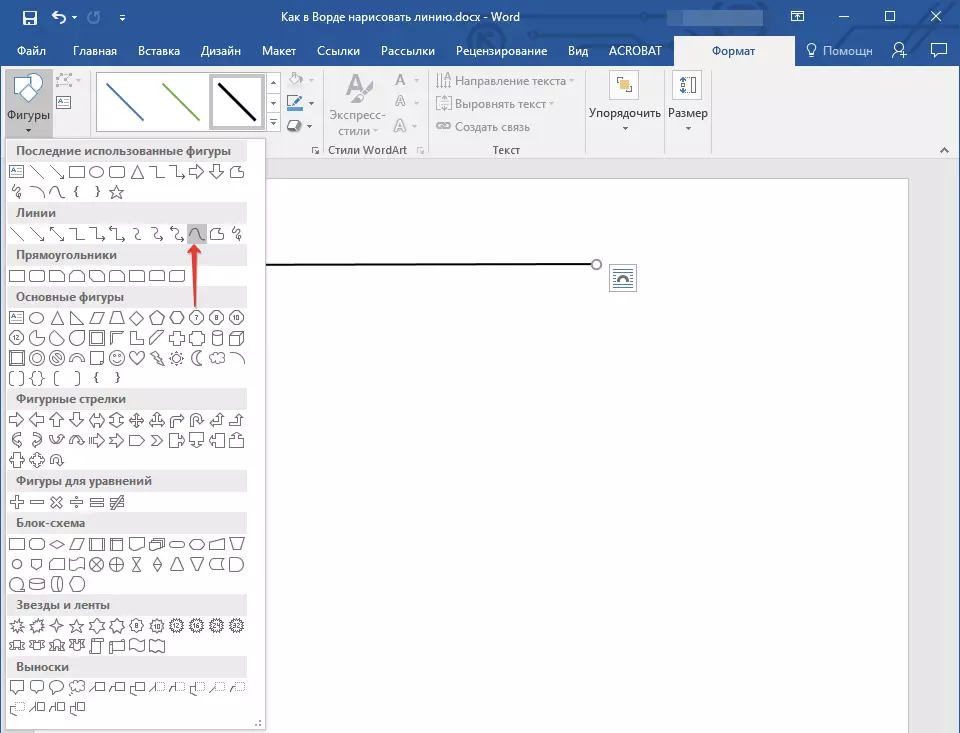
2. Go to the tab "Insert" where in the group "Illustrations" Press the button "Figures" And select the appropriate line from the list.

Note: Our example uses WORD 2016, in previous versions of the program in the tab "Insert" There is a separate group "Figures".
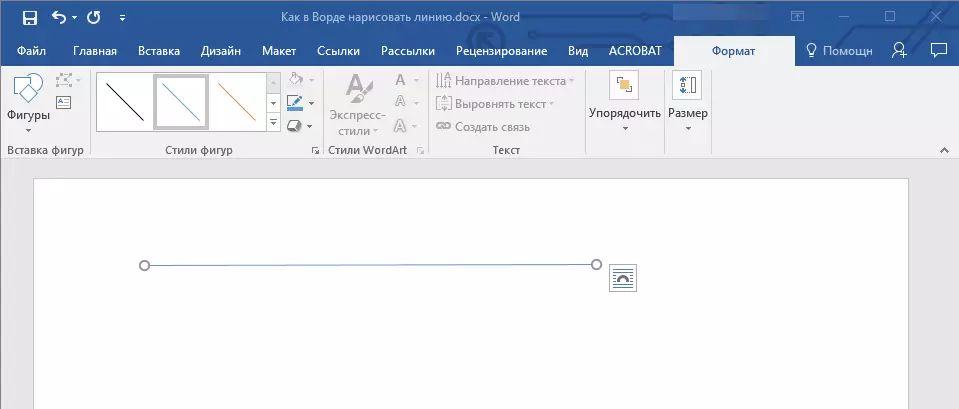
3. Draw a line by pressing the left mouse button at its start and released at the end.
4. The line you asked the length and direction will be drawn. After that, the MS WORD document will appear the mode of operation with the figures, which read the capabilities below.
Recommendations for creating and changing lines
After you draw a line, the Tab will appear in the Word "Format" in which you can change and edit the added figure.
To change the appearance of the line, expand the item menu "Styles of Figures" And select the one you like.
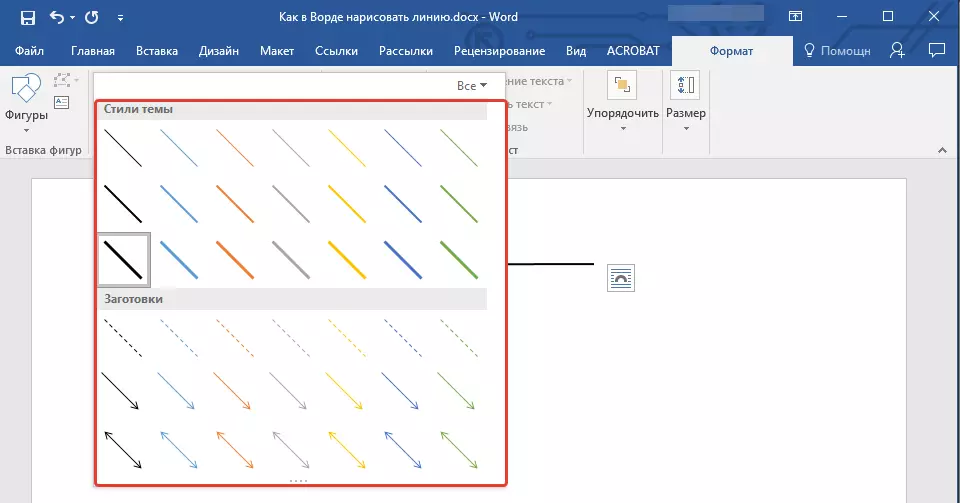
To make a dotted line in Word, expand the button menu "Styles of Figures" After clicking on the figure, and select the desired line type ( "Hatch" ) In chapter "Billets".
To draw not a straight, but curve line, select the appropriate line type in the section "Figures" . Click on the left mouse button and pull it to set one bend, click the second time for the next, repeat this action for each of the bends, and then click on the left mouse button twice to exit the line drawing mode.
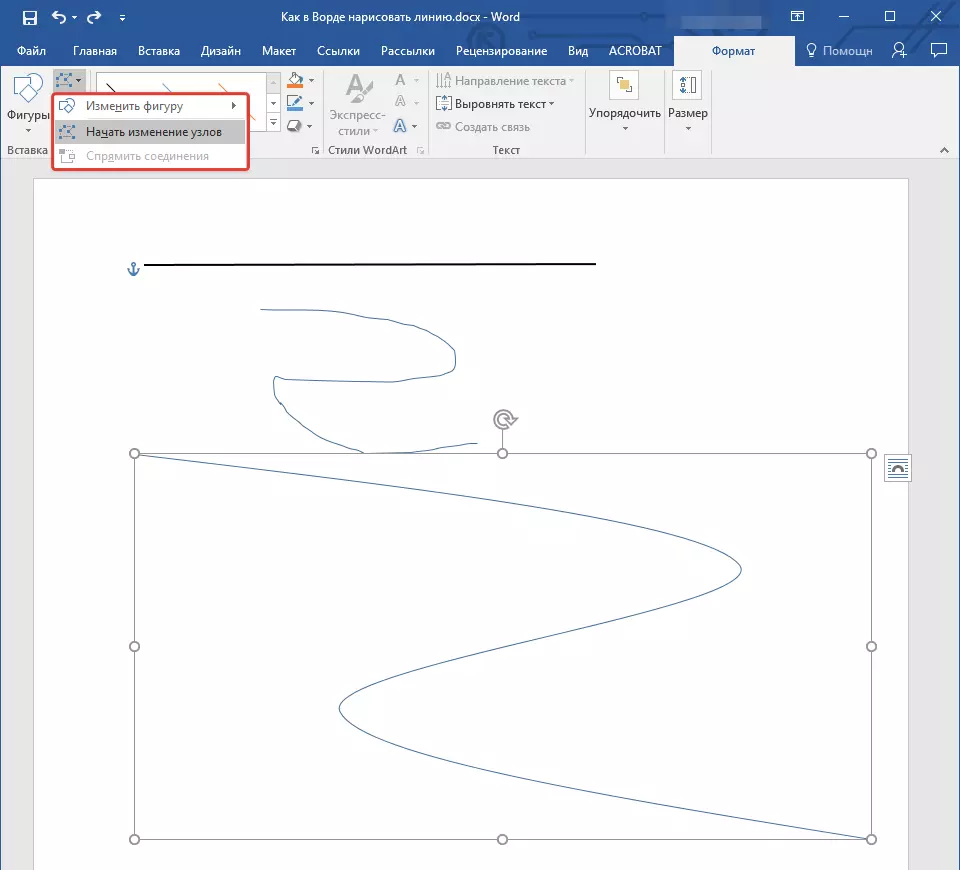
To draw a free form line in the section "Figures" Choose "Polyline: hand drawn curve".

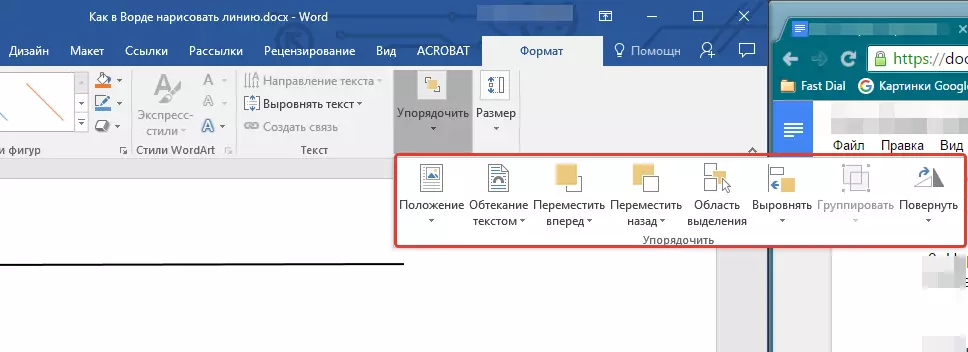
To change the size of the drawn line field, highlight it and click on the button. "The size" . Set the necessary parameters of the width and height of the field.

- Advice: Amend the size of the area that the line occupies can be used and use the mouse. Click one of the circles framing it, and pull it into the desired stron. If necessary, repeat the action and on the other side of the figure.
For shapes with nodes (for example, a curve line), the tool is available.
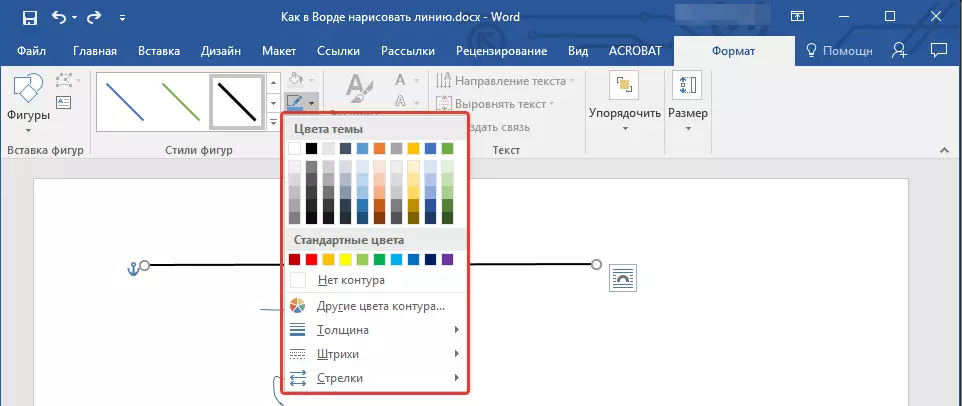
To change the color of the shape, click on the button. "Contour of Figures" located in the group "Styles" And choose the appropriate color.
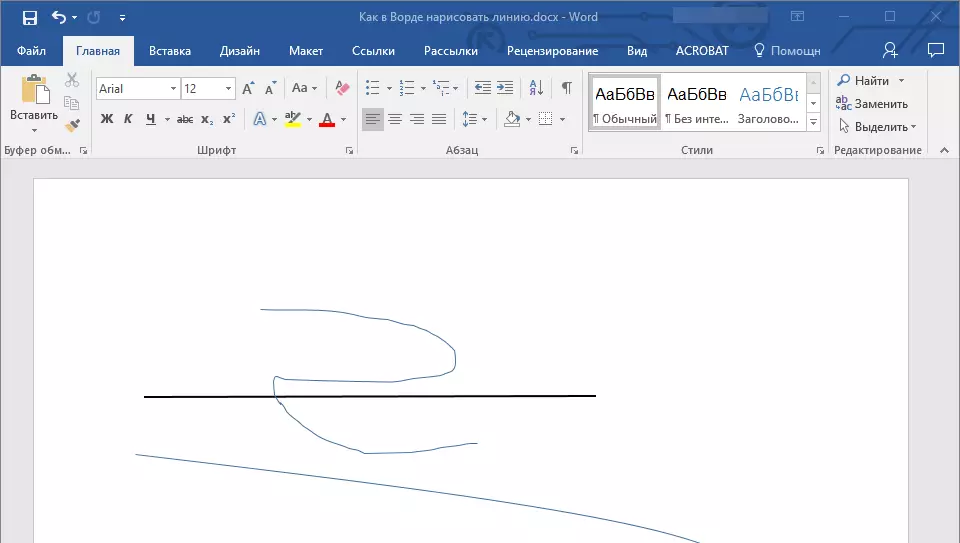
To move the line, just click on it, to display the form of the figure, and move it to the desired place of the document.
On this, everything, from this article you learned how to draw (spend) in the Word. Now you know a little more about the possibilities of this program. We wish you success in its further development.