

The creation of two-dimensional lines and primitives, as well as their editing - is the basis of working on the drawing in the autocada. The principle of drawing in this program is constructed in such a way that the drawing of objects occupied as little time as possible and the drawing was created most intuitive.
In this article, we will consider the process of drawing simple objects in the autocada.
How to draw two-dimensional objects in AutoCAD
For maximum ease of drawback, select the profile of the Drawing and Annotation profile in the quick access panel (it is in the upper left corner of the screen).On the Home tab, find the "Drawing" panel. It contains all tools to start a two-dimensional drawing.
Creating segments and polylines
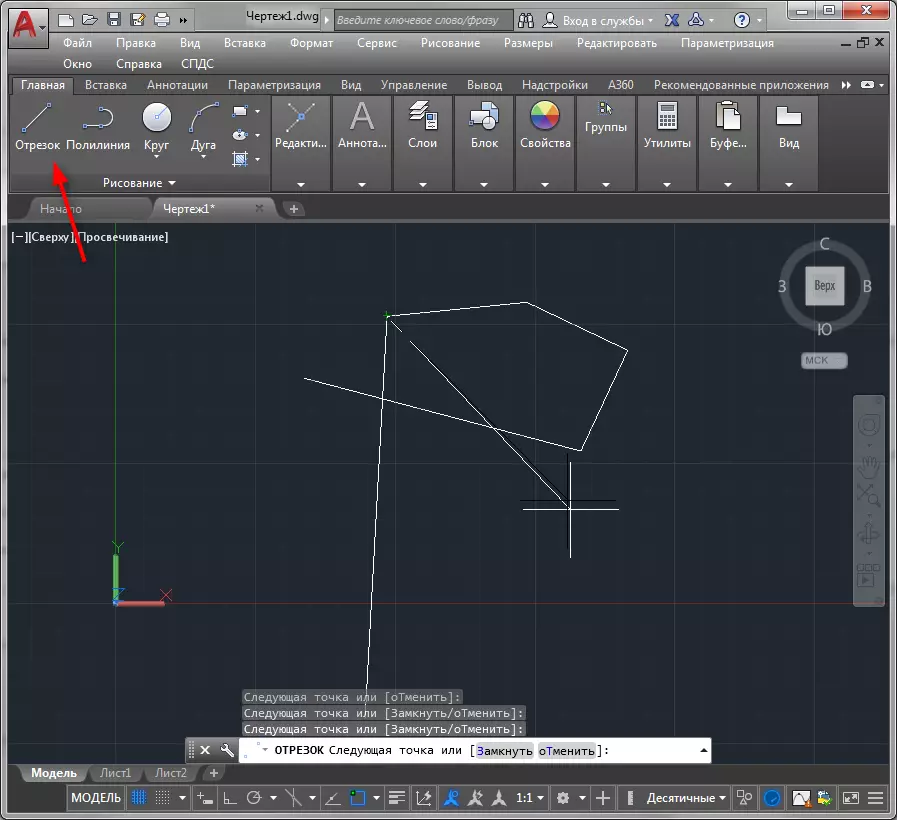
The simplest drawing tool is a segment. With it, you can create a single segment, a broken, closed or open line. At the same time, each of the segments of the line will be independent - it can be allocated and edited. Fix the extreme points of segments with mouse clicks. To finish the construction - press "ENTER".
Useful information: how to combine lines in AutoCAD
The "Polyline" tool will help you draw closed and open lines, combining straight segments and arcuate elements.
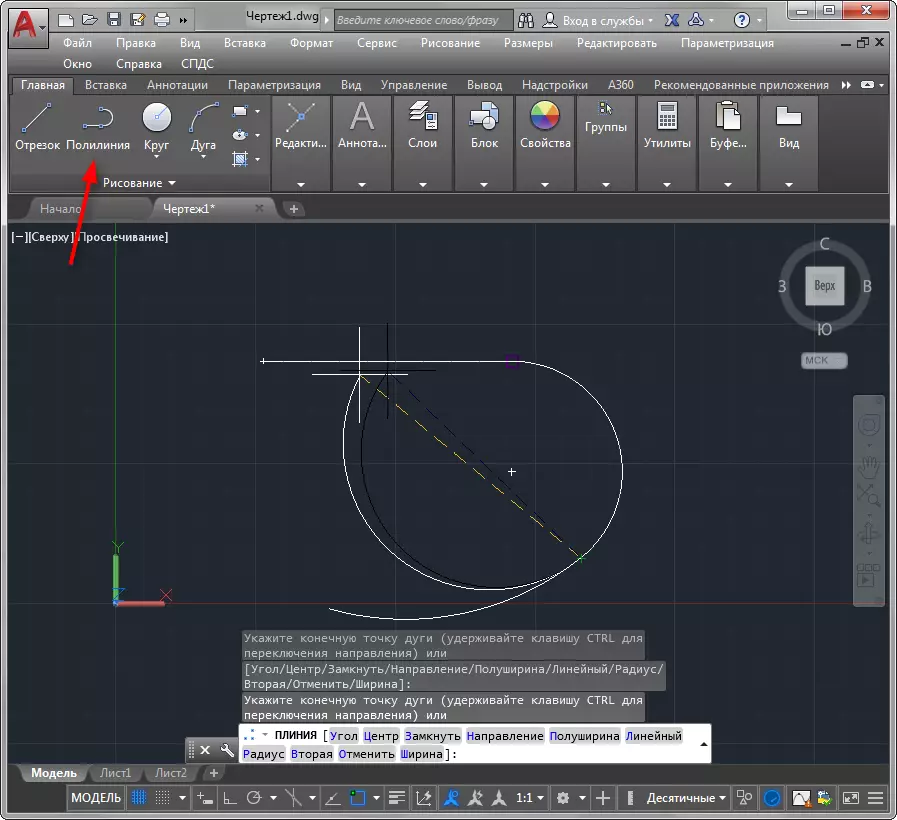
Click at the starting point of the construction and pay attention to the command line. By choosing "arc" on it, you can draw a curvilinear figure while in the mode of drawing a polyline. To continue the line with a straight segment, select "Linear".
Read also How to convert to Polyline to AutoCAD

Drawing circles and polyhedra
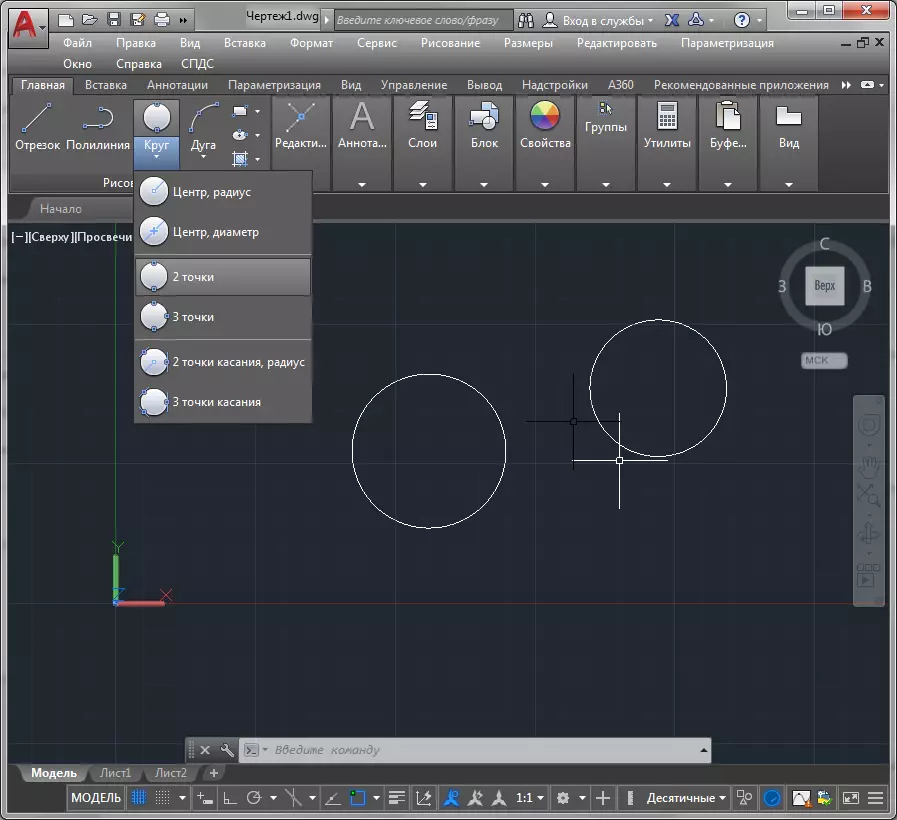
To draw a circle, click the "Circle" button. In the drop-down list of this tool, you can set a method for constructing a circle - using the radius and diameter, the position of the extreme points and tangents. The arc segment is also drawn in the same way. You can operate with radius, extreme dots, direction, center of the circle, or by specifying the arc shape with the position of three points.
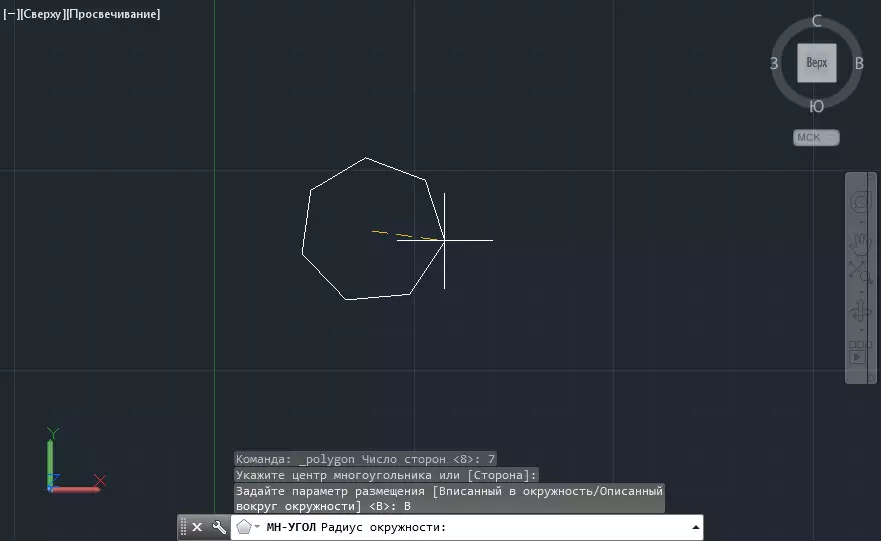
The algorithm for creating a rectangle includes several steps. After activating this tool, you need to set the number of the sides of the figure, select its center with a click in the working field and determine the type (described around the circle or inscribed in it).


Studying autocardic drawing tools, you will find spline drawing buttons, rays, endless straight lines. These elements are used less often than those described above.
Auxiliary tools of two-dimensional drawing
Let us dwell on some of the most used in drawing tools.
Binding. With them, you can accurately fix the position of the points relative to other figures.
Read more in the article in more detail: how to use bindings in AutoCAD
Orthogonal restriction of the movement of the cursor. This is a separate type of binding that will help to draw an element in strictly vertical and horizontal lines. It is activated by a special button in the status bar.

Step binding. Being in this mode, you can place the nodal points of the objects only in the places of crossing the coordinate grid. In the status bar, turn on the mesh mapping and stepwise binding, as shown in the screenshot.

Display type lines. Activate this feature to always see the weight of the lines of your drawing.

Other lessons: how to use AutoCAD
So we figured out the basic instrumentaries of two-dimensional drawing. Having visited other lessons on our website, you will find information on how to create fills and hatching, change the types of lines, create texts and other elements of a plane drawing.