

Create a list in Microsoft Word can be quite simple, just a few clicks. In addition, the program allows not only to create a labeled or numbered list along the set of text set, but also to convert the text to the list that has already been dialed.
In this article, we will consider in detail how to make a list in Word.
Lesson: How to format text in MS WORD
Creating a new marked list
If you only plan to print text, which must be decorated in the form of a marked list, follow these steps:
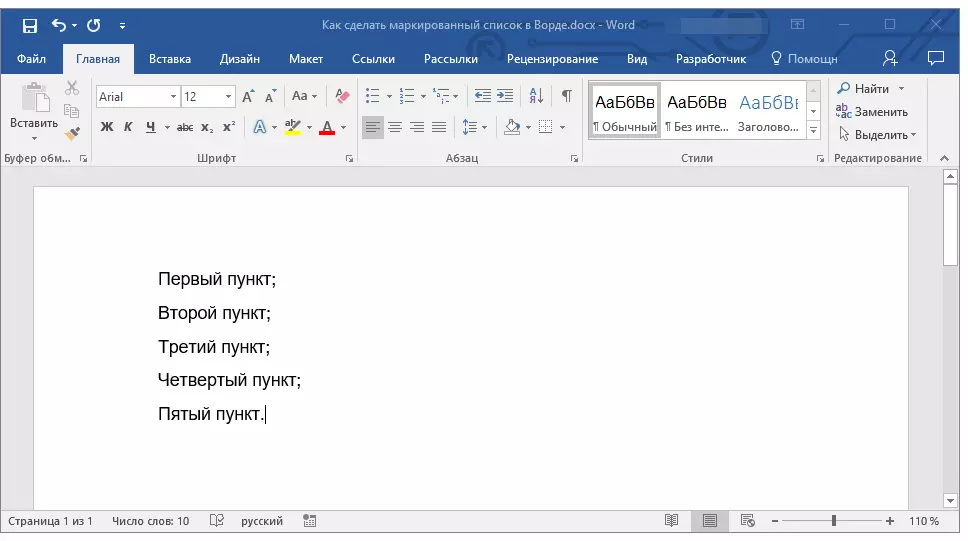
1. Install the cursor at the beginning of the line in which the first list item must be.

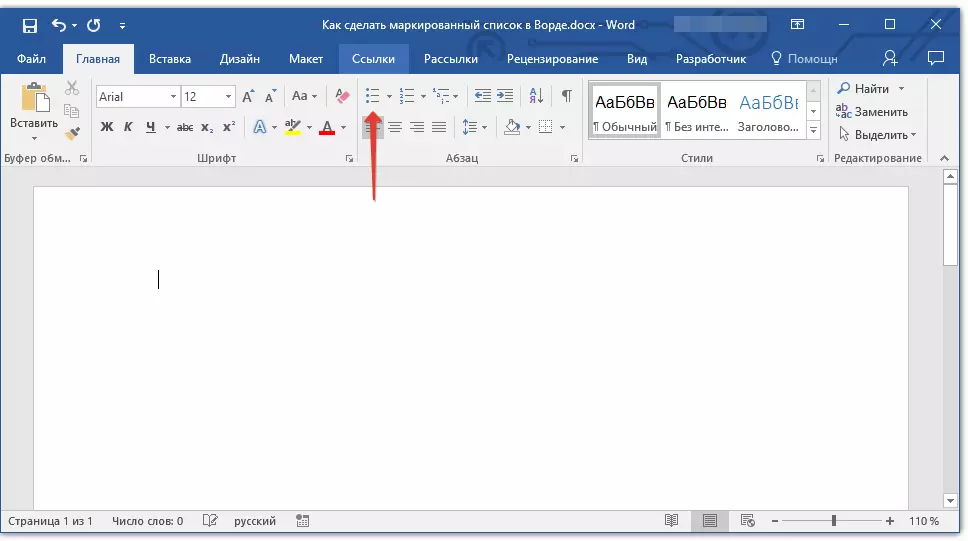
2. In group "Paragraph" which is located in the tab "Home" Click the button "MARKED LIST".
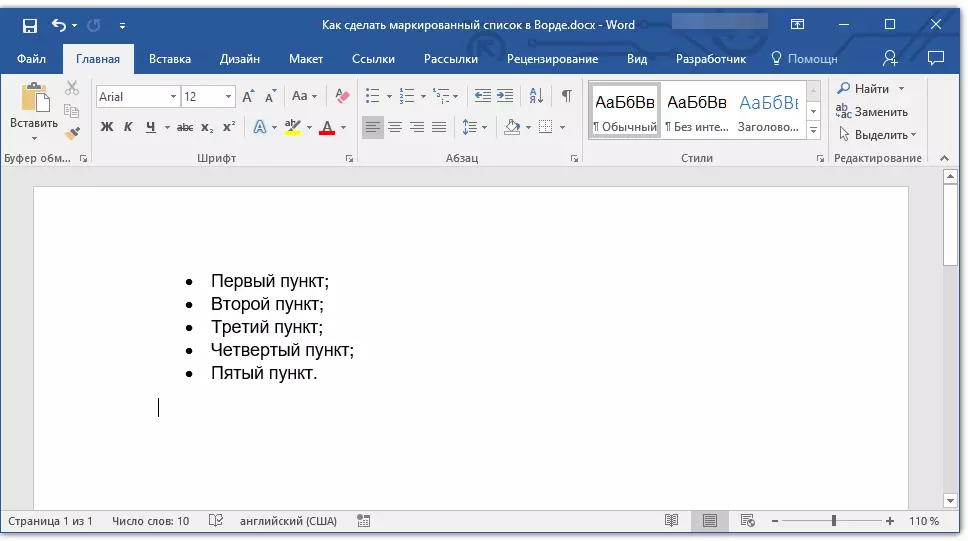
3. Enter the first item of the new list, click "ENTER".

4. Enter all subsequent paragraphs of the marked list by clicking at the end of each of them. "ENTER" (after a point or point with a comma). When you finish entering the last item, double-click "ENTER" or click "ENTER" , and then "Backspace" To exit the creation of a marked list and continue the usual set of text.
Lesson: How to streamline the alphabet list in the Word
Convert ready text to list
Obviously, each item of the future list must be in a separate line. If your text is not yet divided into strings, do it:
1. Install the cursor at the end of the word, phrases or suggestions, which should be the first point in the future list.

2. Tap "ENTER".
3. Repeat the same action for all the following items.
4. Highlight the text fragment, which should be a list.

5. In the shortcut panel in the tab "Home" Press the button "MARKED LIST" (group "Paragraph").

- Advice: If after the marked list you created yet there is no text, double click "ENTER" at the end of the last item or click "ENTER" , and then "Backspace" To exit the list creation mode. Continue the usual set of text.

If you need to create a numbered list, not marked, click "Numerized list" located in the group "Paragraph" In the tab "Home".

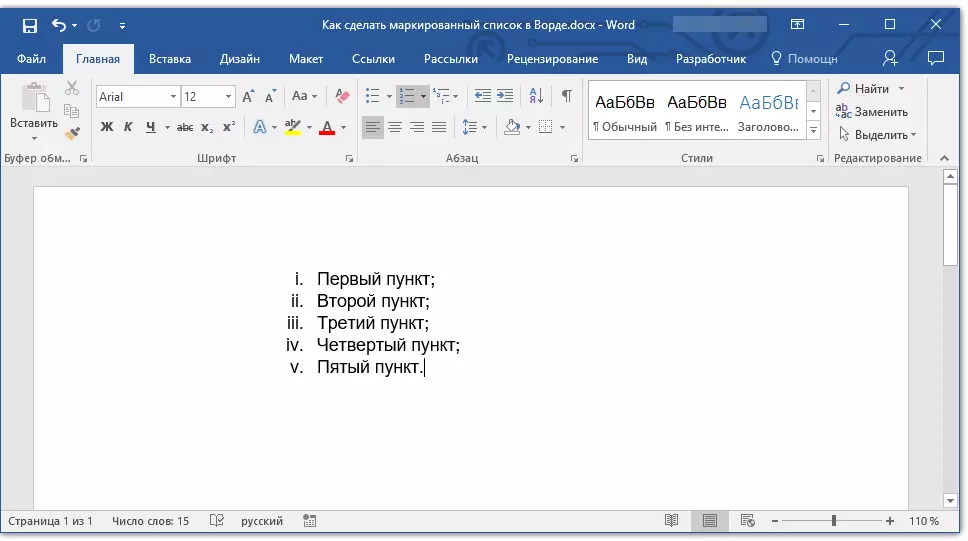
Changing the list level
The created numbered list can be shifted to the left or right, thus changing its "depth" (level).
1. Highlight the marked list you created.

2. Click on the arrow located to the right of the button "MARKED LIST".

3. In the drop-down menu, select item "Change the list level".

4. Select the level you want to specify the marked list you created.
Note: Marking in the list will change with level changes. On how to change the style of a marked list (type of markers, first of all), we will tell below.
A similar action can be performed with the keys, and the type of markers in this case will not be changed.
Note: The red arrow in the screenshot shows the starting tab of the tab for the marked list.

Highlight the list whose level needs to be changed, do one of the following:
- Press the key "TAB" to make the level of the list deeper (shift it to the right to one tab of the tabulation);
- Click "SHIFT + TAB" If you want to reduce the level of the list, that is, to shift it on the "step" to the left.

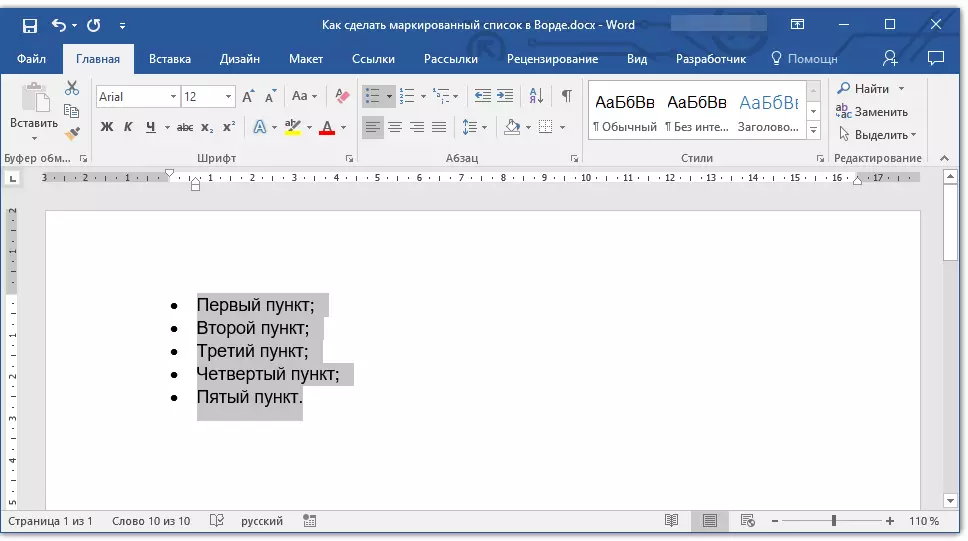
Note: One keystroke (or keys) shifts the list to one tab of the tab. The "SHIFT + TAB" combination will work only if the list is at a distance of at least one tab of the tab from the left field of the page.
Lesson: Tabulation in Word.
Creating a multi-level list
If necessary, you can create a multi-level labeled list. More detailed about how to do this, you can learn from our article.Lesson: How to create a multi-level list
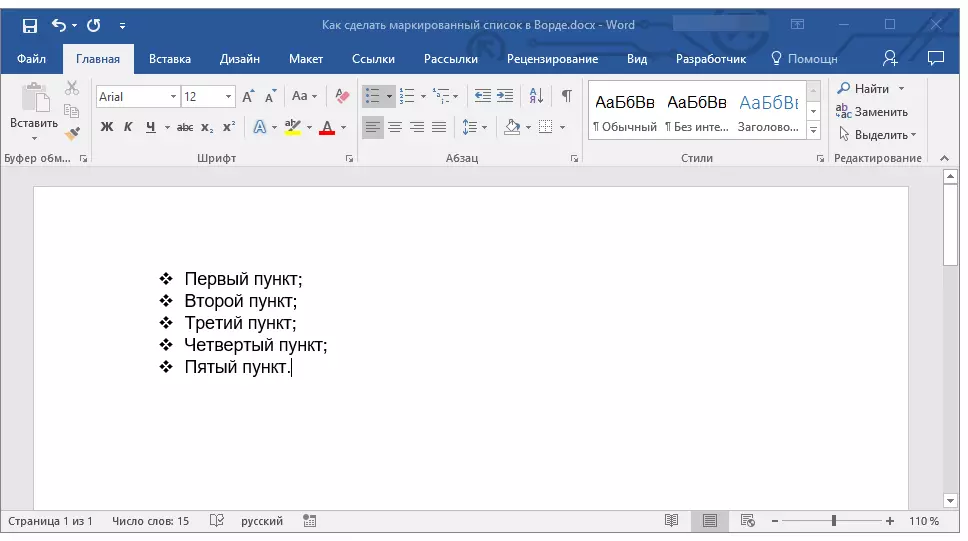
Changing the style of a marked list
In addition to the standard marker installed at the beginning of each list item, you can use other signs available in MS Word to label.
1. Highlight the marked list, which must be changed.

2. Click on the arrow located to the right of the button "MARKED LIST".

3. From the drop-down menu, select the appropriate marker style.

4. The markers in the list will be changed.
If for some reason you are not satisfied with the styles of markers, available by default, you can use to mark any of the characters present in the program or pattern that can be added from the computer or download from the Internet.
Lesson: Inserting characters in the Word
1. Highlight the marked list and click on the right arrow from the button. "MARKED LIST".

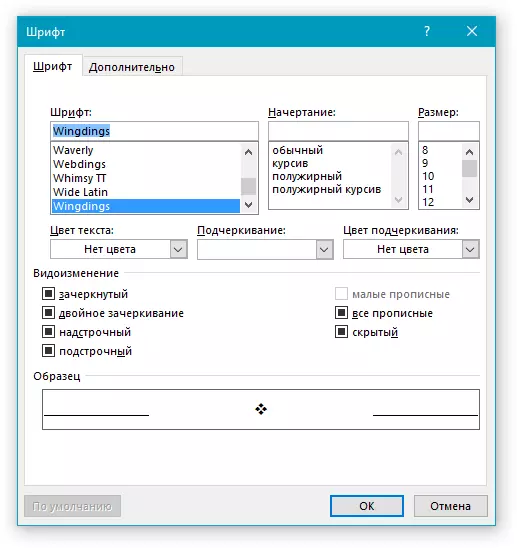
2. In the drop-down menu, select "Determine the new marker".

3. In the window that opens, perform the necessary actions:

- Click on the button "Symbol" if you want to use as markers one of the characters presented in the set;
- Press the button "Drawing" if you want to use a drawing as a marker;
- Press the button "Font" And make the necessary changes if you want to change the marker style using the font sets available in the program. In the same window, you can change the size, color and type of writing a marker.


Lessons:
Inserting images in Word
Font change in document
Deleting a list
If you need to remove the list, leaving the text itself, which is contained in its items, follow these steps.
1. Select the entire text in the list.

2. Click on the button "MARKED LIST" (group "Paragraph" Tab "Home").

3. Marking of items will disappear, the text that was part of the list will remain.
Note: All those manipulations that can be performed with a marked list are applicable for a numbered list.
Here, in fact, everything, now you know how to create a labeled list in the Word and, if necessary, change its level and style.