
Hello expensive readers of our site! I hope the mood is good and you are ready to plunge into the magical world of photoshop.
Today I will tell you how to learn to transform images in Photoshop. At the same time, consider all sorts of ways and types.
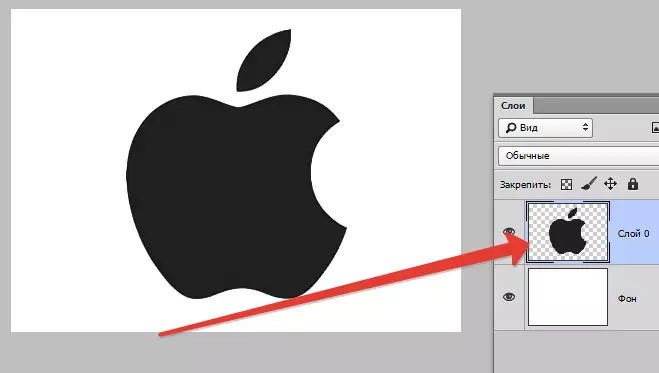
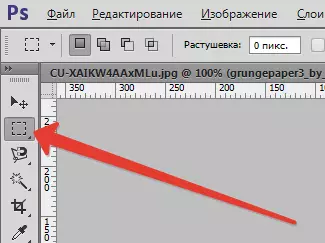
We open the photoshop already available on the computer and go to work. Select a picture, preferably in format PNG. Since thanks to the transparent background will be better noted by the result of the transformation. We open a picture in photoshop by a separate layer.
Free transformation of the object
This feature allows you to change the scale of the picture, distort, turn, expand or narrow it. Simply put, free transforming is a change in the initial type of image. For this reason, this is more commonly used form of transformation.Scaling image
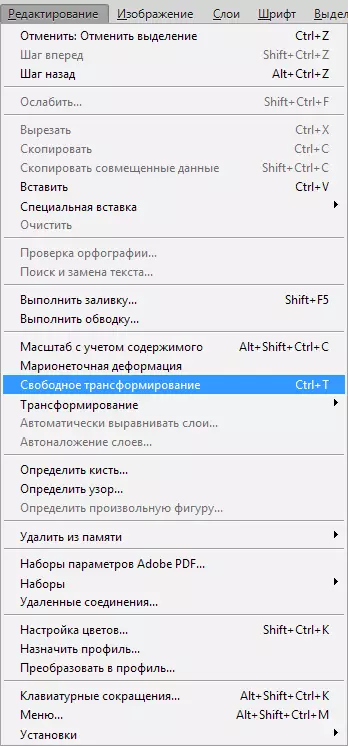
Changing the image starts from the "Free Transform" menu item. You can use this function in three ways:
1. Go to the menu section at the top of the panel "Editing" , in the open list, select a function "Free Transformation".
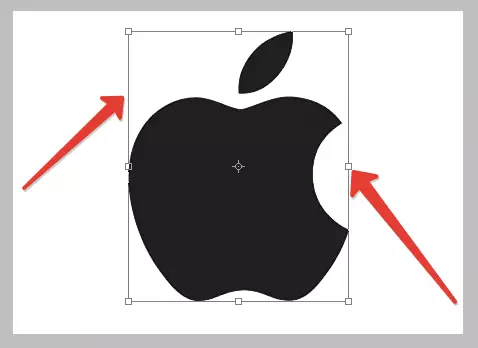
If you did everything right, then the desired image will circle a frame.
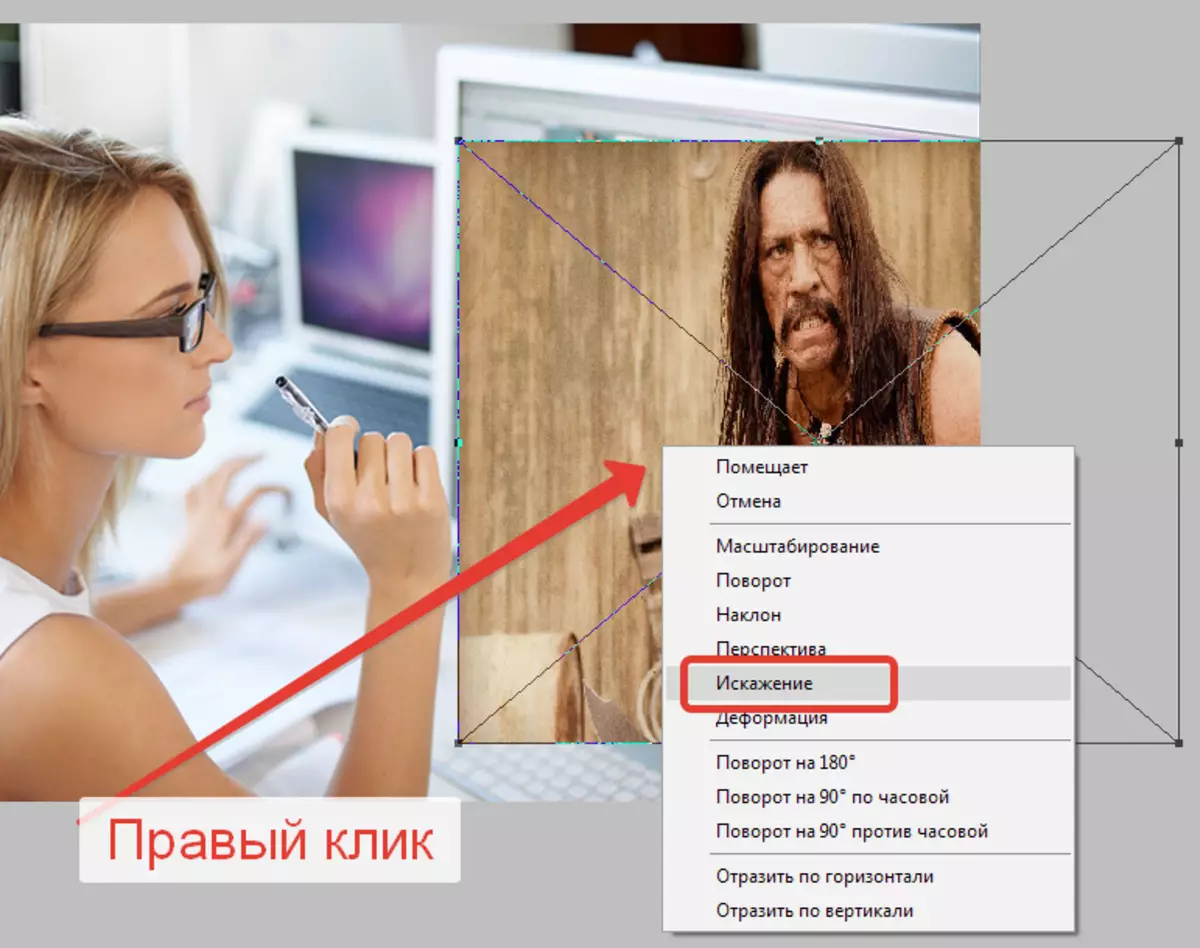
2. Highlight your image and click on the right mouse button, in the opened menu select the item you need "Free Transformation".
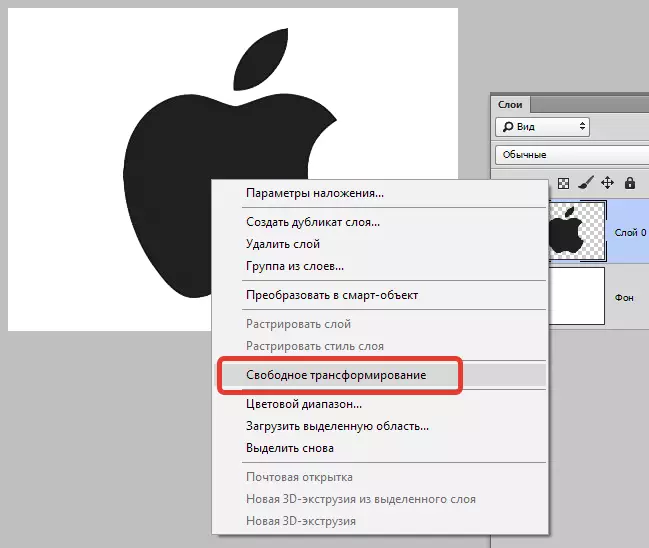
3. Or use the combination of hot keys Ctrl + T..
You can also change the image of the image in several ways:
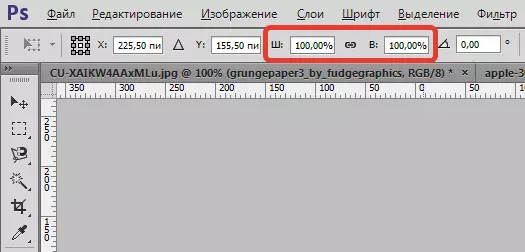
If you know the specific size that the transformation should be obtained in the end, then enter the desired numbers into the appropriate width and height fields. It is done at the top of the screen, in the panel that appears.
Change the size of the image manually. To do this, move the cursor to one of the four corners or sides pictures. The usual arrow will change to double. Then heal the left mouse button and pull the image before the formation of the size you need. After reaching the desired result, release the button and press ENTER to fix the object size.
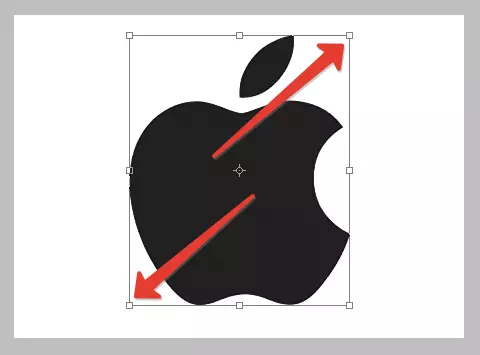
At the same time, if you pull the picture for the corners, the size will be changed both in the width and in length.
If you pull the lateral image, the object will change only its width.
If you pull the image behind the bottom or upper side, the height will change.
Not to damage the proportions of the object. Click the mouse button at the same time and Shift. . It is necessary to pull for the corners of the dotted frame. Then there will be no distortion, and persist proportions depending on the decrease or increase in scale. To distort the image from the center and to the center during the transformation, clamp the button Alt..
Try on experience to understand the entire essence of the scale.
Rotate the image
For the rotation of the object, the "Free Transformation" function will be activated. Make it one of the above method. After that, let's move the mouse cursor to one of the angles of the dotted frame, but slightly higher than in the case of transformation. A curved double arrow should appear.
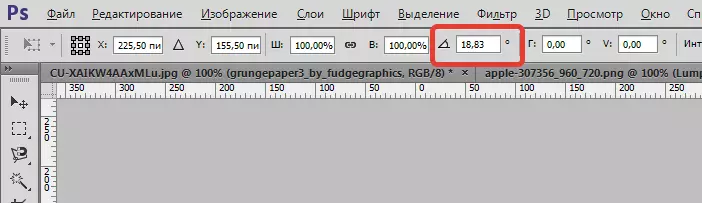
By pressing the left mouse button, turn your image to the desired side to the required number of degrees. If you know in advance how much degrees you need to turn the object, then enter the number to the appropriate field in the appeared panel at the top. To fix the result click ENTER.

Rotate and scaling
It is possible to take advantage of the functions of changing the scale and image and its turn. In principle, there is no difference from the possibilities described above, except that you alternately use one first, and then another function. As for me, there is no point in applying this method of changing the image, but to whom.
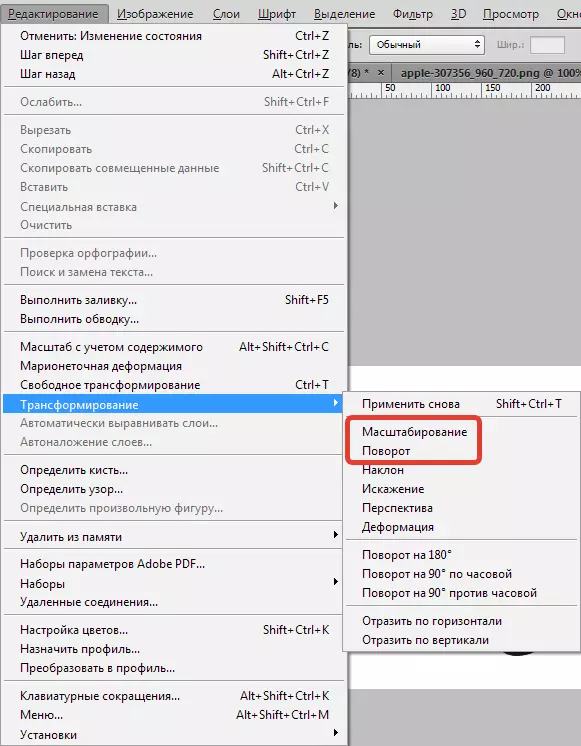
To activate the required function, go to the menu "Editing" Further B. "Transformation" , in the list that opens, choose "Scaling" or "Turn" Depending on how the change in the image interests you.
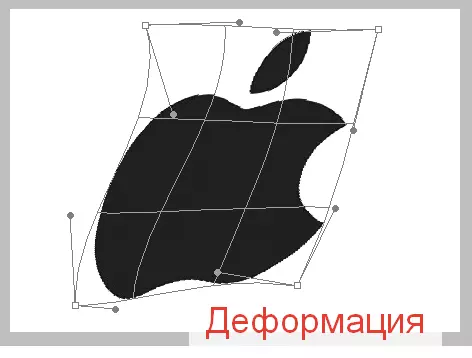
Distortion, perspective and slope
These functions are located in the list of the same menu, which has already been discussed. They are combined into one section, as they are similar. In order to understand how each function works, try to experiment with them. When choosing an inclination, the feeling is created that we tip the image on the side. What a distortion means and so understandable, the same applies to the prospects.
The scheme for selecting functions is the same as when scaling and turning. Menu Section "Editing" , then "Transformation" And in the list, select the desired item.
Activate one of the functions and pull the dotted frame around the image over the corner. The result can be quite interesting, especially if you work with photos.
Overlay frame on screen
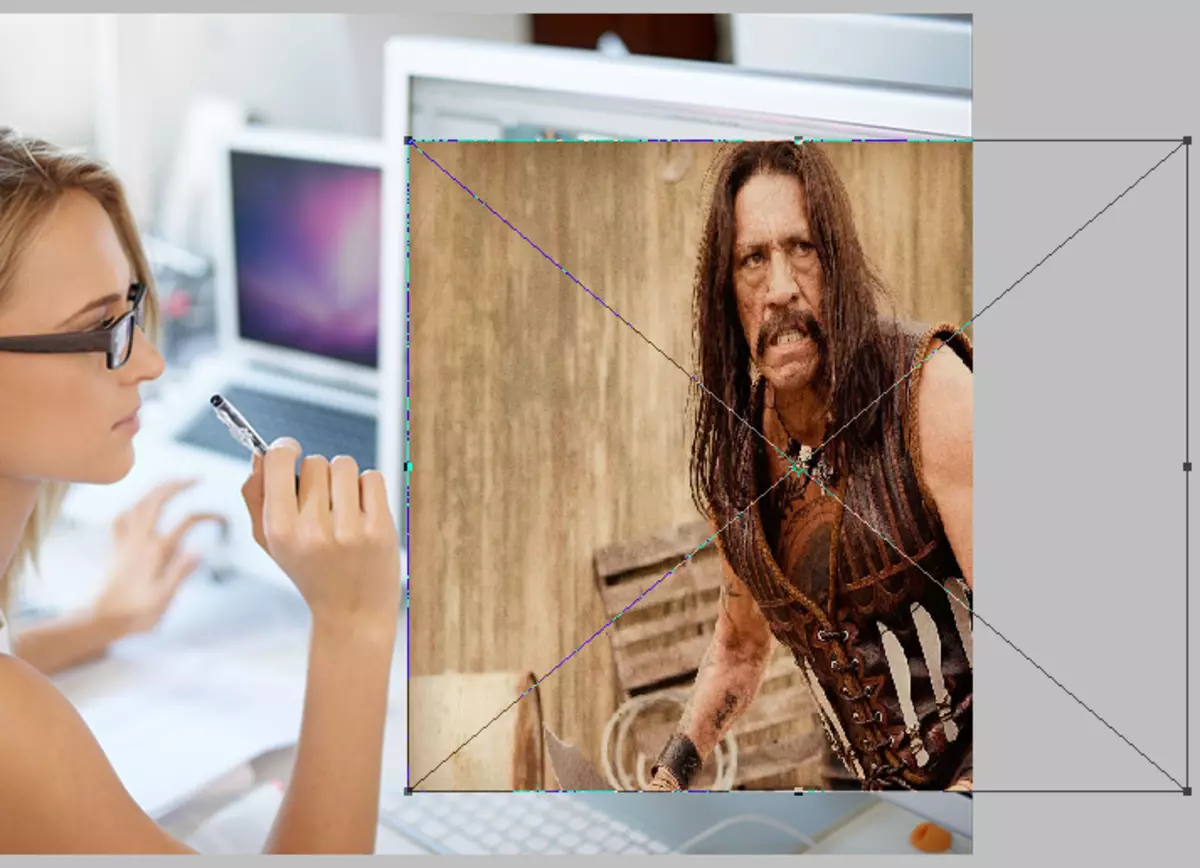
Now let's turn to the clamp of the frame of the frame on the monitor, where we will be needed by knowledge. For example, we have two photos such as a bright frame from your favorite film and a person at a computer. We want to make the illusion that a person behind the computer monitor is watching your favorite movie.
Open both images in the photoshop editor.
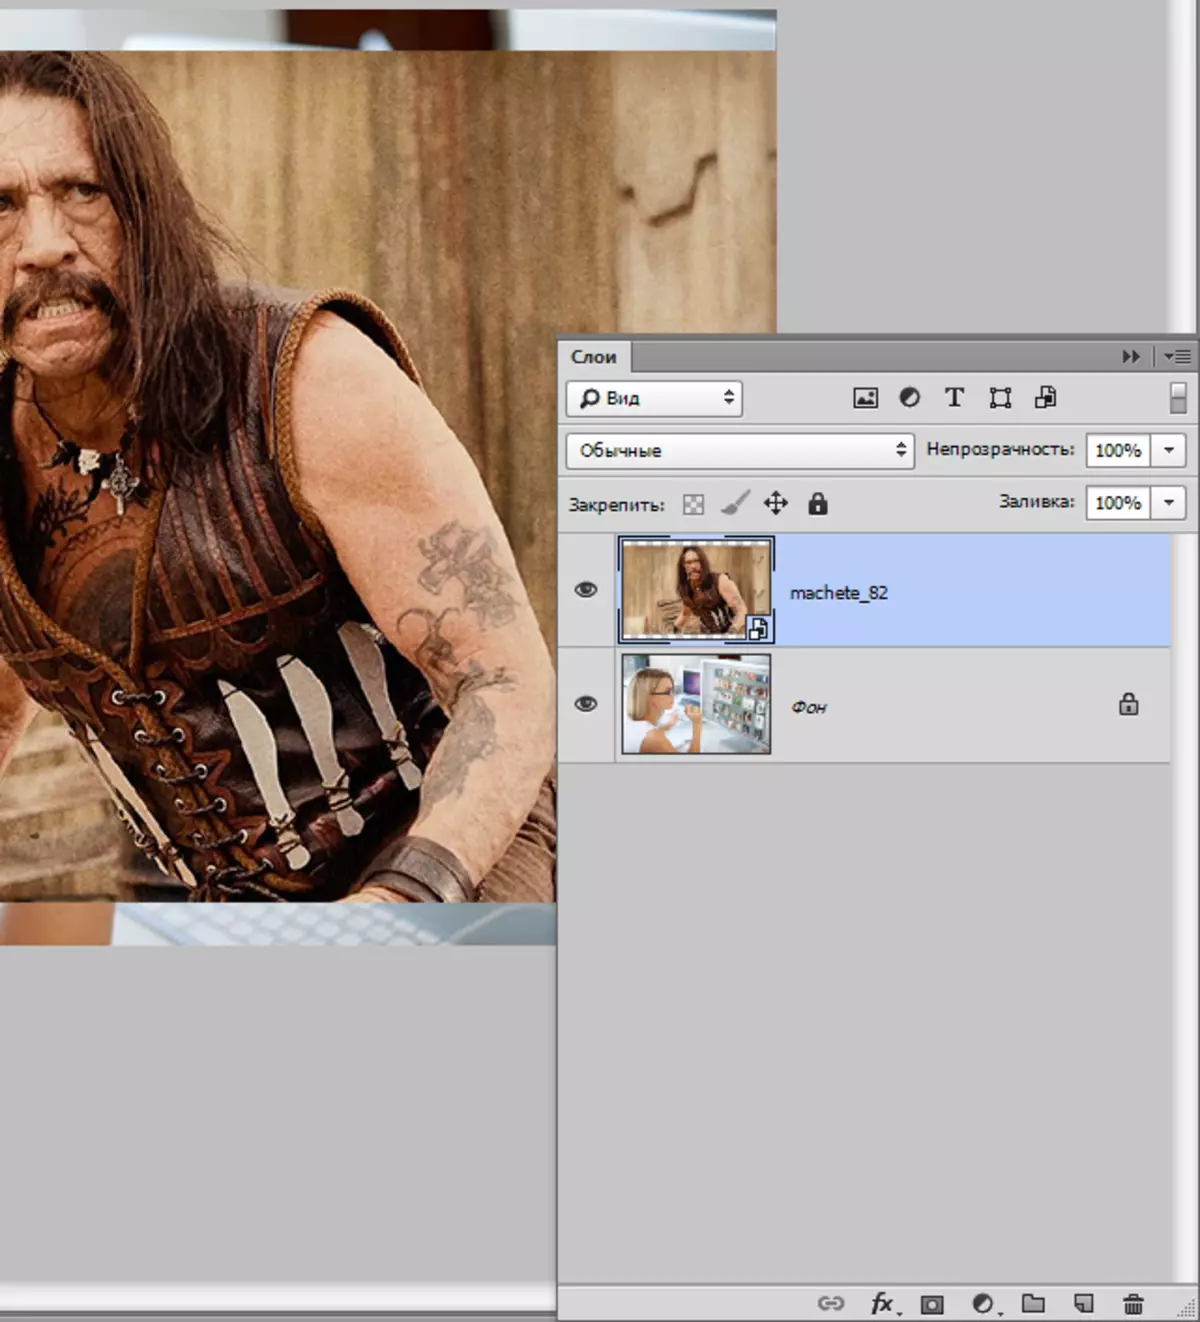
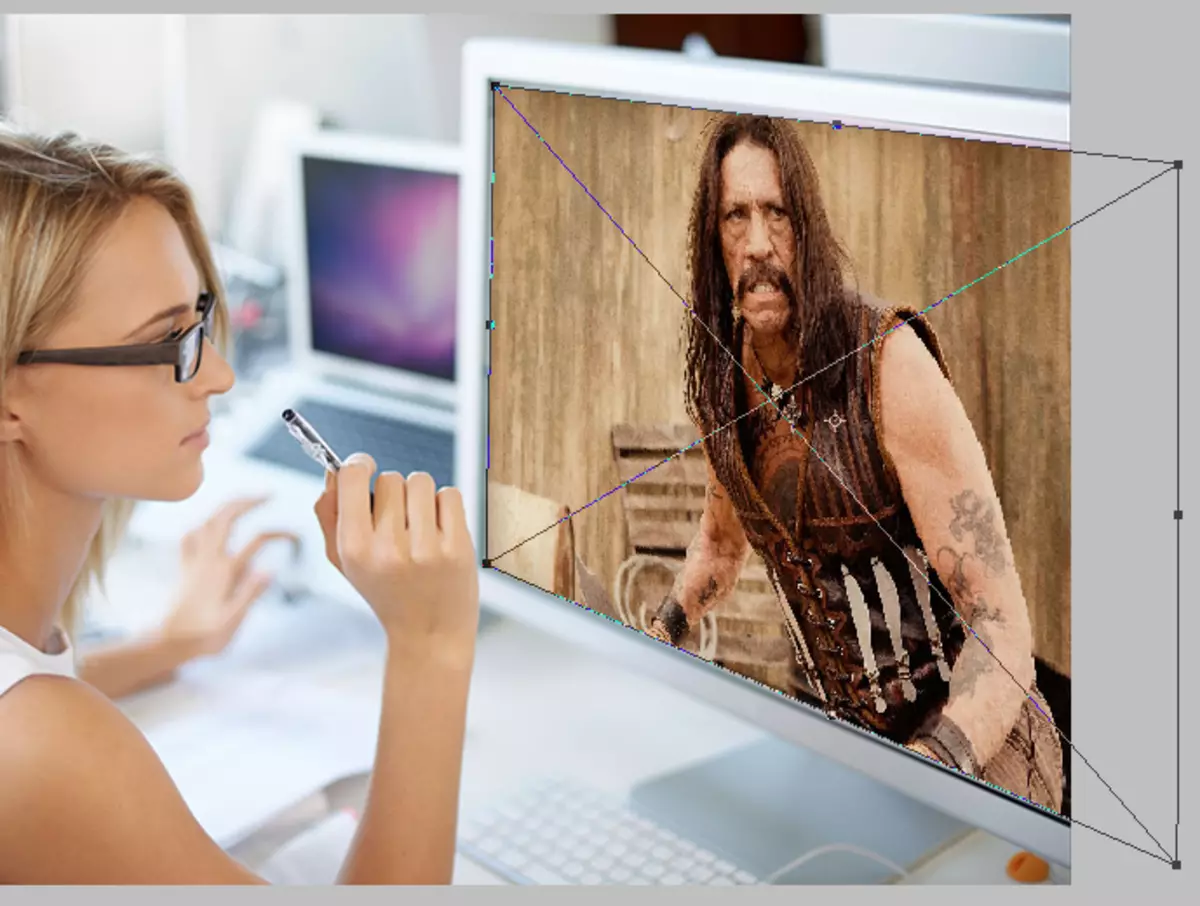
After that we use the tool "Free Transformation" . It is necessary to reduce the image frame of the film to the size of the computer monitor.
Now use the function "Distortion" . We try to stretch the image so that the result is as realistic as possible. Fix the resulting job key ENTER.
And on how to make a better opening of the frame on the monitor, how to get a more realistic result we will talk in the next lesson.