

Quite often, during operation with the MS WORD document, it is necessary to create lines (linomies). The presence of rows may be required in official documents or, for example, in invitation, postcards. Subsequently, the text will be added to these lines, most likely, it will fit there with a handle, and not printed.
Lesson: How to put a signature in the Word
In this article, we will look at a few simple and convenient ways in the work of which you can make a string or string in Word.
IMPORTANT: In most methods described below, the length of the line will depend on the fields set in the default Word or previously modified by the user. To change the width of the fields, and along with them to designate the maximum possible length of the string for underlining, use our instructions.
Lesson: Setting and changing fields in MS Word
Underline
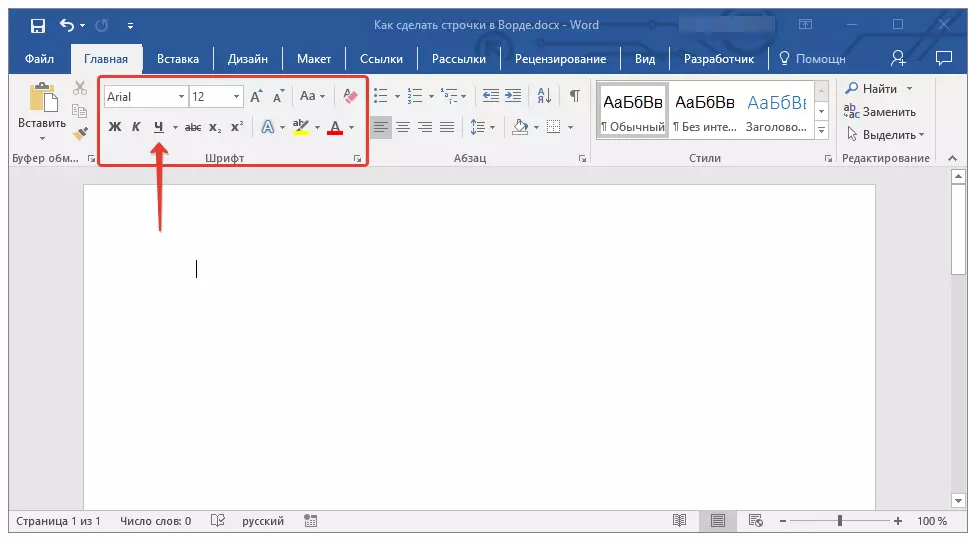
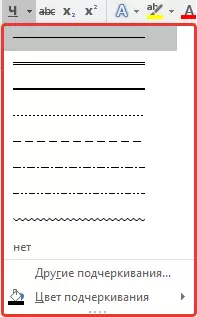
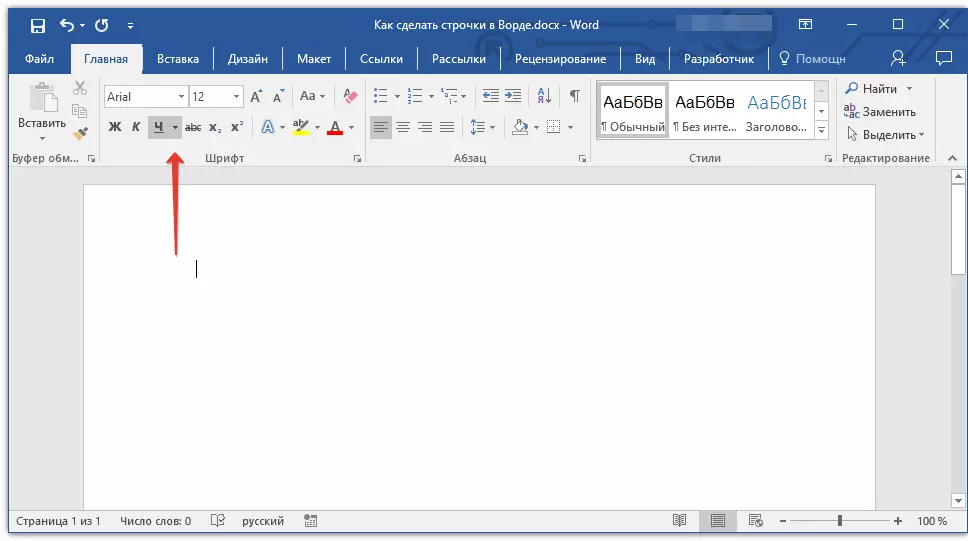
In the tab "Home" in a group "Font" There is a text underscore tool - button "Underlined" . Instead, you can also use a key combination "Ctrl + U".
Lesson: How to stress text
Using this tool, you can emphasize not only the text, but also an empty place, including a whole line. All that is required is pre-denoted the length and number of these rings with spaces or tabs.
Lesson: Tabulation in Word
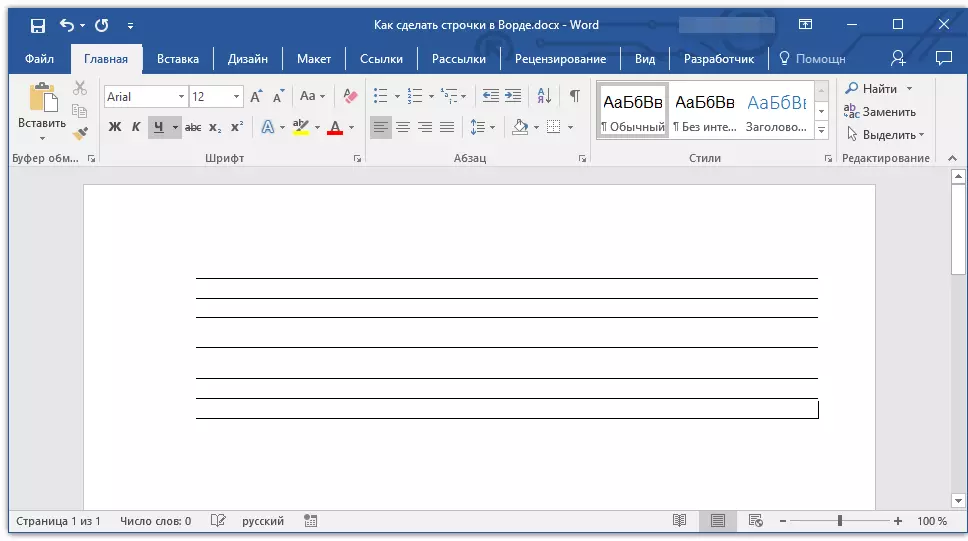
1. Install the cursor in the place of the document where the underlined line should begin.
2. Tap "TAB" The required number of times to designate the string length for underscore.
3. Repeat a similar action for the remaining rows in the document, in which the underscore should also be made. You can also copy an empty string by highlighting it with the mouse and pressing "Ctrl + C" and then insert at the beginning of the next line by clicking "Ctrl + V" .
Lesson: Hot keys in Word
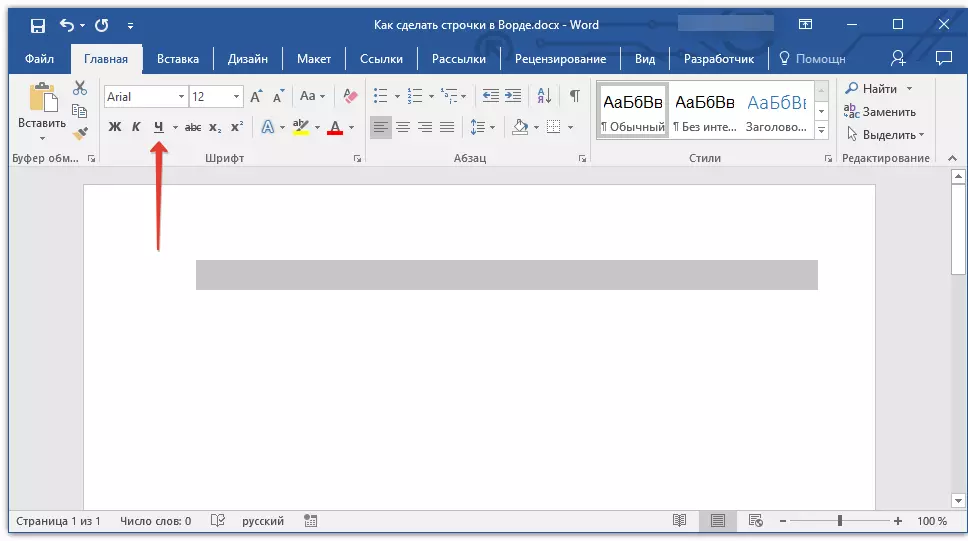
4. Highlight an empty string or string and click "Underlined" On the quick access panel (tab "Home" ), or use the keys for this "Ctrl + U".
5. Empty lines will be emphasized, now you can print the document and write everything that is required on it.
Note: You can always change the color, style and thickness of the underscore. To do this, simply click on the small arrow located to the right of the button. "Underlined" And select the necessary parameters.
If necessary, you can also change the color of the page where you created lines. Use our instructions for this:
Lesson: How in Word Change Pages Background
Key combination
Another convenient way that can be done in the Word string to fill is the use of a special key combination. The advantage of this method before the previous one lies in the fact that with it you can create an underlined line of any length.
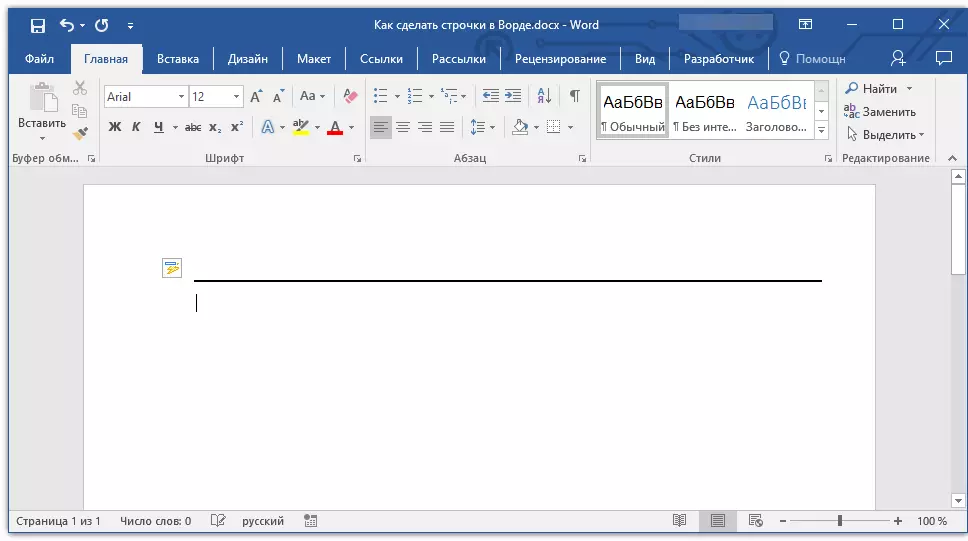
1. Install the cursor in the place where the string should start.
2. Click the button "Underlined" (or use "Ctrl + U" ) to activate the underscore mode.
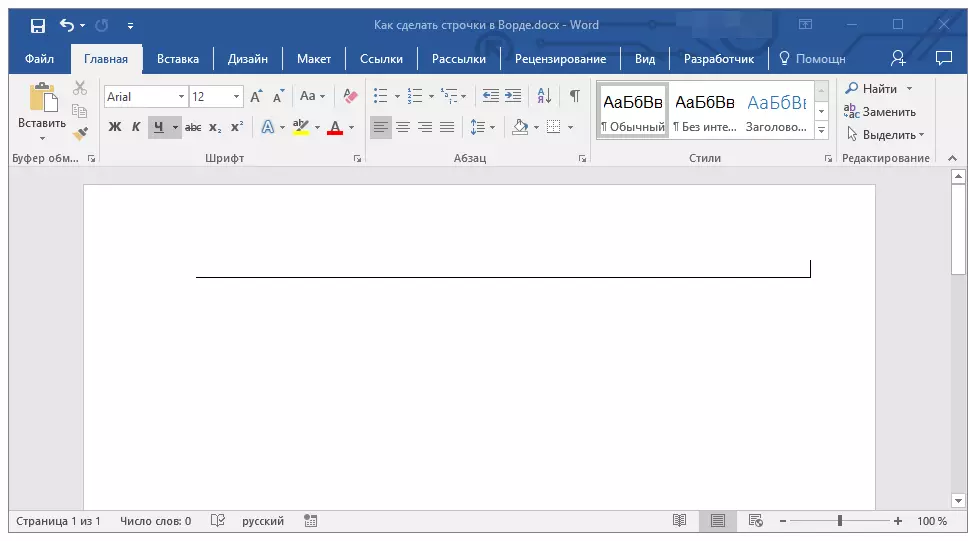
3. Press together the keys "Ctrl + SHIFT + Space" And keep until you hold the row of the required length or the required number of lines.
4. Release the keys, disconnect the underscore mode.

5. The required number of strings to fill the length you specified will be added to the document.
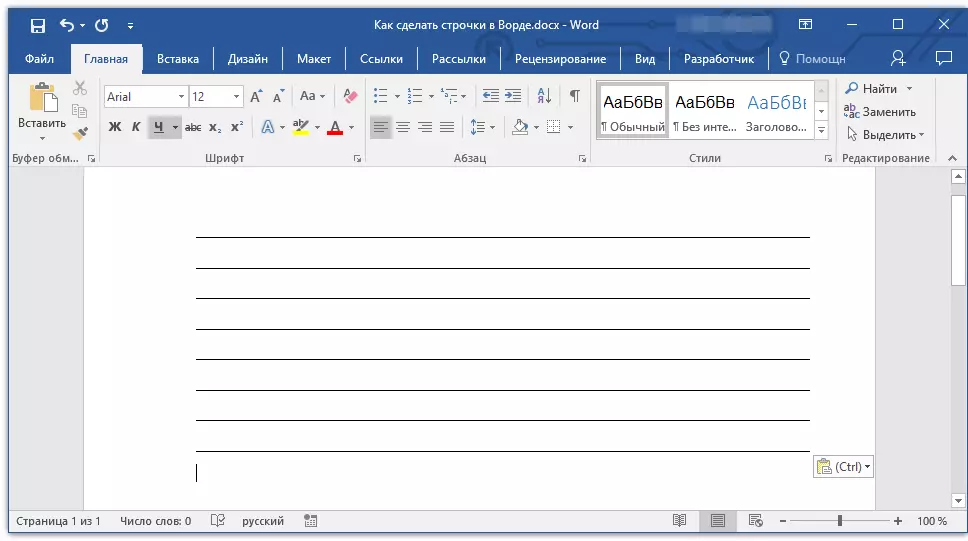
- Advice: If you need to create a lot of underlined lines, it will be easier and faster to create only one, and then select it, copy and paste into a new string. Repeat this action the required number of times until you create the required number of lines.
Note: It is important to understand that the distance between the rows added by the continuous click of the key combination "Ctrl + SHIFT + Space" and rows added by copying / insertion (as well as press "ENTER" At the end of each row) will be different. In the second case it will be more. This parameter depends on the set interval values, the same happens with the text during a set when the interval between rows and paragraphs is different.
Auto Plant
In the case when you need to install only one or two lines, you can use the standard automatic parameters. So it will be faster, and just more convenient. However, this method has a couple of flaws: firstly, the text cannot be printed directly over such a string and, secondly, if there are three or more such lines, the distance between them will not be the same.
Lesson: Auto Plant in Word
Therefore, if you need only one or two underlined lines, and you will not fill it out of print text, but with the help of the handle on the already printed sheet, then this method will fully suit you.
1. Click in the place of the document where the row should be.

2. Press the key "SHIFT" And without letting it, click three times “-” located in the upper digital block on the keyboard.
Lesson: How to make a long dash in word
3. Tap "ENTER" The hyphens you entered will be converted to the lower underscore long on the entire line.
If necessary, repeat the action for another string.

Hand drawn line
In the Word there are tools for drawing. In a large set of all sorts of figures, you can also find a horizontal line that will serve us with a row designation for filling.
1. Click in the place where the start of the string should be.

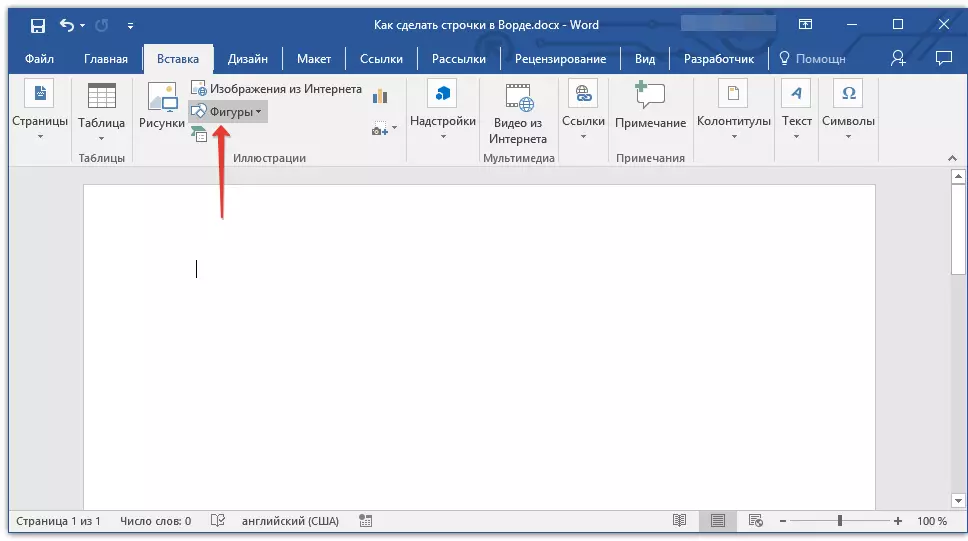
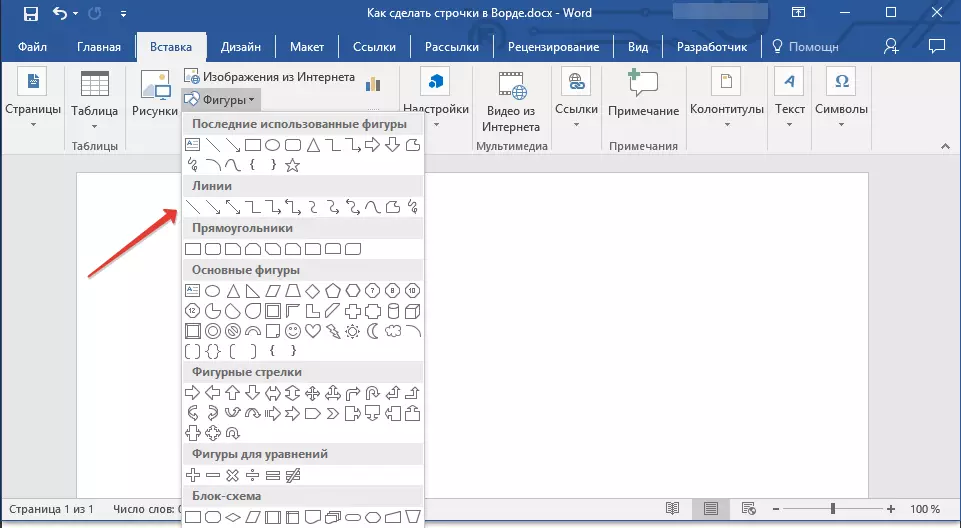
2. Go to the tab "Insert" and click on the button "Figures" located in the group "Illustrations".
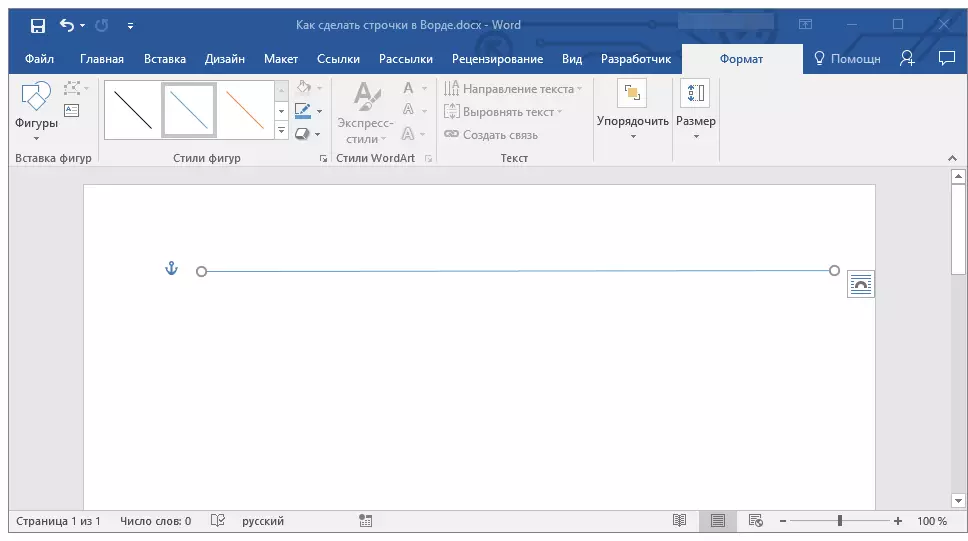
3. Select a regular direct line there and draw it.
4. In the tab that appeared after adding the line "Format" You can change its style, color, thickness, and other parameters.
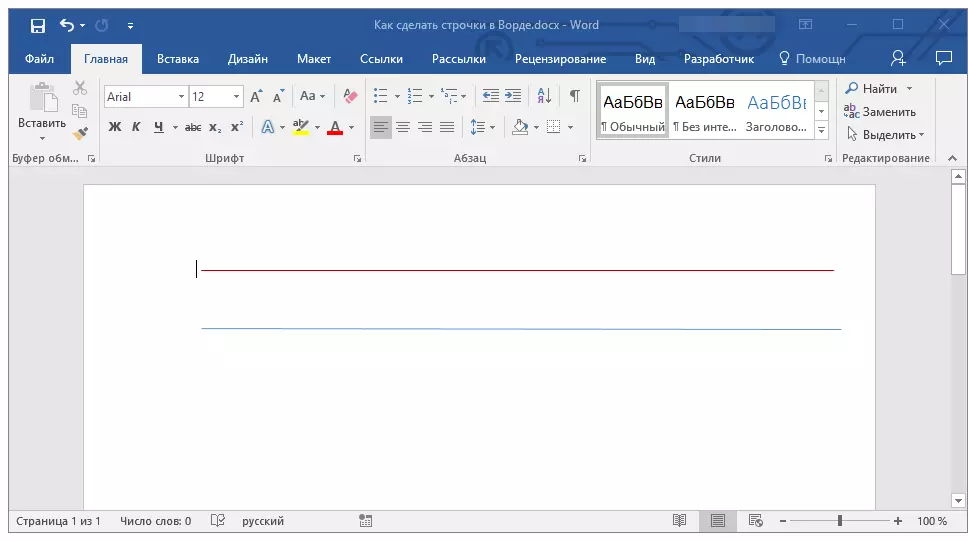
If necessary, repeat the actions described above in order to add more strings to the document. You can read more about working with figures in our article.
Lesson: How to draw a line in WORD
table
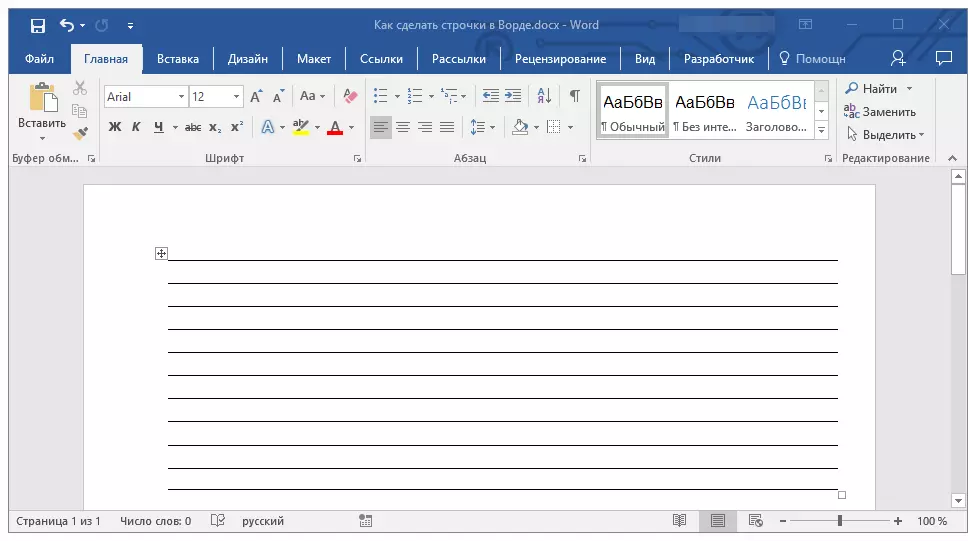
If you need to add a large number of lines, the most efficient solution in this case is the creation of a table in size in one column, of course, with the number of lines you need.
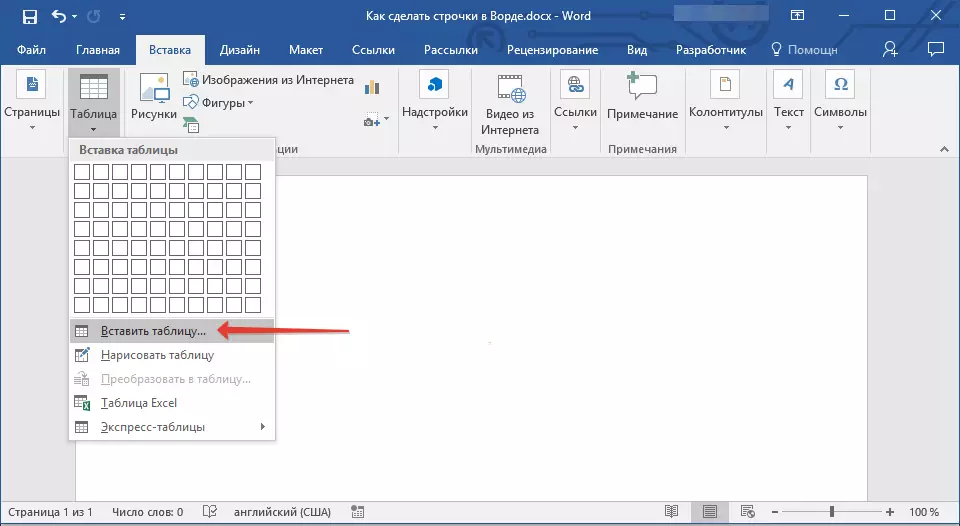
1. Click where the first line should begin, and go to the tab "Insert".
2. Click on the button "Tables".

3. In the drop-down menu, select the section "Insert table".
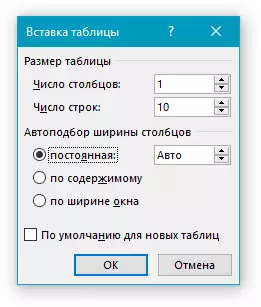
4. In the dialog box that opens, specify the required number of rows and only one column. If necessary, select the appropriate parameter for the function. "Automation of the column width".
5. Click "OK" The document will appear in the document. Pulling the "plus list", located in the upper left corner, you can move it to any place of the page. By pulling the marker in the lower right corner, you can change its size.

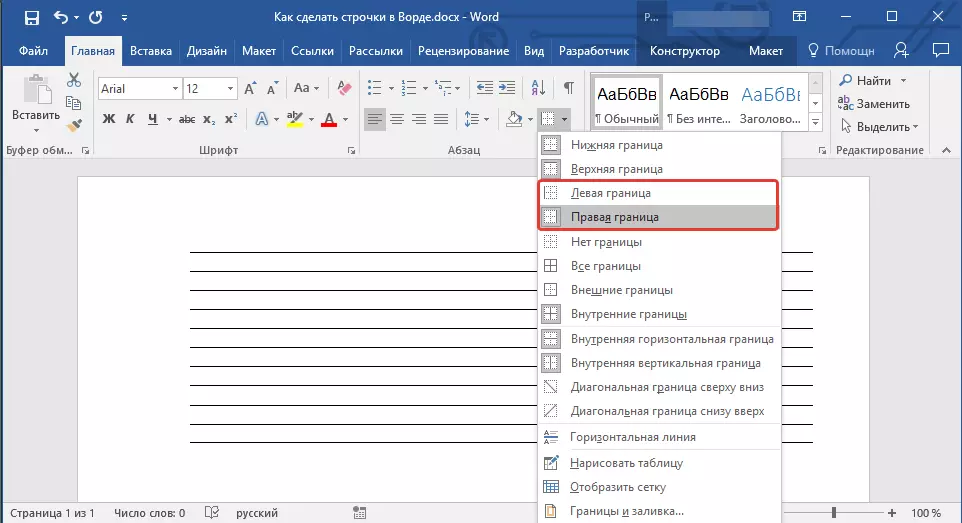
6. Click on the "plus card" in the upper left corner to highlight the entire table.

7. In the tab "Home" in a group "Paragraph" Click on the arrow located to the right of the button "Borders".
8. Alternately select items "Left border" and "Right Border" To hide them.
9. Now only the required number of the lines specified by you will be displayed in your document.
10. If necessary, change the style of the table, and our instructions will help you with this.
Lesson: How to make a table in the Word
Several recommendations finally
By creating the required number of rows in the document using one of the above methods, do not forget to save the file. Also, in order to avoid unpleasant consequences in working with documents, we recommend to configure the auto storage function.
Lesson: Auto storage in Word.
You may need to change the intervals between the rows by making them more or less. Our article on this topic will help you.
Lesson: Setting and changing the intervals in the Word
If the lines that you created in the document are needed in order to be filled them in the future, using the usual handle, our instruction will help print the document.
Lesson: How to print a document in Word
If you have the need to remove lines, denoting lines, our article will help you do it.
Lesson: How to remove a horizontal line in the Word
Here, in fact, everything, now you know about all possible methods with which you can make lines in MS Word. Select the one that you most suitable and use it as needed. Successes in work and training.