
Often, after cutting out the object in its edge, it may not be so smooth as we would like. You can solve this problem in different ways, but Photoshop provides us with one very convenient tool that has absorbed almost all functions to adjust the selection.
Called this miracle "Clarify the Edge" . In this lesson, I will tell you how to smooth out the edges after cutting into photoshop with it.
As part of this lesson, show how to cut objects, I will not, because on the site such an article is already present. You can read it by going on this link.
So, suppose the object we have already separated from the background. In this case, this is the same model. I specifically placed it on a black background in order to better understand what is happening.
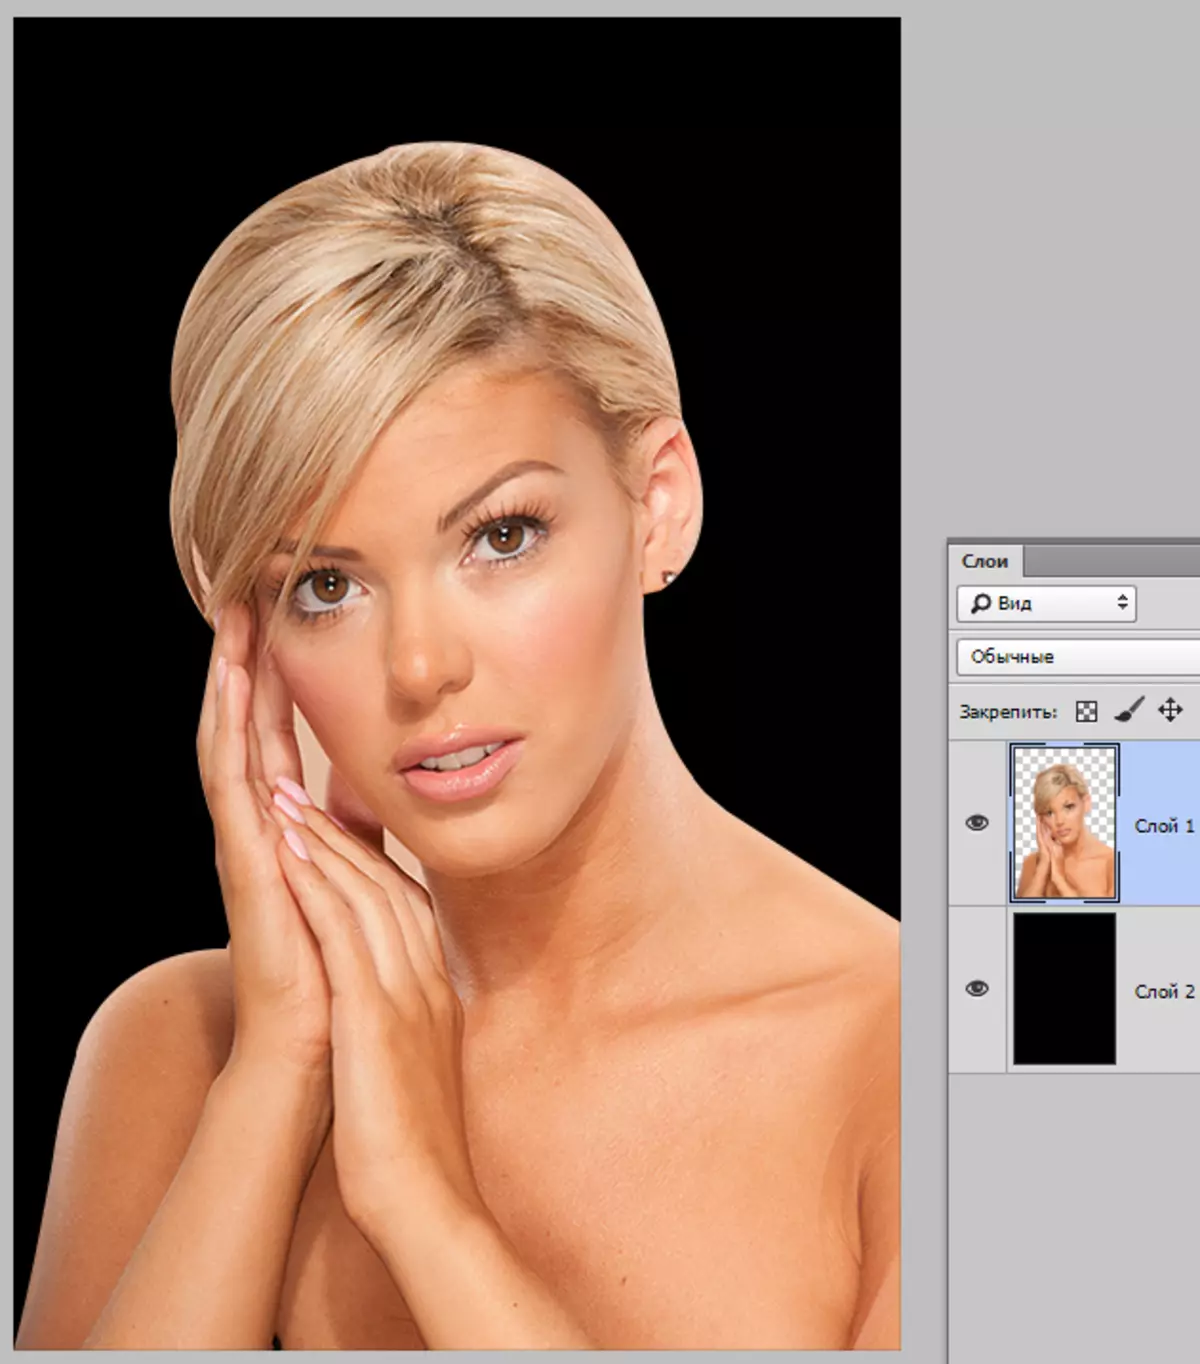
As you can see, I managed to pretrately cut the girl, but it does not prevent us from learning how to smoothing.
So, in order to work on the boundaries of the object, we need to allocate it, and if it is accurate, then "Download dedicated area".
Go to the layer with an object, clamp the key Ctrl And click on the left mouse button on a miniature layer with a girl.
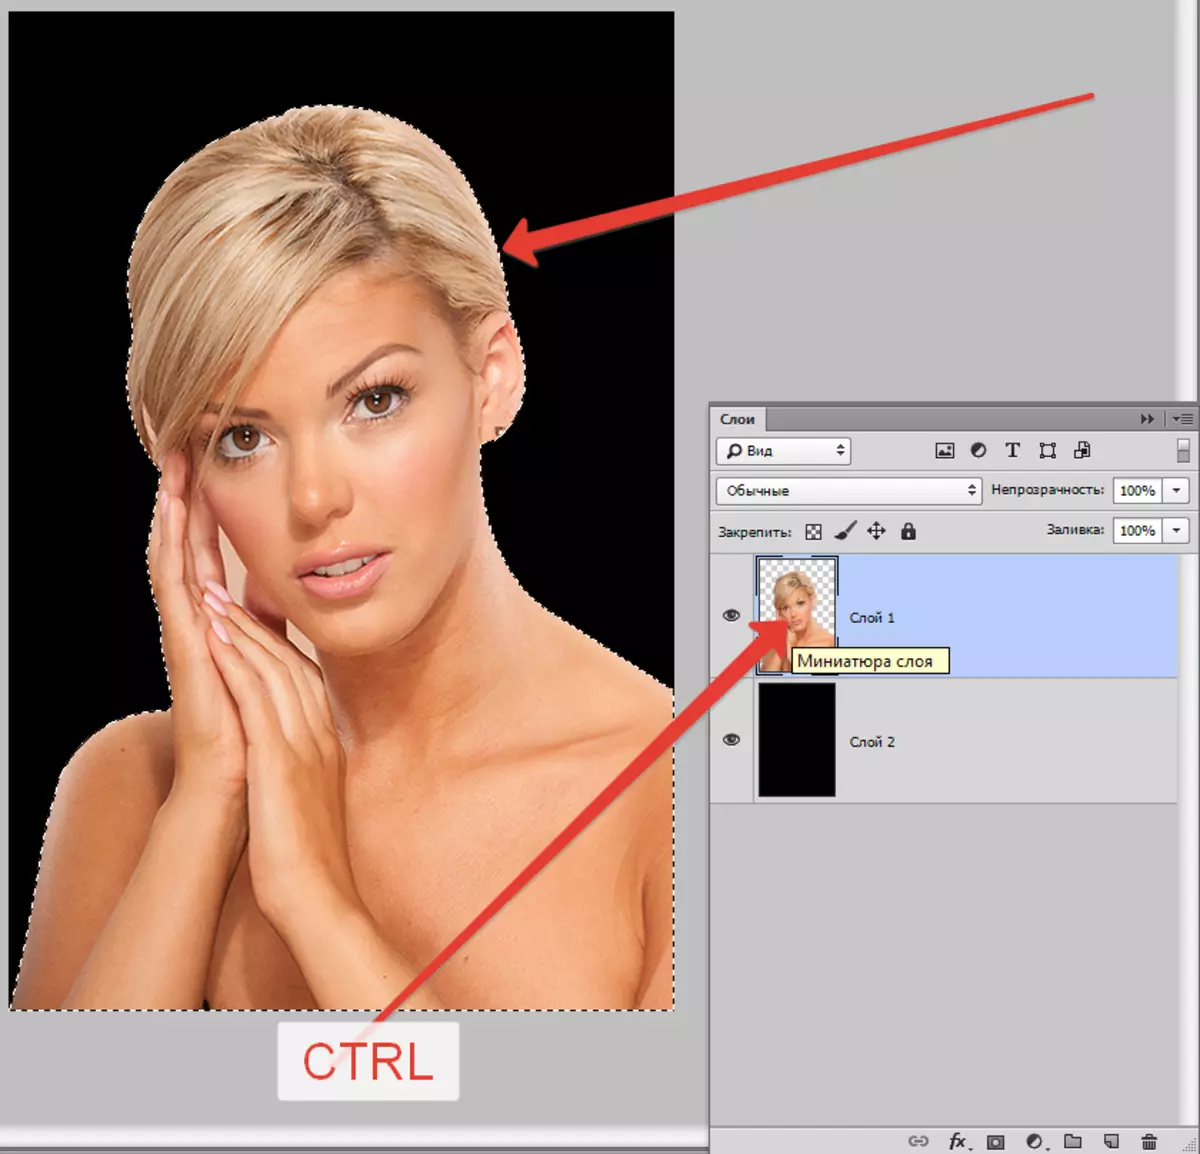
As you can see, the model appeared around the model, with which we will work.
Now, in order to trigger the "clarify the edge" function, we first need to activate one of the group tools "Allocation".
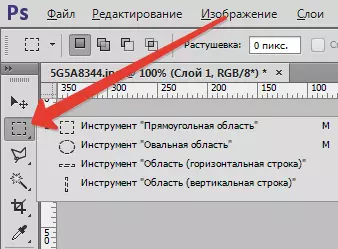
Only in this case the button that calls the function will be available.
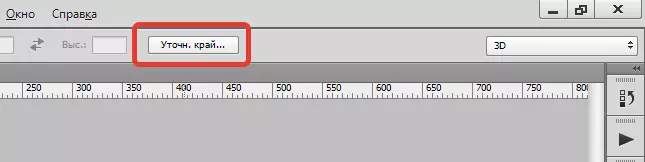
Press ...

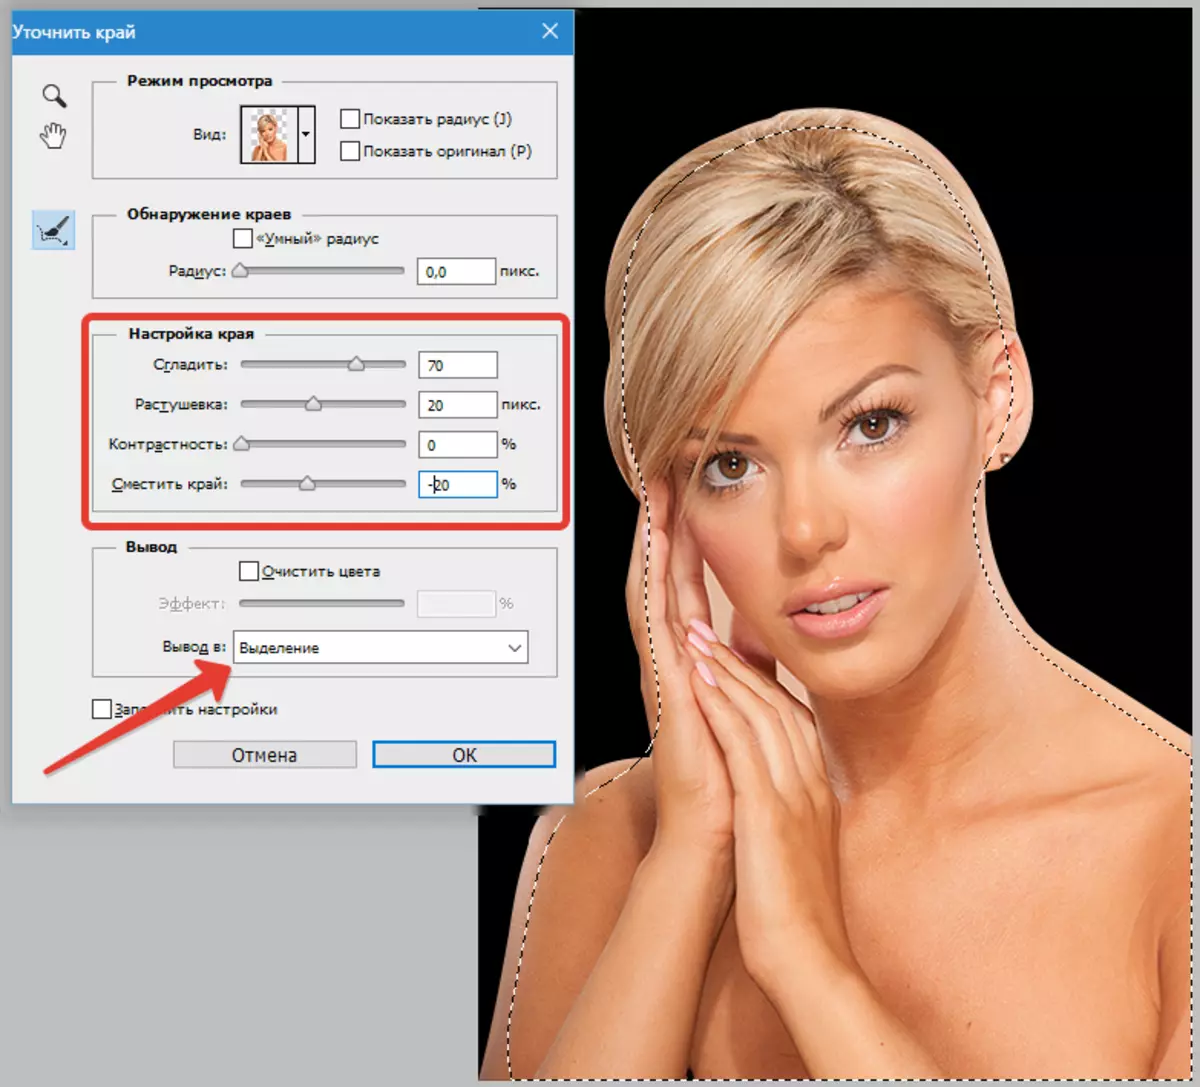
In the list "View Mode" Select the most convenient view, and proceed.
We need functions "Smoothing", "Rastyshevka" and, perhaps, "Show the edge" . Let's in order.
"Smoothing" Allows you to smooth out the selection angles. It may be sharp peaks or pixel "ladies". The higher the value, the greater the radius of smoothing.
"Rastyshevka" Creates a gradient border along the contour of the object. The gradient is created from transparent to opaque. The higher the value, the wider the border.
"Show the edge" Moves the edge of selection in one direction or otherwise, depending on the settings. Allows you to remove the background areas that could get inside the selection during the cutting process.
For training purposes, I will exhibit more values to see effects.
Well, we go to the settings window and set the desired values. I repeat once again that my values will be overestimated. You pick them up under your image.
We choose the output to the selection and click OK.
Next you need to cut off all unnecessary. To do this, invert the selection by the combination of keys Ctrl + SHIFT + I and press the key Del..
Selection remove the combination Ctrl + D..
Outcome:

Ka see, everything is very "smooth".
A few moments in working with the tool.
The size of the decisive when working with people should not be too large. Depending on the size of the image 1-5 pixels.
Smoothing is also not worth abuse, as you can lose some small details.
The edge offset should be used only if necessary. Instead, it is better again, more accurately, to highlight the object.
I would put (in this case) such values:

This is quite enough to remove small cuts of cutting.
Conclusion: the tool is and the tool is quite comfortable, but it is not necessary to hope too much to him. Train your job skills with pen, and you do not have torture photoshop.