
Creating tables in various programs specifically designed for this, the case is quite simple, but for some reason we needed to draw a table in the photoshop program.
If such a need arose, then learn this lesson and will no longer have difficulties in creating tables in Photoshop.
Options for creating a table a bit, only two. The first is to do everything "on the eye", while spending a bunch of time and nerves (tested for yourself). The second is to automate a little, thereby saving and both.
Naturally, we, as professionals, let's go on the second path.
To build a table, we will need guides that will determine the size of the table itself and its elements.
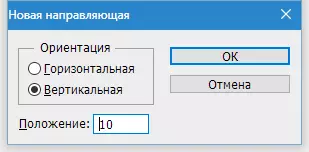
To accurately install the guide line, you must go to the menu "View" , find there item "New guide" , set the value of the indent and orientation ...
And so for each line. It is long, since we might need a lot, very much.
Well, I will not pull more time. We need to assign a combination of hot keys to this action.
To do this, go to the menu "Editing" and we are looking at the bottom point "Keyboard cuts".
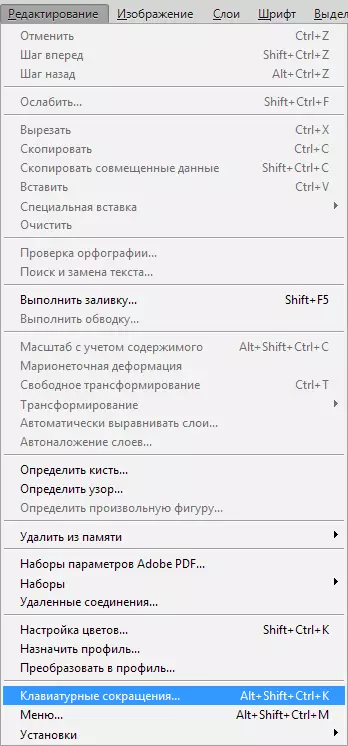
In the window that opens in the drop-down list, select the "program menu", looking for a "New Guide" item in the menu "View" , click on the field next to him and clamp the desired combination as if we were already applied. That is, clamp, for example, Ctrl , and then " / " It is such a combination that I chose.

Upon completion click "Accept" and OK.
Further everything happens quite simple and quickly.
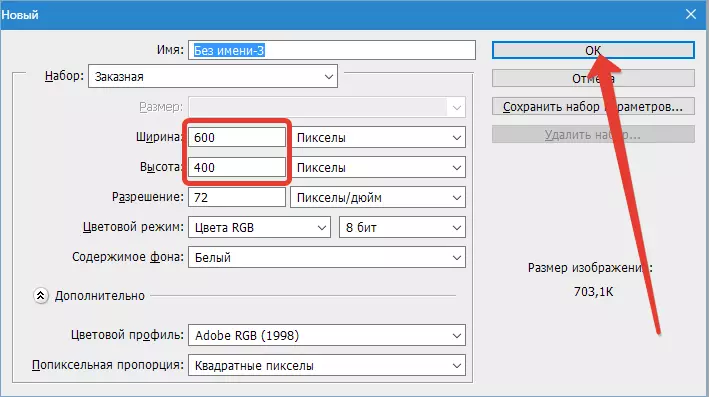
Create a new document in the desired key combination Ctrl + N..
Then click Ctrl + / , and in the window that opens, we prescribe a value for the first guide. I want to ask an indent 10 pixels from the edge of the document.

Next, it is necessary to calculate the exact distance between the elements, guided by their number and size of the content.
For the convenience of calculations, drag the origin of the coordinate from the angle indicated on the screen, on the intersection of the first guides defining the indentation:
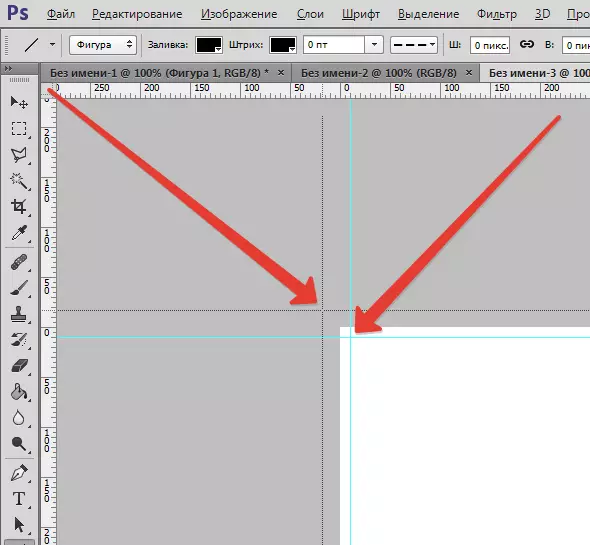
If you still do not have the rules, then activate them with a key combination Ctrl + R..
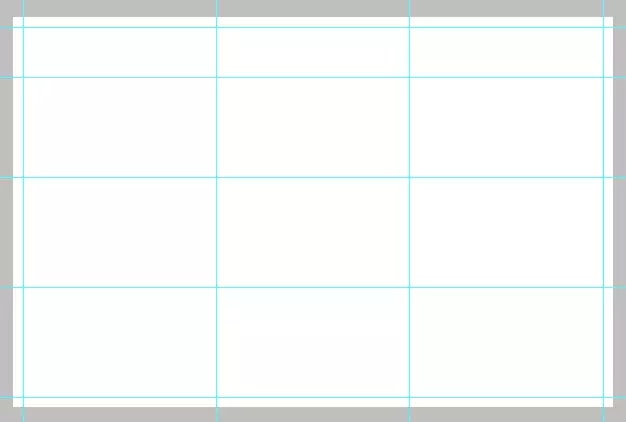
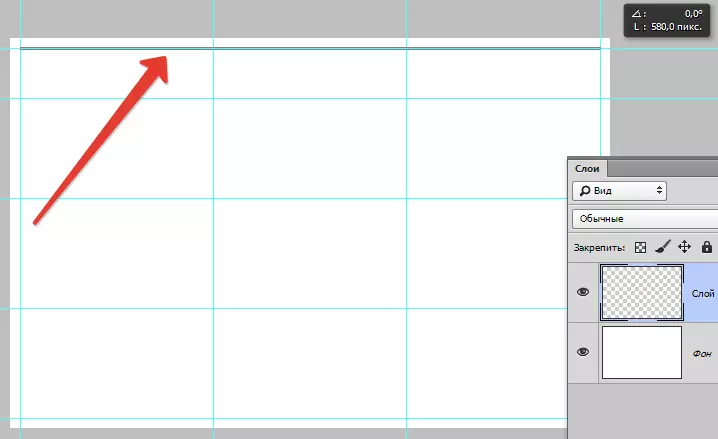
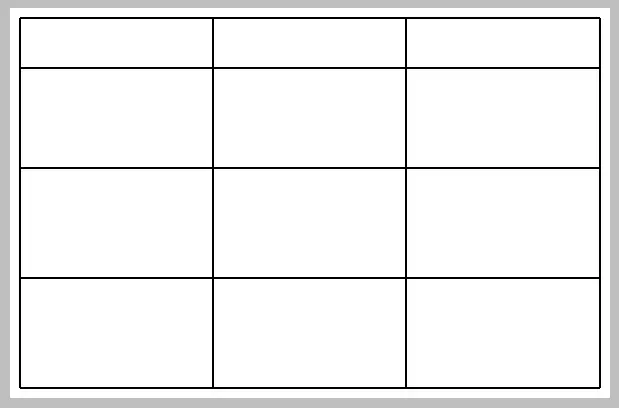
I got here such a mesh:
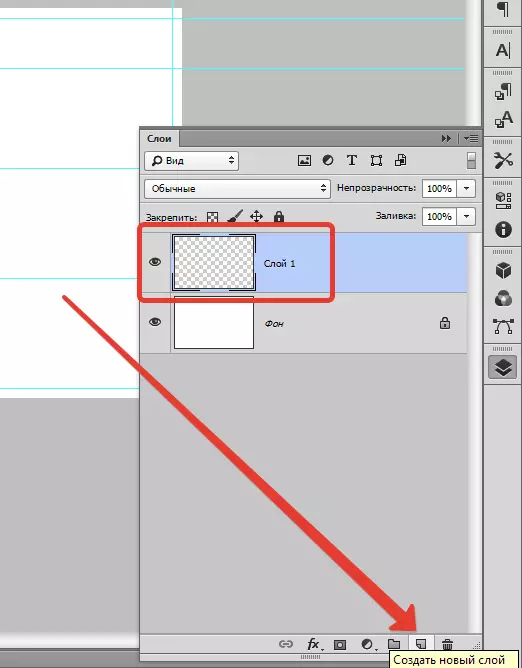
Now we need to create a new layer on which our table will be located. To do this, click on the icon at the bottom of the layer palette:
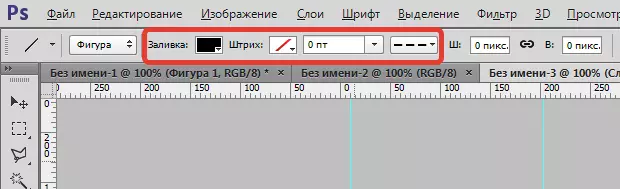
Draw (well, okay, draw) table we will be a tool "Line" He has the most flexible settings.
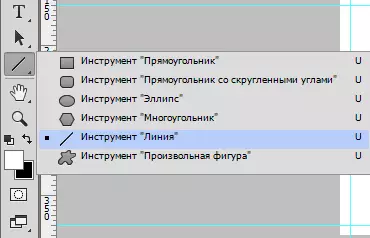
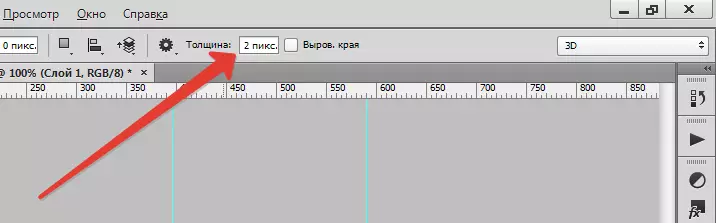
Configure the thickness of the line.
We choose the color of the fill and the stroke (turn off the barcode).
And now, on the newly created layer, we draw a table.
This is done like this:
Click key Shift. (If you do not holdry, each line will be created on a new layer), we put the cursor to the desired location (select yourself where to start) and carry out the line.
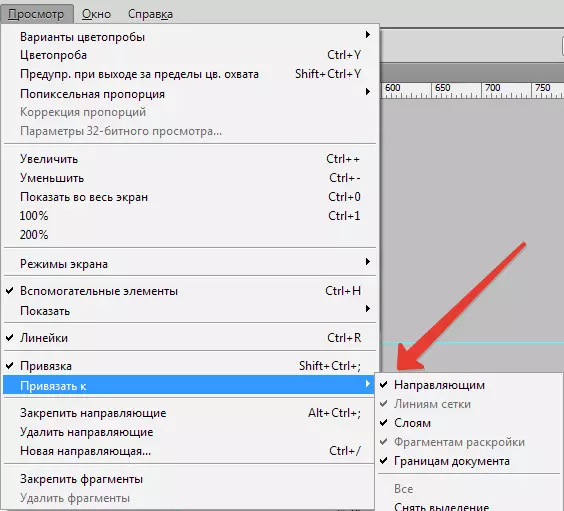
Tip: For convenience, turn on the binding to the guides. In this case, you don't have a trembling hand to look for the end of the line.
In the same way, we draw the other lines. Upon completion of the guides, you can turn off the key combination Ctrl + H. And if they need, then turn on the same combination again.
Our table:
This method of creating tables in Photoshop will help you significantly save time.