

Often, users during operation in Microsoft Word are faced with the need to insert one or another symbol in the text. Little-boy experienced users of this program know, in which it is to search for all sorts of special signs. The problem is only that in the standard set of Word these characters so much that it is sometimes very difficult to find.
Lesson: Inserting characters in Word
One of the characters, which is not so easy to find, is a cross in square. The need to deliver such a sign often arises in documents with lists and issues, where one or another item should be noted. So, we will proceed to the consideration of methods with which you can put a cross in a square.
Adding a sign of a cross in a square through the "Symbol" menu
1. Install the cursor in the place of the document where the character must be, and go to the tab "Insert".
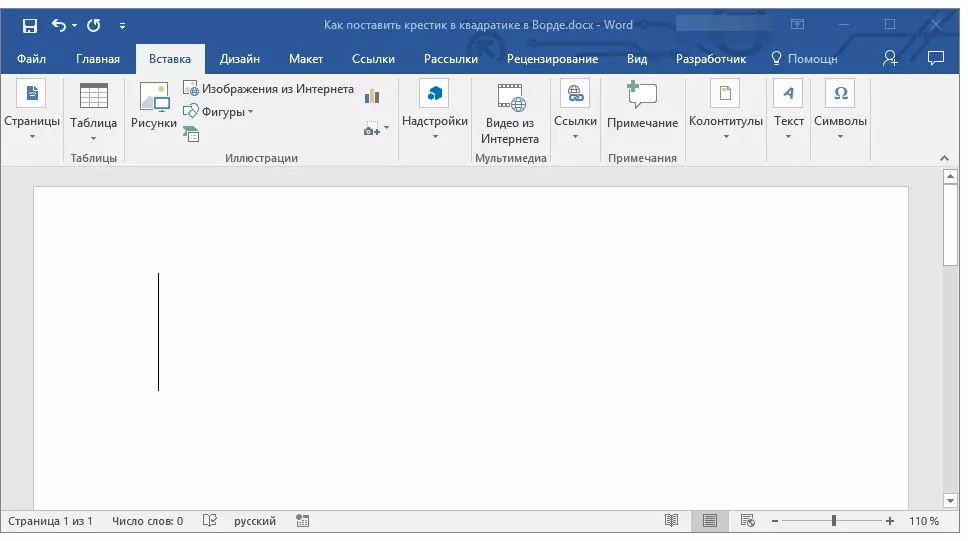
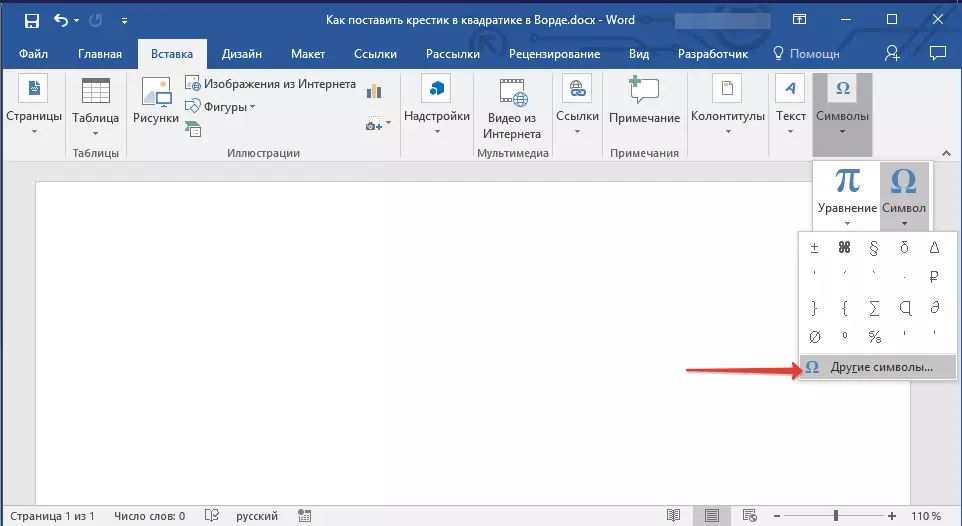
2. Click on the button "Symbol" (group "Symbols" ) and select item "Other characters".
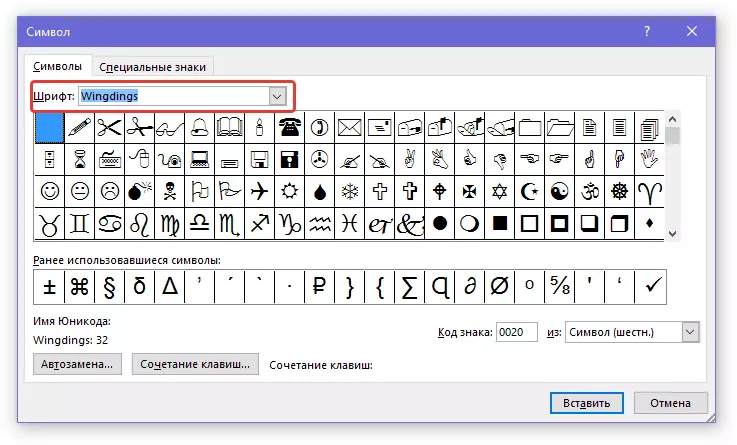
3. In the window that opens in the section drop-down menu "Font" Choose "WINDINGS".
4. Scroll through a slightly changing list of characters and find a cross there in a square.
5. Select the character and click "Insert" , close the window "Symbol".
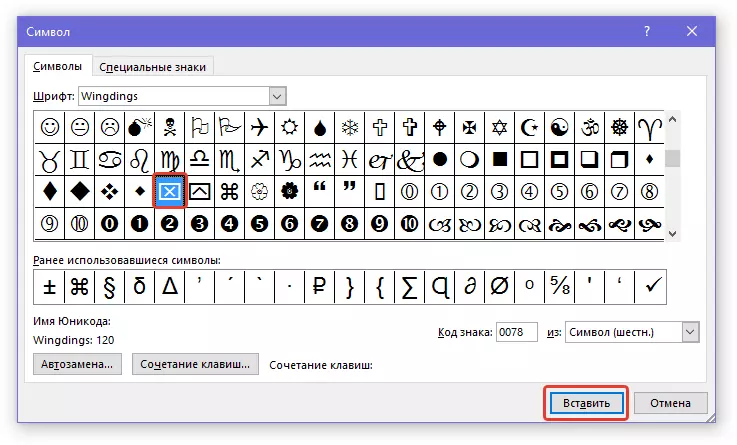
6. The cross in the square will be added to the document.

Add the same symbol using a special code:
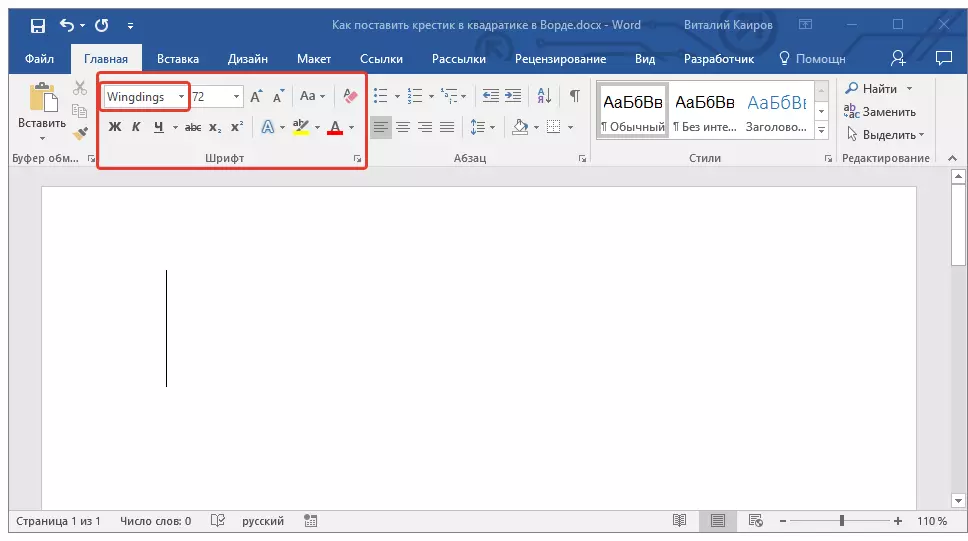
1. In the tab "The main" in a group "Font" Change the font used on "WINDINGS".
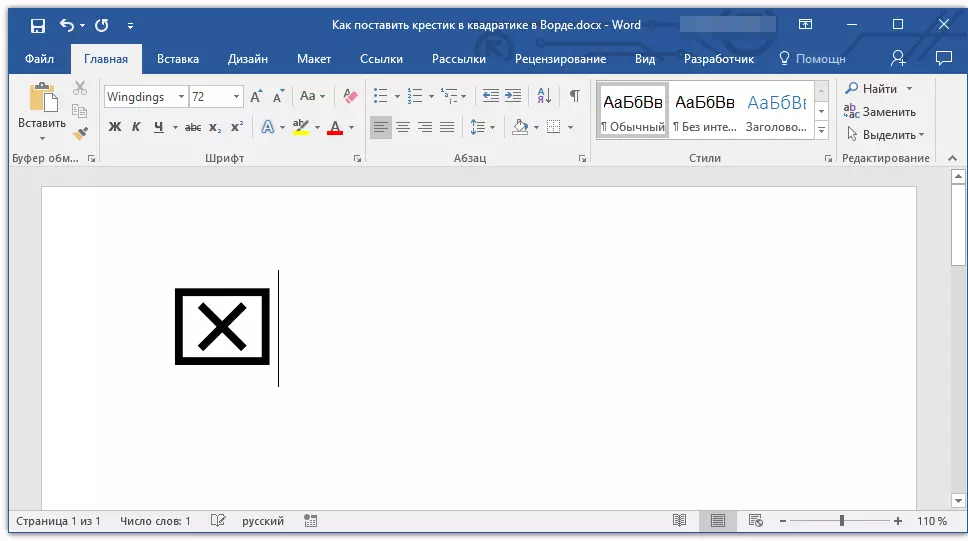
2. Install the cursor pointer in the place where the cross is added in the square, and hold the key "ALT".
2. Enter the numbers "120" without quotes and release a key "ALT".
3. The cross in the square will be added to the specified place.
Lesson: How to put a tick
Adding a special shape to insert a cross in a square
Sometimes in the document you need to put a penny symbol in the square, but create a form. That is, you need to add a square, directly inside which it will be possible to put a cross. In order to do this, the developer mode must be enabled in Microsoft Word (the same name tab will be displayed on the shortcut panel).Enable developer mode
1. Open the menu "File" and go to the section "Parameters".
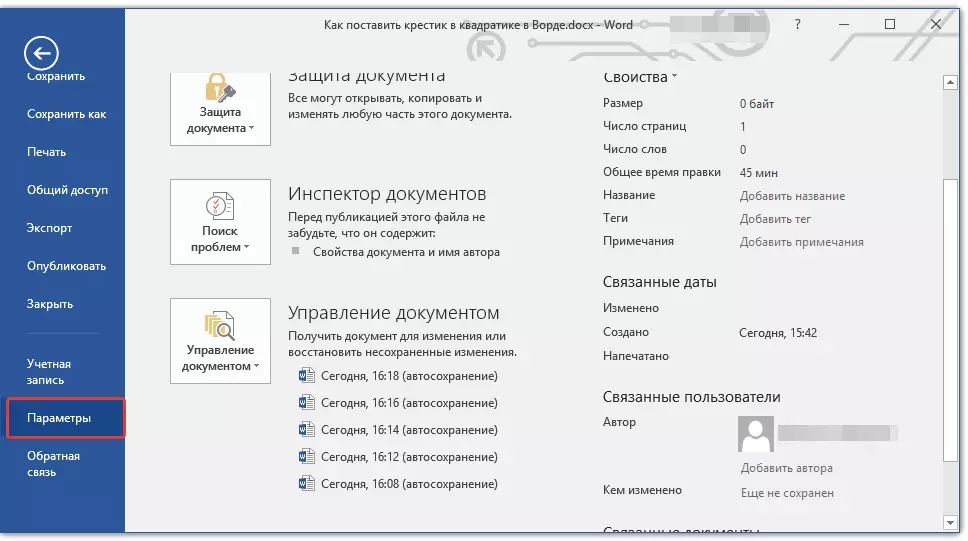
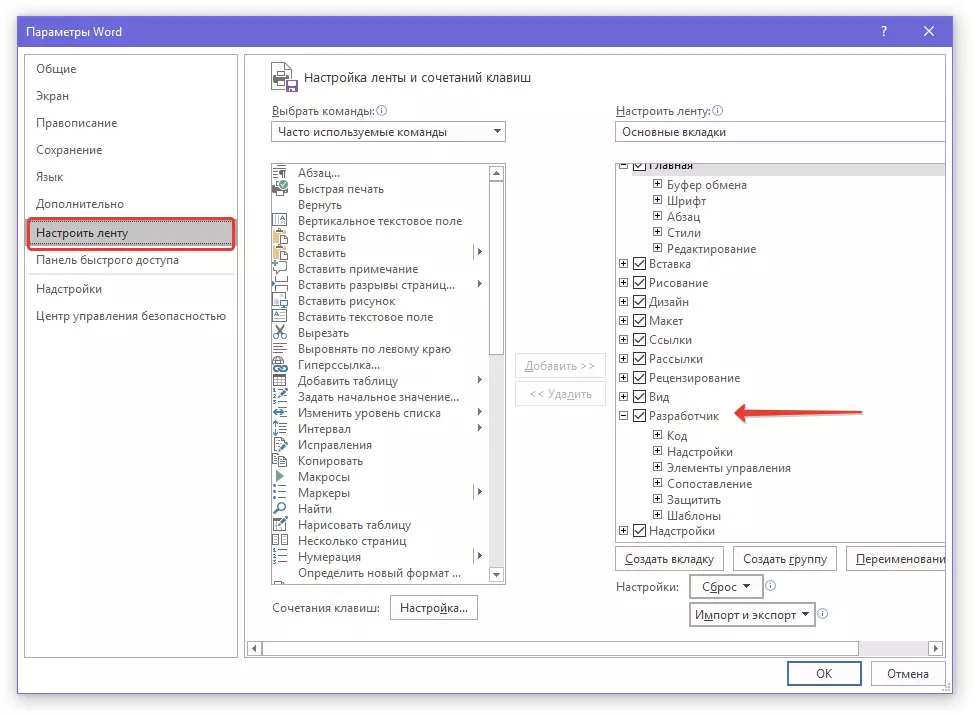
2. In the window that opens, go to the section "Set up a tape".
3. In the list "Main tabs" Install a tick opposite the item "Developer" and press "OK" To close the window.
Creating a form
Now that the Tab appeared in the Word "Developer" You will be available significantly more program functions. Among those and the creation of macros, which we have previously written. And yet, we will not forget that at this stage we have a completely different, no less interesting task.
Lesson: Creating macros in Word
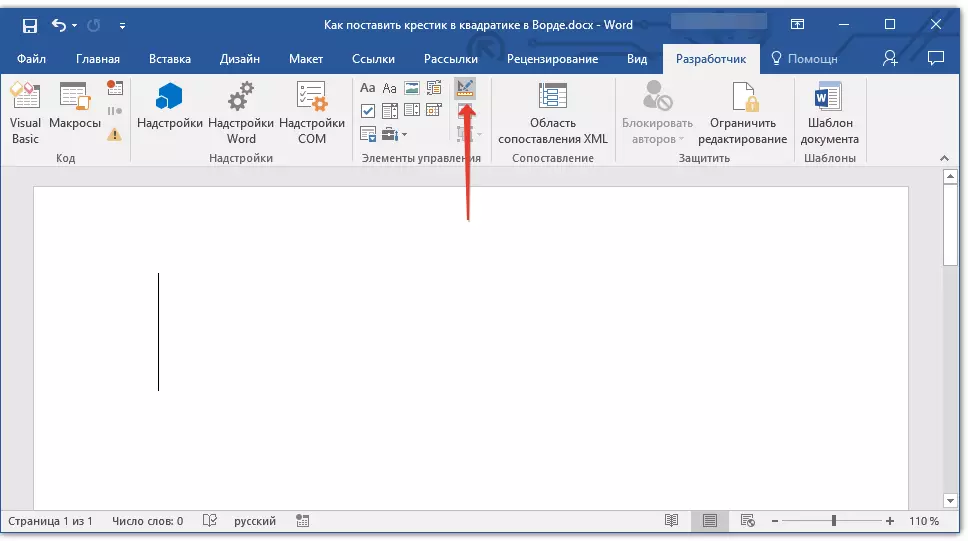
1. Open the tab "Developer" and turn on the constructor mode by clicking on the same button in the group "Management elements".
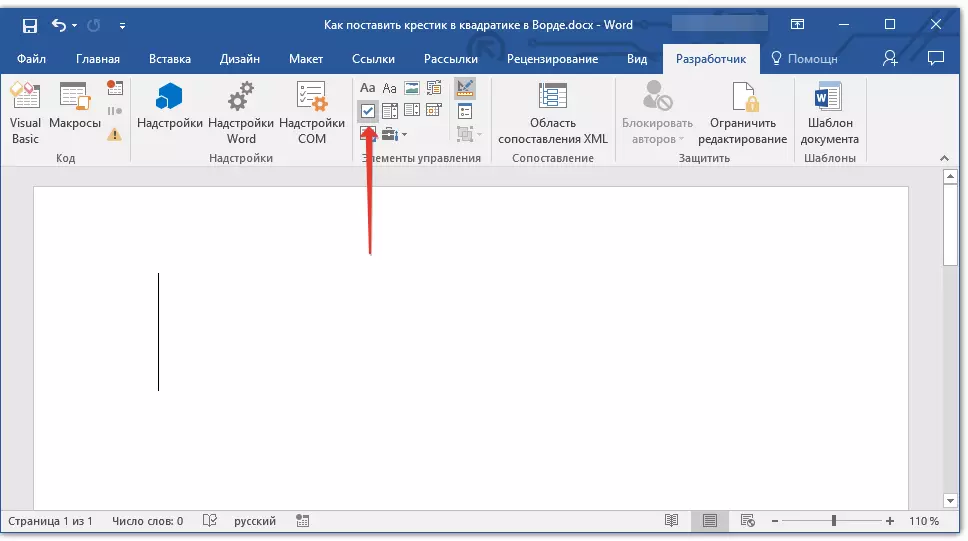
2. In the same group, click on the button. "Controls element check box".
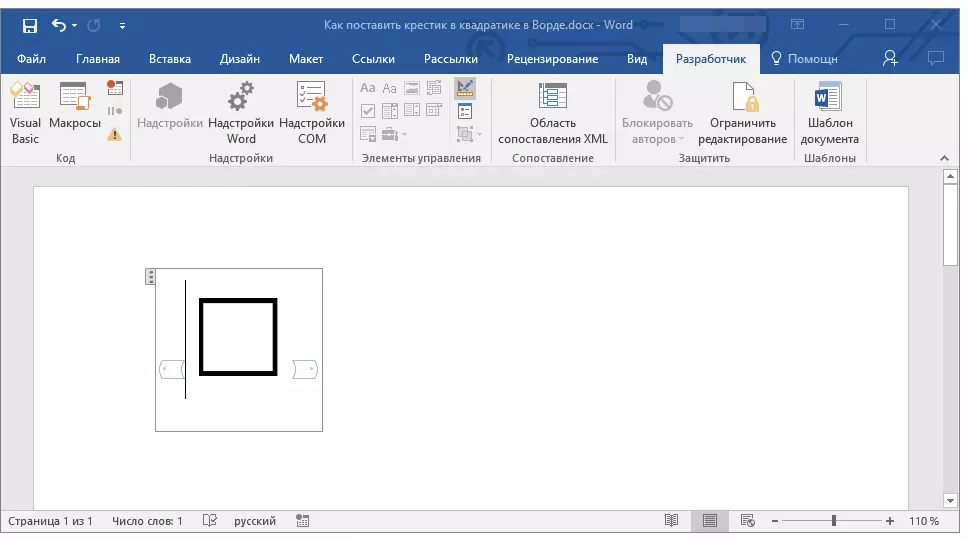
3. An empty square appears on the page in a special frame. Disable "Designer Mode" , re-clicking on the button in the group "Management elements".
Now, if you click once in the square, a cross will appear inside it.
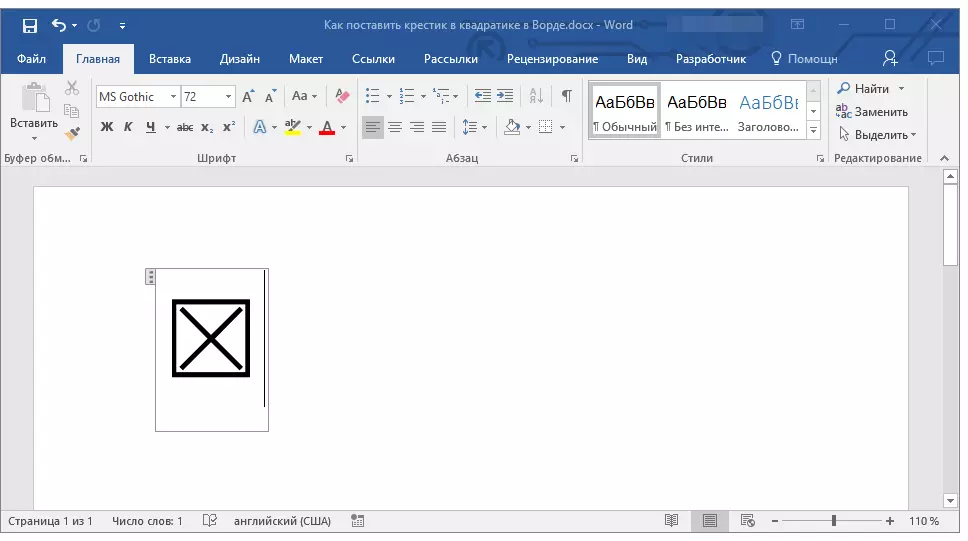
Note: The number of such forms may be unlimited.
Now you know a little more about Microsoft Word features, including two different ways, with which you can put a cross in a square. Do not stop at what happened, continue to learn MS Word, and we will help you in this.