

In Microsoft Word, the toolbar disappeared? What to do and how to access all the means, without which work with documents is simply impossible? The main thing is not to panic, as disappeared, it will come back, especially since finding this loss is quite simple.
As they say, everything that is not done is for the better, so thanks to the mysterious disappearance of the quick access panel, you can learn not only about how to return it, but also how to configure the items that are displayed on it. So, proceed.
Enable the entire toolbar
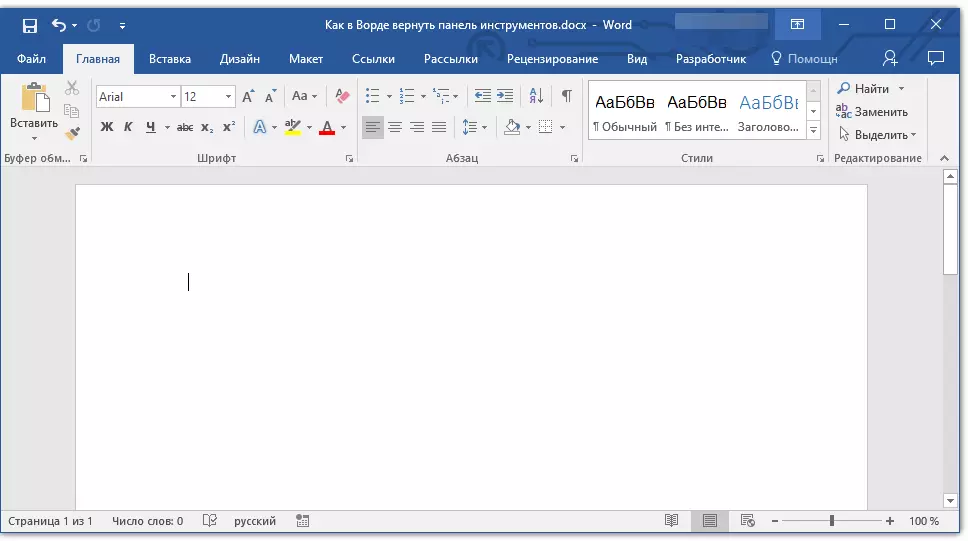
If you use the WORD 2012 version and above, it is enough to click only a single button to return toolbar. It is located in the upper right part of the program window and has the appearance of the direction-up arrow located in a rectangle.
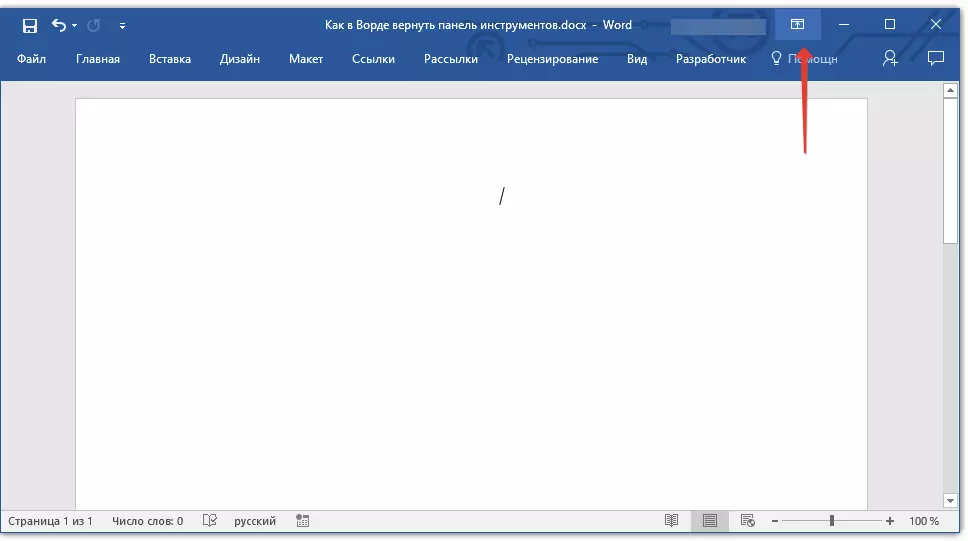
Press this button once, the disappeared toolbar returns, click again - it disappears again. By the way, sometimes it really needs to be hidden, for example, when you need to completely concentrate on the content of the document, and so that nothing has distracted anything.
This button has three display modes, you can choose the appropriate as if you click on it:
- Automatically hide the tape;
- Show only tabs;
- Show tabs and commands.
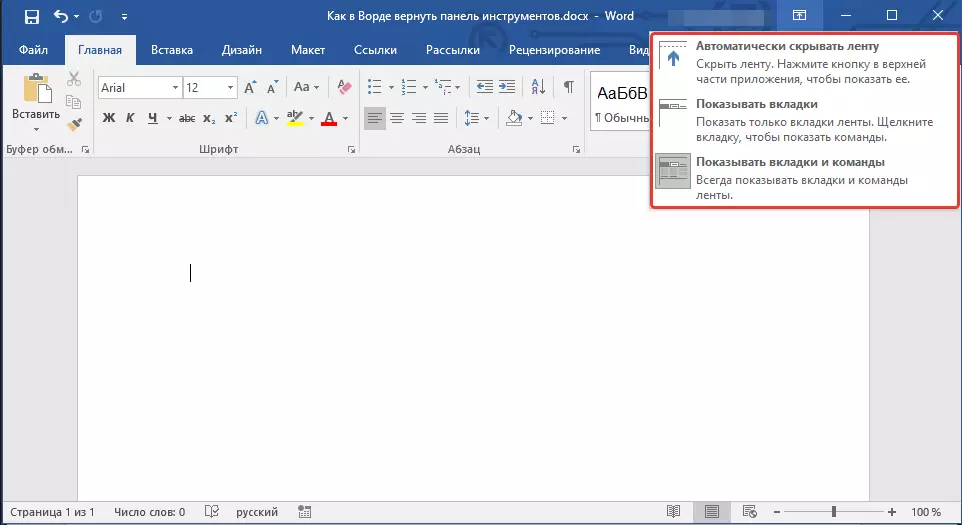
The name of each of these display modes says itself. Choose the one that will be most convenient for you while working.
If you use MS WORD 2003 - 2010, you must perform the following manipulations to enable the toolbar.
1. Open the tab menu "View" and select "Toolbars".
2. Install the ticks opposite those items that you need for work.
3. Now all of them will be displayed on the shortcut panel as separate tabs and / or tool groups.
Enable individual toolbar items
It also happens that "disappears" (hiding how we have already figured out) not the entire toolbar, but its individual items. Or, for example, the user simply cannot find any tool, or even a whole tab. In this case, you must enable (configure) Display these most tabs on the quick access panel. You can do this in the section "Parameters".
1. Open the tab "File" on the quick access panel and go to the section "Parameters".
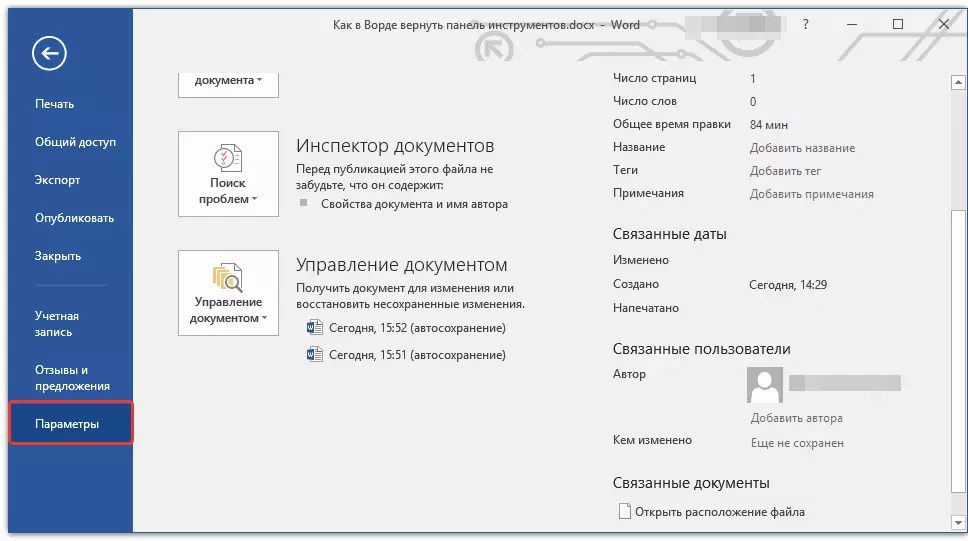
Note: In earlier versions Word instead of a button "File" There is a button "MS Office".
2. Go to the window that appears in the section "Set up a tape".
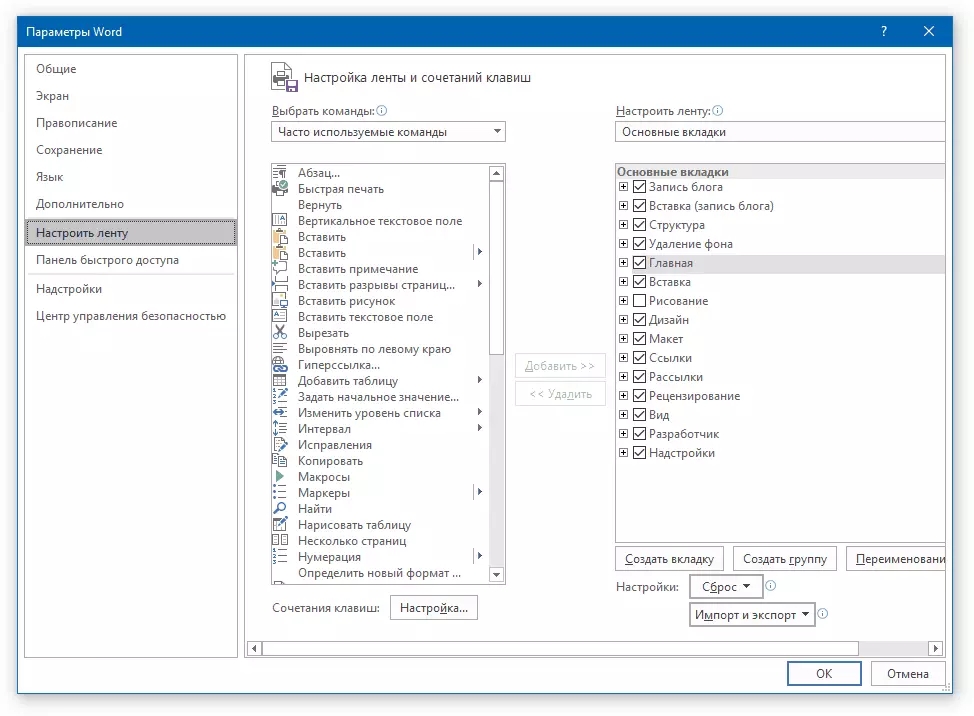
3. In the "Main tabs" window, set the checkboxes opposite the tabs that you need.
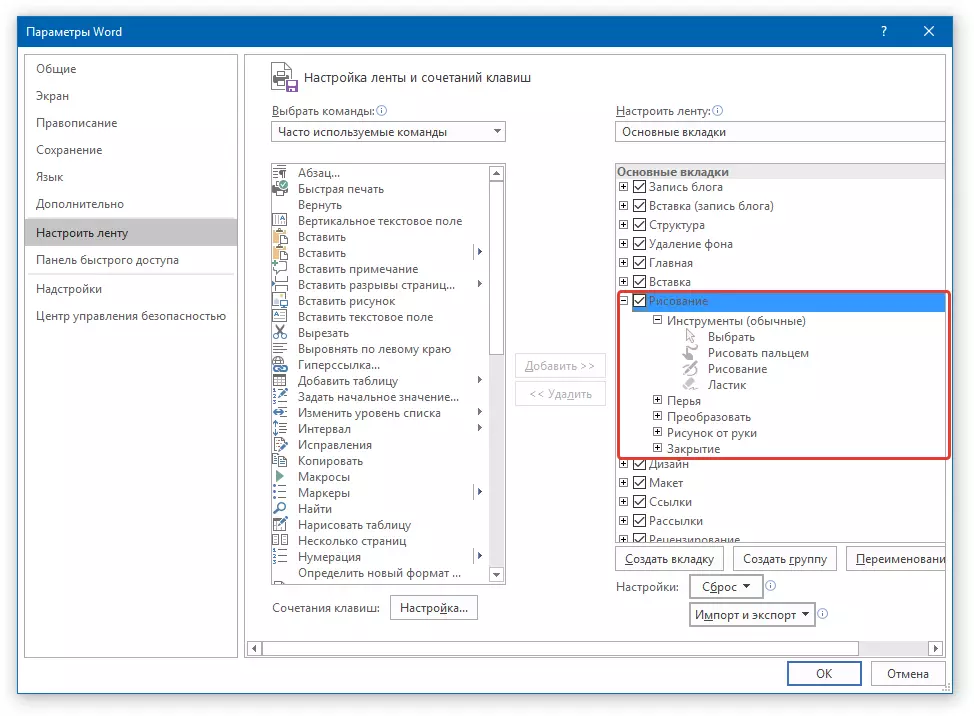
- Advice: By clicking on the "Plus" near the title tab, you will see lists of groups of the tools that are contained in these tabs. Deploying the "Pluses" of these items, you will see a list of tools presented in groups.
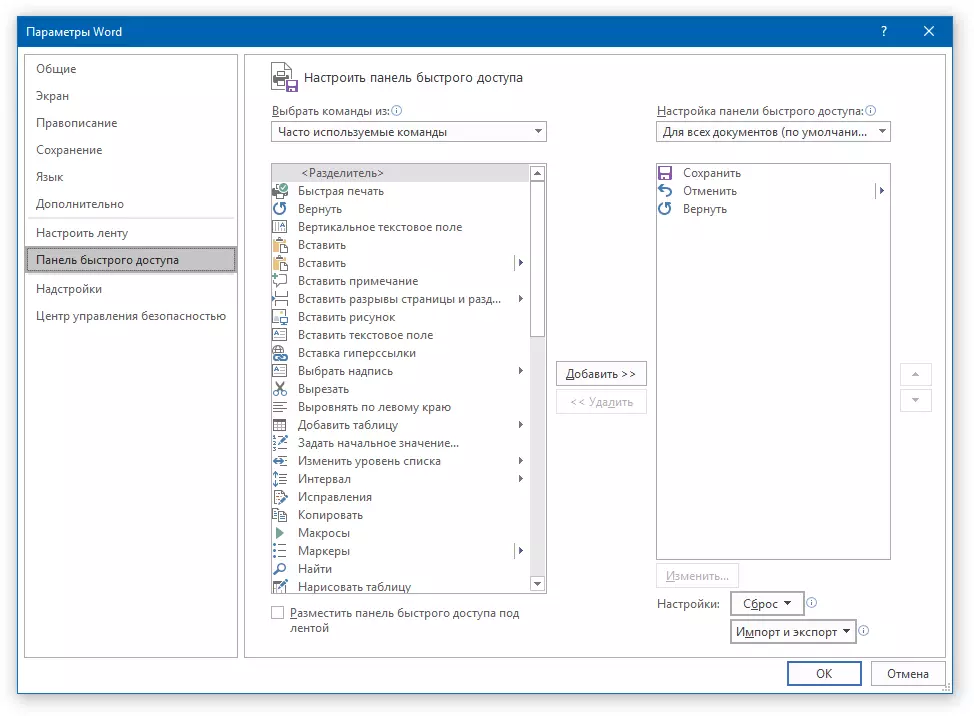
4. Now go to the section "Fast Access Panel".
5. In the section "Select commands from" Select "All commands".
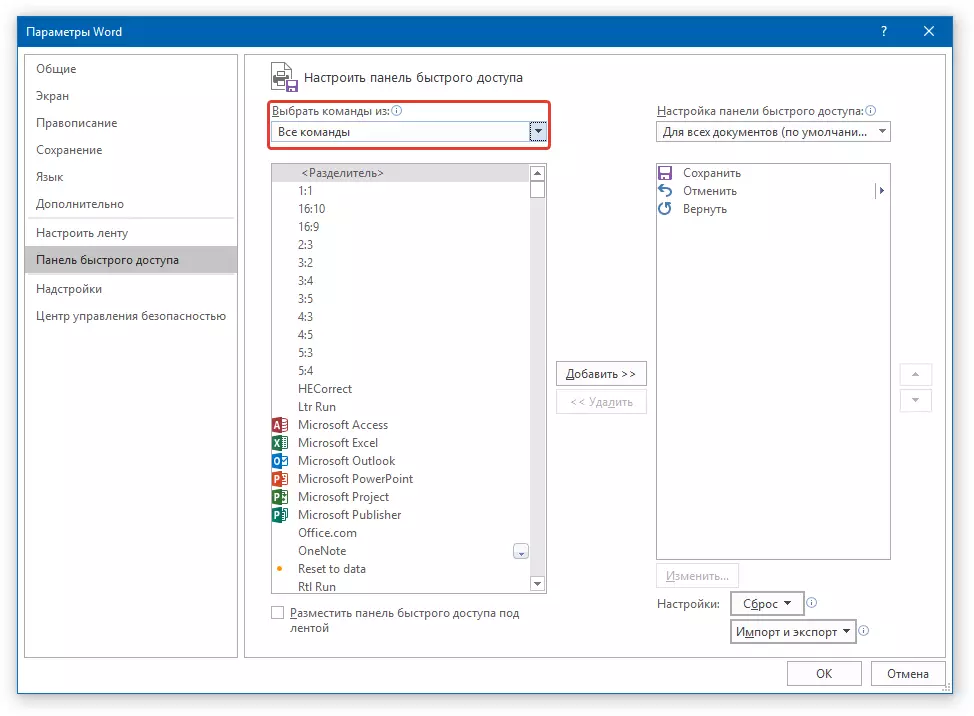
6. Come on the list below, having met the necessary tool there, click on it and click "Add" located between windows.
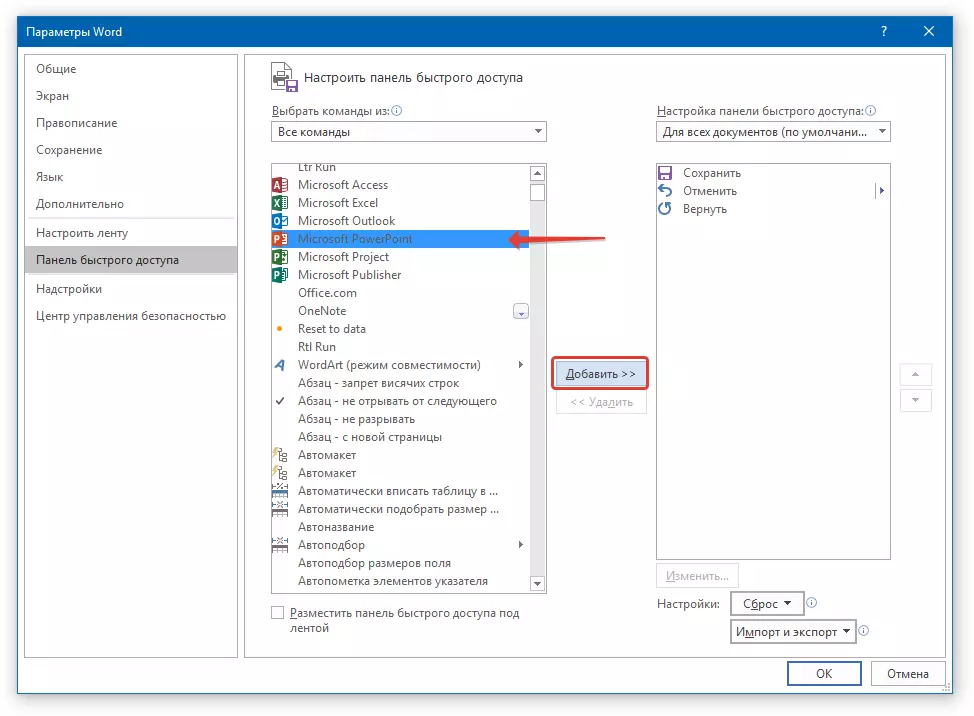
7. Repeat a similar action for all other tools you want to add to the shortcut panel.
Note: You can also delete unnecessary tools Press button "Delete" , and sort their order using the arrows located to the right of the second window.
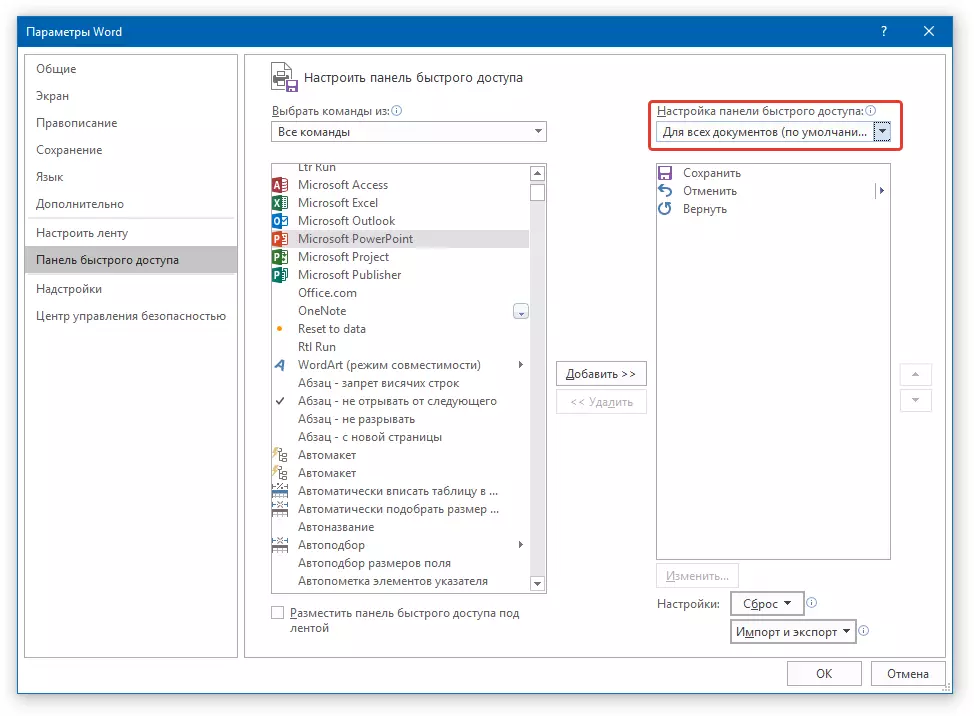
- Advice: In chapter "Setting the Quick Access Panel" Located over the second window, you can choose whether the changes you are applied for all documents or only for the current one.
8. To close the window "Parameters" and save the changes made, click "OK".
Now on the shortcut panel (toolbar), you will display only the tabs, groups of tools and, in fact, the tools themselves. By correctly configuring this panel, you can noticeably optimize working hours, raising your productivity as a result.