

K-Lite Codec Pack - a set of tools that allows you to play videos in the best quality. On the official website, several builds are presented, which differ in each other.
After downloading K-Lite Codec Pack, many users do not know how to work properly with these tools. The interface is quite complicated, moreover, there is no Russian language. Therefore, in this article, consider the setting of this software. For example, I have previously downloaded from the manufacturer's site build MEGA.
How to configure K-Lite Codec Pack
All setup codecs are made when installing this software. The selected parameters can be changed later, using special tools from this package. So, proceed.
Run the installation file. If the program will find the already installed components setting the K-Lite Codec Pack, will offer them to delete and continue the installation. In case of failure, the process will be interrupted.
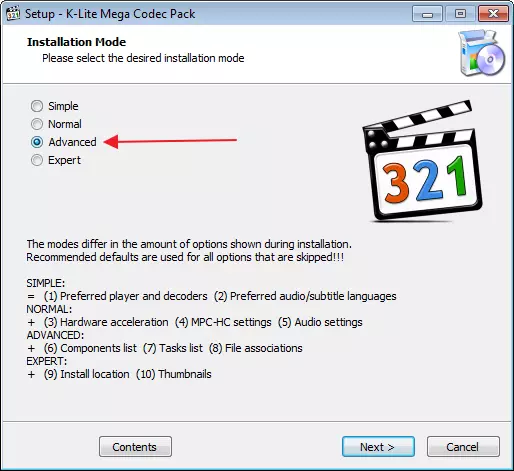
In the first window that appears, select the mode of operation. In order to configure all components to choose "Advanced" . Then "Next".
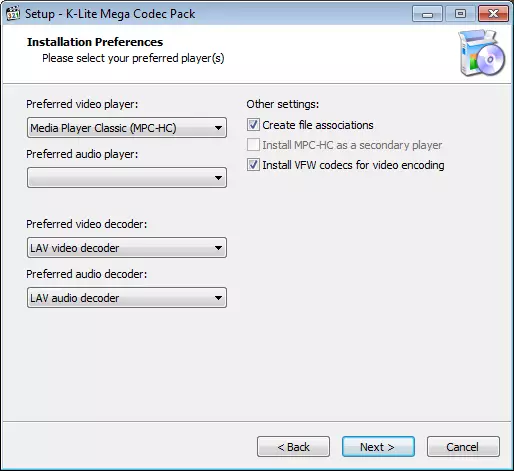
Next, preferences are selected for installation. We do not change anything. Zhmem. "Next".
Select profile
The next window will be one of the most important in the configuration of this package. The default is worth "PROFILE 1" . Principle can be left and so, these settings are perfectly optimized. If you want to fully configure, choose "PROFILE 7".
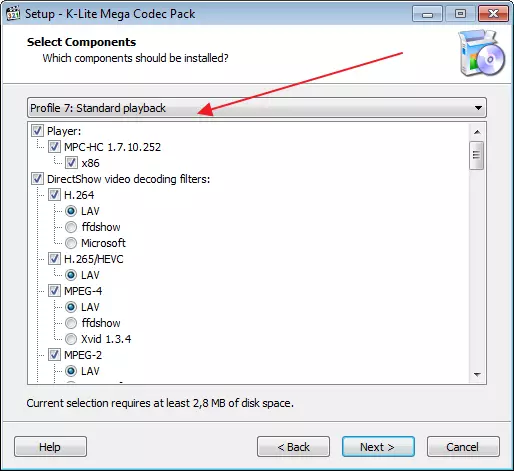
Some profiles may be missing player. In this case, in brackets you will see the inscription "WITHOUT PLAYER".
Setting up filters
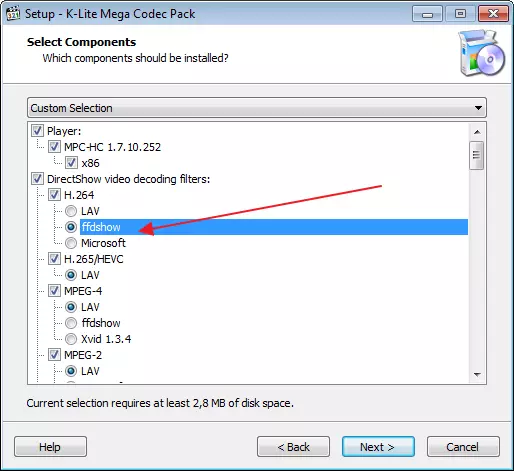
In the same window we will choose a filter for decoding "DirectShow Video Decoding Filters" . You can choose either ffdshow. or Lav . There is no fundamental difference between them. I will choose the first option.
Select Splitter
In the same window, we fall below and find the section "DirectShow Source Filters" . This is a rather important point. Splitter is needed to select a sound track and subtitles. However, not all of them work correctly. The optimal option will be the choice Lav Splitter. or Haali Splitter..
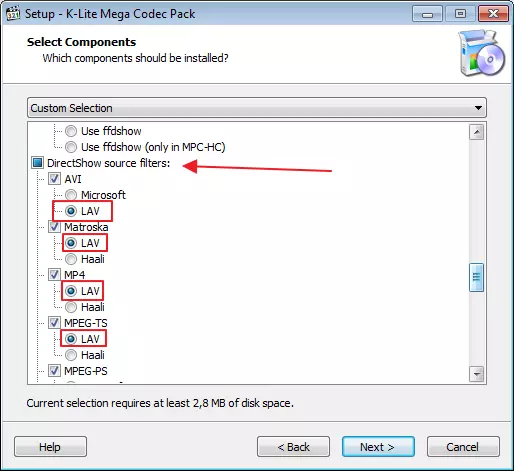
In this window, we noted the most significant items, we leave the rest by default. Press "Next".
Additional tasks
Next, choose additional tasks "ADDITIONAL TASKS".
If you want to install additional program shortcuts, then put the checkboxes in the section "ADDITIONAL Shortcuts" , opposite the desired options.
Reset all settings to recommended you can notice the field "Reset All Settings to their Defaults" . By the way, by default, this parameter is highlighted.
To play video only from the White List, celebrate "RESTRICT USAGE TO Whitelisted Applications".

To display video in colors RGB32 mark "FORCE RGB32 OUTPUT" . The color will be more saturated, however the load on the processor will increase.
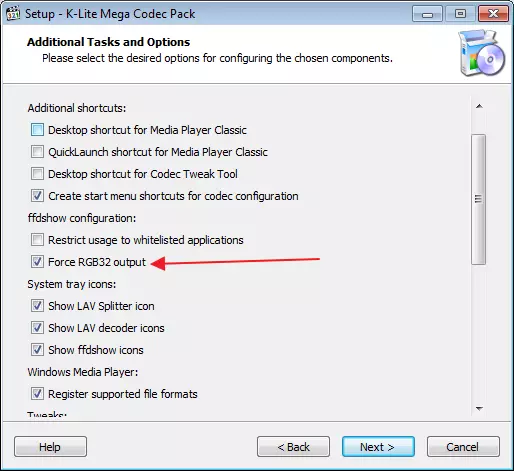
You can switch between audio streams without a player menu by selecting the option. "Hide Systray Icon" . In this case, the transition can be carried out from the tray.
In field "Tweaks" You can configure subtitles.
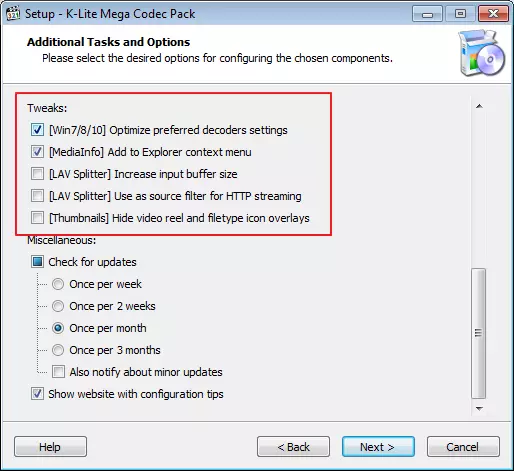
The number of settings in this window can differ significantly. I show like me, but maybe more or less.
The rest leaves unchanged and click "Next".
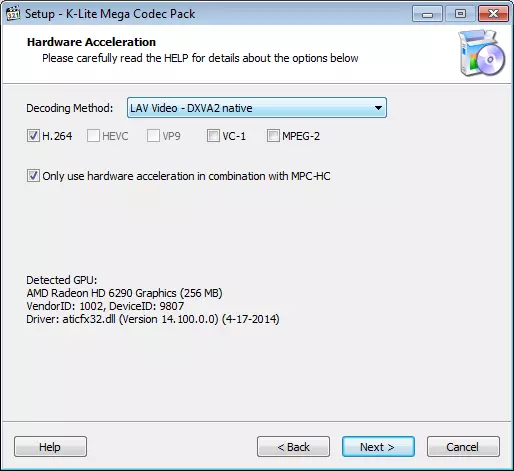
Setting up hardware hardware acceleration
In this window, you can leave everything unchanged. These settings are in most cases perfectly suitable for work.
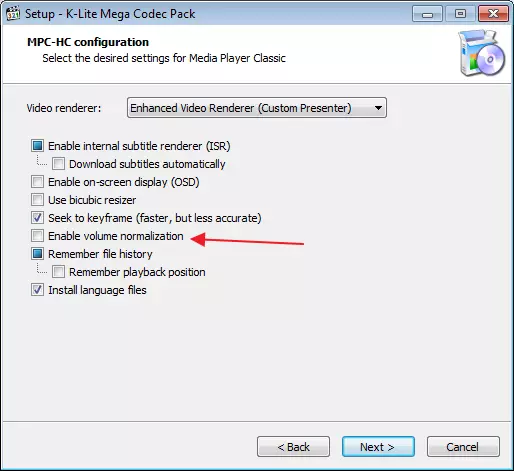
Choosing renderer
Here we will set the parameters of the renderer. Let me remind you that this is a special program that allows you to get an image.
If decoder MPEG-2 embedded in the player suits you, then celebrate "Enable Internal MPEG-2 Decoder ". If you have such a field.
In order to optimize the sound, choose the option "VOLUME NORMALIZATION".
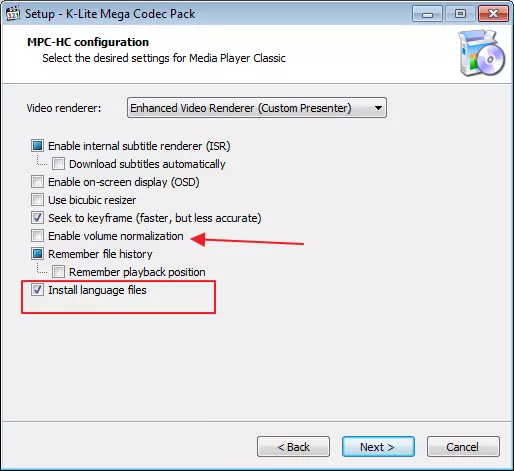
Select language
To set language files and switching options between them. "Install Language Files" . Press "Next".
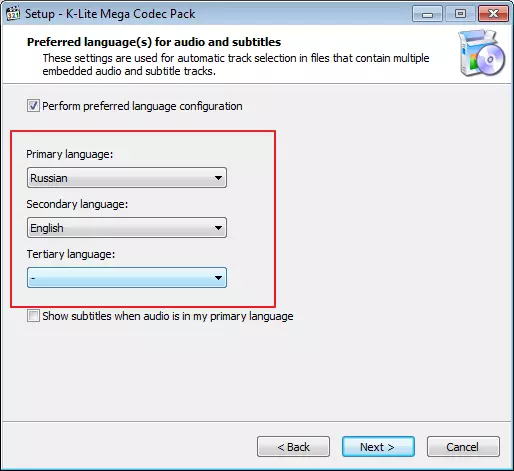
We fall into the language settings window. We choose the main and secondary language that matches your requirements. If necessary, you can choose another one. Zhmem. "Next".
Now choose the player to play by default. I will choose "MEDIA PLAYER CLASSIC"
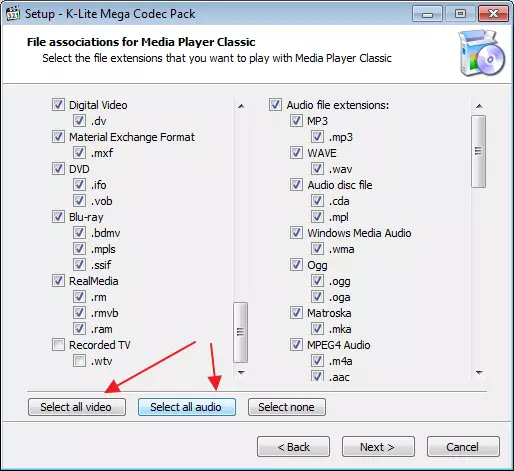
In the next window, you will note the files that will play the selected player. I usually choose all videos and all audio. Select everything, you can with the help of special buttons, as in the screenshot. We will continue.
Audio configuration can be left unchanged.
On this setting K-Lite Codec Pack is over. It remains only to click "Install" and test the product.