
Often, just create a template table in MS Word is not enough. So, in most cases it is required to ask a certain style for it, size, as well as a number of other parameters. Speaking easier, the created table must be formatted, and it is possible to do this in a word in several ways.
Lesson: Formatting text in Word
The use of embedded styles available in the Microsoft text editor allows you to set the format for the entire table of the entire or its individual items. Also, in the Word there is the possibility of previewing the formatted table, so that you can always see how it will look like in a particular style.
Lesson: Preview function in Word
Using styles
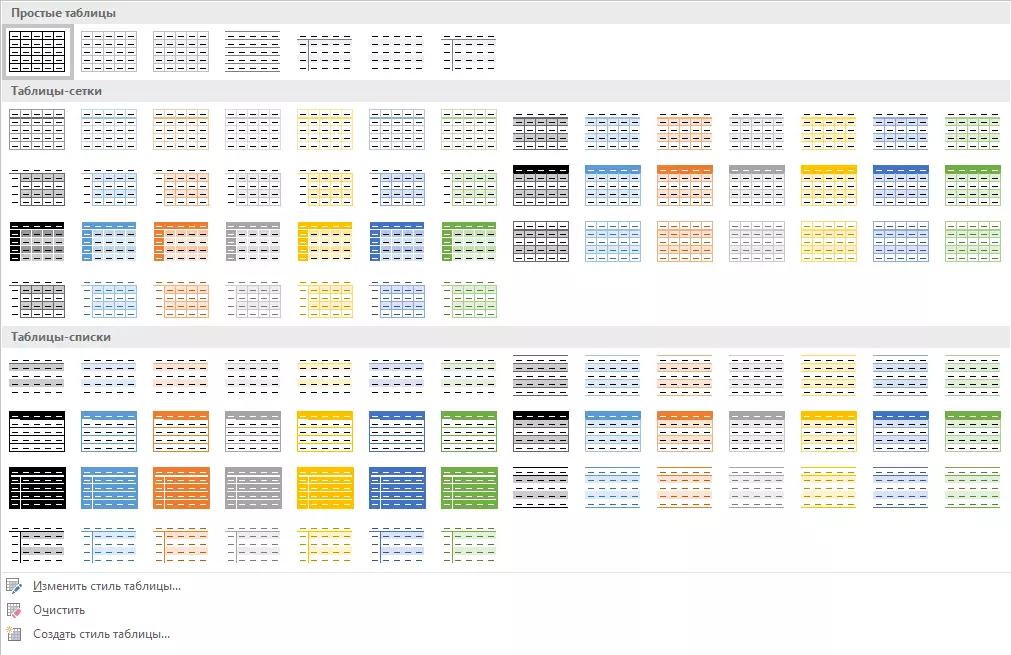
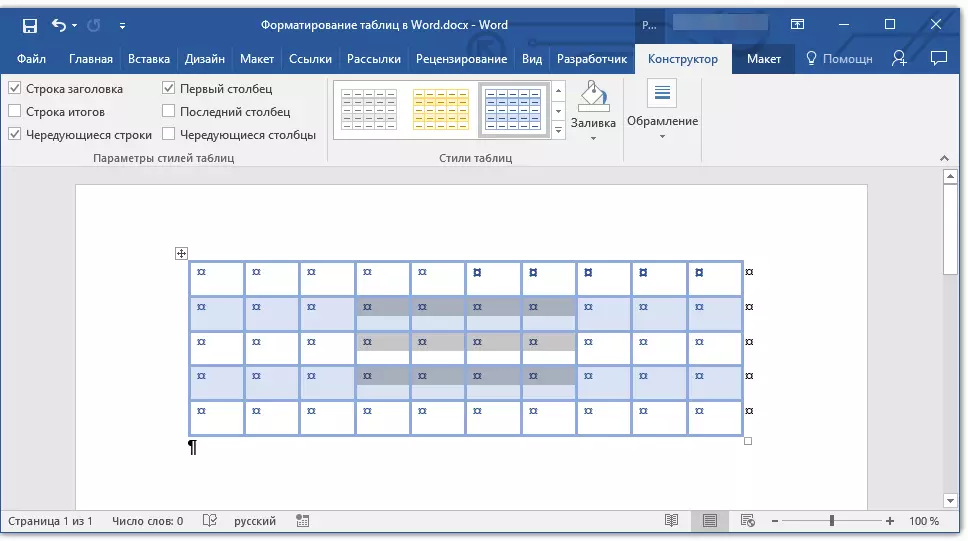
The standard view of the table can arrange few people, so for its change in the Word there is a large set of styles. All of them are located on the shortcut panel in the tab. "Constructor" in the instrument group "Tables styles" . To display this tab, double click on the table with the left mouse button.

Lesson: How to create a table
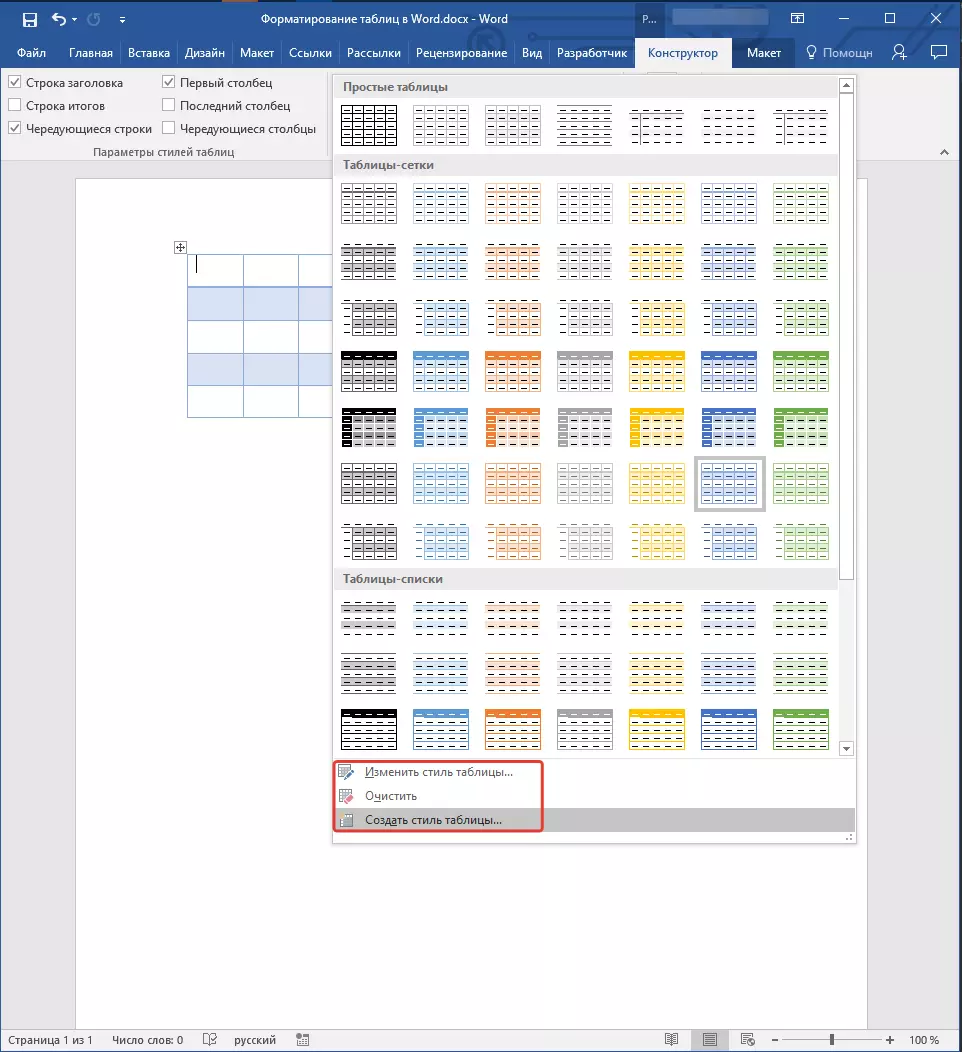
In the window presented in the Tool Group "Tables styles" You can choose a suitable style for table design. To see all available styles, click "More" 
In the instrument group "Table style parameters" Remove or install ticks opposite the parameters you want to hide or display in the selected table style.
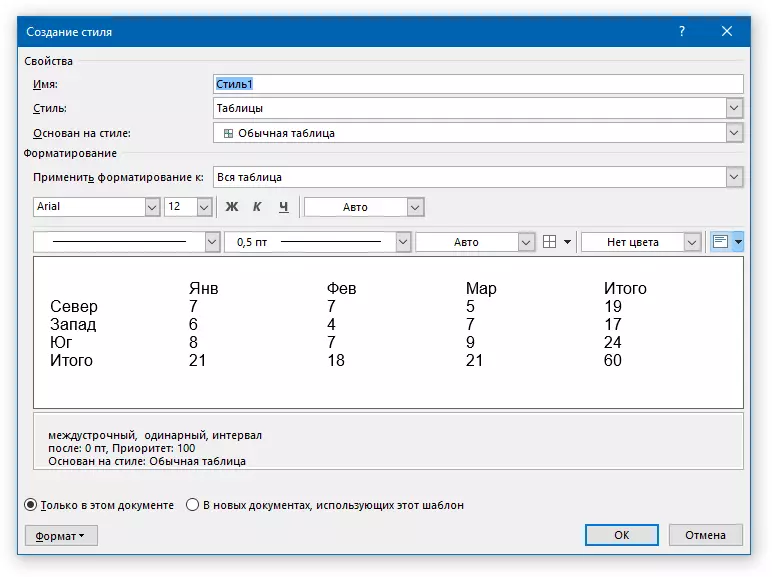
You can also create your own table style or change the already existing one. To do this, select the appropriate parameter in the window menu. "More".
Make the necessary changes in the window that opens, configure the necessary parameters and save your own style.
Adding Frames
The type of standard boundaries (frames) of the table can also be changed, set up as you consider it necessary.Adding borders
1. Go to the tab "Layout" (Main section "Working with tables")

2. In the instrument group "Table" Press the button "Allocate" , Select in the drop-down menu item "Select the table".
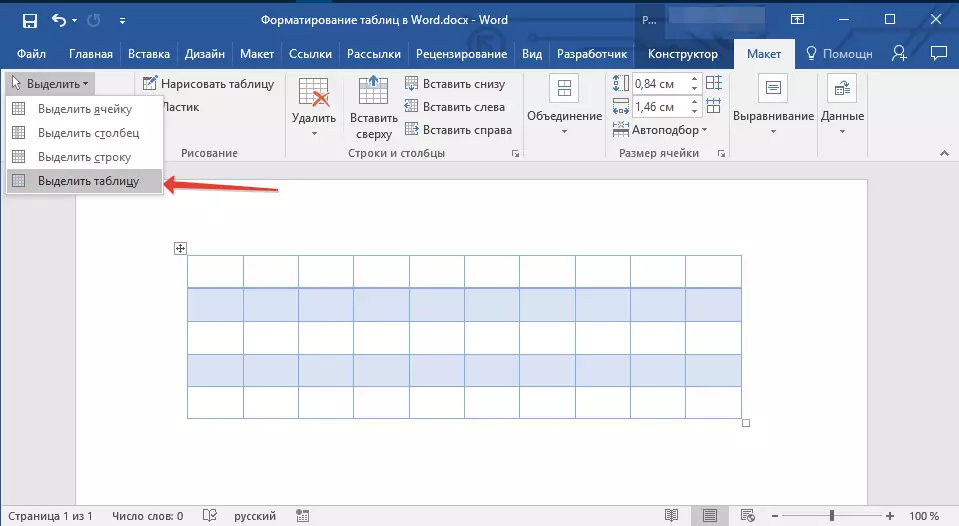
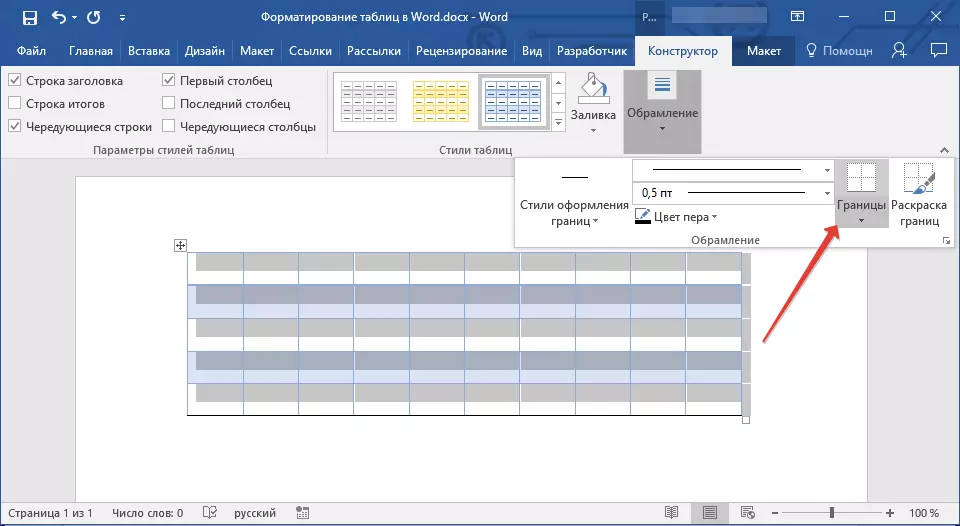
3. Go to the tab "Constructor" which is also located in the section "Working with tables".
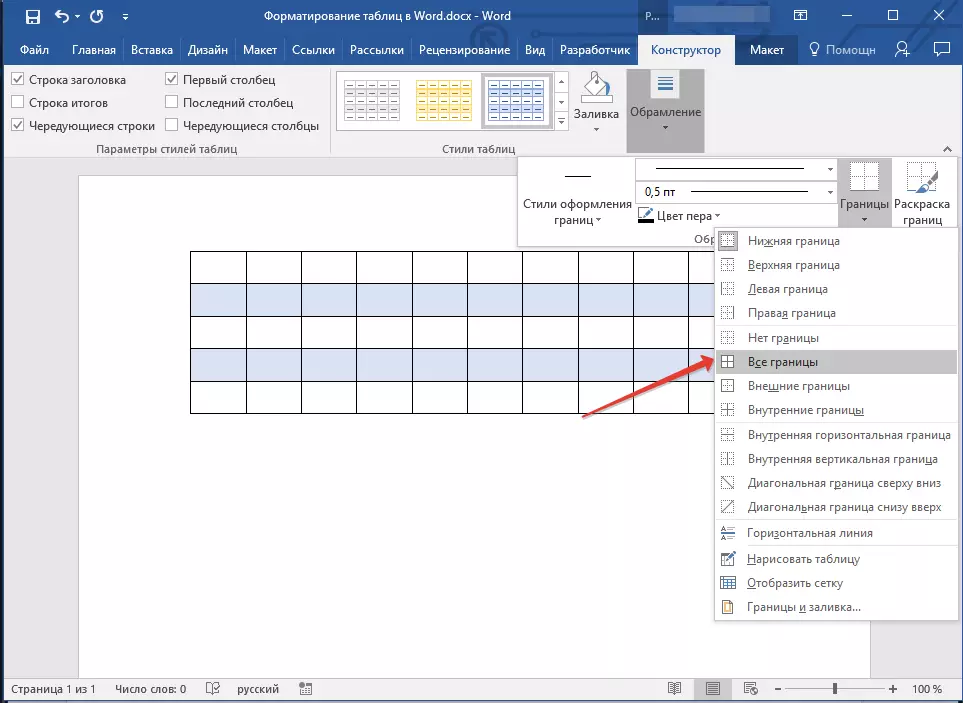
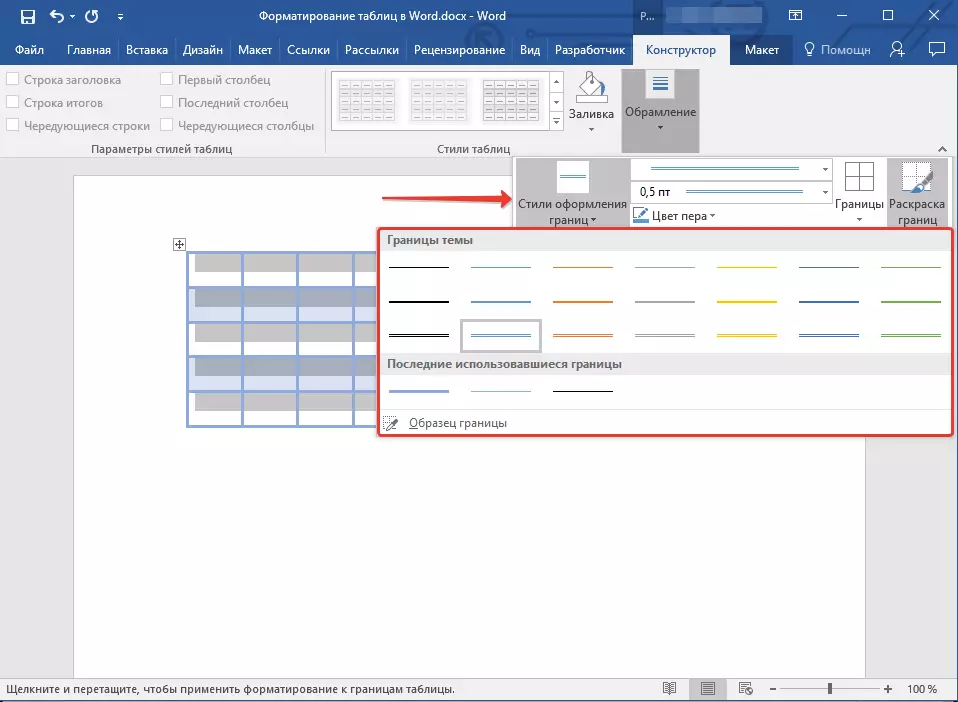
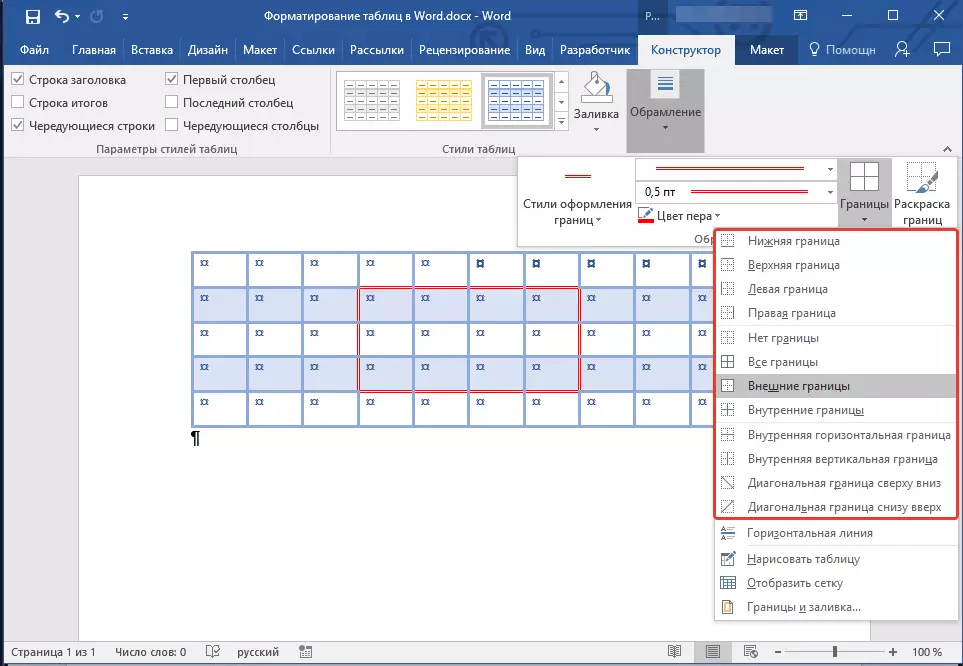
4. Click the button "Borders" located in the group "Framing" , Perform the necessary action:
- Select a suitable built-in border set;
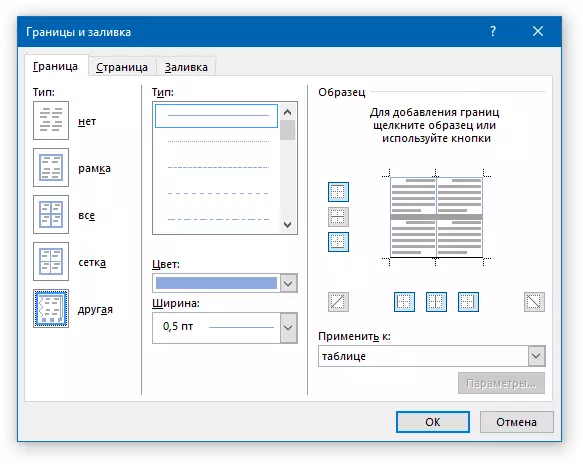
- In chapter "Borders and Pouring" Press the button "Borders" , then choose the appropriate version of the design;
- Change the border style by selecting the right button "Styles of borders".
Adding borders for individual cells
If necessary, you can always add borders for individual cells. To do this, perform the following manipulations:
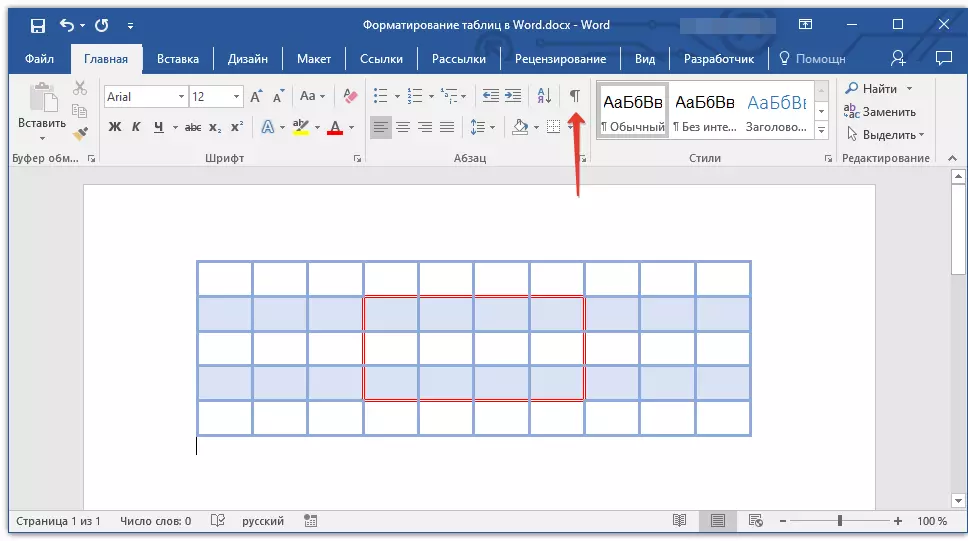
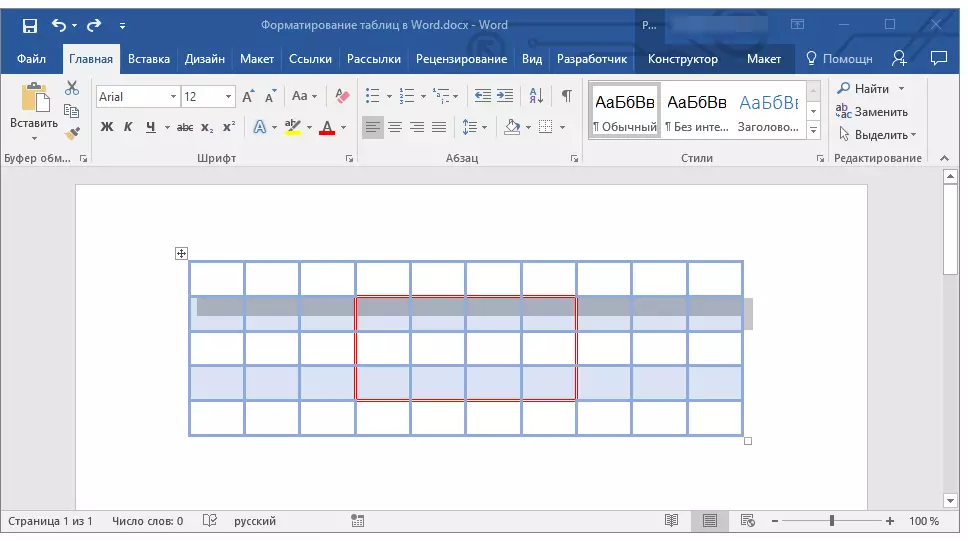
1. In the tab "The main" In the instrument group "Paragraph" Press the button "Display all signs".
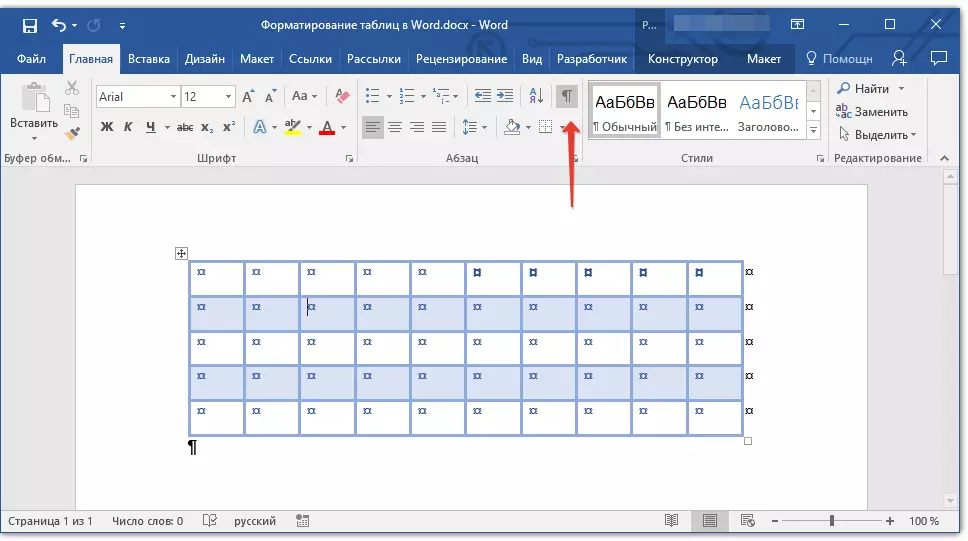
2. Select the necessary cells and go to the tab. "Constructor".
3. In the group "Framing" in the button menu "Borders" Choose a suitable style.
4. Disconnect the display mode of all characters, re-pressing the button in the group "Paragraph" (tab "The main").
Removal of all or individual boundaries
In addition to adding a frame (boundaries) for the entire table or its individual cells, in the Word can also be performed and the opposite - make all the boundaries in the table invisible or hide the boundaries of individual cells. About how to do it, you can read in our instructions.Lesson: How to Word Hide Table Borders
Hiding and displaying the grid
If you hid the borders of the table, it will, to a certain extent, will become invisible. That is, all the data will be in their places, in their cells, but they will not be divided into their lines. In many cases, a table with hidden boundaries still needs some kind of "landmark" for the convenience of work. Such is the grid - this element repeats the boundaries line, it is displayed only on the screen, but not displayed.
Display and hiding the grid
1. Click on the table twice to highlight it and open the main section. "Working with tables".
2. Go to the tab "Layout" located in this section.
3. In the group "Table" Press the button "Display the grid".
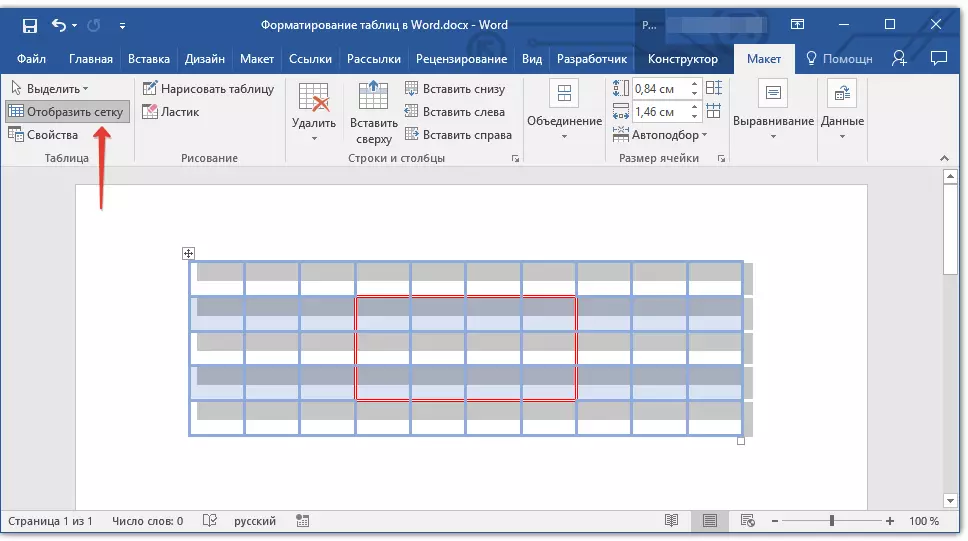
- Advice: To hide the grid, press this button.
Lesson: How to display the grid in the Word
Adding columns, line rows
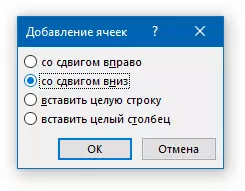
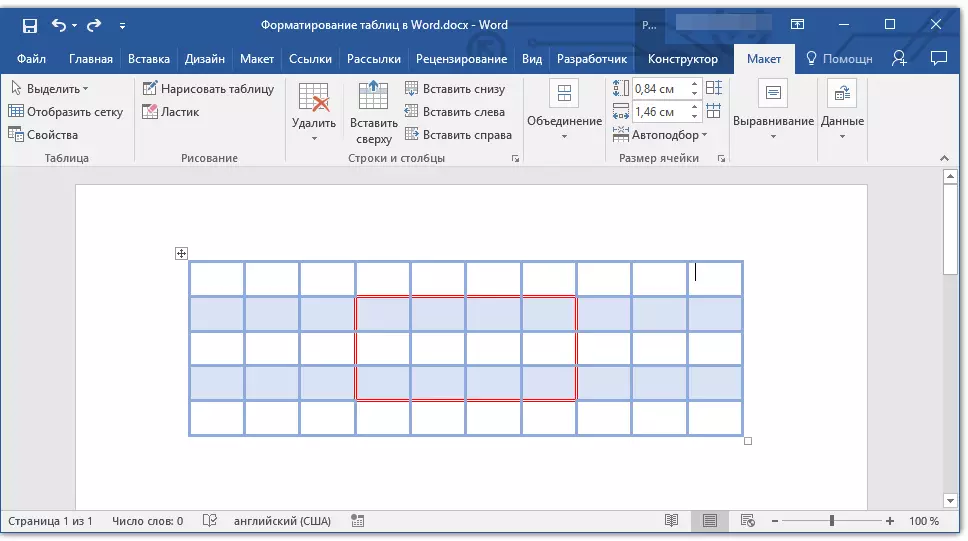
Not always the number of rows, columns and cells in the created table should remain fixed. Sometimes there is a need to increase the table by adding a string, column or cell that is quite simple to do.Adding a cell.
1. Click on the cell on top or to the right of the place where you want to add a new one.
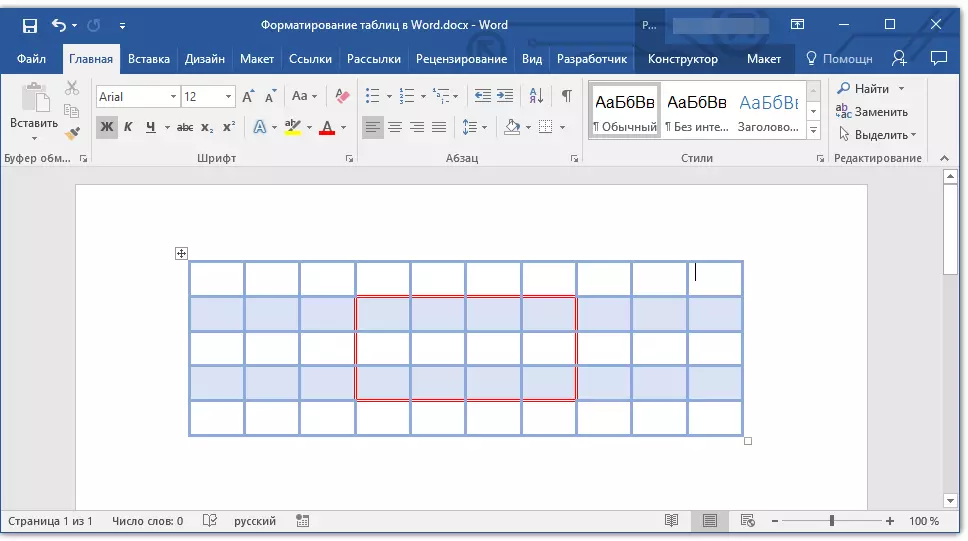
2. Go to the tab "Layout" ("Working with tables" ) and open the dialog box "Rows and columns" (Small arrow in the lower right corner).
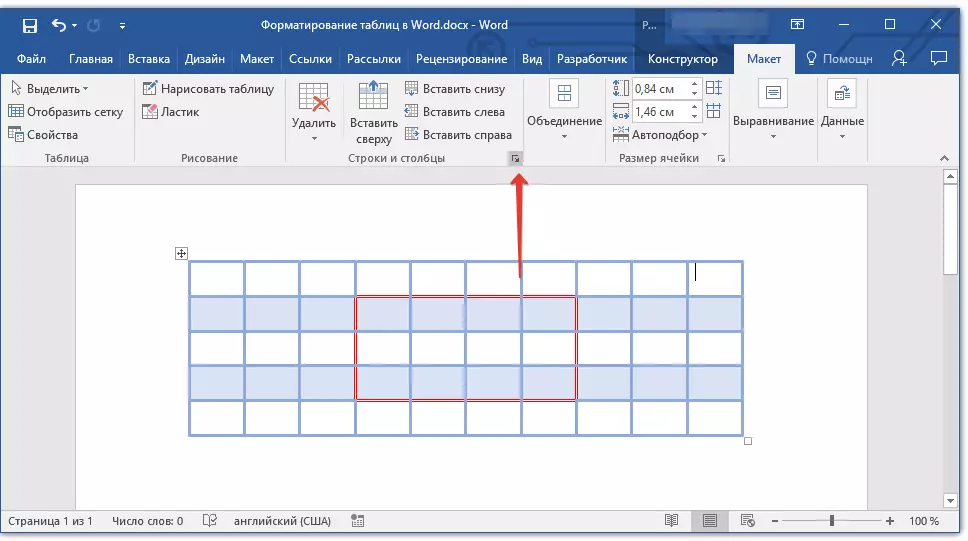
3. Select the appropriate parameter to add a cell.
Adding column
1. Click on the cell of the column that is located on the left or to the right of the place where the column is required.
2. In the tab "Layout" what is in the section "Working with tables" , Perform the required action using the group tools "Columns and strings":
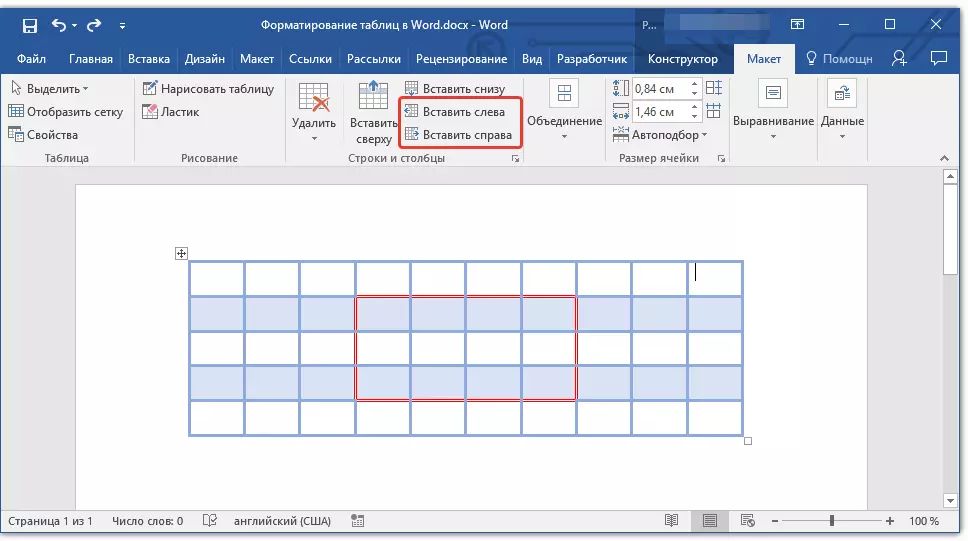
- Click "Paste the left" To insert the column to the left of the selected cell;
- Click "Insert right" To insert the column to the right of the selected cell.
Adding string
To add a row to the table, use the instruction described in our material.Lesson: How to insert a string in a table
Removing strings, columns, cells
If necessary, you can always remove the cell, string or column in the table. To do this, you need to perform several simple manipulations:
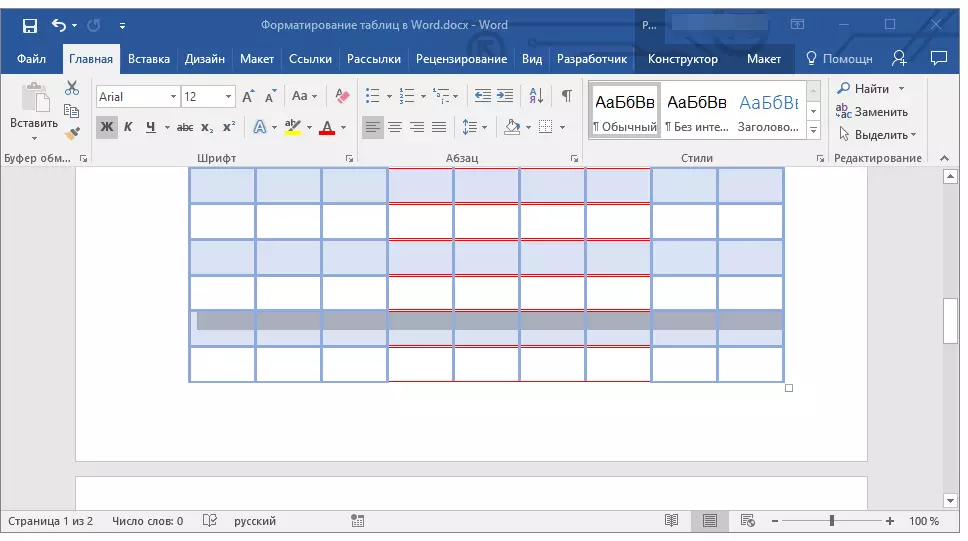
1. Select a fragment of the table to be deleted:
- To highlight the cell, click on its left edge;
- To highlight the string, click on its left border;
- To highlight the column, click on its upper boundary.
2. Go to the tab "Layout" (Working with tables).
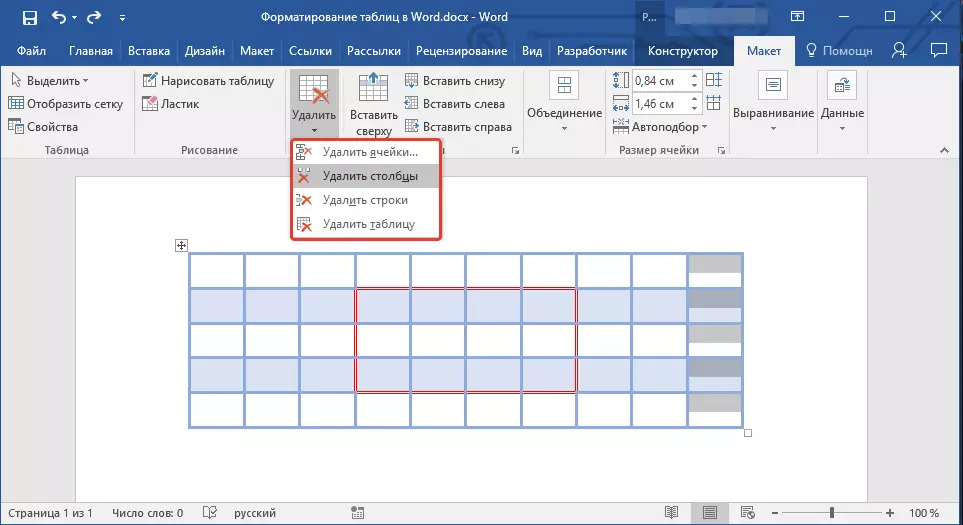
3. In the group "Rows and columns" Click on the button "Delete" and select the appropriate command to delete the desired fragment of the table:
- Delete lines;
- Remove columns;
- Delete cells.
Association and splitting cells
The cells of the created table, if necessary, can always be combined or, on the contrary, divided. More detailed instructions regarding how to do it, you will find in our article.Lesson: How to merge cells
Alignment and Move Table
If necessary, you can always align the size of the entire table, separate lines, columns and cells. Also, you can align text and numeric data contained within the table. If necessary, the table can be moved over the page or document, it can also be moved to another file or program. About how to do all this, read in our articles.
Work lesson:
How to align the table
How to resize tables and its elements
How to Move Table
Repeating table header on document pages
If the table with which you work is long, takes two or more pages, in the places of forced rupture the page it has to be broken apart. Alternatively, it can be done on the second and all subsequent pages an explanatory inscription of the "continuation of the table on page 1". About how to do it, you can read in our article.Lesson: How to make table transfer
However, much more convenient if working with a large table will make the caps on each page of the document. A detailed instruction on creating such a "portable" table cap is described in our article.
Lesson: How to the Word make the automatic table cap
Repeating headlines will be displayed in markup mode as well as in the printed document.
Lesson: Print documents in Word
Collecting table
As already mentioned above, too long tables have to be divided into parts using automatic page breaks. If the page breaks will turn out to be on a long string, part of the line will be automatically transferred to the next page of the document.
However, the data that is contained in a large table must be represented visually in each user's understandable form. To do this, perform certain manipulations that will be displayed not only in the electronic version of the document, but also in its printed copy.
Printing the entire row on one page
1. Click anywhere in the table.
2. Go to the tab "Layout" section "Working with tables".
3. Press the button "Properties" located in the group "Tables".
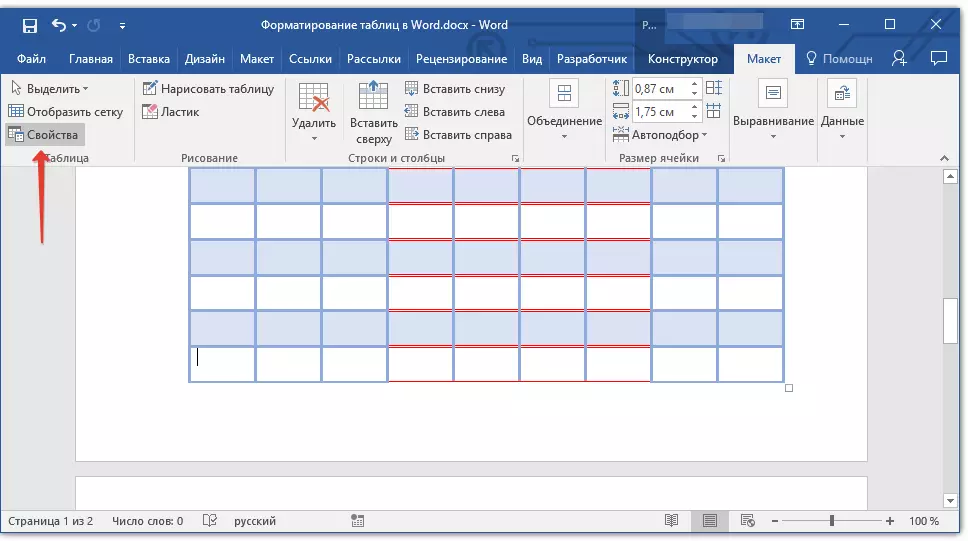
4. Go to the window that opens in the tab "Line" , remove there a tick opposite item "Allow the row transfer to the next page" , click "OK" To close the window.

Creating a forced table gap on pages
1. Highlight the table string to be printed on the next page of the document.
2. Press the keys "Ctrl + Enter" - This command add page break.
Lesson: How to make a page break in Word
This can be finished at this, since in this article we described in detail about what is formatting tables in the Word and how to execute it. Continue to master the limitless features of this program, and we will do our best to simplify this process for you.