

Method 1: video editor in Windows 10
In Windows 10 there is a built-in tool that allows you to perform the basic editing of video, including the separation of it into fragments to add transitions or simply a black screen. If you plan to make an easy installation and do not want to download an additional software, pay attention to the following instructions.
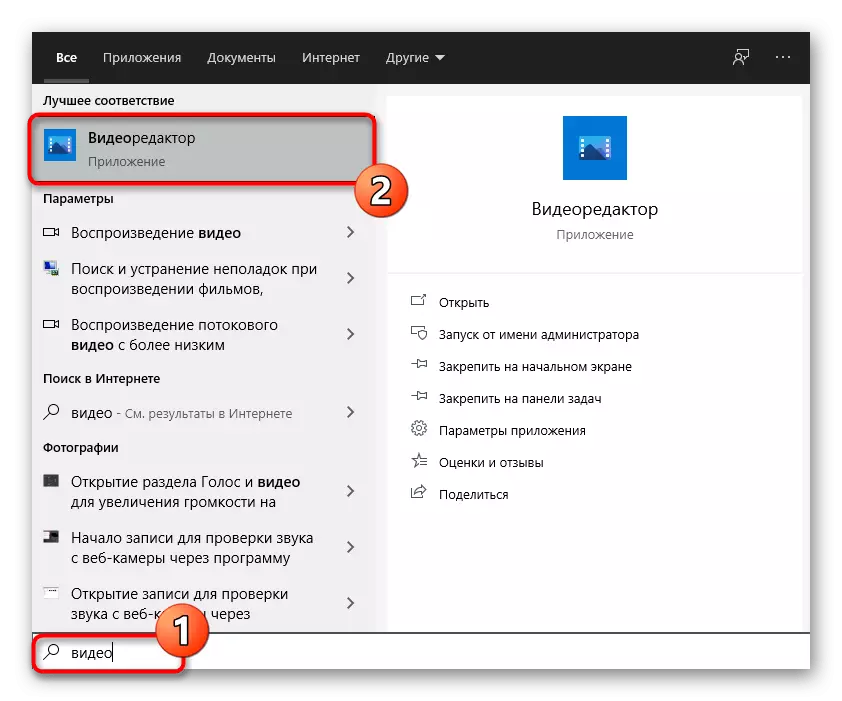
- Open the "Start" and through the search for finding the video editor application.
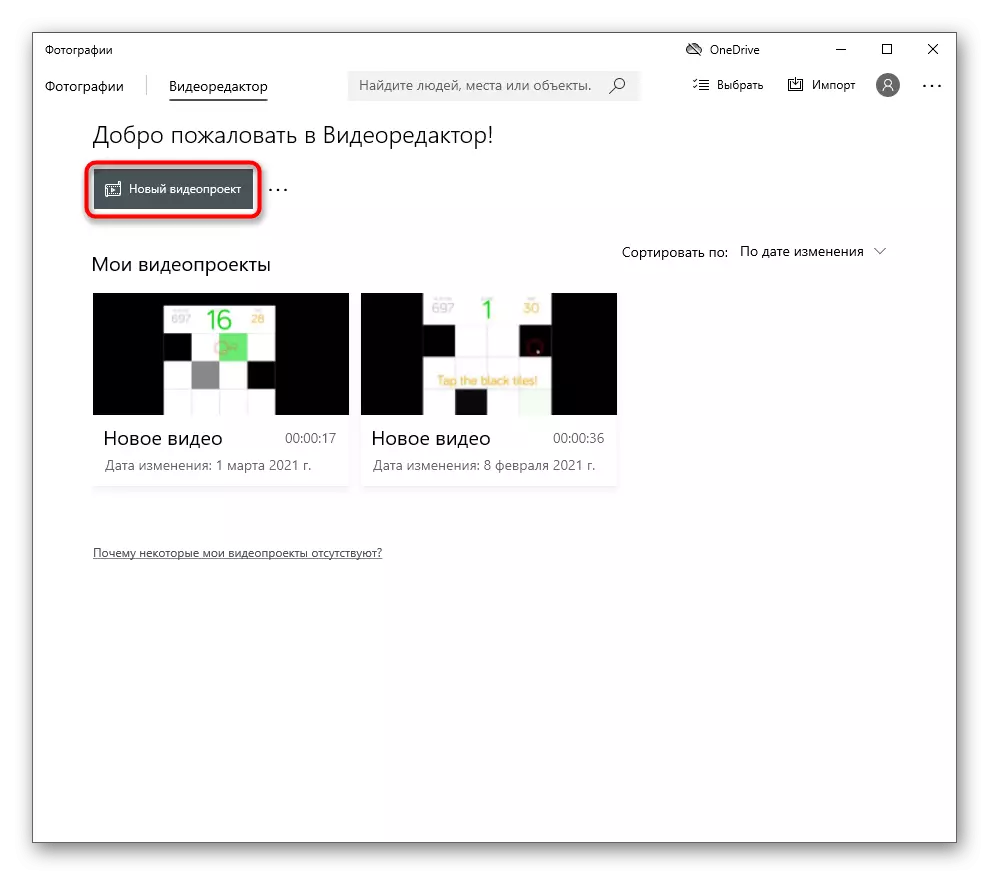
- After starting it, click the "New Video Project" button.
- Comeume your name to your video by activating the corresponding field, or while skipping this step, leaving it finally.
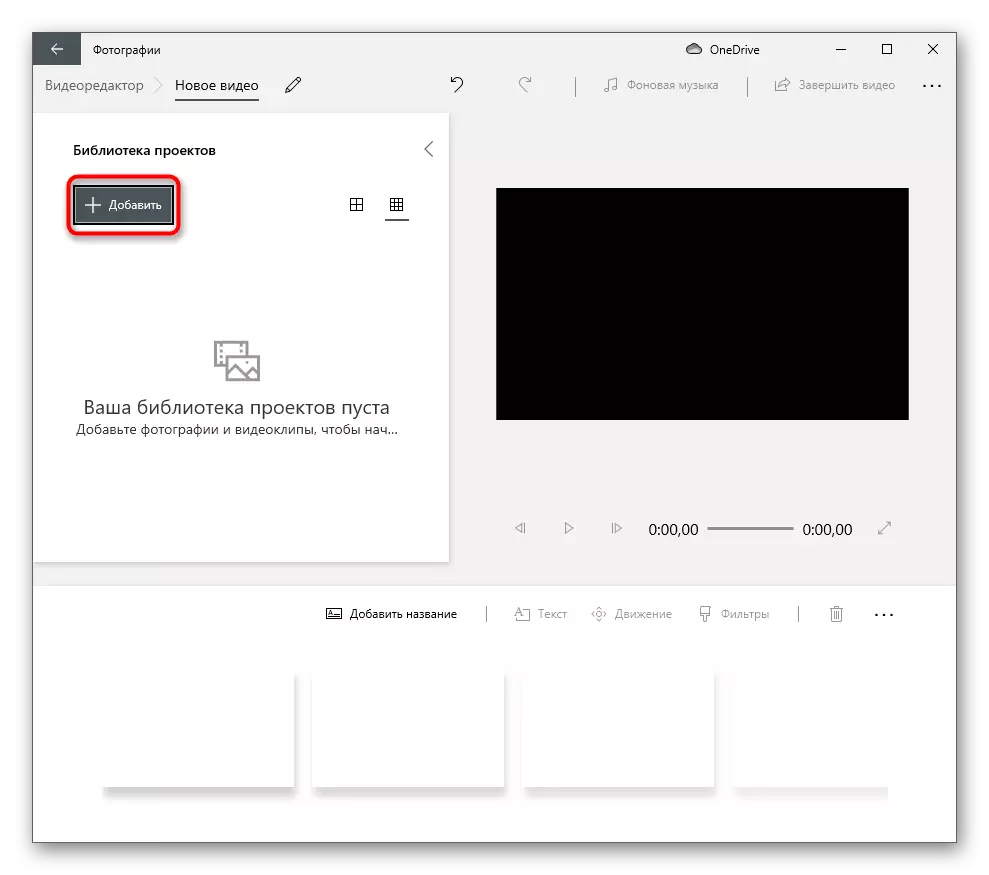
- In the Project Library block, click on the Add button.
- In the "Explorer", find the video you want to cut into fragments, and open it.
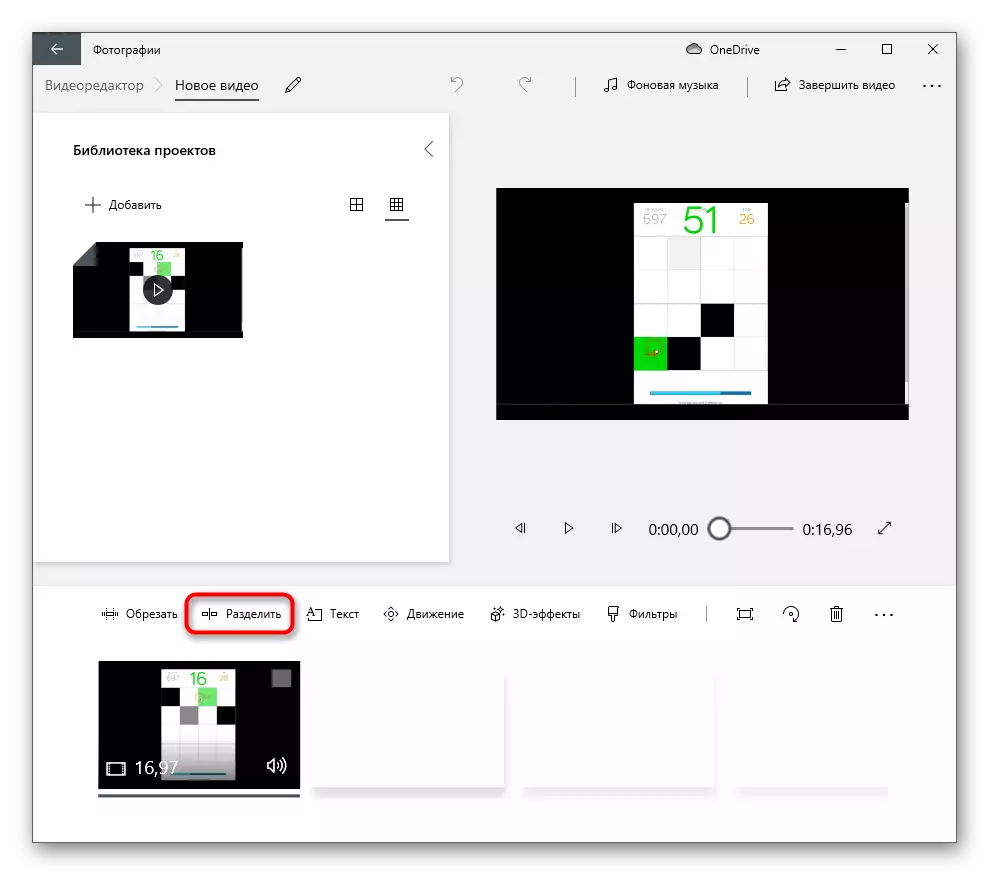
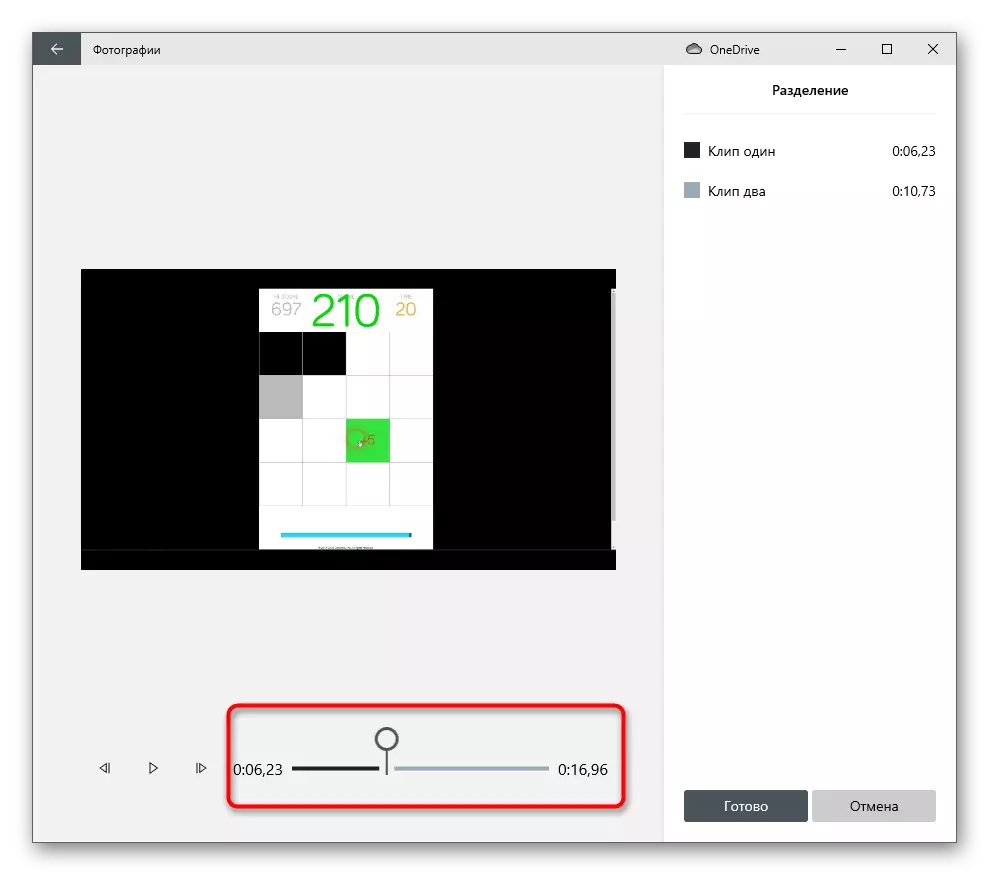
- Use the "Divide" tool by going to a new window with available settings.
- Move the slider to the position where the first separator should be, and click Finish.
- Return to the editor and make sure that two different frames are displayed on the timeline. Highlight the second, also divide it; Do so until it turns out the desired number of fragments.
- If you want to slightly change the position of any fragment, instead of standard transitions in the video editor, the movement tool is used for this.
- In it, select the type of frame offset and confirm the changes.
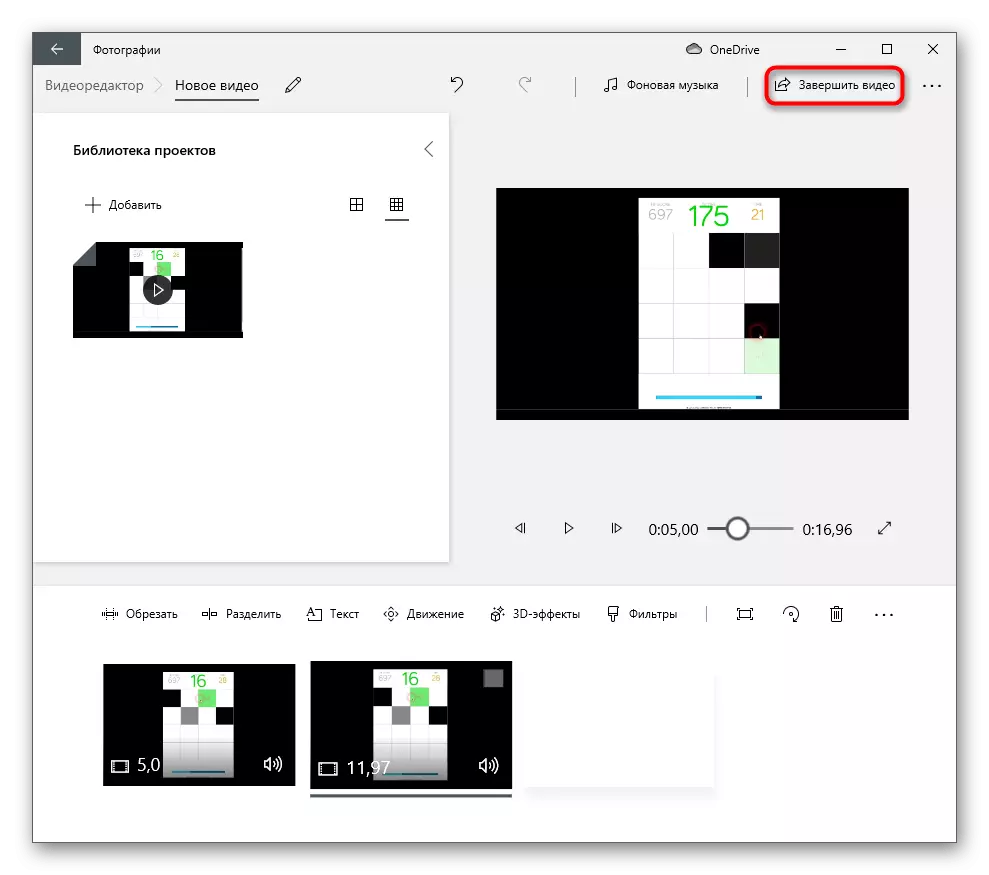
- Add other fragments between the frames or complete the video creation by clicking on the corresponding button in the right corner.
- Select acceptable quality for the roller and click Export.
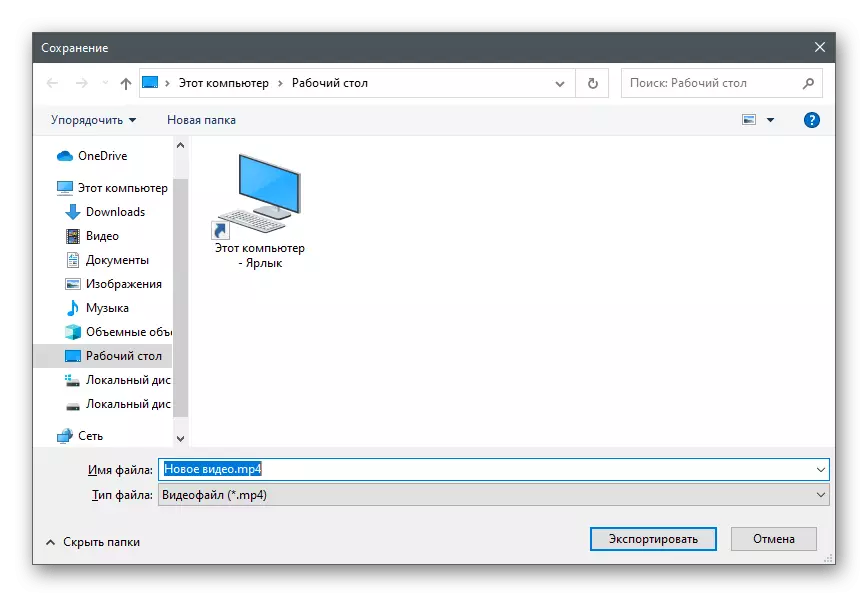
- The "Explorer" window opens, in which specify the file format and set the name for it. After rendering, go to the directory and play the roller to make sure it is correctly divided into fragments.


The video editor has a function of removing the selected fragment, so you can not only create them, but also remove unnecessary, thereby implementing the basic needs in the installation of the project.
Method 2: Wondershare Filmora
Wondershare Filmora is a conditionally free video editor with advanced functionality, which is sufficient even for professional processing of projects. Of course, such a tool as cutting video into fragments, it is also provided, so you can use it, combining with other software capabilities. This will allow you to get a high-quality project with transitions, text and other information that should be between divided frames.
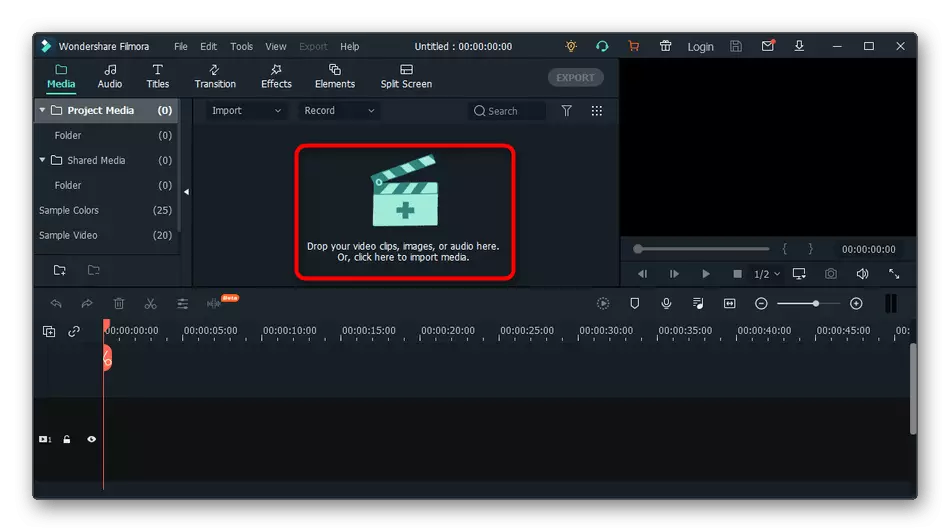
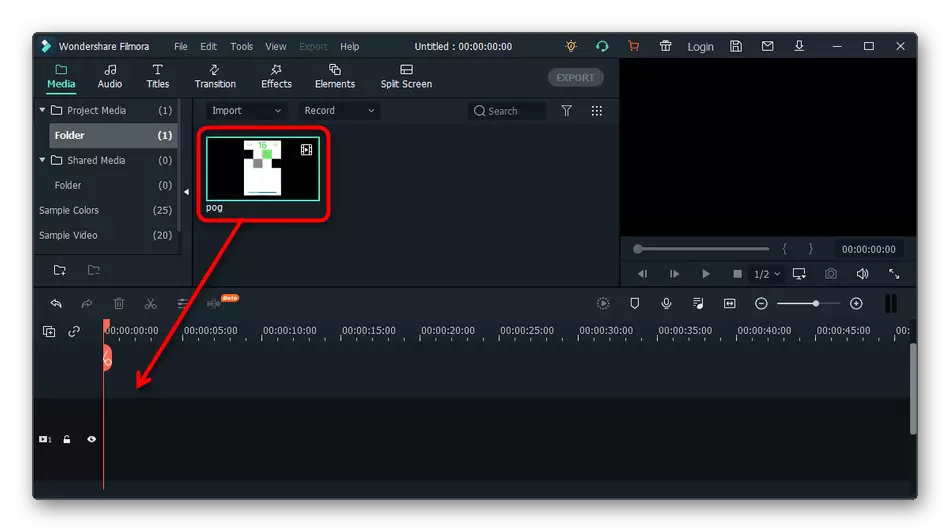
- Download Wondershare Filmora and create an account to get free access to basic functions. After starting the program, click on the selected area to import files.
- Explorer will open, where you need to find a video for editing.
- While it is only in the user library, so tighten the roller with the left mouse button and drag to a blank tajleine path.
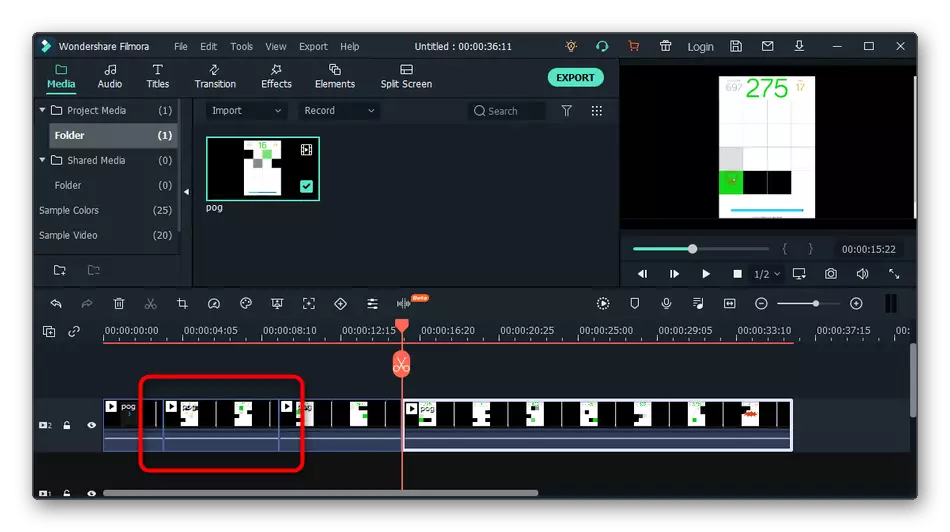
- Use the slider by setting it to the place where one fragment is separated from the other. There is a button with scissors, pressing on which the recording parts is separated.
- Now each fragment is marked with a blue line, which will help to navigate them and choose only the necessary.
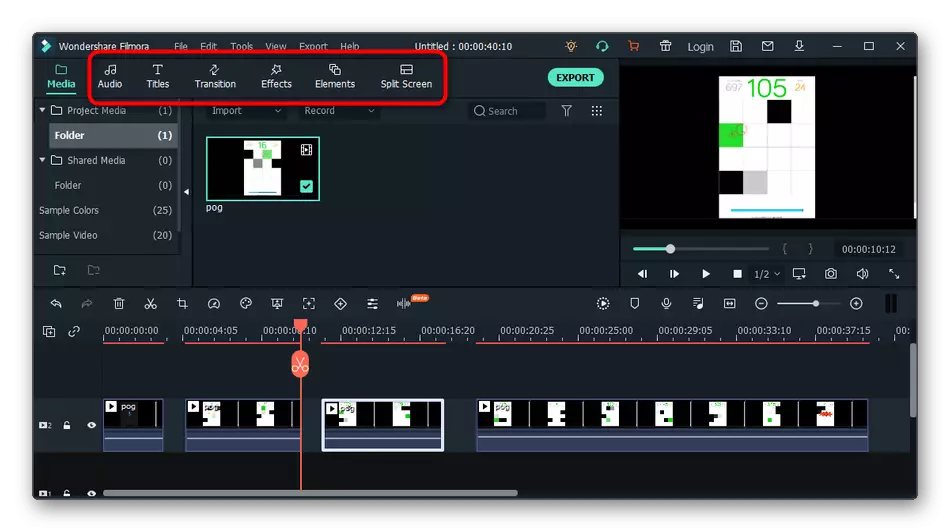
- With the help of standard movement, divide the footage so that there is a little empty space between them. Now you can insert other frames there, add transitions or text.
- All this is done using the tools built into Wondershare Filmora, the main list of which is located on the top panel.
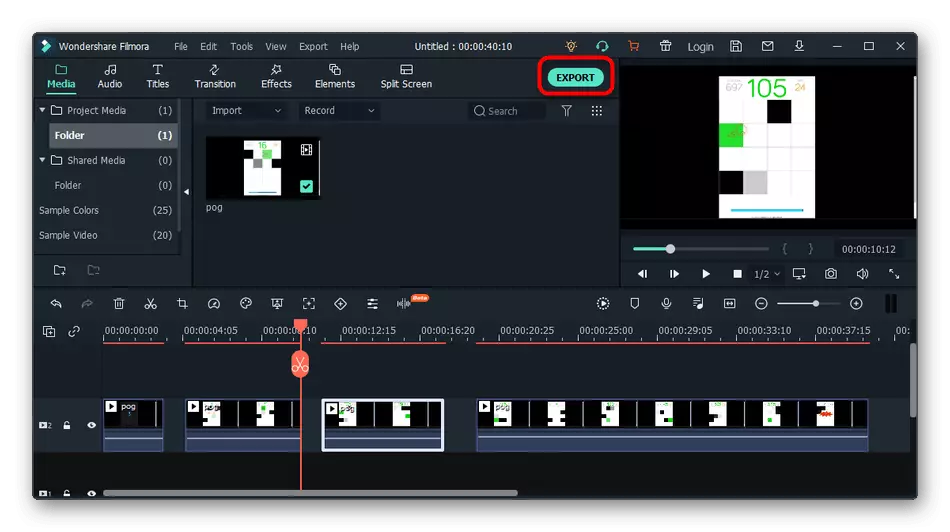
- Once the work with the project is completed, click on the "Export" button.
- In a new window, select the appropriate format and set additional parameters for it. Specify the place to save and confirm the start of rendering. By the way, if you go to other tabs, you can find blanks with parameters for rendering video under a specific type of device or download to video hosting.


Method 3: Adobe Premiere Pro
In completion, let's talk about the most difficult of the programs presented - Adobe Premiere Pro. It is paid and designed for the most part for professional use. However, it is worth paying attention to it if you plan to teach installation and / or have to often edit the video, including separating it into fragments.
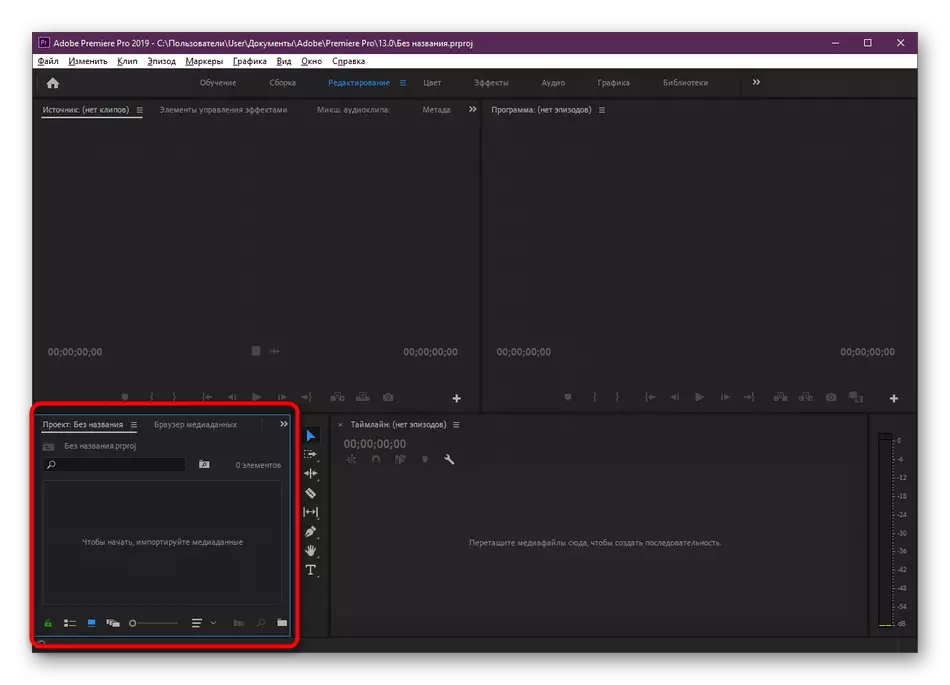
- In the starting window, click the New Project button.
- Set the parameters for it and specify the location in advance if you want to save intermediate performance.
- Click on the area with video to add a video.
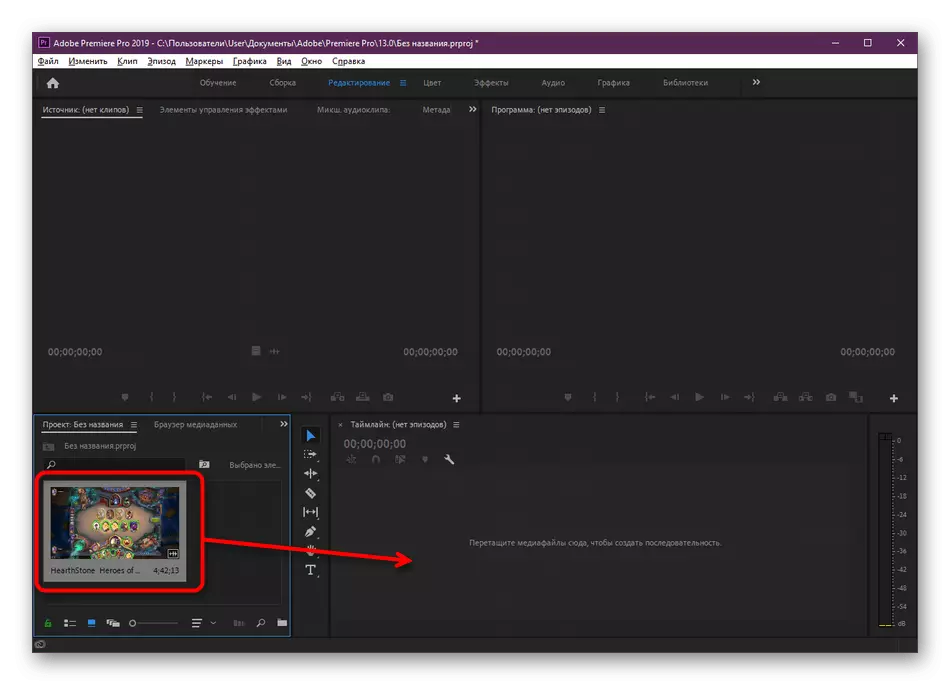
- In the "Explore", find the appropriate file, highlight it and click on "open".
- Drag video to timeline, because now it is not ready for editing.
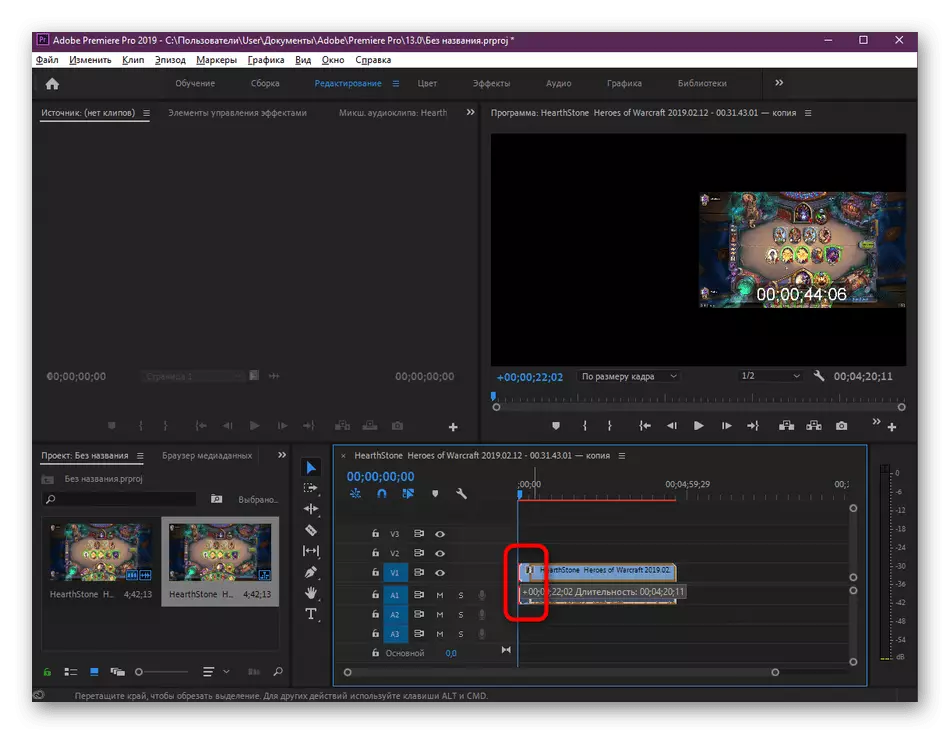
- Be sure to make the video begins with a zero second, placing the track at the beginning.
- It is possible to implement this with the help of conventional movement, shifting the video to the left.
- If there are fragments on the edges that are not needed at all, they can be removed by moving the track a little deploy.
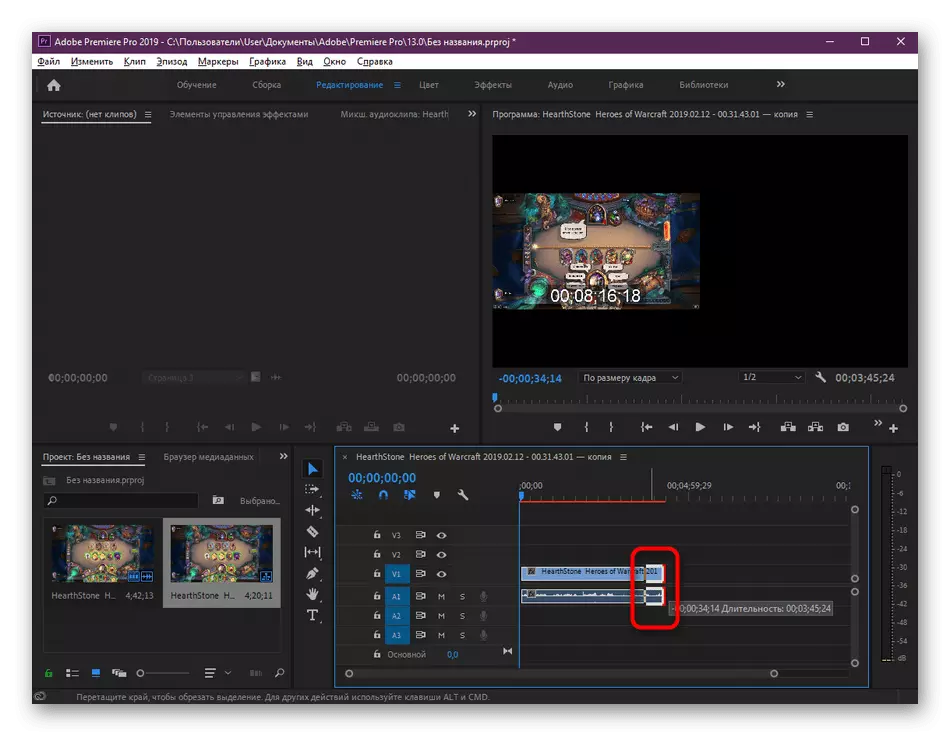
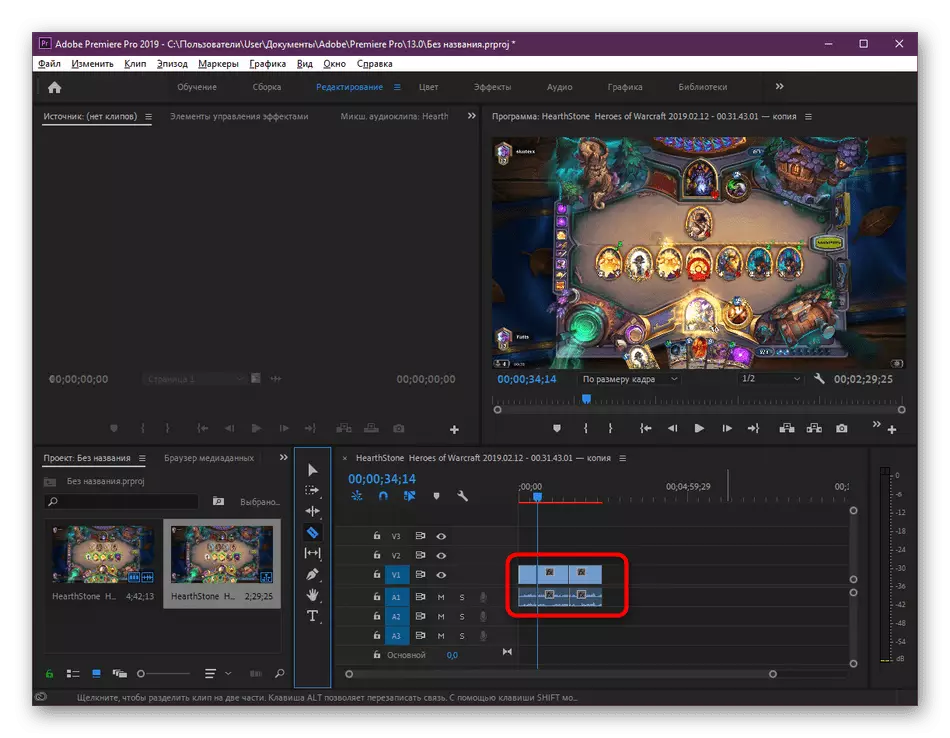
- Next, use the trim tool, pre-locating the slider at the junction of future fragments.
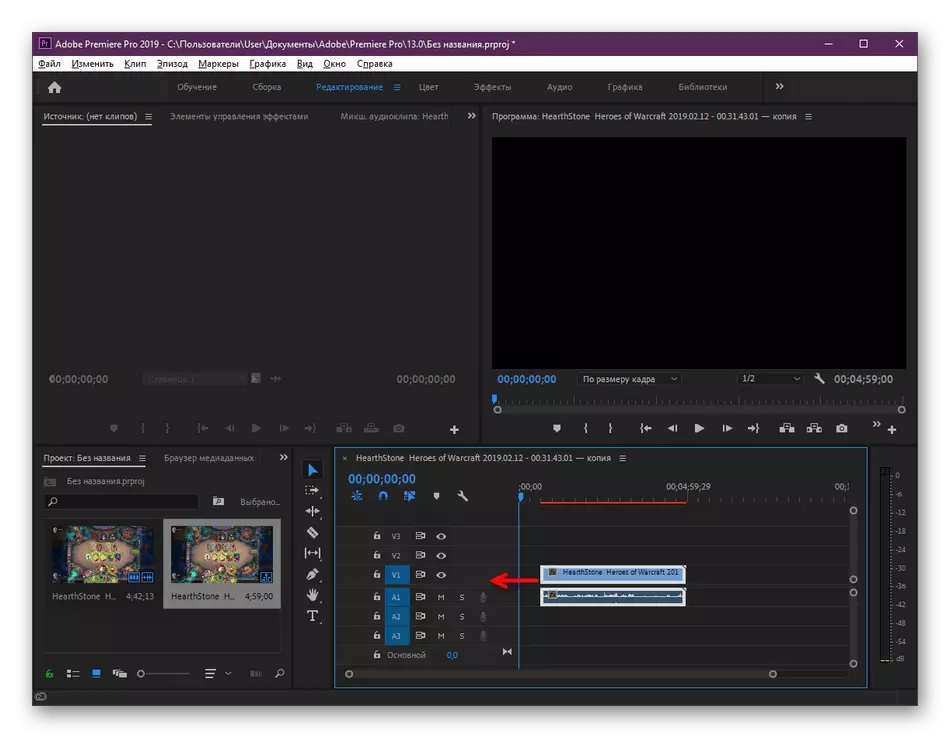
- Make the same required number of times, achieving the desired result.
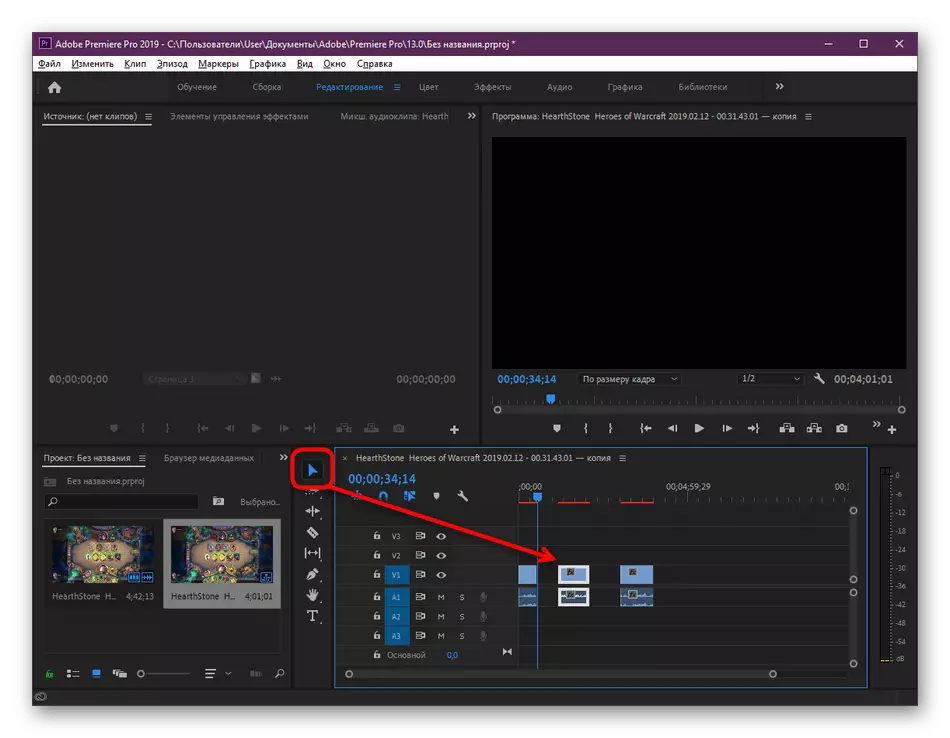
- Select the "Move" tool and slide each resulting frame so that they do not interfere with each other. At the same time, do not forget about the track with audio, which is assigned separately to each fragment.
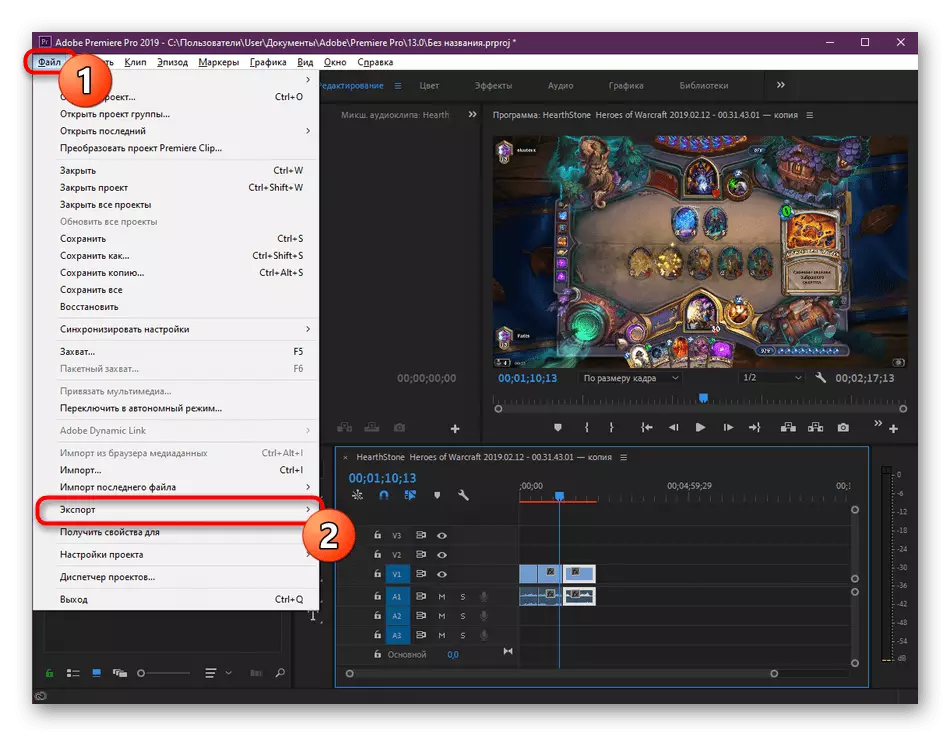
- Perform other editing actions for which different frames were created, after which you open the "File" menu and select Export.
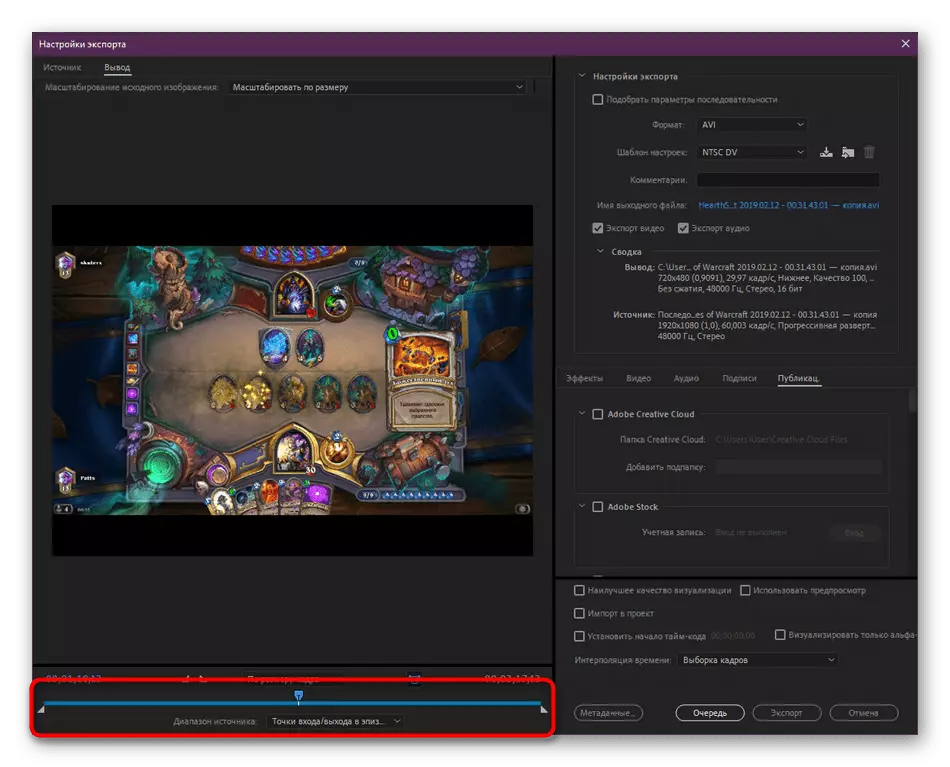
- If you do not want the video starting from the beginning, be sure to move the checkboxes at the input and output points.
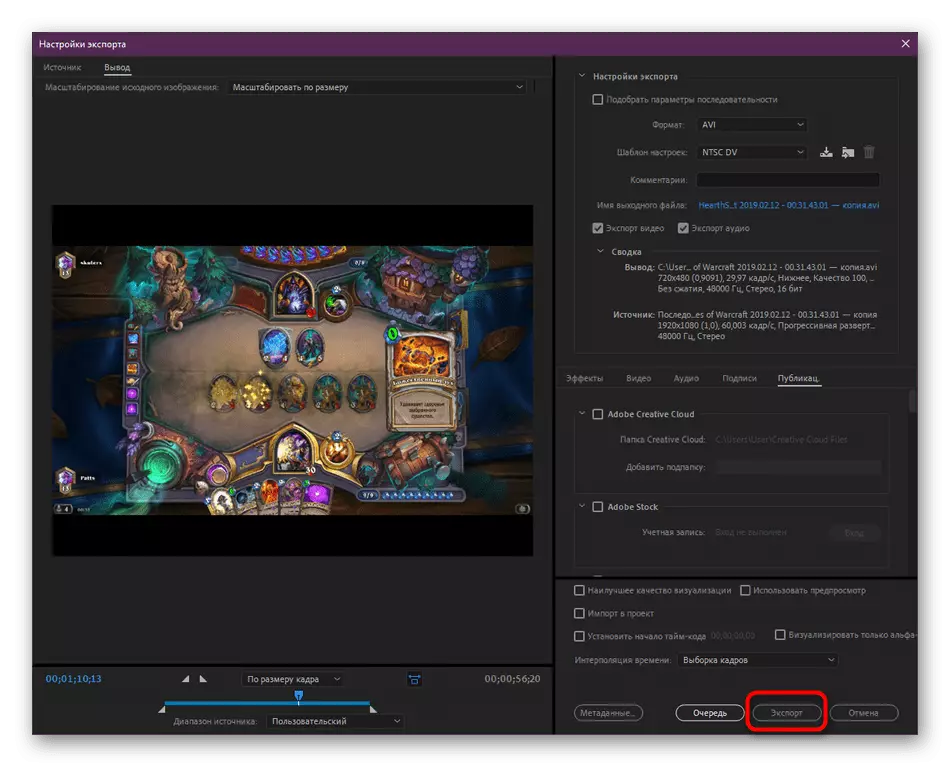
- Then use the available parameters, selecting the format and other video characteristics before it is saved.
- Complete rendering by pressing "Export".


We have other Adobe Premiere Pro instructions that may be useful when working with video fragments. Press the links below to go to them and get acquainted with the contents.
Read more:
Creating titles in Adobe Premiere Pro
How to save video in Adobe Premiere Pro
Separately, we mention the existence of special online services that perform the role of video edits. Their functionality also includes tools for dividing video into fragments, and the main advantage is that the user does not have to upload programs to its computer, because it is possible to work directly in the browser. If you are interested in this option, check it out in the material further.
Read more: Cut the video on the part online