
Face features is something that defines us as a person, but sometimes it is necessary to change the outlines in the name of art. Nose ... eyes ... lips ...
This lesson will be fully dedicated to the change in the person in our beloved Photoshop.
The developers of the editor provided us with a special filter - "Plastic" To change the volume and other object parameters by distortion and deformation, but the use of this filter implies some skills, that is, you need to be able to know how to use the filter functions.
There is a way that allows you to produce such actions by simple means.
The method is to use the built-in photoshop function. "Free Transformation".
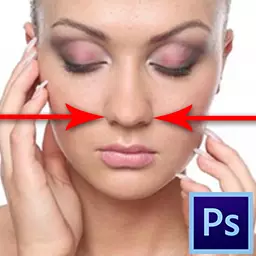
Suppose the nose of the model does not quite suit us.

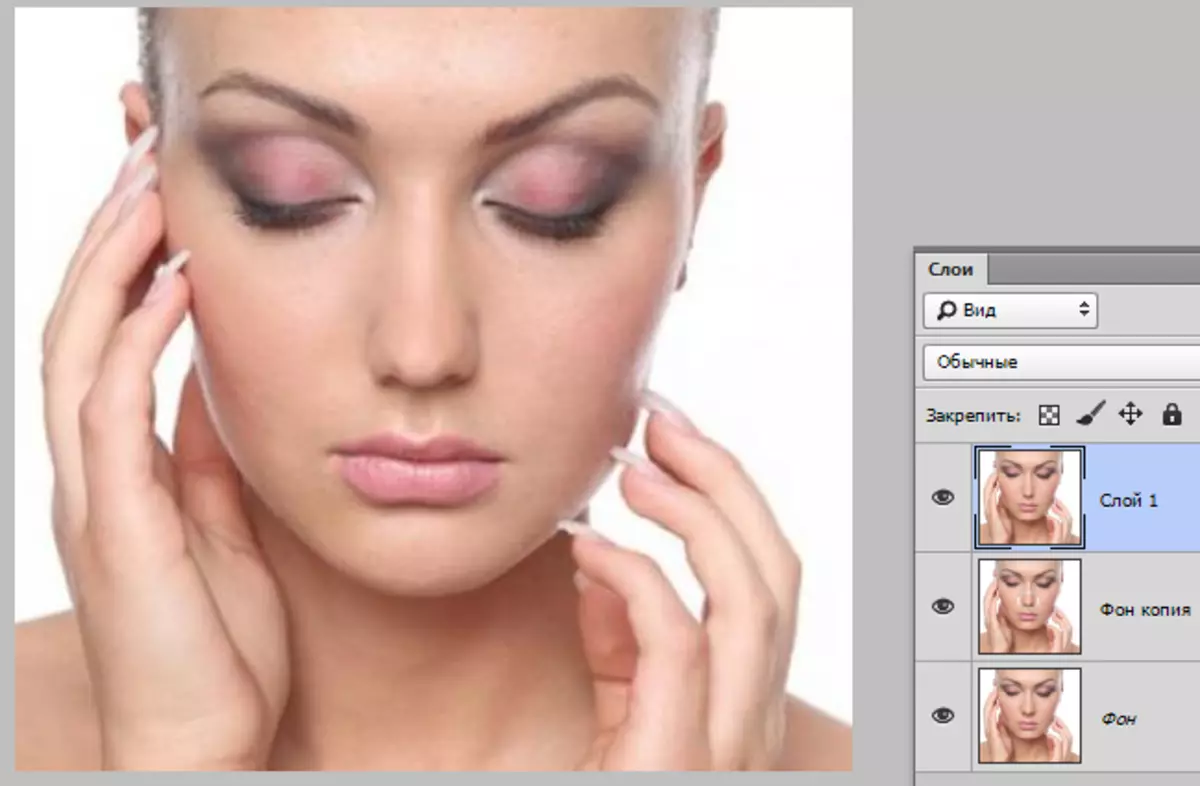
To begin with, create a copy of the layer with the original image by clicking Ctrl + J..
Then it is necessary to highlight the problem zone by any tool. I will use the pen. The tool is not important here, the discharge area is important.

Please note that I captured the secretion of shaded areas on both sides of the nose wings. This will help to avoid the appearance of sudden boundaries between different leather shades.
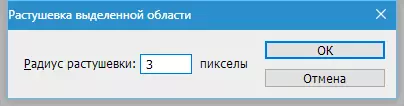
Decorate the borders will also help the decisive. Press the keyboard key SHIFT + F6. And set a value of 3 pixels.
This preparation is over, you can proceed to a decrease in the nose.
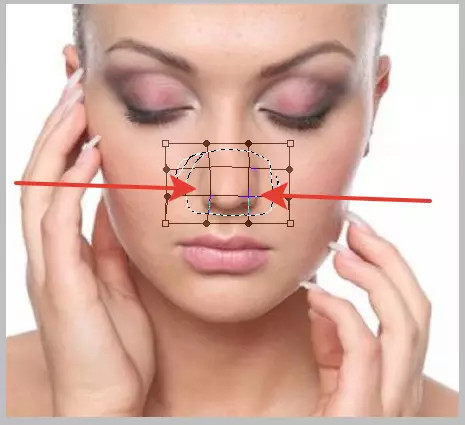
Press Ctrl + T. By calling the free transformation function. Then click right-click and select item "Deformation".

With this tool, you can distort and move the items within the selected area. Just we take the cursor for each wing of the nose model and pull in the desired side.
Upon completion click ENTER and remove the selection by a combination of keys Ctrl + D..
The result of our actions:

As you can see, a small border still appeared.
Press the keyboard key Ctrl + Shift + Alt + E Thereby creating an imprint of all visible layers.
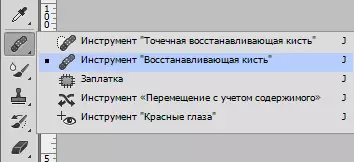
Then choose the instrument "Restoring brush" , clamp Alt. , click on the site next to the border, taking a sample of the shade, and then click on the border. The tool will replace the shade of the plot on the shade of the sample and partially mixes them.
Let's see again on our model:
As you can see, the nose has become thinner and more elegant. The goal is achieved.
Using this method, you can increase and reduce face features in photos.