

For some purposes, users need a table title always in sight, even if the sheet scrolls away. In addition, it is often necessary to, when printing a document on a physical medium (paper), a table header was displayed on each printed page. Let's find out what ways you can fix the title in the Microsoft Excel application.
Pinching header in top string
If the table title is located on the upper line, and it does not occupy no more than one line, then its fix is an elementary operation. If one or more empty lines are above the heading, they will need to be removed to use this assignment option.
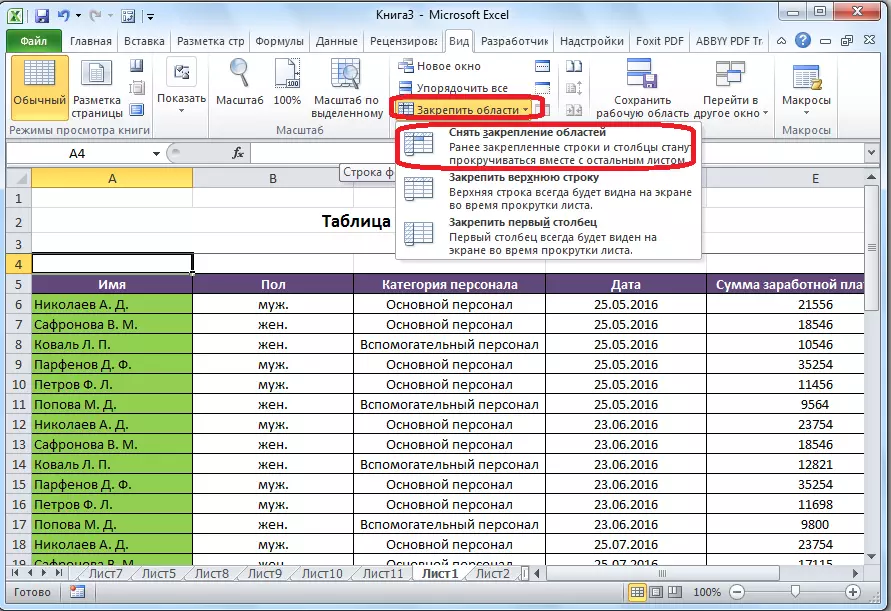
In order to secure the title, while in the "View" tab of the Excel program, click on the "Secure Area" button. This button is on the tape in the "Window" toolbar. Further, in the list that opens, select the "Secure the upper line" position.
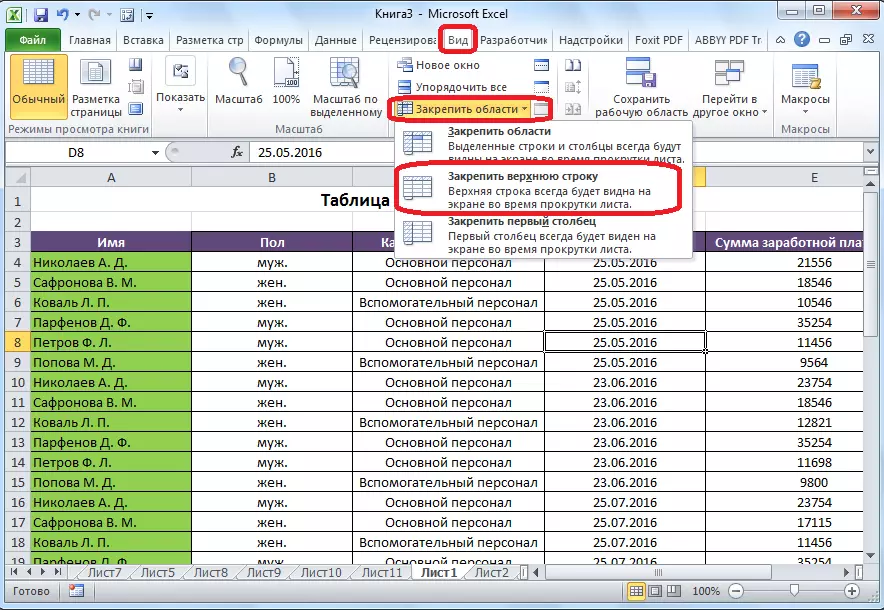
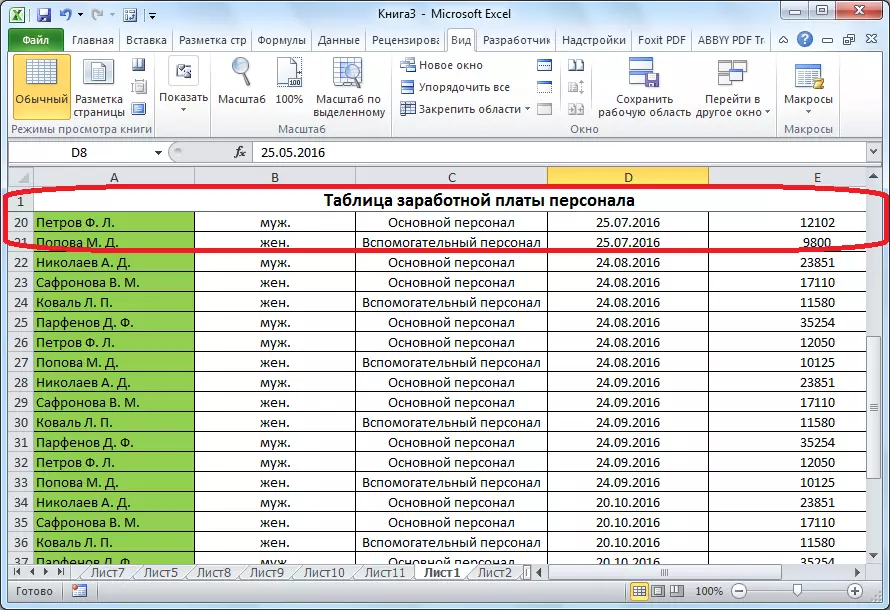
After that, the title located on the top line will be fixed, constantly being within the screen borders.
Fixing the region
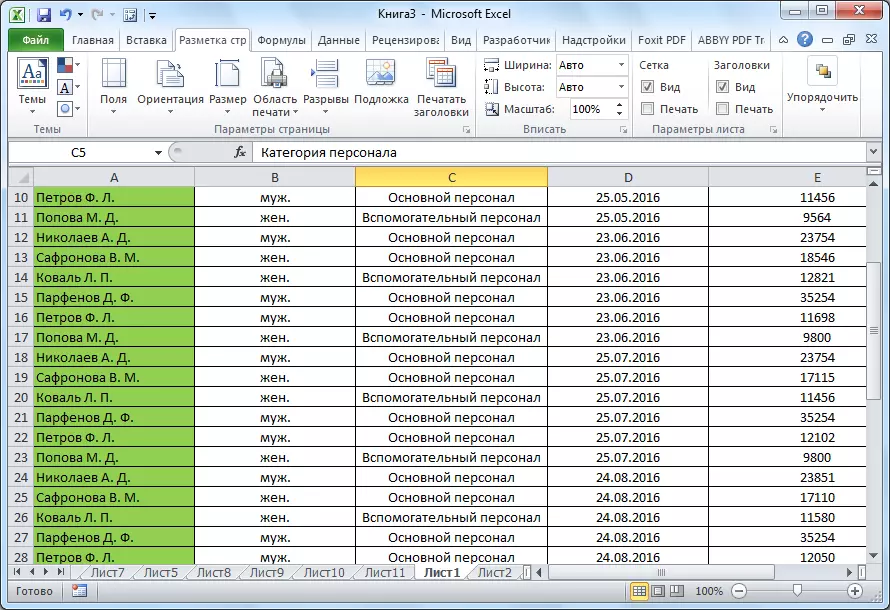
In case for any reason, the user does not want to remove the available cells over the title, or if it consists of more than one line, then the above method of consolidation will not suit. We will have to use the option with the fastening of the region, which, however, is not much more complicated by the first method.
First of all, we move to the "View" tab. After that, click on the most leftmost cell under the heading. Next, we make click on the button "Fasten the Area", which was already mentioned above. Then, in the updated menu, again choose the item with the same name - "fasten the area".
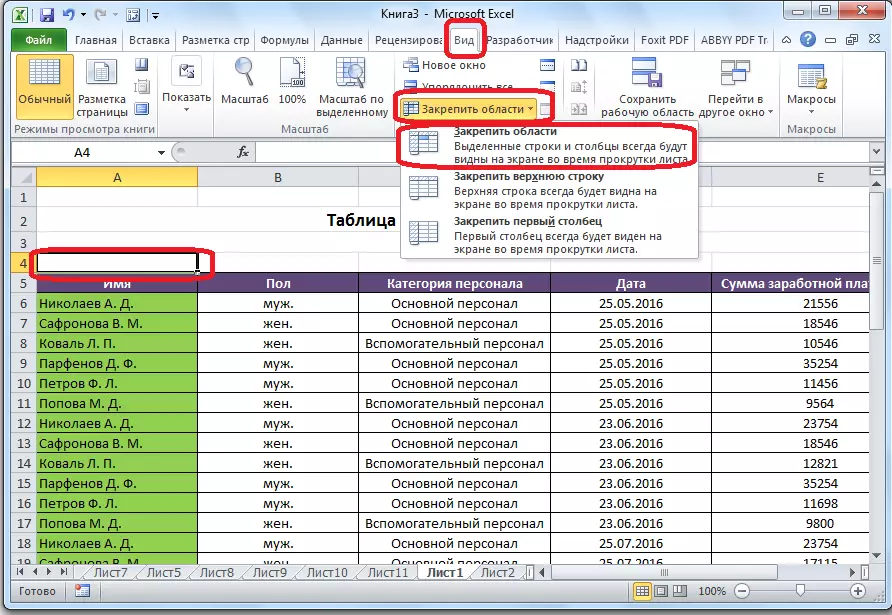
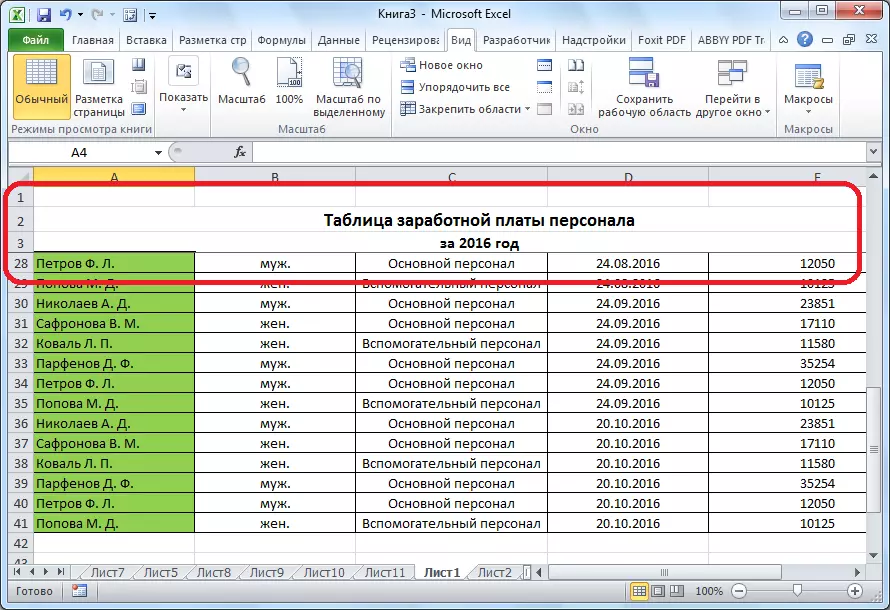
After these action, the title of the table will be recorded on the current sheet.
Removing the pinching of the header
Whatever the two listed methods of the table heading would be fixed, in order to respond it, there is only one way. Again, we make a click on the button on the tape "Fasten the Area", but this time we choose the position "to remove the consolidation of the regions".
Following this, the pinned header will become unfolded, and when scrolling the sheet down, it will not be seen.
Pinching header
There are cases when when printing a document it is required that the title is present on each printed page. Of course, you can manually "break" the table, and in the desired places to enter the header. But, this process can escape a significant amount of time, and, moreover, such a change can destroy the integrity of the table, and the procedure for calculations. There is a way much simpler and safe print the table with the title on each page.
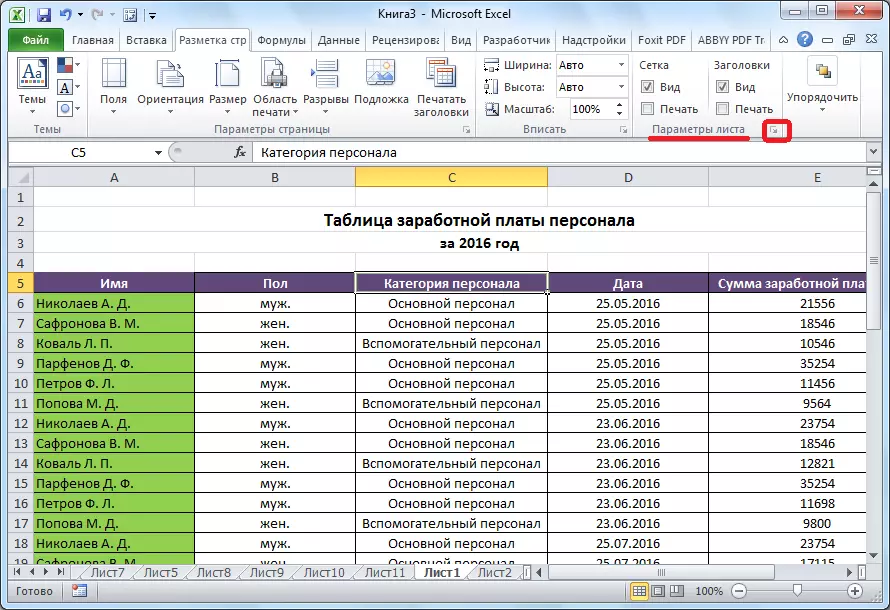
First of all, we move into the tab "Page Markup". We are looking for a "Leaf Parameters" settings. In its lower left corner there is an icon in the form of an oblique arrow. Click on this icon.
The window opens with the page parameters. We move to the "Sheet" tab. In the field near the inscription "Print on each page through lines" you need to specify the coordinates of the line on which the title is located. Naturally, for an unprepared user, this is not so simple. Therefore, click on the button placed on the right of the data entry field.
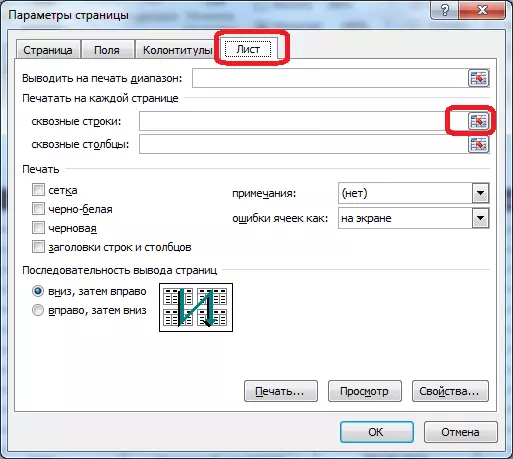
The window with the page parameters is folded. At the same time, the sheet becomes active to which the table is located. Just select the string (or several lines) on which the title is placed. As you can see, the coordinates are entered into a special window. Click on the button located on the right of this window.
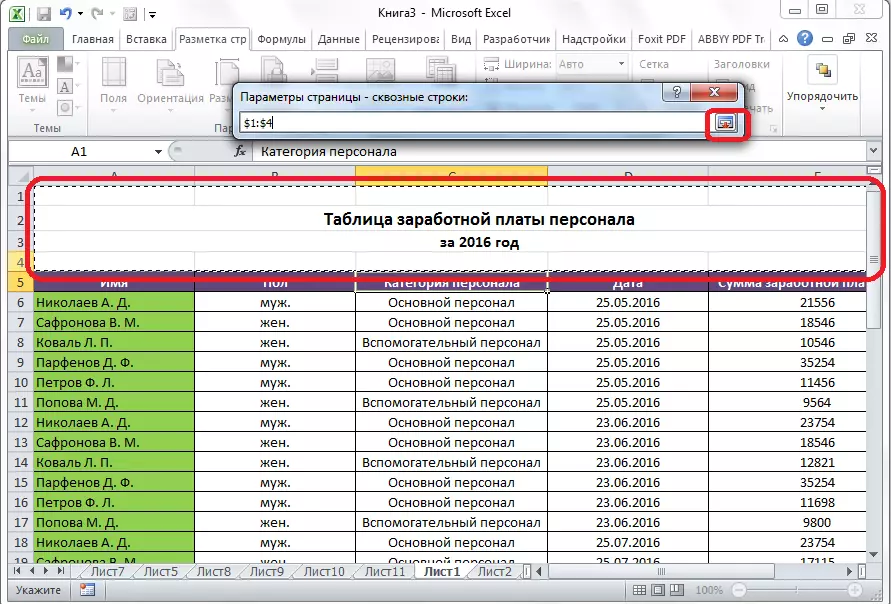
The window opens with the page parameters. We have only left to click on the "OK" button located in its lower right corner.

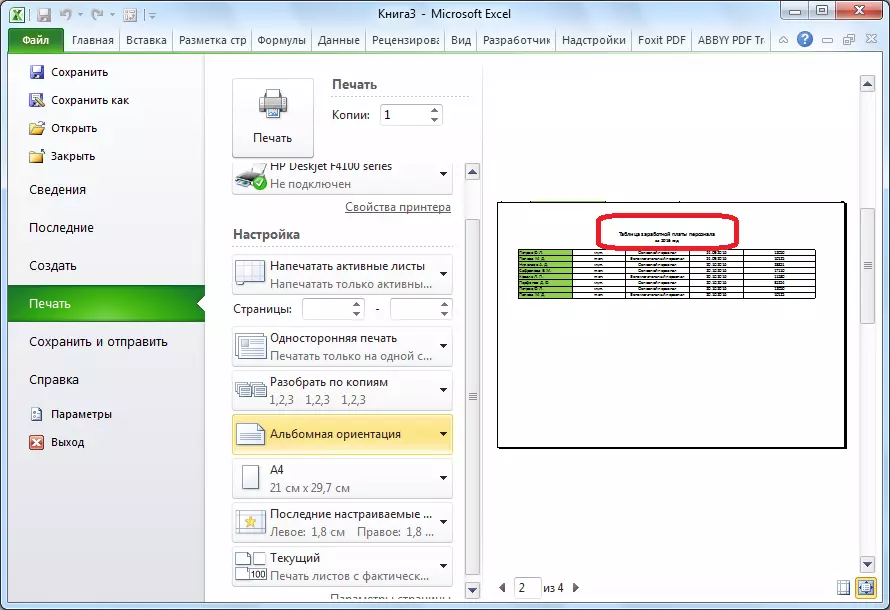
All necessary actions are made, but you will not see any changes. In order to check whether the table's name is now printed on each sheet, move to the "File" tab of the Excel application. Next, go to the "Print" subsection.
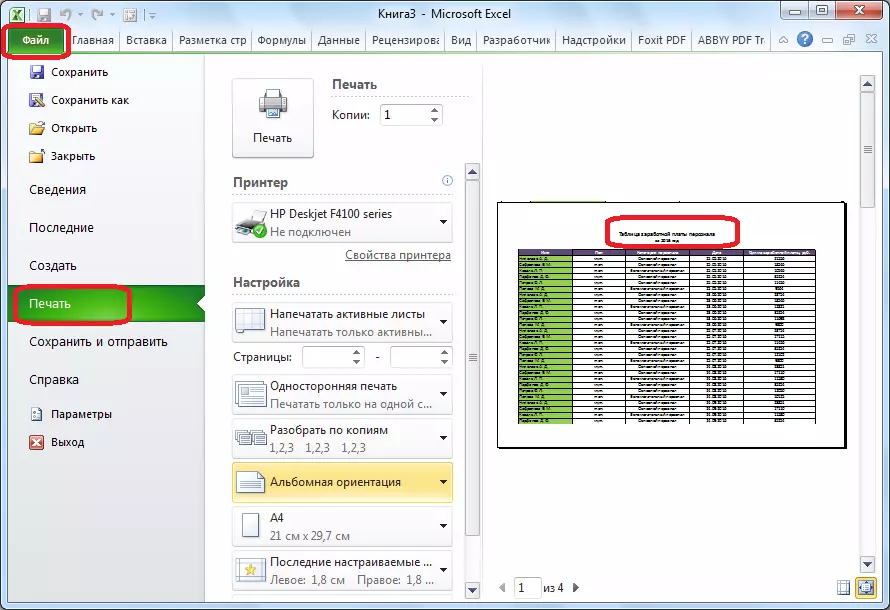
On the right side of the window that opened the preview area of the printed document is posted. Scroll down it down, and make sure that when printing, a pinned header will be displayed on each page.
As you can see, there are three ways to fix the title in the Microsoft Excel table. Two of them are designed to consolidate in the tables in the table, when working with the document. The third method is used to output the title on each page of the printed document. It is important to remember that it is possible to fix the header through the fixation of the string only if it is located on one one, with the upper line of the sheet. In the opposite, you need to use the method of fixing areas.