

When working with the same data placed in different tables, sheets, or even books, for the convenience of perception it is better to collect information together. In Microsoft Excel, you can cope with this task using a special tool called "Consolidation". It provides the ability to collect disparate data into one table. Let's find out how it is done.
Conditions for the implementation of the consolidation procedure
Naturally, not all tables can be consolidated into one, but only those that correspond to certain conditions:- Columns in all tables should have the same name (only permutation of columns in places);
- There should be no columns or rows with empty values;
- Templates in tables must be the same.
Creating a consolidated table
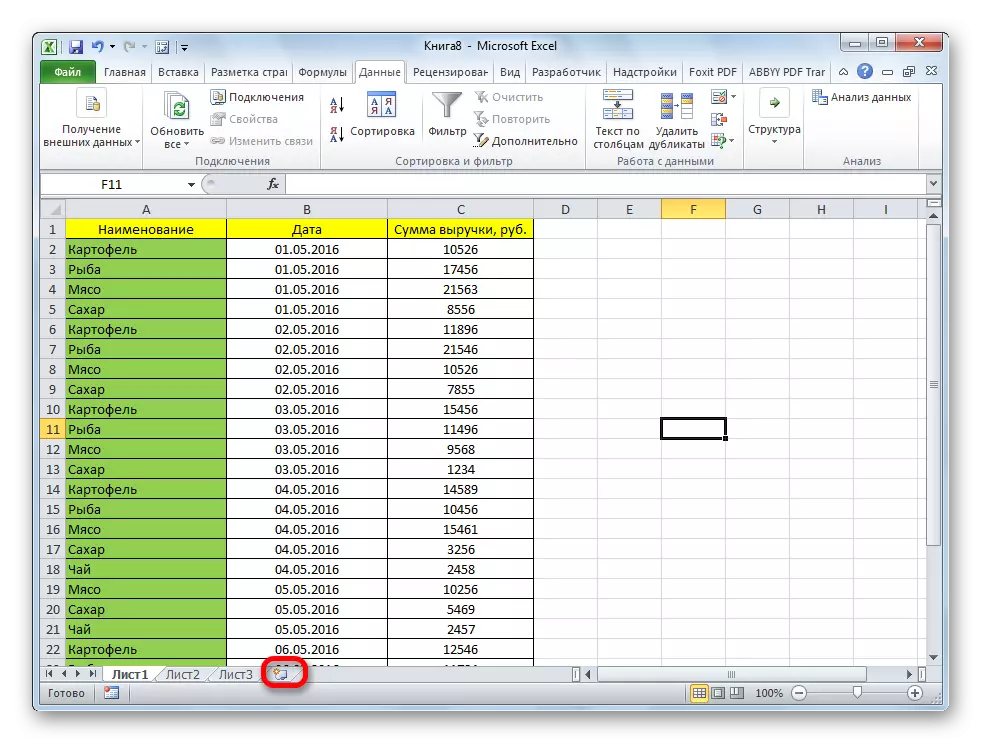
Consider how to create a consolidated table on the example of three tables having the same template and data structure. Each of them is located on a separate sheet, although on the same algorithm you can create a consolidated table from the data located in different books (files).
- Open a separate sheet for the consolidated table.
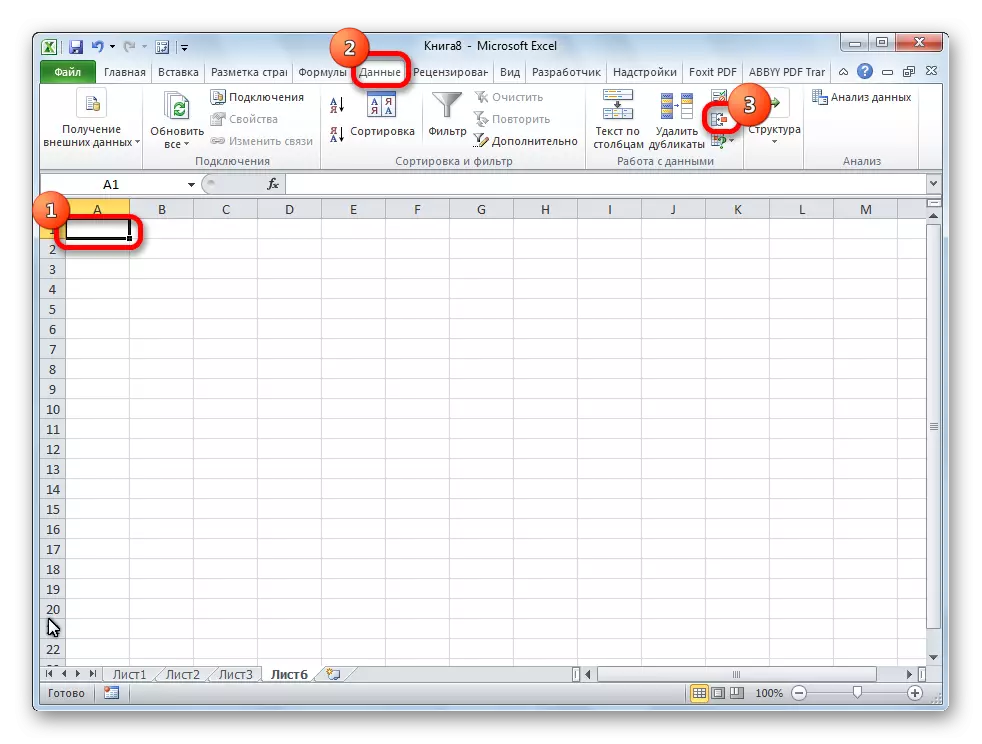
- On the opened sheet, we mark the cell that will be the upper left cell of the new table.
- Being in the "Data" tab by clicking on the "Consolidation" button, which is located on the tape in the "Working with Data" toolbar.
- A data consolidation setup window opens.

In the "Function" field, you need to establish which action with the cells will be performed when the lines and columns match match. These may be the following actions:
- sum;
- number;
- the average;
- maximum;
- minimum;
- work;
- amount of numbers;
- displacement;
- unstable deviation;
- displaced dispersion;
- Unbelled dispersion.
In most cases, the "Amount" function is used.
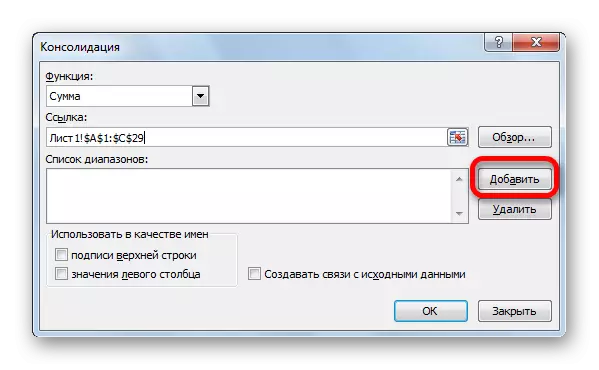
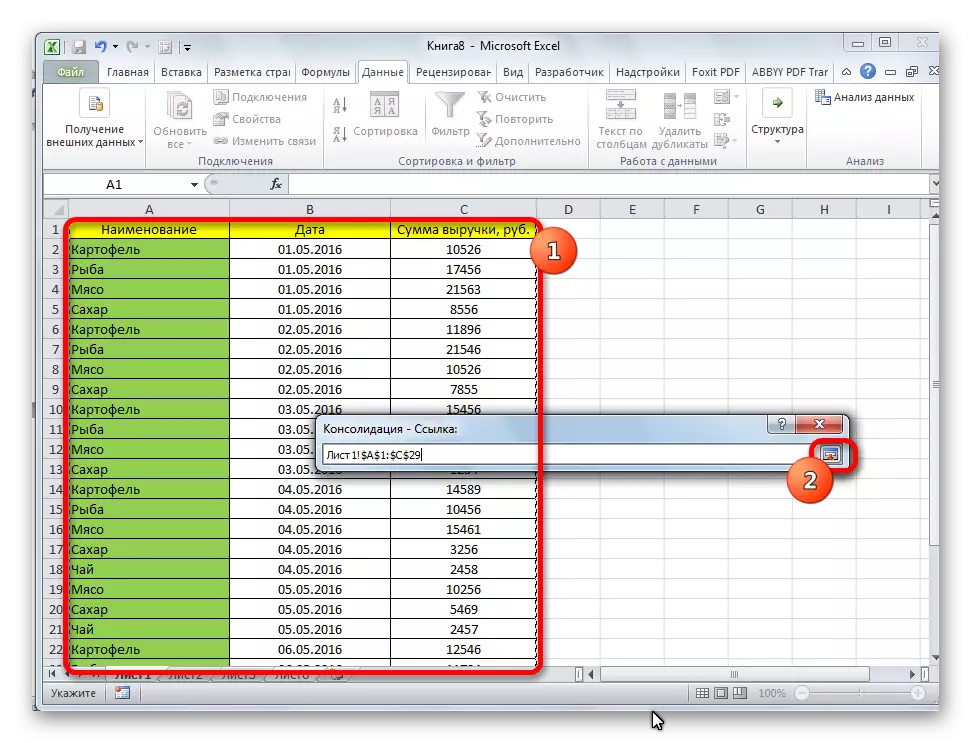
- In the Link field, specify the range of cells of one of the primary tables that are subject to consolidation. If this range is in the same file, but on another sheet, then press the button that is located to the right of the data entry field.
- Go to the sheet where the table is located, highlight the desired range. After entering the data, we click again on the button located to the right of the field where the address of the cells was added.
- Returning to the consolidation settings window to add the cells already selected to the list of bands, click on the Add button.
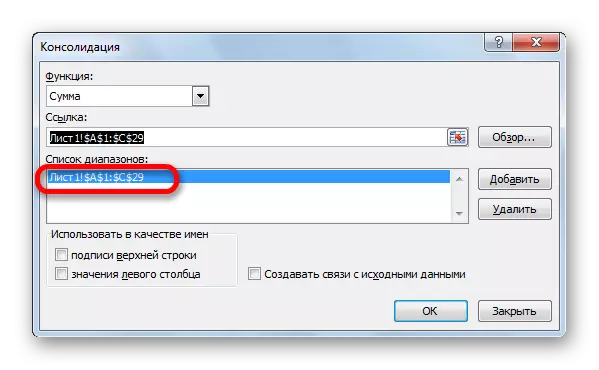
As you can see, after this, the range is added to the list.
Similarly, add all the other ranges that will participate in the process of data consolidation.
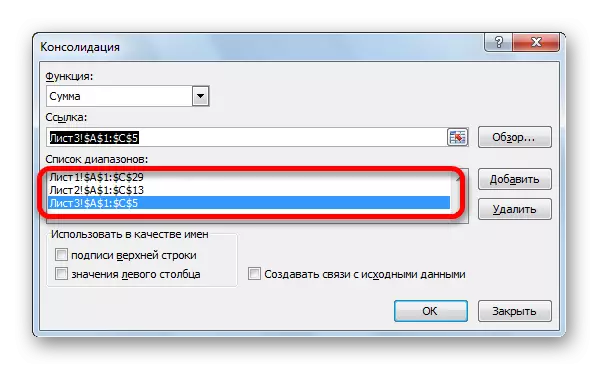
If the desired range is posted in another book (file), then we immediately press the "Overview ..." button, select the file on the hard disk or removable media, and then the method specified above is highlighting the range of cells in this file. Naturally, the file must be opened.
- Similarly, some other consolidated table settings can be made.
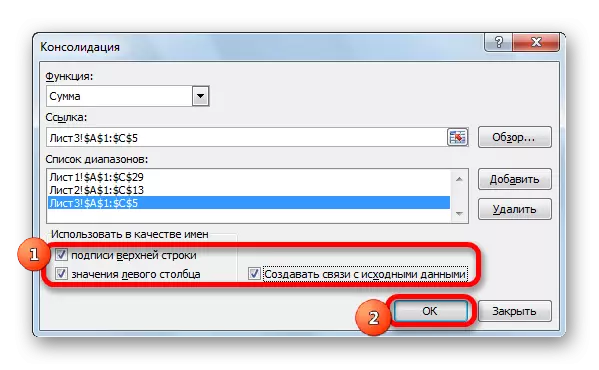
In order to automatically add the name of the columns to the header, we put a tick near the "Signature of the top line". In order to make the summation of the data, we set the tick about the "left column" parameter. If you want, when updating data in the primary tables, all information in the consolidated table is also updated, then you must install a check mark near the "Create Communication with Fine Data" parameter. But, in this case, it is necessary to consider that if you want to add new lines to the source table, you will have to remove the checkbox from this item and recalculate the values manually.
When all settings are made, click on the "OK" button.
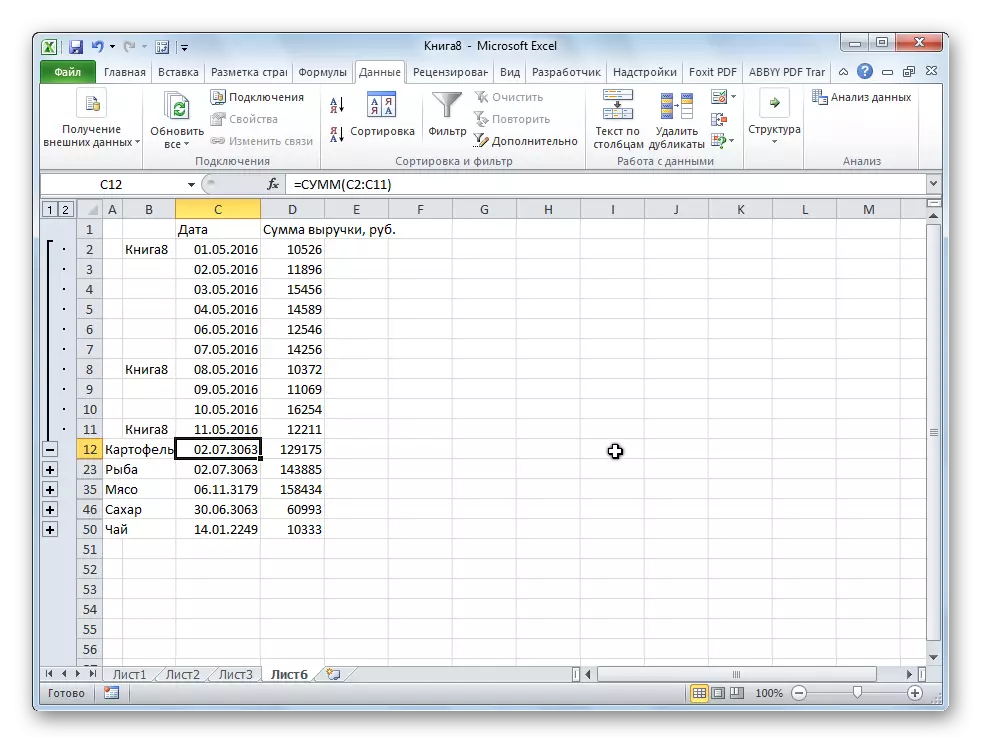
- The consolidated report is ready. As you can see, the data is grouped. To view information inside each group, click on the plus role to the left of the table.
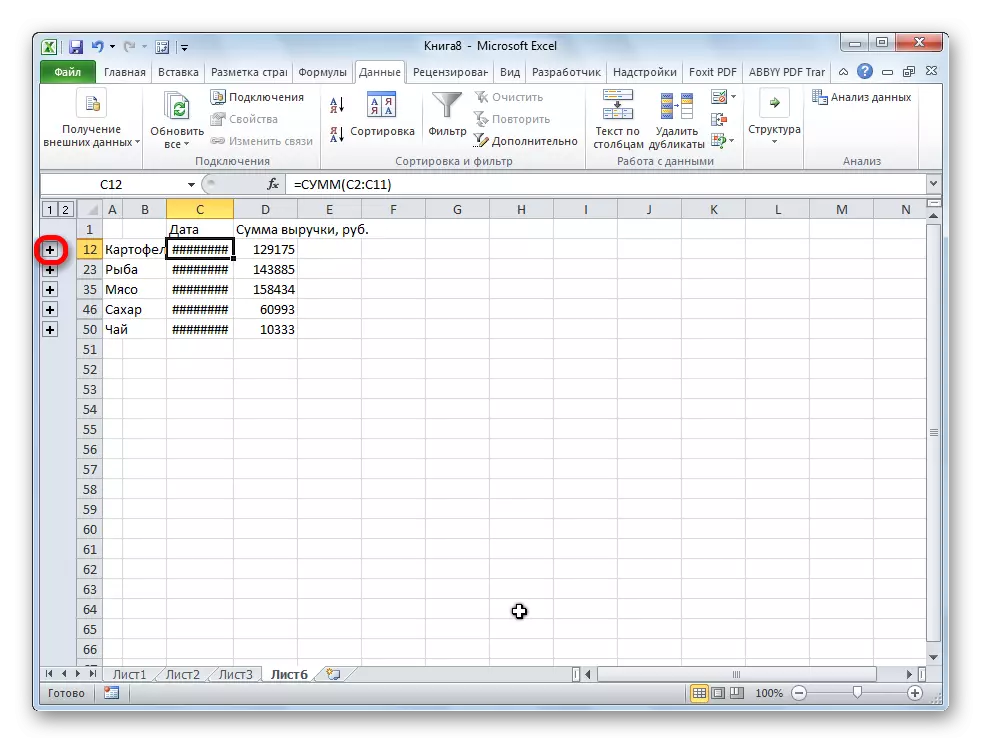
Now the contents of the group are available for viewing. Similarly, you can reveal any other group.


As you can see, the consolidation of data into Excel is a very convenient tool, thanks to which you can collect together information located not only in different tables and on different sheets, but even posted in other files (books). It is relatively simple and fast.